
1. Introduction
This manual provides comprehensive instructions for the installation, operation, and maintenance of the Hipa 510115601 Ignition Coil Module. This component is designed to replace original ignition coils in compatible power cutters, ensuring reliable engine performance.
2. Compatibility
The Hipa 510115601 Ignition Coil Module is compatible with the following Husqvarna Power Cutter models:
- Husqvarna K750 (2007-01, 2007-07)
- Husqvarna K760 (2013-02)
- Husqvarna K770 (2017-11)
- Husqvarna K970
- Husqvarna K1260
This module replaces obsolete part numbers: 510115601, 580380501, 544047502, 5803805-01, 5101156-02, 510115602, 544843002.
3. Package Contents
The package contains:
- 1 x Hipa 510115601 Ignition Coil Module

Figure 1: Hipa 510115601 Ignition Coil Module. This image shows the complete ignition coil module with its spark plug boot and wiring.
4. Safety Information
Always observe the following safety precautions when working with power tools and electrical components:
- Disconnect Power: Ensure the power cutter is completely turned off and the spark plug wire is disconnected before performing any maintenance or installation.
- Wear Protective Gear: Use appropriate personal protective equipment (PPE) such as gloves and eye protection.
- Consult Manufacturer's Manual: Refer to your power cutter's original instruction manual for specific disassembly and reassembly procedures.
- Handle with Care: Ignition coils contain sensitive electronic components. Avoid dropping or subjecting the module to excessive force.
- Proper Disposal: Dispose of old components responsibly according to local regulations.
5. Installation Instructions
The following steps outline the general procedure for replacing an ignition coil module. Specific details may vary depending on your power cutter model. Always refer to your equipment's service manual for precise instructions.
- Prepare the Unit: Ensure the power cutter is turned off and cooled down. Disconnect the spark plug wire to prevent accidental starting.
- Access the Ignition Coil: Remove any housing, covers, or air filter components that obstruct access to the existing ignition coil. This may involve removing screws or clips.
- Disconnect Wires: Carefully disconnect all wires connected to the old ignition coil, including the spark plug wire and any low-voltage wires.
- Remove Old Coil: Unbolt and remove the old ignition coil from its mounting position. Note its orientation for correct installation of the new coil.
- Install New Coil: Position the new Hipa 510115601 Ignition Coil Module in the same orientation as the old one. Secure it with the mounting bolts.
- Set Air Gap (if applicable): Some ignition coils require a specific air gap between the coil and the flywheel magnets. Consult your power cutter's manual for the correct gap specification and adjustment procedure. A business card or feeler gauge is often used for this.
- Connect Wires: Reconnect all wires to the new ignition coil. Ensure connections are secure.
- Reassemble: Reinstall all covers, housing, and air filter components that were removed.
- Test: Reconnect the spark plug wire. Attempt to start the power cutter to verify proper operation.

Figure 2: Ignition coil module shown in context with a Husqvarna power cutter. This illustrates the type of equipment the coil is designed for.

Figure 3: Performance testing of an ignition coil. This image highlights the quality control process to ensure the module meets specifications.
6. Operation
The ignition coil module is a critical component of the engine's ignition system. Its primary function is to transform the low voltage from the battery or magneto into the high voltage required to create a spark at the spark plug. This spark ignites the fuel-air mixture in the engine's combustion chamber, initiating the engine cycle.
A properly functioning ignition coil contributes to:
- Rapid engine startup
- Smoother acceleration
- Stable idle speed
- Improved fuel efficiency

Figure 4: Visual representation of ignition system performance benefits. This graphic illustrates the positive impacts of a refreshed ignition system on engine operation.
7. Maintenance
The Hipa 510115601 Ignition Coil Module is designed for durability and minimal maintenance. However, periodic checks can help ensure its longevity and optimal performance:
- Inspect Connections: Periodically check all electrical connections to the ignition coil for tightness and corrosion. Loose or corroded connections can lead to intermittent spark or complete failure.
- Cleanliness: Keep the area around the ignition coil clean and free from debris, oil, and moisture. Excessive dirt can act as an insulator or cause short circuits.
- Spark Plug Condition: A worn or fouled spark plug can put additional strain on the ignition coil. Ensure your spark plug is in good condition and replaced according to your power cutter's maintenance schedule.
- Wiring Integrity: Inspect the wiring leading to and from the coil for any signs of fraying, cracks, or damage.
8. Troubleshooting
If you experience issues after installing the new ignition coil, consider the following common troubleshooting steps:
| Symptom | Possible Cause | Solution |
|---|---|---|
| Engine does not start or no spark |
|
|
| Engine runs poorly, misfires, or lacks power |
|
|
| Engine starts but immediately dies |
|
|
If problems persist after following these steps, it is recommended to consult a qualified service technician.
9. Specifications
Technical specifications for the Hipa 510115601 Ignition Coil Module:
- Model: 510115601
- Brand: Hipa
- Item Weight: 5.8 ounces
- Package Dimensions: 3.86 x 3.58 x 1.85 inches
- Connector Gender: Male
- Installation Type: Bolt-On
- Automotive Fit Type: Universal Fit (for specified Husqvarna models)
- Construction: Features enamel-coated copper wire and vacuum-sealed high-quality epoxy resin for durability and electrical insulation.

Figure 5: Illustration of enamel-coated copper wire. This image highlights a key internal component designed to resist voltage arc and component failure.
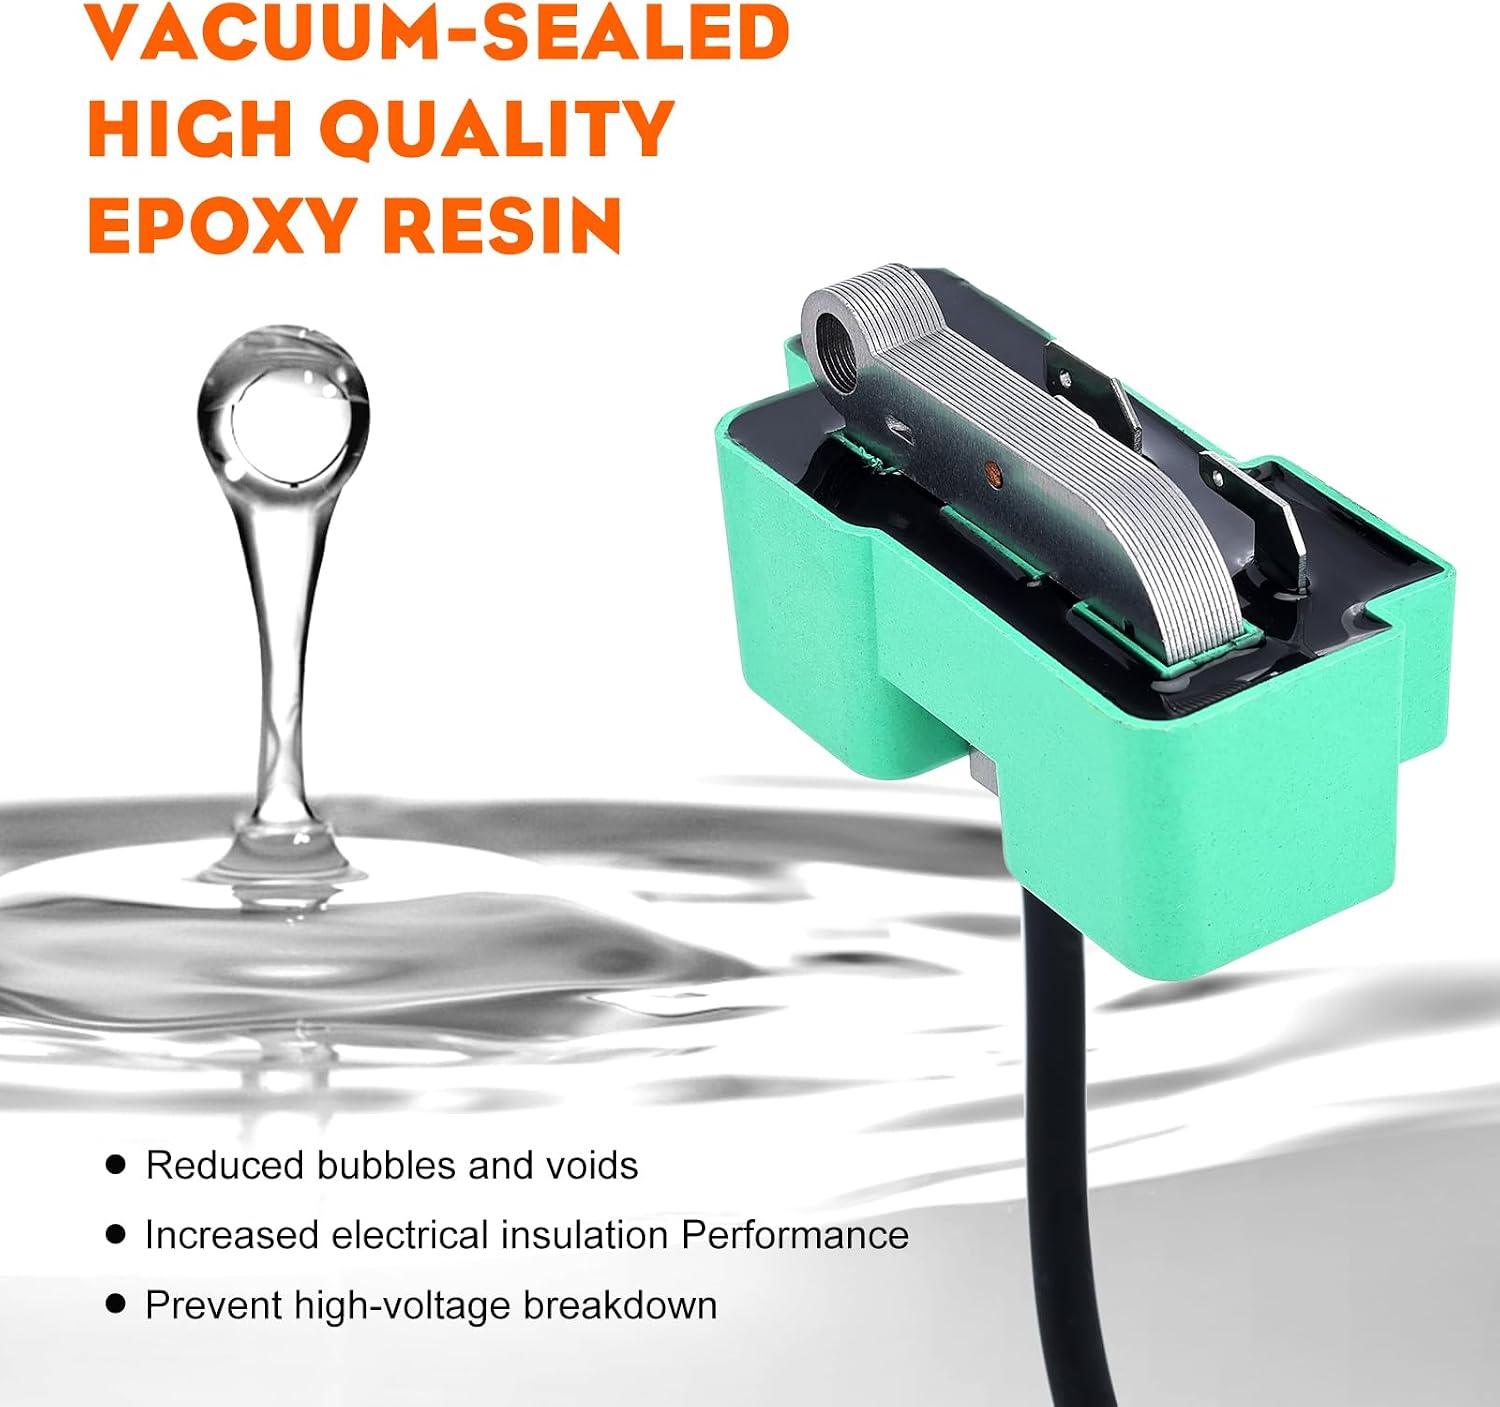
Figure 6: Cross-section view illustrating vacuum-sealed high-quality epoxy resin. This feature reduces bubbles and voids, increasing electrical insulation performance and preventing high-voltage breakdown.

Figure 7: Dimensional drawing of the ignition coil. This image provides key measurements for ensuring a perfect fit during installation.
10. Warranty and Support
For warranty information or technical support regarding your Hipa 510115601 Ignition Coil Module, please refer to the Hipa official website or contact their customer service department. Keep your purchase receipt as proof of purchase.

