
1. Introduction
This manual provides detailed instructions for the proper installation, operation, and maintenance of your Acer V247Y A 23.8-inch Full HD LCD Monitor. Please read this manual thoroughly before using your monitor to ensure optimal performance and safety. Keep this manual for future reference.
2. Package Contents
Verify that all items listed below are present in your package. If any items are missing or damaged, please contact your retailer or Acer support.
- 1 x V247Y A Widescreen LCD Monitor
- 1 x HDMI Cable
- 1 x Power Cord (US)
3. Setup
3.1 Assembling the Monitor Stand
Follow these steps to attach the stand to your monitor. Ensure the monitor is placed face down on a soft, clean surface to prevent scratches.
- Carefully remove the monitor from its packaging.
- Attach the stand base to the stand neck. Secure with the provided screw if applicable.
- Align the stand assembly with the mounting slots on the back of the monitor.
- Gently push the stand into place until it clicks or is securely fastened.
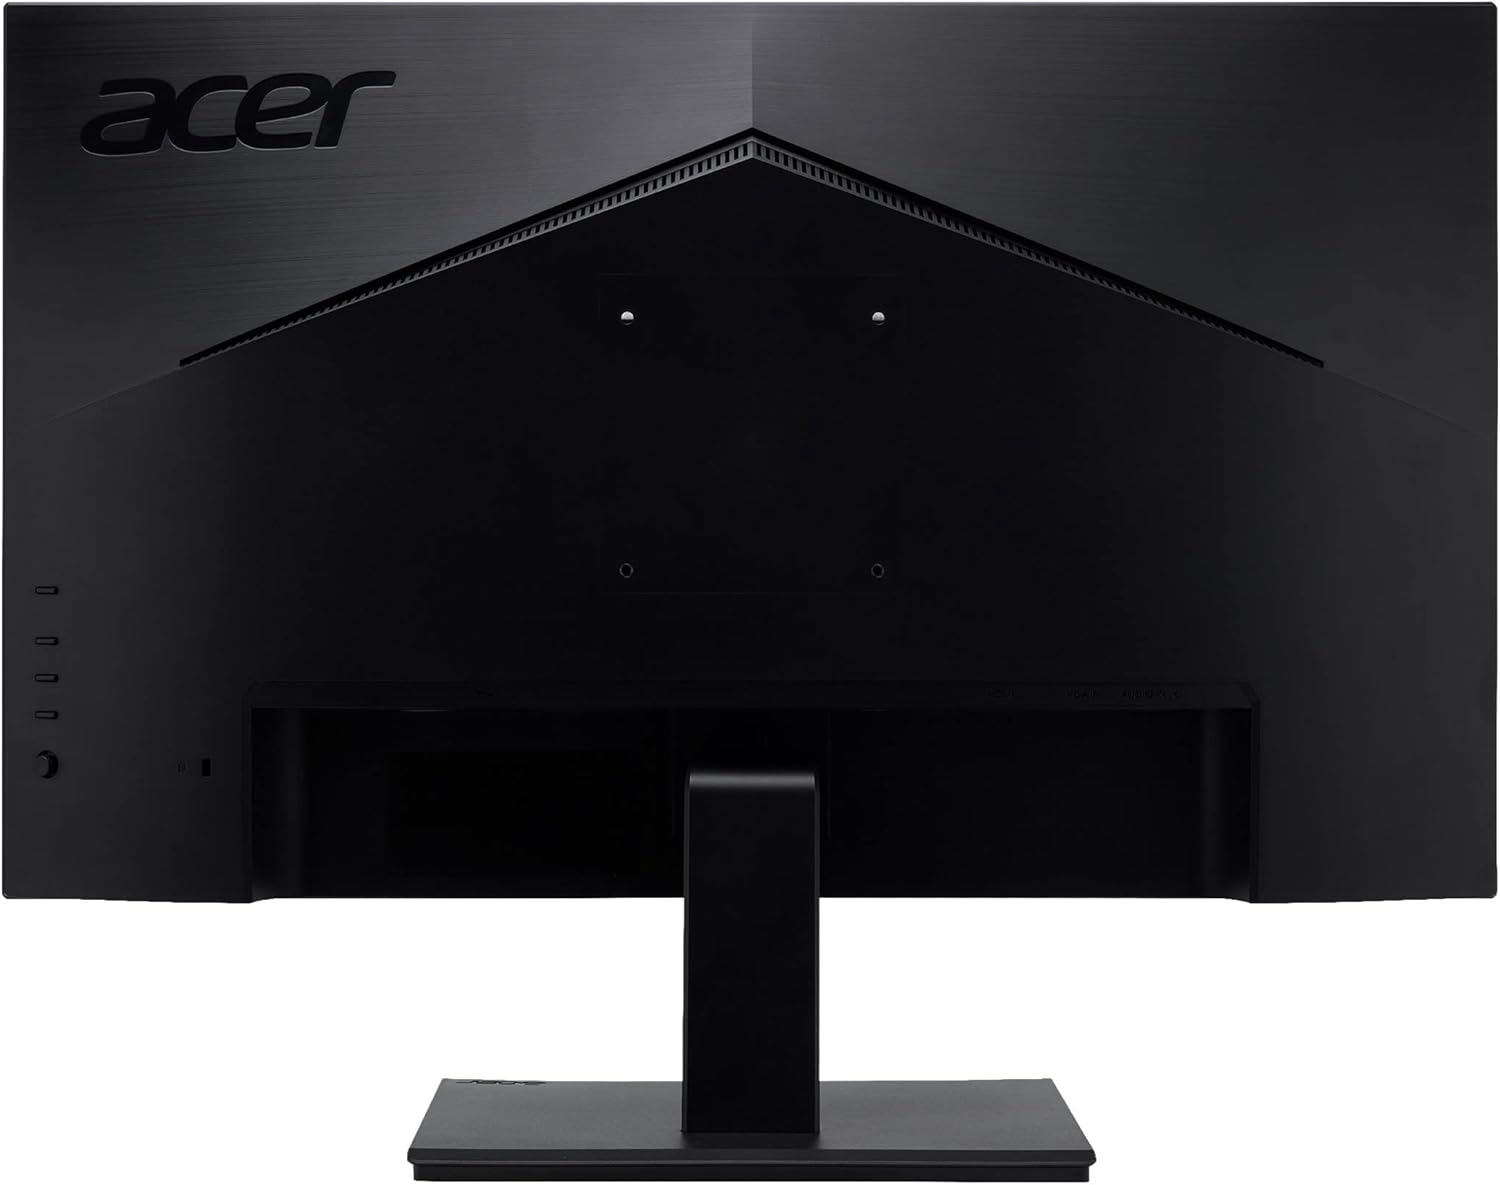
Figure 3.1: Rear view of the Acer V247Y A monitor, illustrating the stand attachment area and various input ports. This image helps identify where the stand connects to the monitor body.
3.2 Connecting Cables
Before connecting any cables, ensure both the monitor and your computer are powered off.
- Power Connection: Connect the power cord to the monitor's power input port, then plug the other end into a grounded electrical outlet.
- Video Connection: Connect one end of the provided HDMI cable to the HDMI port on your monitor and the other end to the HDMI output port on your computer or video source.
- (Optional) VESA Mount: This monitor supports VESA mounting. If you plan to wall-mount or use an alternative stand, remove the factory stand and attach your VESA-compatible mount (100x100mm) to the designated holes on the back of the monitor.

Figure 3.2: Front view of the Acer V247Y A monitor, displaying its screen and bezel. This image provides a general overview of the monitor's appearance once set up.
3.3 Initial Power On
After connecting all necessary cables:
- Power on your computer.
- Press the power button on the monitor. The power indicator light should illuminate.
- The monitor should automatically detect the input signal. If no image appears, ensure your computer's display output is enabled and the correct input source is selected on the monitor (refer to Section 4.2).
4. Operating the Monitor
4.1 Control Buttons
The control buttons are typically located on the bottom right or rear of the monitor. These buttons allow you to navigate the On-Screen Display (OSD) menu and adjust settings.
- Power Button: Turns the monitor on or off.
- Menu Button: Opens the OSD menu.
- Navigation Buttons (Up/Down/Left/Right): Used to navigate through OSD menu options and adjust values.
- Select/Enter Button: Confirms a selection or enters a sub-menu.
4.2 On-Screen Display (OSD) Menu
The OSD menu allows you to customize various display settings. To access the OSD menu:
- Press the Menu button to open the OSD.
- Use the navigation buttons to move between menu categories (e.g., Picture, Color, OSD, System).
- Press the Select/Enter button to enter a category or confirm a setting.
- Use navigation buttons to adjust values or select sub-options.
- Press the Menu button again to exit the OSD.
Common OSD settings include:
- Brightness/Contrast: Adjusts the overall luminance and difference between light and dark areas.
- Color Temperature: Changes the color balance (e.g., Warm, Cool, User).
- Input Select: Manually switch between available input sources (e.g., HDMI).
- Aspect Ratio: Adjusts the display's aspect ratio (e.g., Full, 1:1).
5. Maintenance
5.1 Cleaning the Monitor
To maintain the clarity and longevity of your monitor, follow these cleaning guidelines:
- Always power off the monitor and unplug the power cord before cleaning.
- Use a soft, lint-free cloth lightly dampened with water or a non-abrasive screen cleaner.
- Do not spray cleaner directly onto the screen. Apply it to the cloth first.
- Wipe the screen gently to remove dust and smudges.
- For the monitor casing, use a soft, dry cloth. Avoid harsh chemicals or abrasive materials.
5.2 Storage
If you need to store the monitor for an extended period:
- Power off and unplug all cables.
- Disassemble the stand if necessary and pack the monitor in its original packaging or a suitable protective box.
- Store in a cool, dry place away from direct sunlight and extreme temperatures.
6. Troubleshooting
This section addresses common issues you might encounter with your monitor. If the problem persists after trying these solutions, contact Acer support.
| Problem | Possible Cause | Solution |
|---|---|---|
| No image on screen |
|
|
| Image is blurry or distorted |
|
|
| Monitor not turning on |
|
|
7. Specifications
Below are the technical specifications for the Acer V247Y A monitor:
- Model: V247Y A
- Screen Size: 23.8 Inches
- Resolution: 1920 x 1080 (Full HD)
- Aspect Ratio: 16:9
- Response Time: 4 ms
- Brightness: 250 Nit
- Panel Type: LCD
- Input Ports: HDMI
- VESA Mount Compatibility: Yes (100x100mm)
- Item Weight: 9.48 pounds (approx. 4.3 kg)
- Product Dimensions (LxWxH): 15.16 x 23.62 x 5.24 inches (approx. 38.5 x 59.99 x 13.31 cm)
- Manufacturer: Acer, Inc
8. Warranty and Support
For warranty information, please refer to the warranty card included with your product or visit the official Acer website. For technical support, driver downloads, or service inquiries, please visit the Acer support website or contact their customer service department.
Acer Support Website: www.acer.com/support