
1. Introduction
This manual provides detailed instructions for the installation, operation, and maintenance of your Roinvou 9-inch Android car stereo. This unit is designed specifically for Subaru Forester, Impreza, and WRX STI models manufactured between 2008 and 2012. It features an Android 15 operating system, a 9-inch IPS touch screen, wireless CarPlay and Android Auto compatibility, Bluetooth, GPS navigation, WiFi connectivity, and HiFi audio capabilities. Please read this manual thoroughly before installation and use to ensure proper functionality and safety.

2. Safety Information
- Professional Installation Recommended: Due to the complexity of car electrical systems, professional installation is highly recommended to prevent damage to the unit or vehicle.
- Disconnect Battery: Always disconnect the vehicle's negative battery terminal before beginning any installation or wiring work to prevent electrical shorts and damage.
- Check Wiring: Ensure all wiring connections are secure and correctly matched according to the wiring diagram provided. Incorrect wiring can cause malfunction or damage.
- Avoid Distractions: Do not operate the touch screen or adjust settings that require significant attention while driving. Always prioritize safe driving.
- Temperature Extremes: Avoid exposing the unit to extreme temperatures or direct sunlight for prolonged periods, as this may affect performance and longevity.
3. Package Contents
Verify that all items listed below are included in your package:
- Roinvou Car Stereo Head Unit (for Subaru Forester Impreza WRX STI)
- Dual Power Cable
- Radio Antenna
- Original USB Cable
- RCA Cable
- GPS Antenna
- AHD Backup Camera
- External Microphone
- Rear Camera Input Cable
- Dual USB Cable
- Installation Tool

4. Installation Guide
This section outlines the steps for installing your new Roinvou car stereo. Ensure your vehicle is turned off and the negative battery terminal is disconnected before proceeding.
4.1. Removing the Original Head Unit
- Prepare Tools: Use a plastic removal tool to prevent scratching your dashboard.
- Remove Faceplate: Gently pry around the edges of the original radio's faceplate to release the clips. Work your way around until the entire faceplate is loose.
- Remove Vents: If your new head unit requires a different faceplate, carefully remove the air vents from the original faceplate by lifting the clips. These vents will be transferred to the new trim.
- Unscrew Head Unit: Locate and remove the four screws securing the original head unit in place (two on each side).
- Disconnect Wiring: Carefully pull the original head unit out slightly and disconnect all wiring harnesses and the antenna cable from the back. There are typically four main connections: the main power/speaker harness, two smaller harnesses, and the antenna.

4.2. Wiring the New Head Unit
Your Roinvou car stereo comes with a dedicated wiring harness designed for direct plug-and-play installation in compatible Subaru models. This eliminates the need for cutting or soldering factory wires.
- Connect Main Harness: Connect the provided main wiring harness from the Roinvou unit to your vehicle's factory harness. Ensure a secure connection.
- Connect Power Amplifier: If your vehicle has a stock power amplifier, connect the original AMP control cable to the ACC wire on the provided power cable.
- GPS Antenna: Connect the GPS antenna to the designated port on the back of the head unit. Route the antenna cable to a location on your dashboard with a clear view of the sky for optimal signal reception.
- Radio Antenna: Connect the vehicle's radio antenna to the new head unit.
- USB Cables: Connect the dual USB cables to the back of the unit and route them to a convenient location, such as the glove compartment or center console, for connecting USB devices.
- External Microphone: Connect the external microphone for improved call quality and voice commands. Route it to a suitable location, such as near the rearview mirror or on the A-pillar.
4.3. Steering Wheel Control (SWC) Connection
The unit supports steering wheel controls for convenience.
- Without CANBUS Decoder: Connect the plugs or the steering wheel control wires (Key1/Key2) in the power cable to the corresponding port or wire of your original car. Then, manually match the buttons in the unit's settings to activate the function.
- With CANBUS Decoder: Connect the CANBUS decoder before powering on the machine. Go to Settings > Factory Settings (Password 8888) > Protocol settings. Select the brand of the CANBUS decoder and the matching model and year to enable SWC.

4.4. Backup Camera Connection
The unit supports a backup camera for enhanced safety.
- Connect Rear Camera Input Cable: Plug the rear camera input cable into the designated port on the head unit. This cable must be plugged in even if a reverse camera is not being used, as it can affect Bluetooth and WiFi signal reception.
- Connect Camera: Connect the AHD backup camera to the rear camera input cable. Ensure the camera's power wire is connected to the reversing lamp and the ground wire to a suitable ground point.

4.5. Final Installation
- Test Connections: Before fully securing the unit, reconnect the negative battery terminal and briefly power on the unit to ensure all connections are working correctly (audio, display, touch response, etc.).
- Secure Head Unit: Carefully slide the new head unit into the dashboard opening and secure it with the screws removed earlier.
- Install Faceplate: Snap the new trim panel (with transferred vents) into place around the head unit.
4.6. Installation Video Guide
5. Operating Instructions
Familiarize yourself with the various functions and features of your Roinvou car stereo.
5.1. Basic Operation
- Power On/Off: Press and hold the power button on the unit or use the vehicle's ignition.
- Touch Screen: Navigate through menus and applications using the responsive 9-inch IPS touch screen.
- Volume Control: Adjust volume using the physical buttons on the unit or steering wheel controls.
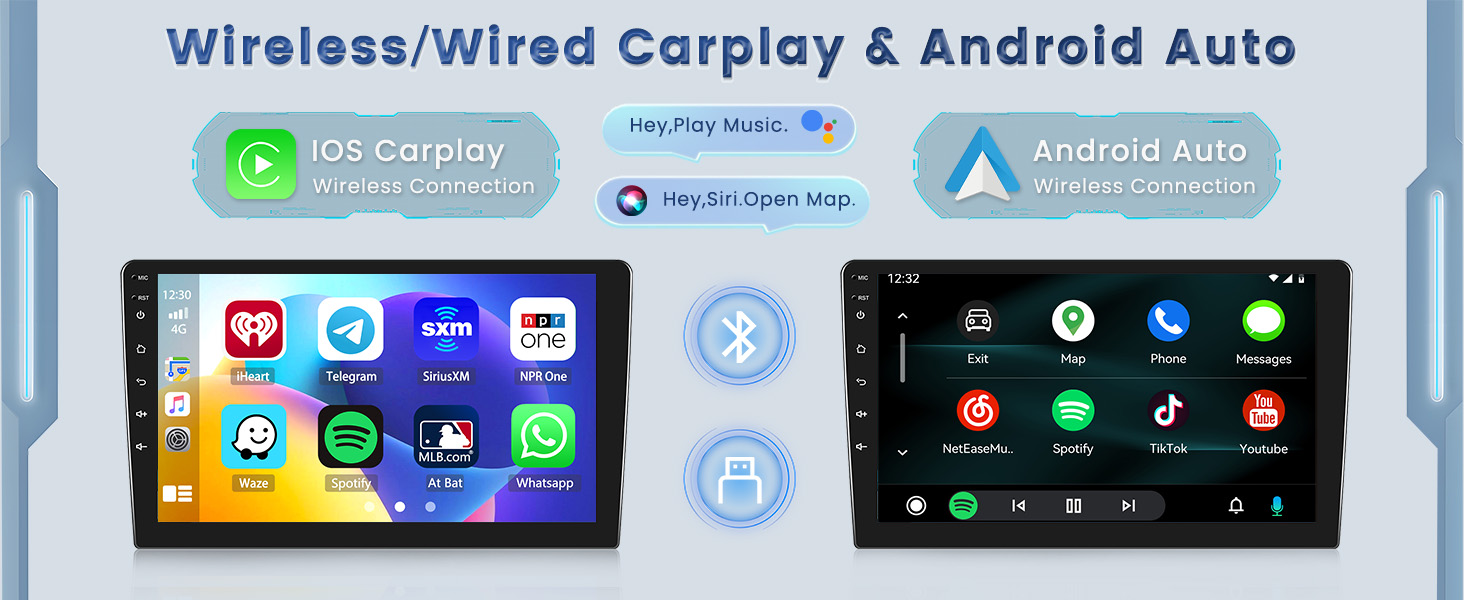
5.2. Wireless CarPlay & Android Auto
Connect your smartphone wirelessly for seamless integration of navigation, music, calls, and messages.
- Enable Bluetooth: On the car stereo, go to the Bluetooth settings and ensure it is discoverable.
- Pair Smartphone: On your smartphone, enable Bluetooth and search for the car stereo's device name (e.g., "CarBT"). Pair the devices using the provided PIN (usually 0000).
- Launch CarPlay/Android Auto: Once paired, the unit should prompt you to launch CarPlay or Android Auto. Alternatively, open the ZLINK application on the car stereo.
- Manual WiFi Connection (if needed): If the connection is not successful, manually connect the car stereo to your phone's WiFi hotspot. After connecting to WiFi, delete the history record in the ZLINK app and try connecting again.
5.3. Bluetooth, HiFi & FM/RDS Radio
- Bluetooth: Supports hands-free calling, phonebook download, and music playback from your paired smartphone.
- HiFi Audio: The HiFi setting reproduces sound highly similar to your car's original sound, providing an enhanced audio experience. Adjust EQ settings for personalized sound.
- FM/RDS Radio: Access FM radio stations and receive RDS (Radio Data System) information for station names, song titles, and real-time traffic updates.

5.4. WIFI & GPS Navigation
- WIFI Connectivity: Connect to a WiFi hotspot (e.g., from your smartphone) to access online features, download apps (YouTube, Instagram, TikTok), and browse the internet.
- GPS Navigation: The unit includes built-in GPS with free North American maps. It functions without a cellular network, ensuring uninterrupted navigation.

5.5. Mirror Link
Project your smartphone screen onto the car stereo display for both Android and iOS devices via WiFi or USB connection.

5.6. Wireless CarPlay and Android Auto Connection Video
6. Maintenance
- Screen Cleaning: Use a soft, lint-free cloth to clean the touch screen. For stubborn smudges, lightly dampen the cloth with a screen cleaner designed for electronics. Avoid harsh chemicals.
- Software Updates: Periodically check for software updates to ensure optimal performance and access to new features. Updates can usually be found on the manufacturer's website or through the unit's settings when connected to WiFi.
- General Care: Keep the unit free from dust and debris. Avoid spilling liquids on the unit.
7. Troubleshooting
If you encounter issues with your Roinvou car stereo, refer to the following common problems and solutions:
| Problem | Possible Cause | Solution |
|---|---|---|
| Unit does not power on | Incorrect wiring, blown fuse, loose battery connection. | Check all power connections, inspect vehicle fuses, ensure battery terminals are secure. |
| No sound or distorted audio | Incorrect speaker wiring, volume too low, mute activated, amplifier issues. | Verify speaker connections, adjust volume, check mute status, ensure stock amplifier (if present) is correctly connected. |
| Wireless CarPlay/Android Auto disconnects frequently or fails to connect | Weak Bluetooth/WiFi signal, interference, software glitch, incorrect pairing. | Ensure strong phone signal/hotspot. Restart Bluetooth on both devices. In ZLINK app, delete history record and re-pair. Manually connect to phone's WiFi hotspot if needed. |
| GPS signal is weak or inaccurate | GPS antenna obstruction, improper placement, loose connection. | Ensure GPS antenna has a clear view of the sky. Check antenna connection to the unit. |
| Steering Wheel Controls not working | Incorrect wiring, improper software configuration. | Verify Key1/Key2 wiring. If no CANBUS, perform manual button learning in settings. If CANBUS is used, ensure correct protocol settings. |
| Backup camera not displaying image | Incorrect camera wiring, faulty camera, reverse trigger wire not connected. | Check camera power and video connections. Ensure reverse trigger wire is connected to the vehicle's reverse light circuit. |
8. Specifications
| Feature | Detail |
|---|---|
| Product Dimensions | 10.83 x 0.98 x 8.27 inches |
| Item Weight | 3.3 pounds |
| Brand | Roinvou |
| Vehicle Service Type | Car (Subaru Forester Impreza WRX STI 2008-2012) |
| Screen Size | 9 Inches |
| Special Features | Bluetooth, Touchscreen, CarPlay, Android Auto, Hi-Fi Sound, FM/RDS, Mirror Link, GPS Navigation, EQ Settings, Wi-Fi, SWC |
| Connectivity Technology | Bluetooth, USB, Wi-Fi |
| Map Type | North America |
| Audio Output Mode | Stereo |
| Mounting Type | Dashboard Mount |
| Resolution | 1024 x 600 |
9. Warranty and Support
Roinvou offers customer support and a warranty for its products.
- Warranty: A one-year warranty is typically provided. Please refer to your purchase documentation for specific terms and conditions.
- Returns: Products are eligible for a 30-day refund/replacement policy.
- Technical Support: For any questions, installation difficulties, or technical assistance, you can contact Roinvou customer service.
Contact Information:
- Email: roinvouservices@163.com
- Amazon Platform: You can also contact the seller (Roinvou) through the Amazon platform by clicking "Ask a question" on the product page or visiting the Roinvou Store.


