Important Safety Instructions
Read all instructions carefully before using the appliance. Keep this manual for future reference. Failure to follow these instructions may result in electric shock, fire, or serious injury.
- Do not attempt to operate this oven with the door open as this can result in harmful exposure to microwave energy.
- Do not place any object between the oven front face and the door or allow soil or cleaner residue to accumulate on sealing surfaces.
- Do not operate the oven if it is damaged. It is particularly important that the oven door closes properly and that there is no damage to the: (1) door (bent), (2) hinges and latches (broken or loosened), (3) door seals and sealing surfaces.
- The oven should not be adjusted or repaired by anyone except properly qualified service personnel.
- Ensure the appliance is properly earthed.
- Do not immerse the cord, plug, or appliance in water or other liquid.
- Close supervision is necessary when the appliance is used by or near children.
- Do not use the appliance for other than intended household use.
Product Overview
The SHARP YC-PG204AU-S is a compact 20-litre digital microwave oven with a 700W microwave output and a 900W grill function. It features 10 power levels, an ECO Mode for energy saving, and a defrost function. The intuitive digital display and control dial make operation simple.

Figure 1: Angled view of the SHARP YC-PG204AU-S Digital Microwave Oven, showcasing its silver finish and black door.
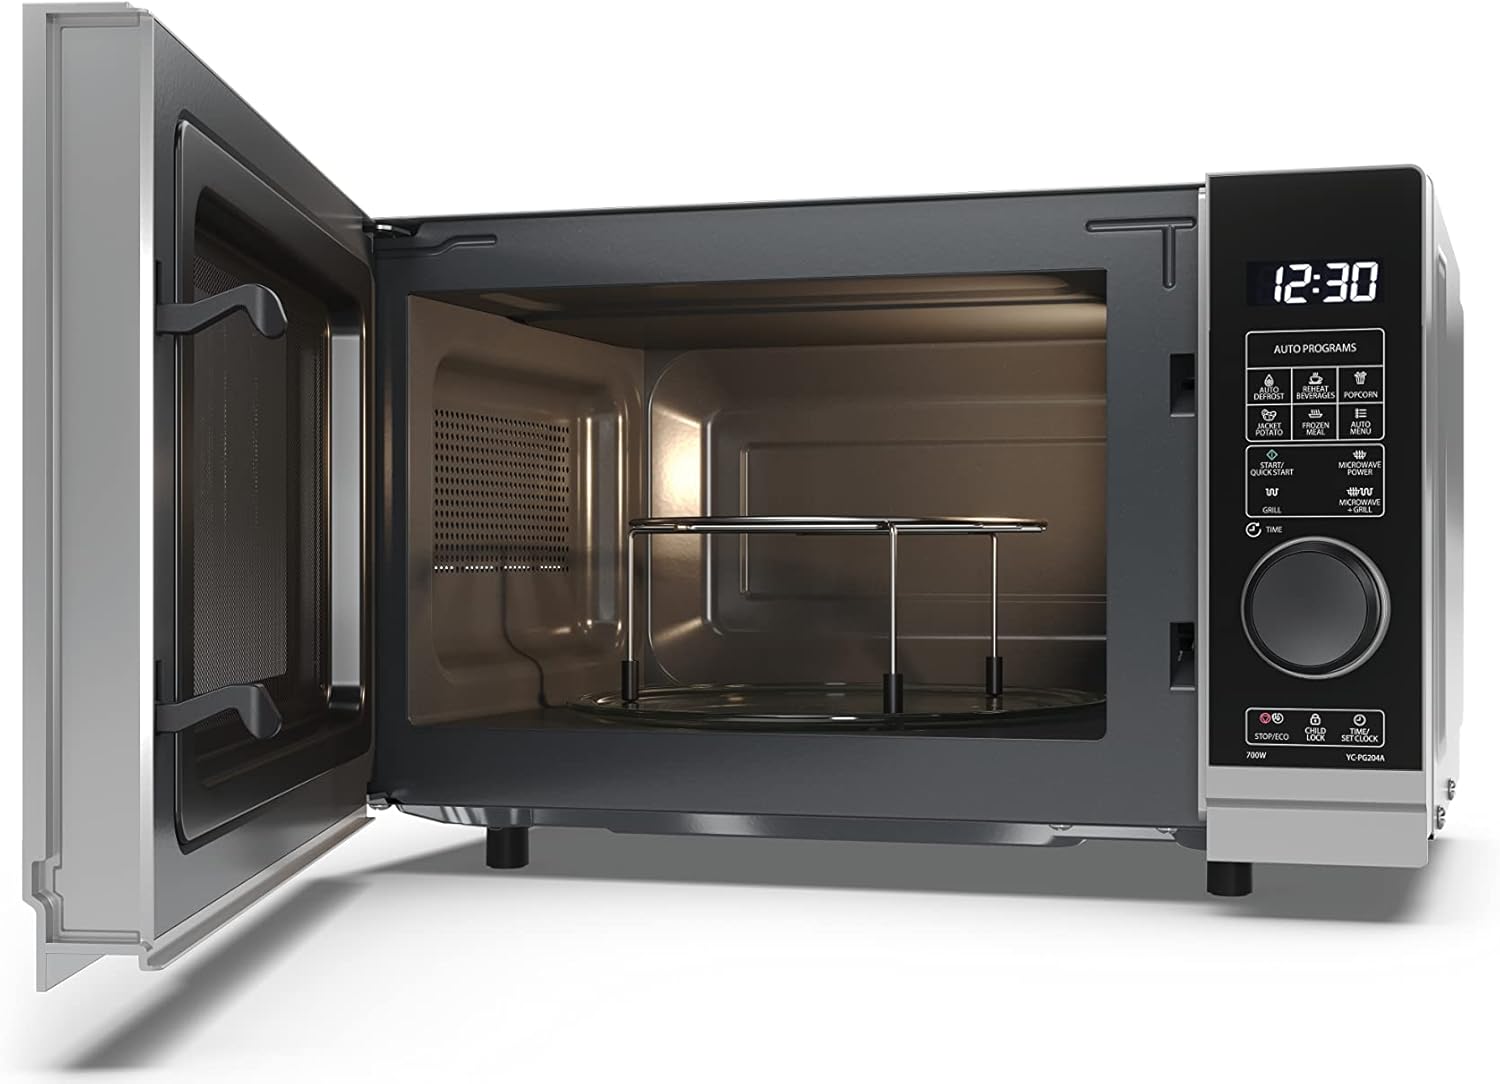
Figure 2: Interior view of the microwave oven, showing the glass turntable and the included grill rack.
Setup and Installation
- Unpacking: Carefully remove the microwave oven and all packing materials from the carton. Check for any damage such as dents or a broken door. Do not install if damaged.
- Placement: Place the oven on a flat, stable surface that can support its weight and the heaviest food item likely to be cooked in it. Ensure adequate ventilation space: at least 20cm of free space above the oven, 10cm at the rear, and 5cm on each side. Do not block air vents.
- Power Connection: Plug the power cord into a standard earthed electrical outlet. Ensure the voltage matches the rating label on the oven.
- Initial Setup:
- Setting the Clock:
Press the "Clock" button. Use the dial to set the hour, then press "Clock" again. Use the dial to set the minutes, then press "Clock" to confirm. The clock will display in 24-hour format.
- Turntable Installation: Place the turntable ring inside the oven cavity, then place the glass turntable securely on top of the ring. Ensure it rotates freely.
- Setting the Clock:
Operating Instructions
Microwave Cooking
- Place food in a microwave-safe container on the glass turntable.
- Close the oven door securely.
- Press the "Microwave Power" button repeatedly to select the desired power level (P100, P80, P50, P30, P10). P100 is full power (700W).
- Use the dial to set the cooking time. The maximum cooking time is 95 minutes.
- Press the "Start/Quick Start" button to begin cooking.
Grill Cooking
- Place food on the grill rack provided, then place it on the glass turntable.
- Close the oven door securely.
- Press the "Grill" button.
- Use the dial to set the grilling time. The maximum grilling time is 95 minutes.
- Press the "Start/Quick Start" button to begin grilling.
Combination Cooking (Microwave + Grill)
This model offers a combination of microwave and grill cooking for faster and more even results.
- Place food on the grill rack provided, then place it on the glass turntable.
- Close the oven door securely.
- Press the "Microwave/Grill" button repeatedly to select the desired combination mode (C-1 for 55% microwave + 45% grill, C-2 for 36% microwave + 64% grill).
- Use the dial to set the cooking time.
- Press the "Start/Quick Start" button to begin.
Defrost Function
The defrost function allows you to defrost food by weight or by time.
- Defrost by Weight:
- Press the "Defrost" button once.
- Use the dial to select the food weight (e.g., 200g to 2000g).
- Press "Start/Quick Start".
- Defrost by Time:
- Press the "Defrost" button twice.
- Use the dial to set the defrosting time.
- Press "Start/Quick Start".
Auto Cooking Programmes
This microwave includes 12 automatic cooking programmes for common food items. Refer to the control panel for specific icons.
| Programme | Description | Typical Use |
|---|---|---|
| Popcorn | Optimized for popcorn bags. | Select weight (e.g., 50g, 100g). |
| Potato | For baking potatoes. | Select number of potatoes. |
| Pizza | Reheating or cooking pizza. | Select weight. |
| Beverage | Heating drinks. | Select number of cups. |
To use an auto programme: Press the corresponding auto programme button (e.g., "Popcorn"), then use the dial to select the quantity or weight, and press "Start/Quick Start".
ECO Mode
The ECO Mode reduces standby power consumption. To activate/deactivate, press the "ECO" button. The display will turn off when active, saving energy.
Child Safety Lock
To prevent unintended operation, activate the child safety lock. Press and hold the "Stop/Eco" button for 3 seconds until a beep sounds and the lock indicator appears on the display. To deactivate, repeat the process.
Maintenance and Cleaning
Regular cleaning and maintenance will ensure the longevity and optimal performance of your microwave oven.
- Cleaning the Exterior: Wipe the exterior surfaces with a damp cloth and mild detergent. Avoid abrasive cleaners.
- Cleaning the Interior: After each use, wipe the interior cavity with a damp cloth. For stubborn food residue, place a bowl of water with lemon slices inside and microwave on high for 2-3 minutes to loosen the grime, then wipe clean.
- Turntable and Ring: The glass turntable and turntable ring can be washed in warm soapy water or in a dishwasher. Ensure they are completely dry before placing them back in the oven.
- Door Seals: Regularly clean the door seals and adjacent parts with a damp cloth to ensure proper sealing and prevent microwave leakage.
- Grill Element: For grill cooking, some smoke may be produced initially. This is normal. Clean the grill element carefully with a soft brush after it has cooled down.
- Odour Removal: To remove odours, combine a cup of water with a few tablespoons of lemon juice or vinegar in a microwave-safe bowl. Microwave on high for 5 minutes.
Troubleshooting
If you encounter issues with your microwave oven, refer to the following common problems and solutions:
| Problem | Possible Cause | Solution |
|---|---|---|
| Oven will not start. | Power cord not plugged in; Fuse blown or circuit breaker tripped; Door not closed properly; Child lock activated. | Ensure plug is firmly in outlet; Check household fuse/circuit breaker; Close door securely; Deactivate child lock (press and hold "Stop/Eco" for 3 seconds). |
| Food is not cooking or heating. | Incorrect cooking time/power level set; Door not closed properly. | Adjust time/power; Ensure door is securely latched. |
| Sparking inside the oven. | Metal in oven; Food residue on cavity walls. | Remove any metal objects (foil, metal dishes); Clean oven interior thoroughly. |
| Turntable not rotating. | Turntable not correctly placed; Obstruction under turntable. | Ensure turntable and ring are correctly seated; Remove any debris. |
| Excessive condensation inside. | Normal for high moisture foods; Insufficient ventilation. | Wipe dry after use; Ensure adequate space around the oven for ventilation. |
If the problem persists after trying these solutions, please contact customer support.
Specifications
| Feature | Detail |
|---|---|
| Brand | Sharp |
| Model Number | YC-PG204AU-S |
| Capacity | 20 Litres |
| Microwave Power | 700 Watts |
| Grill Power | 900 Watts |
| Power Levels | 10 |
| Product Dimensions (D x W x H) | 34.5 x 45.5 x 27.4 cm |
| Item Weight | 10.9 kg |
| Material | Stainless Steel, Glass, Plastic |
| Special Features | Timer, Defrost, Turntable, ECO Mode, Child Safety Lock |
| Installation Type | Countertop |
Warranty and Support
This SHARP microwave oven comes with a 12-month warranty from the date of purchase, covering manufacturing defects. Please retain your proof of purchase for warranty claims.
For technical support, troubleshooting assistance, or warranty service, please contact Sharp customer service. Details can typically be found on the manufacturer's website or the warranty card included with your product.
You can also visit the official Sharp store for more information and product registration: Sharp Official Store


