
1. Important Safety Instructions
Please read these instructions carefully before using the monitor and retain them for future reference. Incorrect operation may result in electric shock, fire, or damage to the equipment.
- Do not expose the monitor to rain or moisture to prevent fire or shock hazards.
- Do not open the monitor casing. There are no user-serviceable parts inside. Refer all servicing to qualified service personnel.
- Place the monitor on a stable, flat surface to prevent it from falling.
- Ensure proper ventilation around the monitor. Do not block ventilation openings.
- Use only the power adapter supplied with the monitor.
- Disconnect the power plug from the wall outlet if the monitor will not be used for an extended period.
- Avoid placing heavy objects on the power cord.
2. Package Contents
Verify that all items listed below are present in your package. If any items are missing or damaged, please contact your retailer.

Image: Overview of included accessories and monitor components.
- FYHXele G2465F Gaming Monitor
- Power Adapter
- DP Cable (4.9FT)
- HDMI Cable (4.9FT)
- Bottom Bracket (Monitor Stand Base)
- Screw Pack
- User Guide
3. Setup
3.1 Assembling the Stand
- Carefully remove the monitor and stand components from the packaging.
- Attach the bottom bracket (stand base) to the monitor's neck using the provided screws. Ensure it is securely fastened.
- Place the assembled monitor on a stable, flat surface.
3.2 VESA Wall Mount Installation (Optional)
The monitor supports a VESA 75x75mm wall mount. If you choose to wall mount the monitor, remove the stand assembly first. Follow the instructions provided with your VESA mounting kit.
3.3 Connecting the Monitor
The FYHXele G2465F monitor features multiple input ports for versatile connectivity.

Image: Monitor connectivity ports including HDMI, DisplayPort, and audio jack.
- Power Connection: Connect the power adapter to the DC IN port on the monitor and then plug it into a power outlet.
- DisplayPort (DP): For optimal performance, including 165Hz refresh rate, connect the provided DP cable from your computer's graphics card to the DP v1.2 port on the monitor.
- HDMI: Connect an HDMI cable from your computer or console (e.g., Xbox, PS5) to either of the HDMI v1.4 ports on the monitor. These ports support up to 1080P at 165Hz from PC and 1080P at 120Hz from consoles.
- Audio Jack: Connect external headphones or speakers to the 3.5mm Audio Jack for audio output.
4. Operating the Monitor
4.1 Power On/Off
Press the power button, typically located on the back or bottom right of the monitor, to turn the monitor on or off. The power indicator light will illuminate when the monitor is on.
4.2 On-Screen Display (OSD) Menu Navigation
The OSD menu allows you to adjust various monitor settings. Use the joystick or buttons, usually located on the back or bottom of the monitor, to navigate the menu.
- Picture Settings: Adjust brightness, contrast, sharpness, color temperature, and gamma.
- Color Settings: Fine-tune RGB values, hue, and saturation.
- Input Source: Manually select between DisplayPort and HDMI inputs.
- Audio Settings: Adjust volume for built-in speakers or connected headphones.
- Gaming Settings: Enable or disable features like FreeSync/Adaptive Sync, Overdrive (1ms response time), and crosshair overlays.
4.3 Refresh Rate and Adaptive Sync
The monitor supports a 165Hz refresh rate for smoother visuals, especially in gaming. Ensure your graphics card and connection type (DP or HDMI) support this refresh rate.

Image: Visual representation of high refresh rates for fluid motion.
This monitor is compatible with Adaptive Sync (AMD FreeSync and NVIDIA G-SYNC Compatible) to eliminate screen tearing and stuttering. Enable this feature in the monitor's OSD menu and your graphics card control panel.

Image: Demonstration of Adaptive Sync technology preventing screen tearing.
4.4 Response Time
The monitor features a 1ms response time with Overdrive enabled, reducing motion blur in fast-paced content. This setting can be adjusted in the OSD menu.
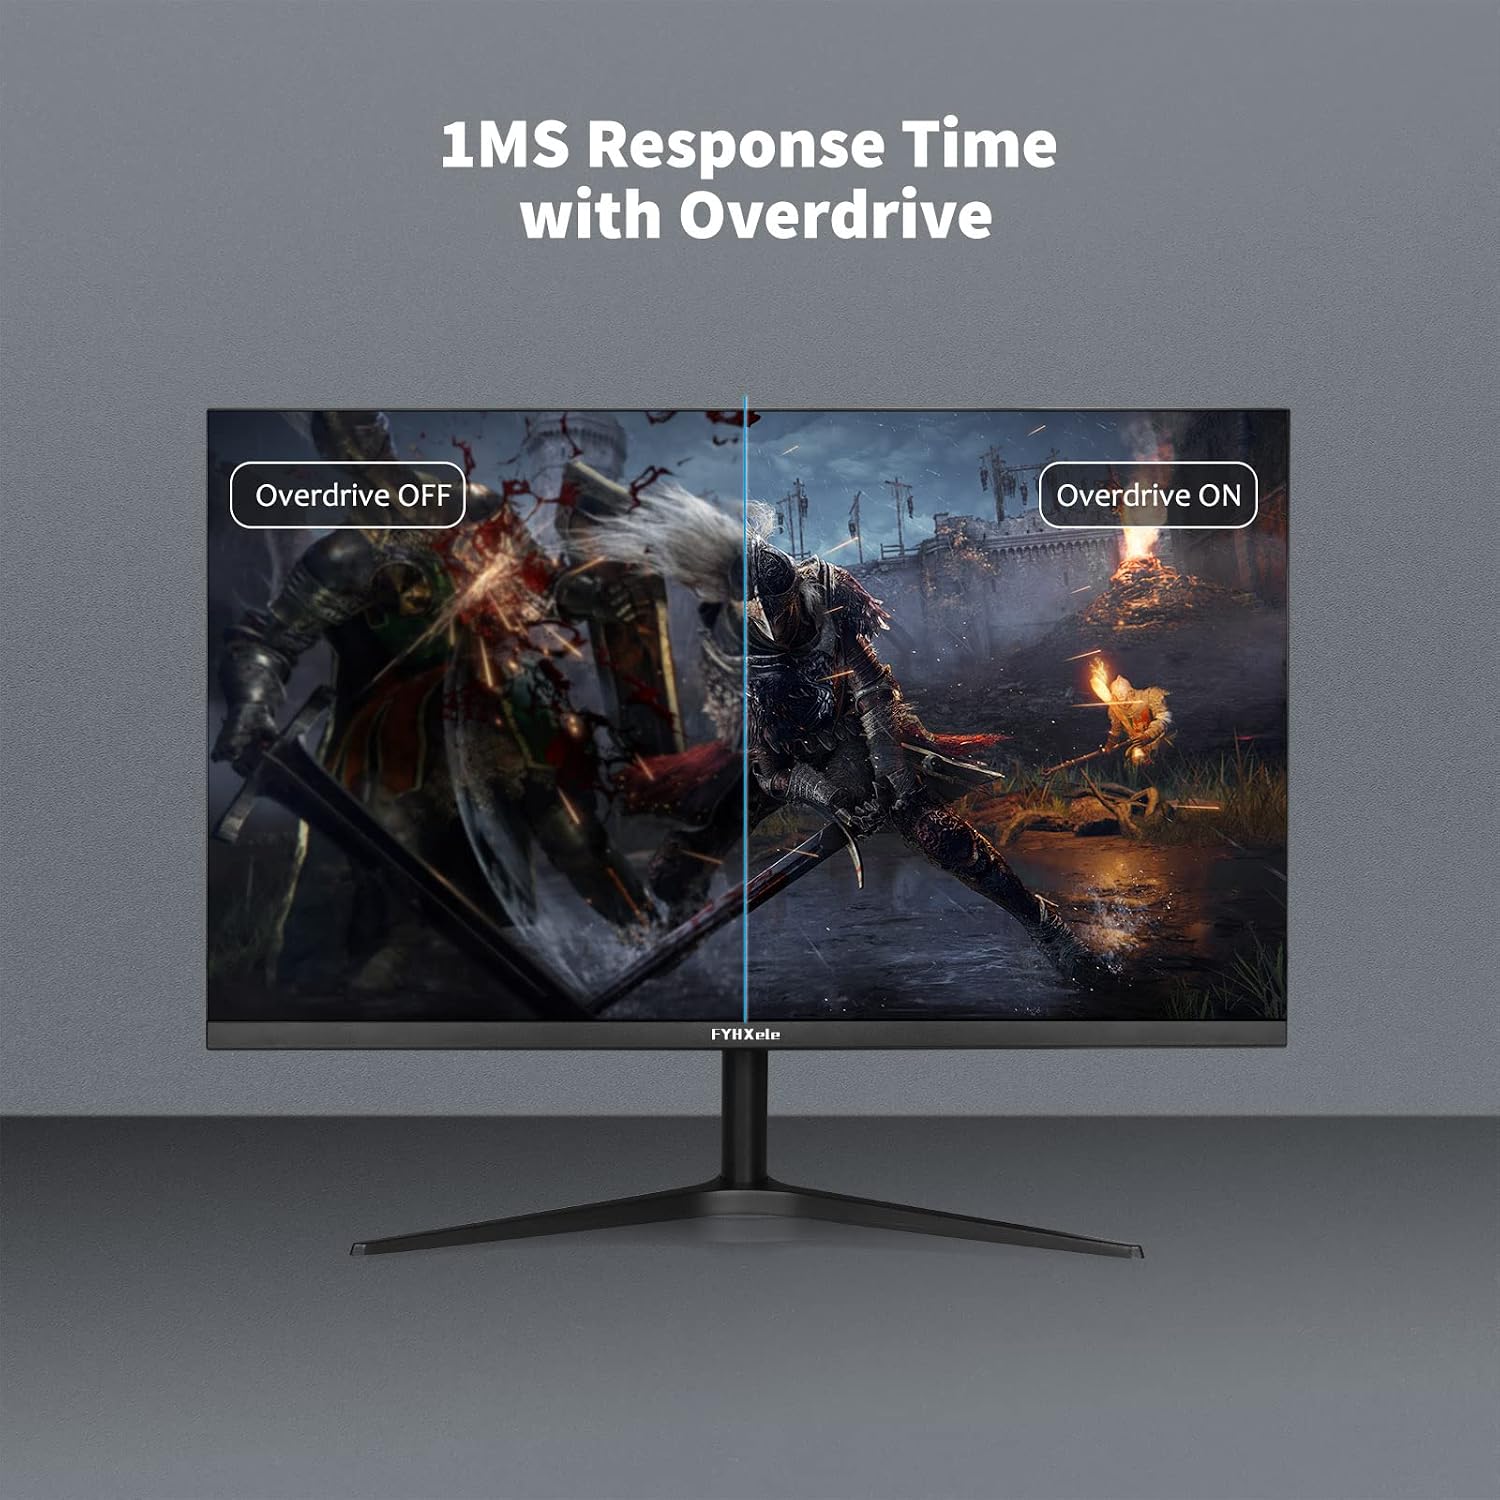
Image: Visual comparison of response time with and without Overdrive.
5. Maintenance
5.1 Cleaning the Monitor
- Always unplug the monitor from the power outlet before cleaning.
- Use a soft, lint-free cloth lightly dampened with water or a mild, non-abrasive screen cleaner.
- Do not spray cleaner directly onto the screen.
- Avoid using alcohol, ammonia, or abrasive cleaners, as they may damage the screen surface.
5.2 Storage
If storing the monitor for an extended period, disconnect all cables and store it in a cool, dry place, preferably in its original packaging to protect it from dust and physical damage.
6. Troubleshooting
- No Power: Ensure the power adapter is securely connected to both the monitor and a working power outlet. Check the power indicator light.
- No Signal: Verify that the video cable (DP or HDMI) is correctly connected to both the monitor and your computer/console. Ensure the correct input source is selected in the monitor's OSD menu.
- Flickering or Distorted Image: Check the video cable for damage. Ensure your graphics card drivers are up to date. Adjust the refresh rate in your operating system's display settings.
- Incorrect Refresh Rate: Confirm that your graphics card supports 165Hz and that the DP or HDMI cable is capable of transmitting this bandwidth. Set the refresh rate in your operating system's display settings and ensure Adaptive Sync is enabled if desired.
- No Audio: Check the volume settings in the monitor's OSD menu and your computer's audio settings. Ensure external speakers or headphones are properly connected to the 3.5mm audio jack.
- Dead Pixels: While rare, a small number of non-functioning pixels is common in LCD technology and usually not considered a defect. Refer to the warranty policy for specific pixel defect criteria.
7. Specifications
The following table outlines the technical specifications for the FYHXele G2465F Monitor.
| Feature | Specification |
|---|---|
| Brand | FYHXele |
| Model | G2465F (27IN-1K-165Hz) |
| Screen Size | 24 Inches |
| Resolution | FHD 1080p (1920 x 1080) |
| Refresh Rate | 165 Hz |
| Response Time | 1 Millisecond |
| Aspect Ratio | 16:9 |
| Panel Type | LCD (LED Technology) |
| Screen Surface | Glossy |
| Contrast Ratio | 1166.7:1 |
| Viewing Angle | 178 Degrees |
| Color Support | Yes (HDR400, 100% sRGB, 95% DCI-P3) |
| Connectivity | 2x HDMI v1.4, 1x DisplayPort v1.2, 1x 3.5mm Audio Jack |
| Adaptive Sync | FreeSync (NVIDIA G-SYNC Compatible) |
| Features | Tilt Adjustment, Built-in Speakers, Blue Light Filter, Wall Mountable (VESA 75x75mm), Flicker-Free |
| Dimensions (DxWxH) | 20prof. x 20an. x 20alt. centimeters (with stand) |
8. Warranty and Support
This product comes with a manufacturer's warranty. Please refer to the warranty card included in your package or contact FYHXele customer support for detailed information regarding warranty terms, conditions, and service procedures.
For technical assistance, troubleshooting, or any product-related inquiries, please contact FYHXele customer support through the contact information provided in your product documentation or on the official FYHXele website.


