
Introduction
Thank you for choosing the XRC TECH Dash Cam Q10. This manual provides detailed instructions for the installation, operation, and maintenance of your new dual dash camera. Please read this manual thoroughly before use to ensure proper functionality and to maximize your device's performance.
Package Contents
Verify that all items are present in your package:
- Dash Camera Body
- 64GB SD Card
- Rear Camera with 5.5-meter Cable
- Car Charger
- Mounting Bracket
Product Overview
The XRC TECH Dash Cam Q10 is a comprehensive vehicle recording system designed to capture events on the road. Key features include:
- Video Resolution: Front 1920*1080/30FPS; Rear 840*480/30 FPS
- Display: 4.0-inch, 16:9 LCD screen (480x840 resolution)
- Wide Angle: 150 degrees (front), 130 degrees (rear)
- Storage: Supports TF card up to 128GB (64GB card included)
- Features: G-sensor, Loop Recording, Motion Detection, Parking Monitor, Date Watermarking
- Audio: Built-in microphone and speaker for audio image synchronization
- Power: DC 5V-1.5A power interface, 200mAh built-in battery
- Languages: English, Russian, Korean, Simplified Chinese, Traditional Chinese, Japanese, French, German, Italian, Portuguese, Spanish

Image: Two views of the XRC TECH Dash Cam Q10, highlighting its compact design and mounting mechanism.

Image: Side profile views of the XRC TECH Dash Cam Q10, showing its adjustable screen and button layout.
Setup and Installation
Follow these steps to set up your dash cam:
- Insert SD Card: Ensure the 64GB SD card (or another compatible TF card, up to 128GB) is inserted correctly into the dash cam's memory card slot.
- Mount the Front Camera: Attach the dash cam to your windshield or dashboard using the provided mounting bracket. Position it to ensure a clear view of the road ahead without obstructing your driving vision. The LCD screen can be rotated for optimal viewing.
- Install the Rear Camera: The rear camera is waterproof and can be installed outside your vehicle, typically above the license plate or on the rear window. Route the 5.5-meter cable neatly to the front dash cam. If a longer cable is needed, please contact customer support.
- Connect Power: Connect the car charger to the dash cam's power interface (DC 5V-1.5A) and plug it into your vehicle's cigarette lighter socket. The dash cam will automatically power on and begin recording when the engine starts.

Image: Recommended cable routing for front and rear dash cameras.
Operating Instructions
Basic Operation
- The dash cam automatically powers on and starts recording when your vehicle's engine is started.
- Use the buttons on the side of the device to navigate the menu, adjust settings, and switch between recording modes.
Dual Camera Recording
The dash cam records simultaneously from both front and rear cameras, providing comprehensive coverage. The front camera records in Full HD 1080P, while the rear camera records in 840*480 resolution.

Image: Dash cam view from inside a car, showing the front camera recording the road ahead with 1920*1080 Full HD resolution.
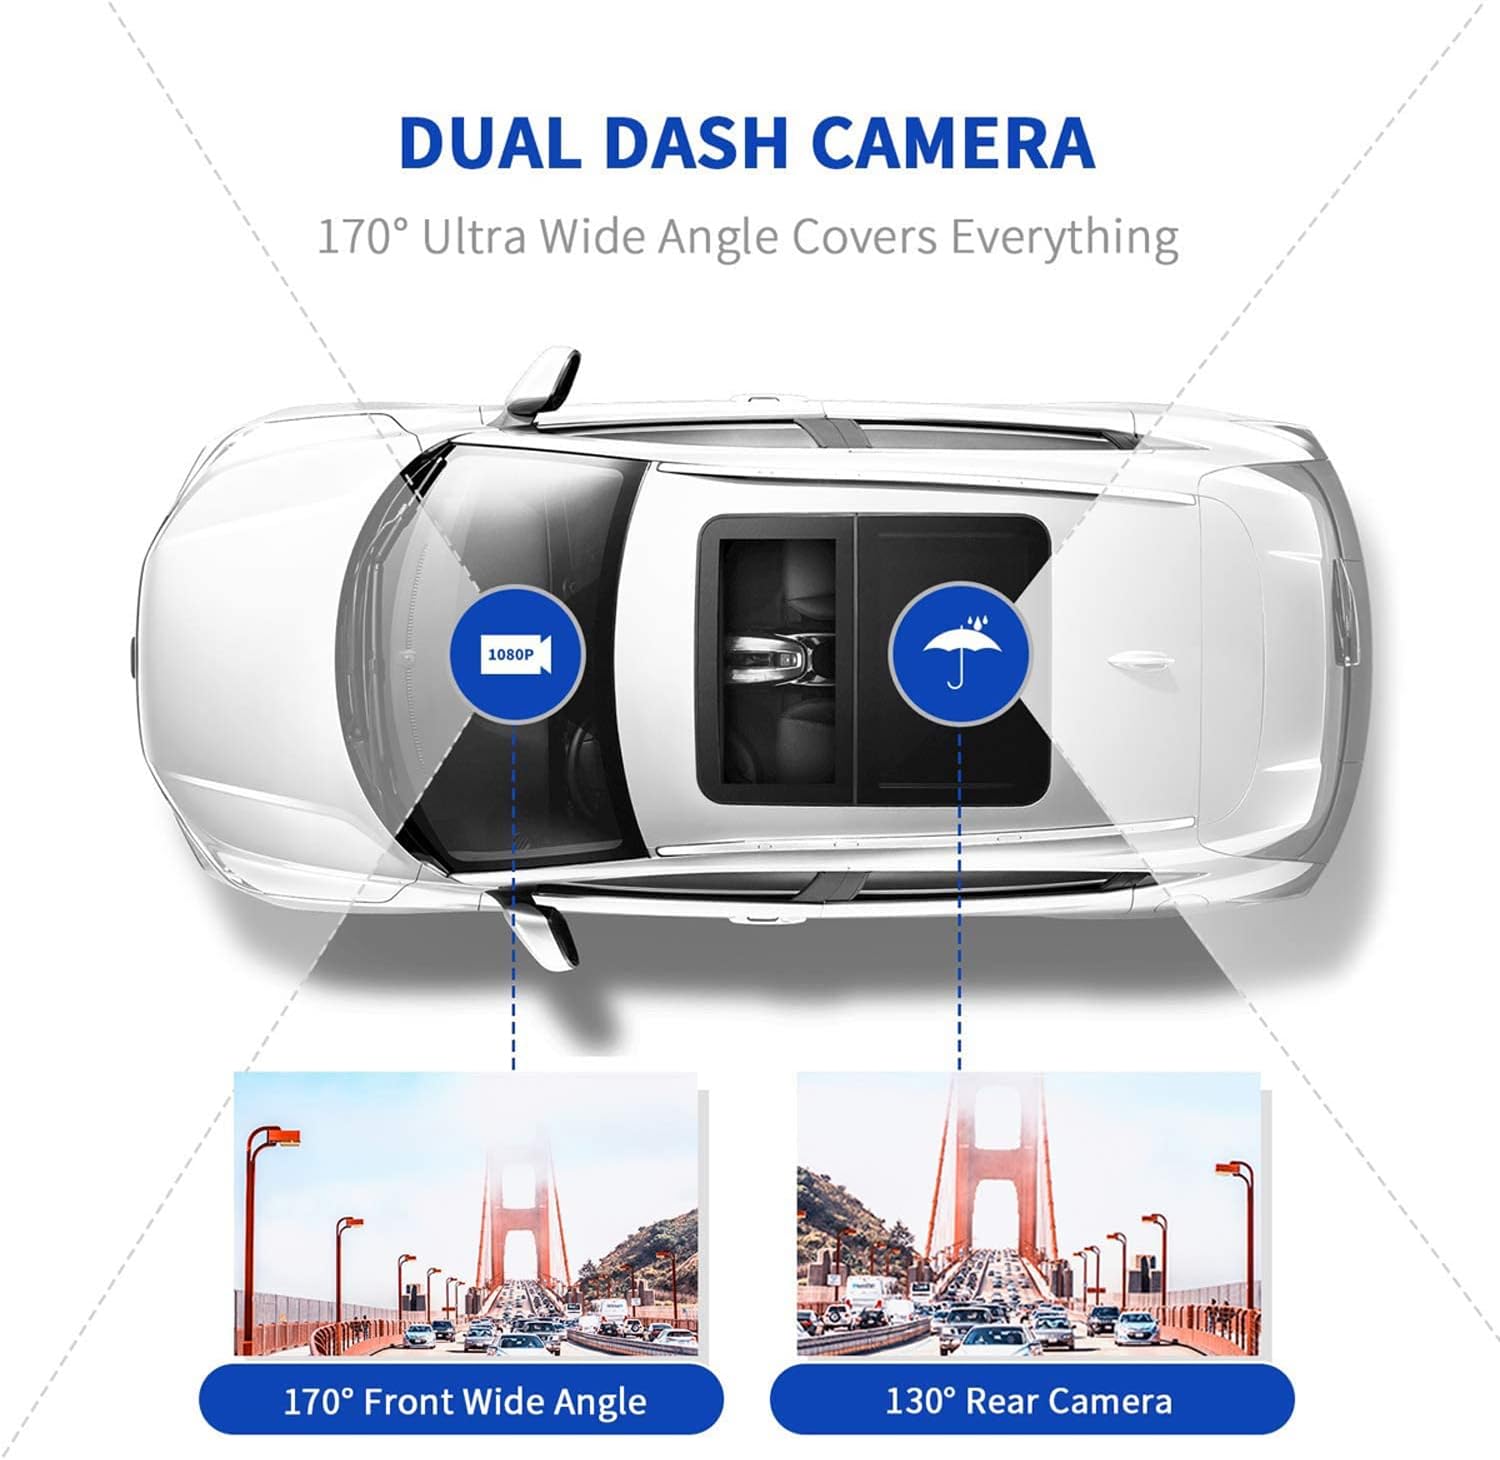
Image: Overhead diagram of a car showing the 170-degree front wide angle and 130-degree rear camera coverage.

Image: Dash cam display showing a rear camera view with parking guidelines.
Loop Recording
The dash cam continuously records video in short segments. When the memory card is full, the oldest unlocked footage is automatically overwritten by new recordings. This ensures continuous recording without manual intervention.
G-Sensor (Emergency Video Locks)
The built-in G-sensor detects sudden impacts or collisions. Upon detection, the current video segment is automatically locked and saved to a special SOS file, preventing it from being overwritten by loop recording. This protects critical evidence in case of an accident.
Parking Monitor
When enabled, the parking monitor feature allows the dash cam to automatically power on and start recording if an impact is detected while your vehicle is parked. This provides surveillance and evidence for incidents like scratches or hit-and-runs. For continuous 24/7 parking monitoring, a hardwire kit (sold separately) is recommended.
Motion Detection
When motion detection is activated, the dash cam will automatically begin recording if it detects movement in front of the car. Recording stops when no motion is detected. Note: Motion detection only functions when the dash cam is powered on. It is recommended to turn off motion detection while driving to avoid intermittent video clips.

Image: Diagram illustrating key recording features: Loop Recording, G-sensor, Parking Monitor, and Motion Detection.
Maintenance
- Cleaning: Use a soft, dry cloth to clean the camera lens and screen. Avoid using abrasive cleaners or solvents.
- SD Card: Periodically format the SD card (at least once a month) within the dash cam's settings to maintain optimal performance and prevent data corruption. Back up any important footage before formatting.
- Temperature: Avoid exposing the dash cam to extreme temperatures, as this can affect battery life and device performance.
Troubleshooting
- Dash cam does not power on: Ensure the car charger is properly connected and the vehicle's power outlet is functional. Check the power interface connection.
- Recording stops intermittently: This may occur if motion detection is enabled while driving. Disable motion detection for continuous recording during travel. Also, ensure the SD card is not full or corrupted; format it if necessary.
- Video quality is poor: Clean the camera lenses. Ensure the protective film has been removed from the lenses. Check video resolution settings.
- SD card error: Format the SD card in the dash cam's settings. If the issue persists, try a different high-speed (Class 10 or higher) TF card. The dash cam supports up to 128GB.
- Parking monitor not working: Ensure the parking monitor feature is enabled in the settings. For reliable 24/7 monitoring, a hardwire kit is recommended as the built-in battery has limited capacity.
Specifications
| Feature | Specification |
|---|---|
| Brand | XRC TECH |
| Model Number | Q10 |
| Screen Size | 4 inches |
| Display Technology | LCD |
| Video Capture Resolution | 1080p (Front) |
| Real Angle of View | 150 degrees (Front), 130 degrees (Rear) |
| Optical Sensor Technology | CMOS |
| Lens Type | Wide Angle |
| Compatible Devices | Monitor |
| Installation Type | Surface Mount |
| Voltage | 5 volts |
| Connector Type | USB |
| Built-In Media | 64GB SD, camera body |
| UPC | 721295919135 |
Warranty and Support
The XRC TECH Dash Cam Q10 comes with a 1-year warranty from the date of purchase.
For technical support, warranty claims, or if you require an extended rear camera cable, please contact XRC TECH customer service through the platform where you purchased the product. Provide your order details and a clear description of the issue for prompt assistance.