Introduction
This manual provides comprehensive instructions for the proper installation, operation, and maintenance of your Rubbermaid FastTrack Garage Wall-Mounted Storage Kit. Designed for convenient and functional organization, this system helps maximize your garage space by utilizing wall areas. Please read all instructions carefully before beginning installation to ensure safe and effective use.
Safety Information
WARNING: Failure to follow these safety instructions may result in injury or property damage.
- Always mount rails directly into wall studs. Drywall anchors alone may not provide sufficient support for heavy items.
- Ensure the wall structure can support the combined weight of the rails, hooks, and all items stored. The system is designed to withstand up to 1,750 lbs when properly installed into studs.
- Do not exceed the individual weight capacity of each hook: locking hooks can hold 50 lbs, and non-locking hooks can hold 25 lbs.
- Keep small children and pets away from the installation area.
- Wear appropriate safety gear, including eye protection, during installation.
- Distribute weight evenly across the system.
- Do not hang items that obstruct pathways or emergency exits.
Package Contents
Your Rubbermaid FastTrack Garage Wall-Mounted Storage Kit includes the following components:
- 4 x 48-inch FastTrack Garage Rails
- 1 x Dual-Handle Hook
- 3 x Cooler Hooks
- 3 x Multi-Purpose Hooks
- 2 x Utility Hooks
- 2 x Ladder Hooks
- Installation Hardware Packs (for mounting rails)

Setup and Installation
Tools Required:
- Stud Finder
- Level
- Measuring Tape
- Drill with appropriate drill bits
- Screwdriver (Phillips head recommended)
- Pencil
Mounting the Rails:
- Locate Wall Studs: Use a stud finder to locate and mark the center of the wall studs where you intend to install the FastTrack rails. For optimal support and weight capacity, it is crucial to mount the rails directly into studs. Standard stud spacing is typically 16 inches on center.
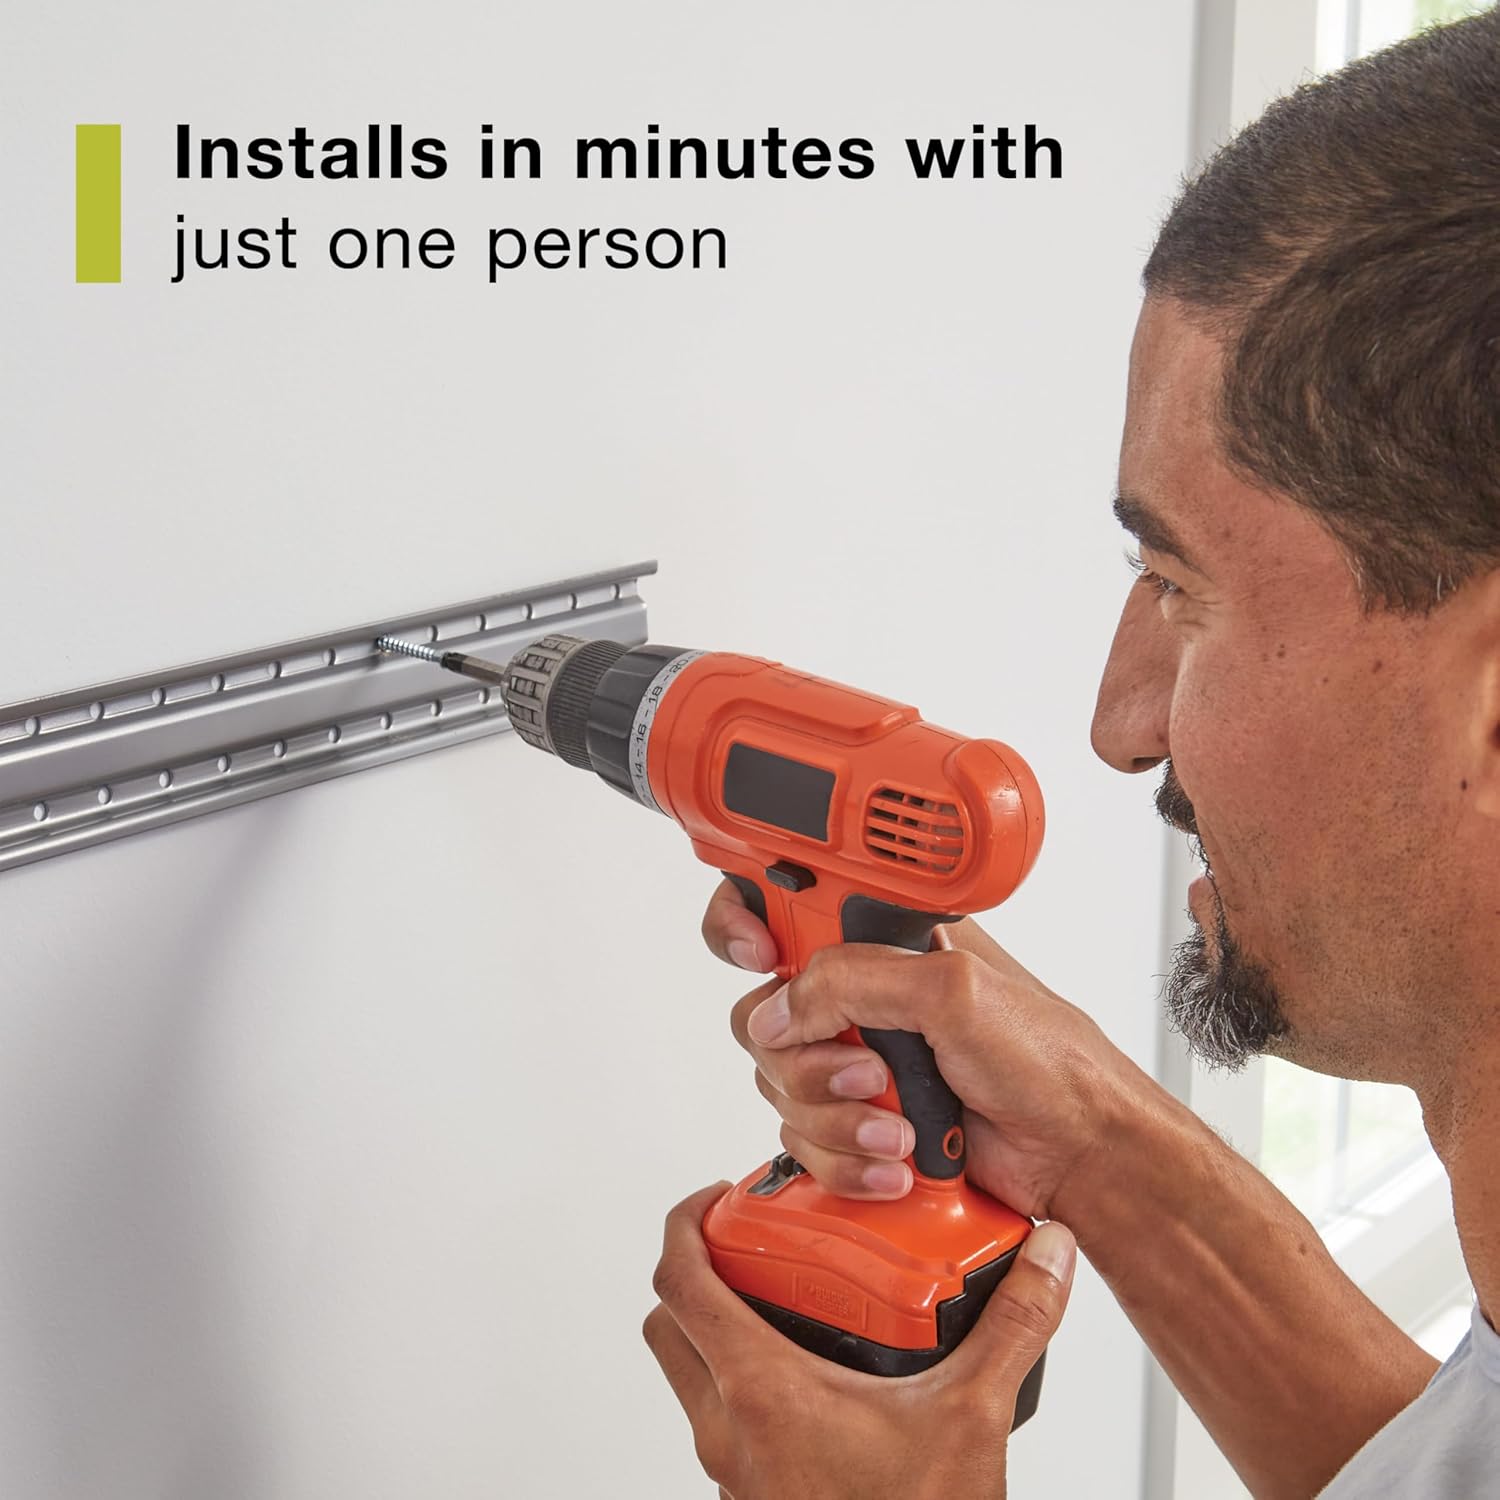
- Position the Rail: Hold the FastTrack rail against the wall at the desired height. Use a level to ensure the rail is perfectly horizontal. Mark the drill points through the pre-drilled holes on the rail, ensuring they align with the center of the studs.
- Drill Pilot Holes: Using an appropriate drill bit (refer to hardware instructions for recommended size), drill pilot holes at the marked locations.
- Secure the Rail: Attach the rail to the wall using the provided mounting hardware (screws). Ensure all screws are tightened securely.

Attaching Hooks:
Once the rails are securely mounted, you can easily attach the various hooks. Each hook is designed to clip onto the top edge of the FastTrack rail and lock into place. To attach, align the top of the hook with the channel on the rail and push down until it clicks securely. To reposition or remove, simply lift the locking tab (if present) and slide the hook along the rail or pull it off.

Operating Instructions
The FastTrack system offers flexibility for organizing a wide range of items. Simply hang your tools, equipment, or other accessories onto the appropriate hooks. The hooks can be easily moved and rearranged along the rail to accommodate changing storage needs or different-sized items. This intuitive design allows for a tailored storage solution that can evolve over time.


Maintenance
To ensure the longevity and continued performance of your FastTrack system, regular maintenance is recommended:
- Cleaning: Wipe down the rails and hooks periodically with a damp cloth to remove dust and grime. Avoid abrasive cleaners that could damage the finish.
- Inspection: Annually inspect all mounting screws and hooks to ensure they remain tight and secure. Re-tighten any loose screws. Check hooks for any signs of wear or damage and replace if necessary.
- Weight Distribution: Periodically review the weight distribution of your stored items. Adjust hooks and items as needed to prevent overloading any single section or hook.
Troubleshooting
If you encounter any issues with your FastTrack system, consider the following:
- Hooks not holding securely: Ensure the hook is properly clipped onto the rail and the locking tab (if applicable) is engaged. Check if the item's weight exceeds the hook's capacity.
- Rail appears loose: Immediately remove all items from the rail. Inspect the mounting screws and ensure they are fully tightened into the wall studs. If the screws are stripped or the stud is damaged, professional repair may be required before re-mounting.
- Difficulty moving hooks: Ensure no items are obstructing the hook's movement. The hooks should slide smoothly along the rail when the locking tab is disengaged.
Specifications
| Feature | Detail |
|---|---|
| Brand | Rubbermaid |
| Model Number | 1991203 |
| Color | Black |
| Material | Steel |
| Finish Type | Powder Coated |
| Mounting Type | Wall Mount |
| Style | 4 Rails, 11 Hooks |
| Special Feature | Customizable |
| Number of Hooks | 11 |
| Maximum Weight Recommendation | 1,750 Pounds (when installed into studs) |
| Item Dimensions (L x W x H) | 49.38 x 8.38 x 3.56 inches |
| Item Weight | 19.47 pounds |
| Assembly Required | Yes |
Warranty and Support
For detailed warranty information, please refer to the official Rubbermaid website or contact their customer support directly. Keep your purchase receipt as proof of purchase. For any questions regarding installation, parts, or troubleshooting not covered in this manual, please reach out to Rubbermaid customer service.


