1. Introduction
The Ingco RH10506 Rotary Hammer is a powerful and versatile tool designed for heavy-duty drilling and chiseling tasks. It is suitable for use on various materials including concrete, masonry, wood, and metal. This manual provides essential information for the safe and effective operation, maintenance, and troubleshooting of your rotary hammer.
Please read this manual thoroughly before operating the tool and retain it for future reference. Understanding the instructions will help ensure proper use and extend the life of your tool.
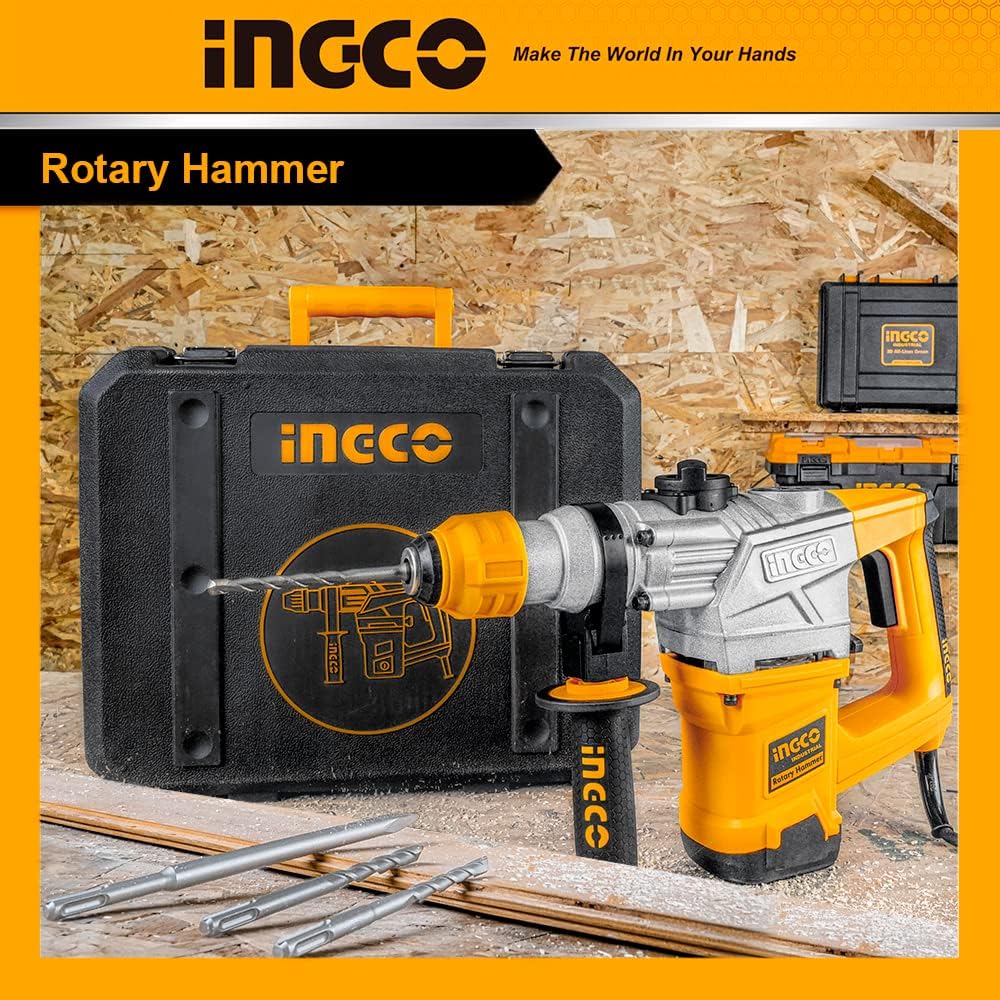
Figure 1: Ingco RH10506 Rotary Hammer, carrying case, and included accessories.
This image displays the Ingco RH10506 Rotary Hammer alongside its durable carrying case and the various SDS-Plus drill bits and chisels that are part of the package contents.
2. General Safety Instructions
Always observe basic safety precautions to reduce the risk of fire, electric shock, and personal injury when using power tools. Failure to follow these instructions may result in serious injury.
- Read all instructions: Familiarize yourself with the controls and proper use of the tool.
- Wear appropriate personal protective equipment (PPE): Always wear safety glasses, hearing protection, and gloves. A dust mask is recommended when drilling into dusty materials.
- Keep work area clean and well-lit: Cluttered or dark areas invite accidents.
- Avoid dangerous environments: Do not use power tools in damp or wet locations, or expose them to rain.
- Secure workpiece: Always clamp or otherwise secure the workpiece to prevent movement during operation.
- Maintain proper footing and balance: Do not overreach.
- Disconnect power: Always disconnect the tool from the power source before making any adjustments, changing accessories, or storing the tool.
- Use the correct tool: Do not force a small tool or attachment to do the job of a heavy-duty tool.
- Inspect tool before use: Check for misalignment or binding of moving parts, breakage of parts, and any other condition that may affect the tool’s operation. If damaged, have the tool serviced before use.
- Keep children and bystanders away: Do not allow children or untrained persons to operate this tool.
- Use auxiliary handle: Always use the auxiliary handle provided for better control and safety.
- Be aware of hidden wiring: Before drilling into walls, floors, or ceilings, check for hidden electrical wires, gas pipes, or water pipes.
3. Package Contents
Upon unpacking, ensure all items listed below are present and undamaged. If any items are missing or damaged, contact your retailer immediately.
- Ingco RH10506 Rotary Hammer (1 unit)
- SDS-Plus Drill Bits (3 units)
- SDS-Plus Chisels (2 units)
- Auxiliary Handle (1 unit)
- Replaceable Carbon Brush Set (1 set)
- Grease (1 container)
- Carrying Case (1 unit)
4. Product Overview
Familiarize yourself with the various parts of the Ingco RH10506 Rotary Hammer before operation.

Figure 2: Key components of the Ingco RH10506 Rotary Hammer.
This annotated image highlights essential components such as the metal chuck, comfortable main handle, pure copper motor housing, cooling system vents, and the mechanical adjustment for speed or mode selection.
- Metal Chuck: For securely holding SDS-Plus bits.
- Auxiliary Handle: Provides additional grip and control.
- Mode Selector Switch: To select between drilling and hammering functions.
- Main Handle: Ergonomically designed for comfortable grip.
- Trigger Switch: Activates the tool.
- Cooling System Vents: Ensures proper motor cooling during operation.
- Depth Gauge: For precise drilling depth control (not explicitly shown but implied by typical rotary hammer features).
5. Setup and Assembly
5.1 Attaching the Auxiliary Handle
The auxiliary handle can be rotated 360° to suit various working positions. Loosen the handle grip, slide it onto the tool, adjust to the desired position, and tighten securely.
5.2 Inserting SDS-Plus Bits
- Clean the shank of the SDS-Plus bit and apply a small amount of grease to it.
- Pull back the chuck sleeve and insert the bit into the chuck.
- Rotate the bit slightly until it engages with the locking mechanism.
- Release the chuck sleeve. Pull the bit to ensure it is securely locked. A slight axial play is normal for SDS-Plus systems.
5.3 Removing SDS-Plus Bits
- Pull back the chuck sleeve completely.
- Remove the bit from the chuck.
6. Operating Modes
The Ingco RH10506 Rotary Hammer features a mode selector switch to choose between different operating functions:

Figure 3: Mode selector switch for two functions.
This diagram illustrates the mode selector switch, allowing users to choose between the electric hammer mode for drilling and the hammer mode for chiseling and demolition tasks.
- Electric Hammer Mode (Drill with Hammer Action): This mode combines rotation with hammering action, ideal for drilling into concrete, stone, and masonry.
- Hammer Mode (Chiseling/Demolition): This mode provides hammering action without rotation, suitable for chiseling, breaking, and demolition work.
To change modes, rotate the mode selector switch to the desired icon. Ensure the tool is unplugged before changing modes to prevent accidental activation.
7. Operation
7.1 Before Starting
- Ensure the correct bit is installed for the task.
- Select the appropriate operating mode.
- Adjust the auxiliary handle for comfortable and secure grip.
- Set the depth gauge if a specific drilling depth is required.
7.2 Using the Rotary Hammer
- Plug the tool into a suitable power outlet (240 Volts AC).
- Hold the tool firmly with both hands, using the main handle and the auxiliary handle.
- Position the bit on the workpiece.
- Press the trigger switch to start the tool. Apply steady, even pressure. Do not force the tool.
- When finished, release the trigger switch and wait for the bit to stop rotating before setting the tool down.

Figure 4: Operating the rotary hammer.
A user demonstrating the Ingco RH10506 Rotary Hammer in action, drilling into a concrete block, illustrating proper grip and application during use.
Safety Clutch: The tool is equipped with a safety clutch designed to protect the user's wrist if the drill bit jams. If the bit jams, the clutch will disengage the drive, preventing sudden torque reaction. Immediately release the trigger switch if this occurs.
8. Maintenance
Regular maintenance ensures optimal performance and extends the lifespan of your Ingco RH10506 Rotary Hammer. Always disconnect the tool from the power supply before performing any maintenance.
8.1 Cleaning
- Keep the ventilation openings clean to prevent motor overheating.
- Regularly clean the tool housing with a soft, damp cloth. Do not use harsh chemicals or abrasive cleaners.
- Clean the chuck regularly to ensure smooth bit insertion and removal.
8.2 Lubrication
Apply a small amount of grease to the SDS-Plus bit shanks before insertion to reduce wear and improve performance.
8.3 Carbon Brush Replacement
The carbon brushes are wear parts and will need replacement over time. When the motor performance decreases or the tool stops working, the carbon brushes may need to be replaced. This should ideally be performed by a qualified service technician. Refer to the included replaceable carbon brush set.
9. Troubleshooting
This section addresses common issues you might encounter with your rotary hammer. If you experience a problem not listed here, or if the suggested solutions do not resolve the issue, contact customer support.
| Problem | Possible Cause | Solution |
|---|---|---|
| Tool does not start | No power supply; Faulty power cord/plug; Worn carbon brushes; Faulty switch. | Check power connection; Inspect power cord/plug for damage; Replace carbon brushes (if applicable); Contact service center. |
| Reduced power or performance | Worn carbon brushes; Overheating; Incorrect mode selection; Dull bit. | Replace carbon brushes; Allow tool to cool down; Verify mode selection; Replace or sharpen bit. |
| Excessive vibration | Loose bit; Damaged bit; Internal component issue. | Ensure bit is securely locked; Replace damaged bit; Contact service center. |
| Tool overheats | Blocked ventilation openings; Prolonged heavy use; Overloading. | Clean ventilation openings; Allow tool to cool; Reduce load or operating time. |
10. Specifications
Technical data for the Ingco RH10506 Rotary Hammer:
- Manufacturer: INGCO
- Model Number: RH10506
- Power Source: AC
- Voltage: 240 Volts
- Maximum Power: 1250 Watts
- No-Load Speed: 850 RPM
- Max Impact Frequency: 3800 bpm
- Impact Energy: 5 J
- Max Drilling Diameter (Concrete): 30mm
- Max Drilling Diameter (Steel): 13mm
- Max Drilling Diameter (Wood): 40mm
- Chuck Type: SDS-Plus
- Item Weight: 7.5 Kilograms
- Product Dimensions: 41.4 x 34.5 x 12.6 cm
- Color: Yellow
- Special Features: Adjustable, Safety Clutch, Anti-vibration system
- Specific Uses: Professional, Wood, Masonry, Concrete, Brick, Metal

Figure 5: Product and case dimensions.
This image provides the overall dimensions of the rotary hammer and its carrying case, showing measurements of 41.5cm length, 34.5cm width, and 12.5cm height for the case, which helps in storage and transport planning.
11. Warranty and Support
Your Ingco RH10506 Rotary Hammer comes with a 24 Months Defect Free Warranty. This warranty covers manufacturing defects under normal use conditions.
For warranty claims, technical assistance, or any product-related inquiries, please contact Ingco customer support. They offer 7*24 hours reply Customer Support to assist you with your needs.
Please retain your proof of purchase for warranty validation.


