
RaLeno RPKL-D660
Contents
RALENO Photo Studio Light Box User Manual
Model: RPKL-D660
1. Introduction
This manual provides detailed instructions for the setup, operation, and maintenance of your RALENO Photo Studio Light Box. Please read this manual thoroughly before use to ensure proper functionality and longevity of the product.

Image 1.1: The RALENO Photo Studio Light Box, 24x24 inches, shown with a yellow suitcase inside, demonstrating its spacious interior for product photography.
2. Safety Information
To ensure safe operation and prevent damage, please observe the following safety precautions:
- Do not expose the light box to water or excessive humidity.
- Use only the provided DC power adapter.
- Keep out of reach of children.
- Do not attempt to disassemble or modify the light box.
- Ensure proper ventilation during use to prevent overheating.
3. Package Contents
Verify that all items listed below are included in your package:
- 1 x 24x24-Inch Photo Studio Light Box
- 1 x Soft Diffuser
- 6 x PVC Backdrops (Black, White, Grey, Orange, Green, Blue)
- 1 x DC Power Adapter
- 1 x User Manual (this document)
4. Setup Instructions
The RALENO Photo Studio Light Box is designed for quick and easy assembly. Follow these steps to set up your light box:
- Unfold the Light Box: Carefully unfold the light box from its collapsed state. The internal aluminum magnesium alloy steel frame will help it take shape.
- Secure the Structure: Ensure all sides are properly extended and the Velcro fasteners are securely attached to maintain the box's cubic form.
- Install the Backdrop: Choose one of the six PVC backdrops (black, white, grey, orange, green, blue) and attach it to the internal hooks or Velcro strips at the top and bottom of the light box. The PVC material is durable and easy to clean.
- Connect Power: Plug the DC Power Adapter into the designated port on the light box. Connect the adapter to a suitable power outlet.
- Position the Soft Diffuser: If desired, place the soft diffuser over the integrated LED light strip at the top of the box. This helps to further soften and evenly distribute the light, reducing harsh shadows.

Image 4.1: The light box set up with a white backdrop, ideal for showcasing jewelry and other small items with clean, consistent lighting.

Image 4.2: Examples of products photographed using the light box with different colored PVC backdrops, highlighting the versatility of the included accessories.
5. Operating Instructions
Once set up, operating your RALENO Photo Studio Light Box is straightforward:
- Power On/Off: Use the switch on the DC Power Adapter cable to turn the integrated LED lights on or off.
- Adjust Brightness: The power adapter features a stepless adjustment knob, allowing you to precisely control the light brightness from 0% to 100%. Rotate the knob clockwise to increase brightness and counter-clockwise to decrease it. This feature provides multi-dimensional light control for various photographic needs.
- Position Your Product: Place the item you wish to photograph inside the light box. The 24x24x24-inch spacious interior accommodates a wide range of product sizes.
- Choose Shooting Angle: The light box offers multiple shooting positions for flexibility:
- Top Shot: Use the opening on the top of the light box for overhead photography.
- Frontal Shot: Utilize the main front opening for direct shots.
- Half-Open Shot: Partially open the front flap for specific lighting effects or to accommodate larger items.
- Shooting Wide Open: Fully open the front for maximum access and wider shots.
- Capture Images: Use your camera or smartphone to capture high-quality, evenly lit product photos.

Image 5.1: The DC Power Adapter with its stepless brightness adjustment knob, allowing for precise control over the light intensity.

Image 5.2: Illustrations demonstrating the different shooting angles possible with the light box, including top, frontal, half-open, and wide-open shots.
6. Maintenance
Proper care will extend the life of your RALENO Photo Studio Light Box:
- Cleaning: Use a soft, dry cloth to wipe down the exterior of the light box. For the PVC backdrops, a damp cloth can be used to remove dust or smudges. Ensure backdrops are completely dry before storing.
- Storage: When not in use, the light box can be folded flat for compact storage. Utilize the reinforced top handle for easy transport.
- LED Lights: The integrated LED lamp beads are designed for long-term use. Avoid touching the LED surface directly.
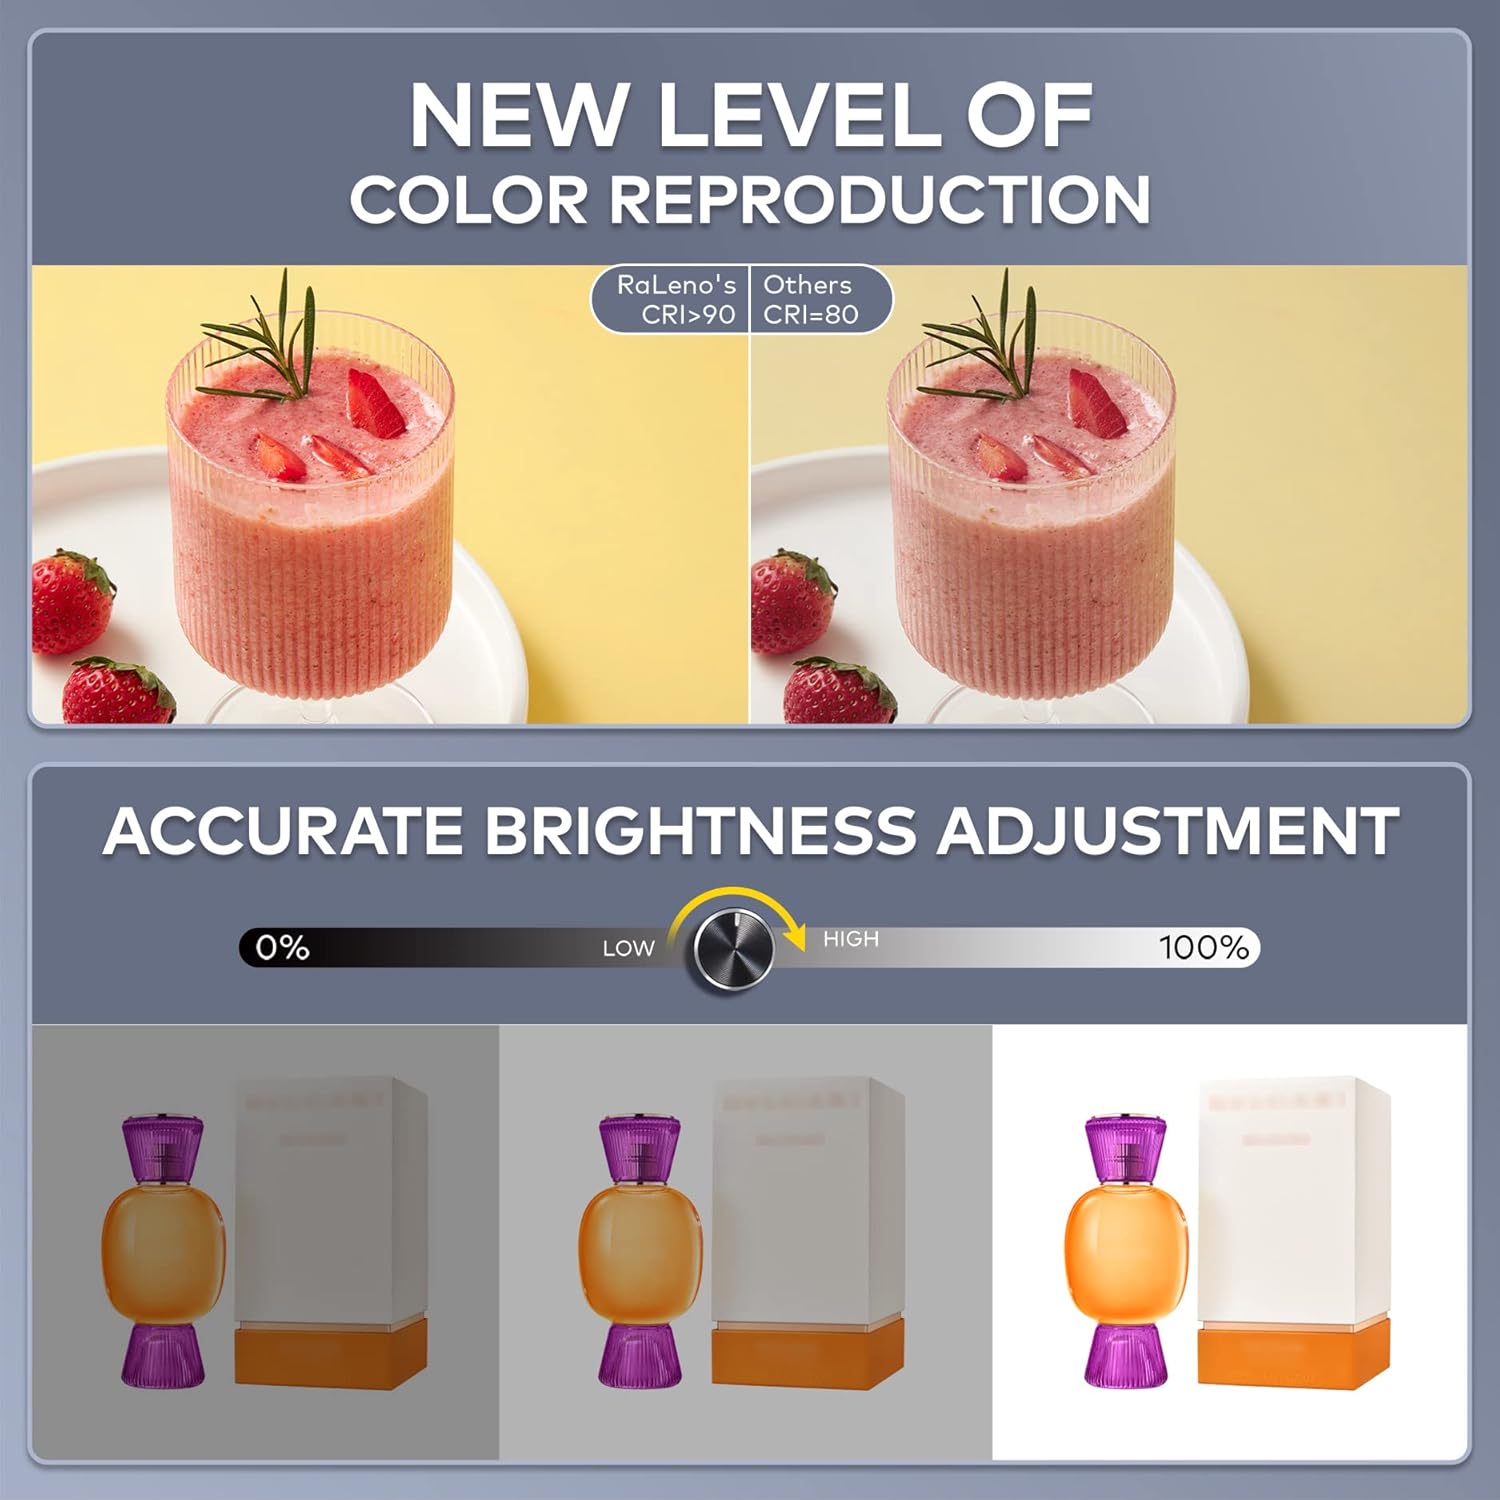
Image 6.1: The light box folded flat, showcasing its portability with a reinforced handle and side storage mesh pocket.
7. Troubleshooting
| Problem | Possible Cause | Solution |
|---|---|---|
| Lights do not turn on. | Power adapter not connected properly or power outlet issue. | Ensure the power adapter is securely plugged into the light box and a working power outlet. Check the power switch on the adapter. |
| Uneven lighting or shadows. | Product placement or diffuser not used. | Adjust the product's position within the light box. Ensure the soft diffuser is properly installed over the LED strip. Adjust brightness using the knob. |
| Backdrop does not stay in place. | Velcro not fully engaged. | Press firmly on the Velcro strips to ensure the backdrop is securely attached. |
8. Specifications
| Model Number | RPKL-D660 |
| Dimensions (Unfolded) | 24 x 24 x 24 inches (61 x 61 x 61 cm) |
| LED Power | 65W |
| Number of LED Beads | 156 pcs |
| Color Temperature | 5500K |
| Color Rendering Index (CRI) | 97 |
| Brightness Adjustment | 0-100% Stepless |
| Backdrop Material | PVC (6 colors included) |
| Main Material | Aluminum magnesium alloy steel frame, Litchi pattern lining, black nylon cloth |
| Item Weight | 9.78 pounds (4.44 kg) |

Image 8.1: An overview of the RALENO Photo Studio Light Box, highlighting its large size and key features.
9. Warranty and Support
RALENO is committed to providing high-quality products and excellent customer service.
- Warranty: Please refer to the product packaging or the official RALENO website for specific warranty details.
- Customer Support: For any product problems, questions, or assistance, please contact RALENO customer service. We offer genuine service with a response time of within 24 hours and omni-channel communication. Free replacements are available for product issues.
- Contact Information: Visit the official RaLeno Store on Amazon or their website for contact details.
Documents and downloads
Ask a question about this manual
Ask about setup, troubleshooting, compatibility, parts, safety, or missing instructions. Manuals+ will review the question and use this page’s manual context to help answer it.