
1. Introduction
1.1 Product Overview
Thank you for choosing the REVODATA 5MP POE IP Mini Camera. This compact surveillance camera is designed for indoor security, offering high-definition video quality and flexible installation options. This manual provides detailed instructions for setting up, operating, and maintaining your camera to ensure optimal performance.
1.2 Key Features
- Ultra HD 5MP Resolution: Captures clear and detailed video at 2880x1620P.
- 1.7mm Fisheye Lens: Provides a wide 170° field of view, covering large areas with a single camera.
- Power over Ethernet (POE): Simplifies installation by delivering power and data through a single Ethernet cable.
- H.265 Video Compression: Efficiently reduces file sizes and bandwidth usage without compromising video quality.
- Smart Motion Detection: Alerts you to activity with notifications to your smartphone.
- Remote Access: Monitor your property from anywhere using the TSEYE smartphone app or VMS PC software.

Image 1.1: The REVODATA 5MP POE IP Mini Camera, showcasing its compact design and wide-angle lens.
2. Package Contents
Please check the package contents upon unboxing. If any items are missing or damaged, please contact customer support.
- 1 x REVODATA 5MP POE IP Mini Camera
- 1 x User Manual
- 1 x Screw Set (for mounting)
Note: A power adapter (12V/2A) and POE switch/NVR are not included and must be purchased separately if required.

Image 2.1: Contents of the product package, including the camera, user manual, and screw set.
3. Product Features in Detail
3.1 Ultra HD 5MP Video Quality
Equipped with a CMOS 1/3'' image sensor, this camera delivers 5.0 Megapixel (2880 x 1620P) resolution at 20 frames per second, ensuring clear and smooth video with enhanced detail for effective surveillance.

Image 3.1: Visual comparison demonstrating the superior detail of 5MP Ultra HD (2880x1620P) over 1080P (1920x1080P).
3.2 1.7mm Fisheye Lens with 170° FOV
The fixed 1.7mm fisheye lens provides an expansive 170° viewing angle, allowing you to monitor a wide area, such as an entire room or office, with a single camera. This wide field of view minimizes blind spots.

Image 3.2: An example of the wide, panoramic view captured by the 1.7mm fisheye lens.
3.3 Compact and Discreet Design
The mini IP camera's small form factor makes it easy to install and discreetly place in various indoor environments, helping to enhance security without being obtrusive.

Image 3.3: The camera's small size, illustrating its suitability for discreet placement in homes, offices, and other locations.
3.4 Standard 48V POE 802.3af Support
This camera supports Power over Ethernet (POE), allowing both power and data transmission through a single Cat5/6 Ethernet cable when connected to a POE switch or NVR. This reduces cable clutter and simplifies installation. An auxiliary 12V/2A power connector is also available for more flexible power options.
3.5 Dual H.265/H.264 Encoding
The camera utilizes advanced H.265 video compression technology. Compared to H.264, H.265 requires approximately half the bandwidth and storage space for the same video quality, optimizing your network and storage resources.

Image 3.4: Visual representation of H.265 compression offering better bandwidth and storage efficiency compared to H.264.
3.6 Smart Motion Detection
The camera features smart motion detection capabilities. When motion is detected, the camera can send instant alarm notifications directly to your smartphone, keeping you informed of any activity in the monitored area.
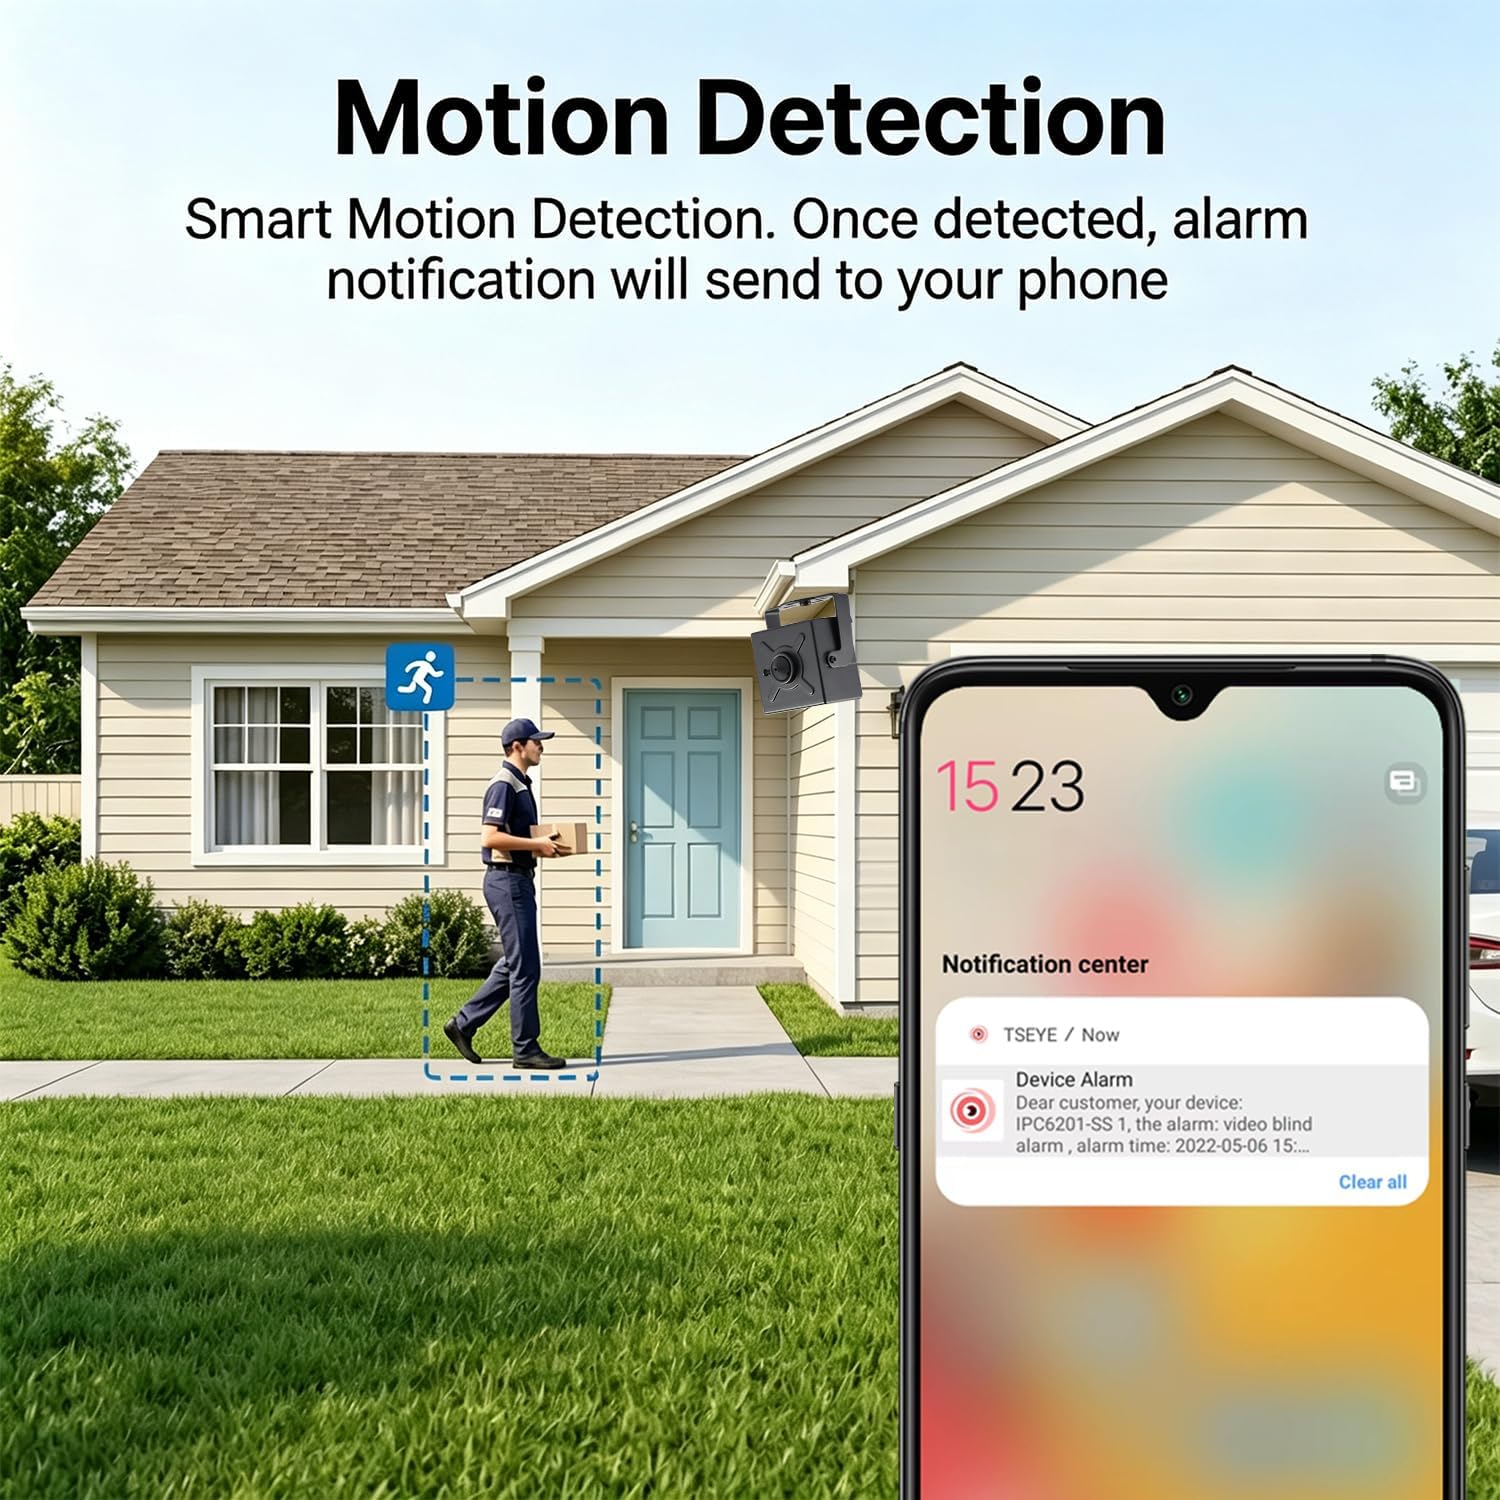
Image 3.5: An example of a motion detection alert displayed on a smartphone screen.
3.7 Day and Night Vision
The camera provides clear video surveillance both during the day and in low-light conditions, ensuring continuous monitoring. Minimum illumination is 0.1Lux @(F1.2,AGC ON).

Image 3.6: Comparison of video quality captured by the camera during daytime and nighttime conditions.
4. Setup Guide
4.1 Unpacking and Preparation
Carefully remove all components from the packaging. Ensure you have all the items listed in Section 2. Prepare your mounting location, ensuring it is within range of your network connection and power source.
4.2 Physical Installation
- Choose a suitable indoor location for mounting the camera.
- Use the provided screw set to securely mount the camera's adjustable bracket to a wall or ceiling.
- Adjust the camera's angle to achieve the desired viewing coverage.
4.3 Power and Network Connection
The camera offers two methods for power and network connectivity:
- POE Connection (Recommended): Connect one end of a Cat5/6 Ethernet cable to the camera's RJ45 port and the other end to a POE-enabled switch or Network Video Recorder (NVR). This single cable will provide both power and data.
- Auxiliary Power: If not using POE, connect a standard 12V/2A DC power adapter (not included) to the camera's auxiliary power port. Then, connect an Ethernet cable from the camera's RJ45 port to your router or switch for network access.

Image 4.1: Detailed view of the camera's dimensions, mounting bracket, camera cable, auxiliary power port, and RJ45 POE port.
Video 4.1: An instructional video demonstrating the process of connecting the camera to power and network.
4.4 Software Setup (TSEYE App / VMS)
To view and manage your camera, you can use either the smartphone app or PC software:
- For Smartphones (iOS/Android):
- Download the