1. Introduction
Thank you for choosing the WDZCZDoo 3-Burner Gas Grill, Model SC-J33. This instruction manual provides essential information for the safe and efficient operation, setup, maintenance, and troubleshooting of your new gas grill. Please read this manual thoroughly before using the appliance and retain it for future reference.

Image 1.1: The WDZCZDoo 3-Burner Gas Grill, Model SC-J33, showcasing its stainless steel construction and three control knobs.
2. Safety Guidelines
WARNING: Failure to follow these safety instructions could result in fire, explosion, or serious injury.
2.1 General Safety
- This appliance is for outdoor use only. Do not operate indoors.
- Keep the grill area clear and free from combustible materials, gasoline, and other flammable vapors and liquids.
- Maintain a minimum distance of 10 feet (3 meters) from any structure or combustible material.
- Do not leave the grill unattended while in use.
- Always keep children and pets away from the grill.
- The grill's panel and other surfaces will become hot during use. Avoid direct contact with hot surfaces. Use heat-resistant gloves if necessary.
- Ensure proper ventilation around the grill during operation.
2.2 Gas Connection Safety
- This grill is designed for use with Liquefied Petroleum Gas (LPG) only.
- Only use a low-pressure regulator and gas hose with a pressure intensity of 2800Pa. Medium and high-pressure valves are strictly prohibited.
- The 2800Pa low-pressure valve and gas hose are not included and must be purchased locally to comply with regional requirements and standards.
- Before each use, check the gas hose for cuts, wear, or damage. Replace immediately if damaged.
- Perform a leak test on all gas connections before initial use and after any gas cylinder change. Apply a soapy water solution to connections; bubbles indicate a leak. Tighten connections or replace parts as needed.
- Ensure the gas cylinder is placed on a stable, level surface and is not exposed to excessive heat.
3. Package Contents
Carefully unpack all components and verify that all items are present. If any parts are missing or damaged, do not attempt to assemble or operate the grill. Contact customer support immediately.
- 1 x 3-Burner BBQ Gas Grill Unit
- 1 x BBQ Grill Net
- 1 x Oil Catching Pan
- 1 x Food Pan
- 2 x Lifting Frames
- 3 x Burner Covers
- 2 x Control Knobs
- 1 x English User Manual (this document)
4. Setup and Assembly
4.1 Unpacking and Placement
- Remove all packaging materials from the grill unit.
- Place the grill on a stable, non-combustible, level surface outdoors. Ensure adequate clearance from walls and other objects.
- Insert the Oil Catching Pan into its designated slot beneath the burners.
- Place the Food Pan and BBQ Grill Net onto the grill unit.
- Attach the Lifting Frames and Burner Covers as indicated in the diagrams (refer to product images for visual guidance).
4.2 Gas Connection
- Ensure all burner control knobs are in the 'OFF' position.
- Connect the low-pressure regulator (2800Pa, not included) to your LPG gas cylinder.
- Connect the gas hose (not included) from the regulator to the grill's gas inlet (9mm/0.35inch). The grill features an extended rotatable gas connector for safety and air tightness.
- Tighten all connections securely. Do not overtighten.
- Perform a leak test: Apply a soapy water solution to all gas connections. Open the gas cylinder valve. If bubbles appear, there is a leak. Close the gas cylinder valve, tighten the connection, and re-test. Do not use the grill if a leak persists.
- Once no leaks are detected, the grill is ready for operation.

Image 4.1: Dimensions of the WDZCZDoo 3-Burner Gas Grill, showing its compact tabletop design.
5. Operating Instructions
5.1 Ignition
- Ensure the gas cylinder valve is open.
- Push in and turn one of the control knobs counter-clockwise to the 'ON' position. This grill features integrated ignition components.
- You should hear a clicking sound and see the burner ignite. If the burner does not ignite within 5 seconds, turn the knob to 'OFF', wait 5 minutes for gas to dissipate, and repeat the ignition process.
- Once the first burner is lit, you can ignite additional burners by pushing in and turning their respective control knobs to 'ON'.
5.2 Temperature Control
- Each burner has an independent control knob, allowing you to adjust the heat intensity for different cooking zones.
- Turn the knob clockwise for lower heat and counter-clockwise for higher heat.

Image 5.1: Close-up view of the three independent control knobs for precise temperature management.
5.3 During Operation
- The grill includes a damper to effectively block wind, reducing the chance of backfire and promoting stable combustion.
- When using the oil catching pan, add a small amount of water to it. This helps reduce smoke and makes cleaning easier.
- It is normal for some smoke and small flames to occur if oil or grease drips onto the burner heads during grilling.
- The glass cover can help prevent oil from flowing directly into the burner, protecting the burner and extending its service life.
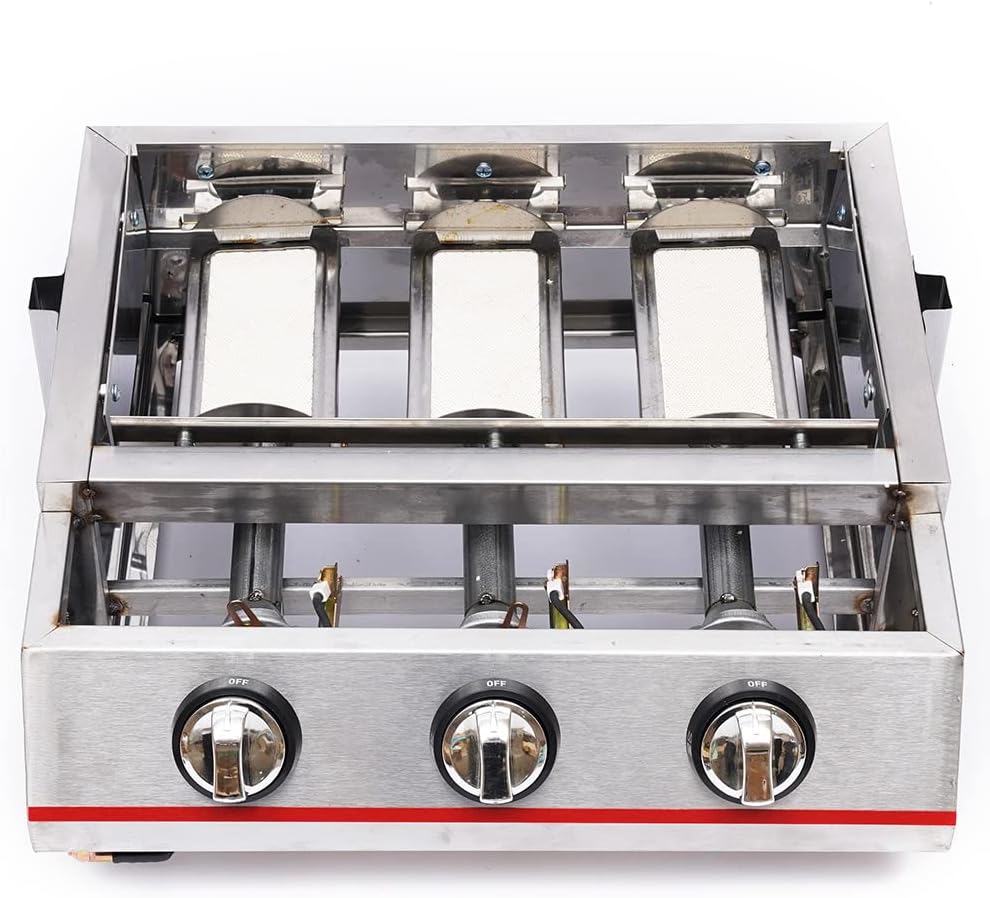
Image 5.2: Top-down view of the three burners and their protective covers, ready for grilling.
6. Care and Maintenance
Regular cleaning and maintenance will ensure the longevity and safe operation of your grill.
6.1 Cleaning the Grill Net and Food Pan
- Allow the grill to cool completely before cleaning.
- Remove the BBQ Grill Net and Food Pan.
- Scrape off any large food debris with a grill brush or scraper.
- Wash with warm, soapy water. Rinse thoroughly and dry completely before reassembling.
6.2 Cleaning the Oil Catching Pan
- Ensure the grill is cool.
- Carefully remove the Oil Catching Pan. Dispose of any accumulated grease or water responsibly.
- Wash the pan with warm, soapy water. Rinse and dry thoroughly.

Image 6.1: Angled view of the grill, highlighting the removable oil catching pan for easy cleaning.
6.3 General Cleaning
- Wipe down exterior stainless steel surfaces with a damp cloth and mild detergent. Avoid abrasive cleaners.
- Ensure all components are dry before storing the grill.
- Store the grill in a dry, protected area when not in use.
7. Troubleshooting
This section addresses common issues you might encounter with your gas grill.
- Burner Fails to Ignite:
Check if the gas cylinder valve is open. Ensure the gas hose and regulator are properly connected and free of leaks. Verify that the control knob is pushed in and turned to the 'ON' position. Check if the gas cylinder is empty. - Low Flame or Uneven Heat:
Ensure the gas cylinder is not low on fuel. Check for kinks or obstructions in the gas hose. Verify that the regulator is functioning correctly and is the specified 2800Pa low-pressure type. - Excessive Smoke:
Ensure the oil catching pan has water in it to help reduce smoke. Excessive grease buildup on burners or grill surfaces can also cause smoke; clean thoroughly. - Gas Leak Detected (smell of gas):
Immediately turn off the gas supply at the cylinder. Extinguish all open flames. Ventilate the area. Perform a leak test with soapy water. Do not operate the grill until the leak is found and corrected by a qualified professional.
8. Product Specifications
| Feature | Specification |
|---|---|
| Model | SC-J33 |
| Brand | WDZCZDoo |
| Material | 430 Steel, Iron, Stainless Steel, Alloy Steel |
| Grill Surface Process | Electroplating |
| Power Source | LPG (Liquefied Petroleum Gas) |
| Intensity of Pressure | 2800Pa (Low Pressure) |
| Mounting Type | Free Standing / Tabletop |
| Color | Silver |
| Number of Burners | 3 |
| Number of Switches | 3 |
| Grill Net Size | 45 x 25 cm (17.7 x 9.8 inches) |
| Gas Inlet Diameter | 9 mm (0.35 inches) |
| Product Dimensions (L x W x H) | 47 x 42 x 19.5 cm (18.5 x 16.5 x 7.7 inches) |
| Net Weight | 6 kg (13.2 lbs) |
| Gross Weight | 6.5 kg (14.3 lbs) |
| Heating Power | 2800 British Thermal Units |
| Wattage | 820 watts |
9. Warranty and Customer Support
WDZCZDoo is committed to providing quality products and customer satisfaction. This product comes with a flexible return policy and a money-back guarantee. For any questions, concerns, or assistance with your WDZCZDoo 3-Burner Gas Grill, please contact our customer support team. We aim to respond to all inquiries within 24 hours and provide professional service to resolve any issues you may encounter.
Please refer to your purchase documentation or the retailer's website for specific warranty terms and contact information.


