
Yewrich YR-RU8
Contents
Yewrich Portable AM FM Shortwave Radio User Manual
Model: YR-RU8
Introduction
Thank you for choosing the Yewrich Portable AM FM Shortwave Radio. This manual provides essential information for the safe and efficient operation of your new radio. Please read it thoroughly before use and retain it for future reference.

Figure 1: Yewrich Portable AM FM Shortwave Radio (Grey model)
Safety Information
- Do not expose the radio to rain, moisture, or extreme temperatures.
- Avoid dropping or subjecting the radio to strong impacts.
- Do not disassemble or attempt to repair the radio yourself. Refer all servicing to qualified personnel.
- Use only the specified power adapter or batteries.
- Keep the radio away from strong magnetic fields.
- When not in use for extended periods, remove batteries to prevent leakage.
Product Overview
Familiarize yourself with the various parts and controls of your Yewrich radio.
Figure 2: Front Panel Controls and Features
Key Components:
- Telescopic Antenna: For FM and Shortwave reception.
- Tuning Dial: To select radio frequencies.
- Volume Control: Adjusts audio output level.
- Band Selector Switch: Switches between FM, AM, SW1, and SW2 bands.
- Power/Mode Switch: Turns the unit on/off and selects input mode (Radio/AUX/BT/MP3).
- Speaker: Audio output.
- Earphone Jack (3.5mm): For private listening.
- USB Port: For USB drive playback.
- TF Card Slot: For TF (MicroSD) card playback.
- AUX Input Jack: For connecting external audio devices.
- AC Power Input: For connecting the AC power adapter.
- Battery Compartment: For D-cell batteries.
- Portable Handle: For easy carrying.
Setup
Powering the Radio:
Your Yewrich radio can be powered by either AC electricity or D-cell batteries.
1. AC Power Supply:
Connect the included power adapter to the AC power input jack on the radio and then plug it into a standard 120V/60Hz wall outlet. The radio will operate directly from AC power.

Figure 3: Connecting to AC Power
2. Battery Power Supply:
For portable use, the radio requires 4 x 'D' cell batteries (not included). Open the battery compartment cover on the back of the radio and insert the batteries, ensuring correct polarity (+/-) as indicated inside the compartment. Close the cover securely.

Figure 4: Inserting D-Cell Batteries
Antenna Adjustment:
Extend the telescopic antenna fully for optimal FM and Shortwave reception. For AM reception, the radio uses a built-in ferrite bar antenna, so antenna adjustment is not necessary for AM.

Figure 5: Fully Extended Antenna for Best Reception
Operating Instructions
1. Radio Operation (AM/FM/SW1/SW2):
- Turn the Power/Mode Switch to the "RADIO" position.
- Select the desired band (FM, AM, SW1, or SW2) using the Band Selector Switch.
- Slowly rotate the Tuning Dial to find your desired station. The tuning indicator will help you pinpoint the strongest signal.
- Adjust the Volume Control to your preferred listening level.
- For FM and Shortwave, extend and rotate the telescopic antenna for optimal reception. For AM, reposition the radio itself for better signal.
2. Bluetooth Mode:
The radio features Bluetooth connectivity for streaming audio from compatible devices.
- Turn the Power/Mode Switch to the "BT/MP3" position. The radio will enter Bluetooth pairing mode, indicated by an audible prompt.
- Enable Bluetooth on your external device (e.g., smartphone, tablet) and search for "Yewrich Radio" or a similar device name.
- Select the radio from the list of available devices to pair. Once paired, you will hear a confirmation sound.
- You can now play audio from your device through the radio's speaker. Control playback (play/pause, next/previous track) from your connected device.
3. USB/TF Card Playback:
Play audio files directly from a USB flash drive or TF (MicroSD) card.
- Turn the Power/Mode Switch to the "BT/MP3" position.
- Insert a USB flash drive into the USB port or a TF card into the TF card slot. The radio will automatically detect and begin playing compatible audio files.
- Use the playback controls (if available on the radio, otherwise typically controlled by track order) to navigate through your music.
4. AUX Input:
Connect external audio sources using a 3.5mm audio cable (not included).
- Turn the Power/Mode Switch to the "AUX" position.
- Connect one end of a 3.5mm audio cable to the AUX input jack on the radio and the other end to the headphone jack or audio output of your external device.
- Play audio from your external device. The sound will be routed through the radio's speaker.
5. Earphone Jack:
For private listening, plug any standard 3.5mm earphones or headphones into the earphone jack. The radio's speaker will automatically mute when earphones are connected.

Figure 6: Using the 3.5mm Earphone Jack
6. High Quality Sound:
The radio is equipped with a premium built-in 5W speaker designed to deliver clear and robust audio, enhancing your listening experience across all modes.

Figure 7: Enhanced Audio Output from 5W Speaker
Maintenance
- Cleaning: Wipe the radio's exterior with a soft, dry cloth. Do not use abrasive cleaners, waxes, or solvents.
- Storage: When not in use for extended periods, store the radio in a cool, dry place. Remove batteries if storing for more than a few weeks to prevent corrosion.
- Antenna Care: Handle the telescopic antenna gently to prevent bending or breaking.
Troubleshooting
| Problem | Possible Cause | Solution |
|---|---|---|
| No power |
|
|
| Poor radio reception |
|
|
| Bluetooth not pairing |
|
|
| USB/TF card not playing |
|
|
Specifications
| Feature | Detail |
|---|---|
| Model Number | YR-RU8 |
| Product Dimensions | 10.63 x 2.45 x 7.78 inches (27 x 6.2 x 19.7 cm) |
| Item Weight | 2.49 pounds (1.13 kg) |
| Radio Bands Supported | AM, FM, SW1, SW2 |
| Tuner Technology | FM, AM |
| Connectivity Technology | Bluetooth, Auxiliary, USB |
| Power Source | Battery Powered (4 x D-cell), AC Power (120V/60Hz) |
| Speaker Output | 5W |
| Earphone Jack | 3.5mm |
| Included Components | Power Adapter |
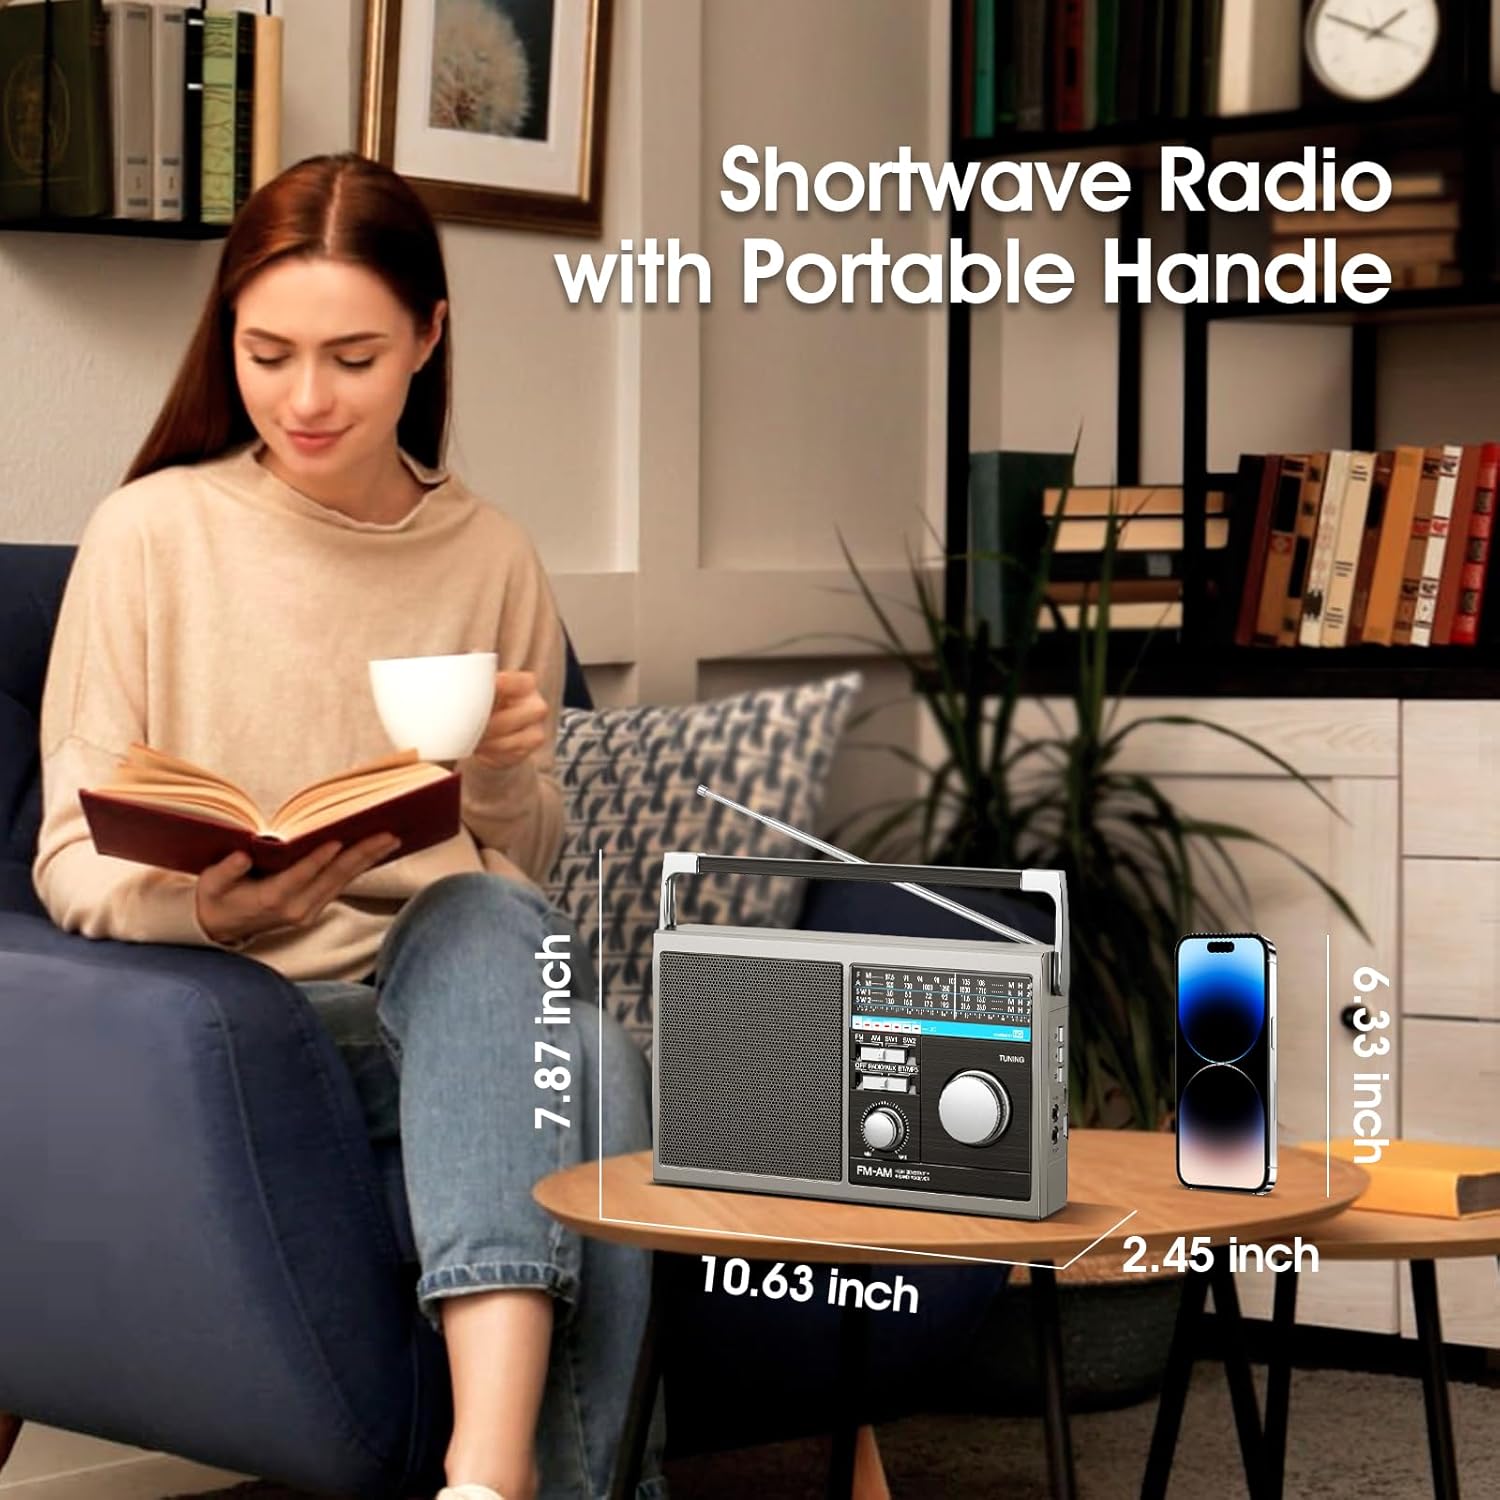
Figure 8: Product Dimensions
Warranty and Support
Yewrich is committed to providing high-quality products and customer satisfaction. While specific warranty details are not provided in this manual, Yewrich offers hassle-free replacement/return services and professional customer support.
For any questions, technical assistance, or support inquiries, please contact Yewrich customer service. Refer to the product packaging or the official Yewrich store on Amazon for contact information.
Note: Protection plans may be available for purchase separately through the retailer. These plans are not provided by the manufacturer.
Documents and downloads
Ask a question about this manual
Ask about setup, troubleshooting, compatibility, parts, safety, or missing instructions. Manuals+ will review the question and use this page’s manual context to help answer it.