Introduction
This user manual provides essential information for the safe and efficient operation, maintenance, and troubleshooting of your Scheppach DH1600MAX Punch Hammer Drill. Please read this manual thoroughly before operating the tool and keep it for future reference. The DH1600MAX is a powerful tool designed for demanding demolition and drilling tasks in various materials such as concrete, brick, and natural stone.
Important Safety Information
Always observe the following safety precautions to reduce the risk of electric shock, fire, and serious injury.
- Read All Instructions: Familiarize yourself with the controls and proper use of the tool.
- Wear Personal Protective Equipment (PPE): Always wear safety glasses, hearing protection, and heavy-duty gloves when operating the hammer drill. A dust mask is recommended for dusty environments.
- Electrical Safety: Ensure the power supply matches the tool's specifications. Do not operate in wet conditions. Use a Residual Current Device (RCD) for added protection.
- Secure Workpiece: Always secure the material you are working on to prevent movement during operation.
- Maintain Good Grip: Hold the tool firmly with both hands to maintain control, especially during start-up and when breaking through material.
- Avoid Overreaching: Maintain proper footing and balance at all times.
- Inspect Tool Before Use: Check for damaged parts, misaligned moving parts, breakage of parts, and any other condition that may affect the tool's operation.
- Unplug When Not in Use: Disconnect the tool from the power source before making any adjustments, changing accessories, or storing it.
Package Contents
Upon opening the package, verify that all items listed below are present and undamaged:
- Scheppach DH1600MAX Punch Hammer Drill
- Auxiliary Handle
- Flat Chisel
- Pointed Chisel
- Handy Carrying Case
- Grease Tube
- User Manual (this document)

Image: The Scheppach DH1600MAX hammer drill, its auxiliary handle, a flat chisel, a pointed chisel, and the included carrying case.
Key Features
The Scheppach DH1600MAX is engineered with features to enhance performance and user comfort:
- Powerful 1600W Motor: Delivers robust performance for demanding tasks.
- 10 Joules Impact Force: Provides significant power for effective demolition and drilling.
- 3800 Strokes per Minute: High impact frequency for rapid material removal.
- SDS Max Chuck: Allows for quick and secure tool changes.
- Vibration Control: Reduces user fatigue during extended operation.
- Two Functions: Capable of both impact drilling and chiseling for versatile applications.
- Variable Rotation Speed: Offers control for different materials and tasks.

Image: Visual representation of key features including SDS-Max chuck, powerful impact, lightweight design, and anti-vibration technology.

Image: Diagram showing the tool-free adjustable auxiliary handle and the two operational modes: chiseling and impact drilling.
Setup and Assembly
Attaching the Auxiliary Handle
- Loosen the auxiliary handle by rotating it counter-clockwise.
- Slide the handle onto the front of the tool body.
- Adjust the handle to a comfortable and secure position for your task.
- Tighten the handle by rotating it clockwise until it is firmly secured.
Inserting SDS Max Chisels/Drill Bits
- Ensure the tool is unplugged from the power source.
- Clean the shank of the chisel or drill bit.
- Apply a small amount of grease (from the included tube) to the shank of the accessory.
- Insert the SDS Max accessory into the chuck, pushing and rotating slightly until it clicks into place. The accessory should have a small amount of play, which is normal for SDS Max systems.
- Pull on the accessory to ensure it is securely locked.
- To remove, pull back the chuck collar and pull out the accessory.
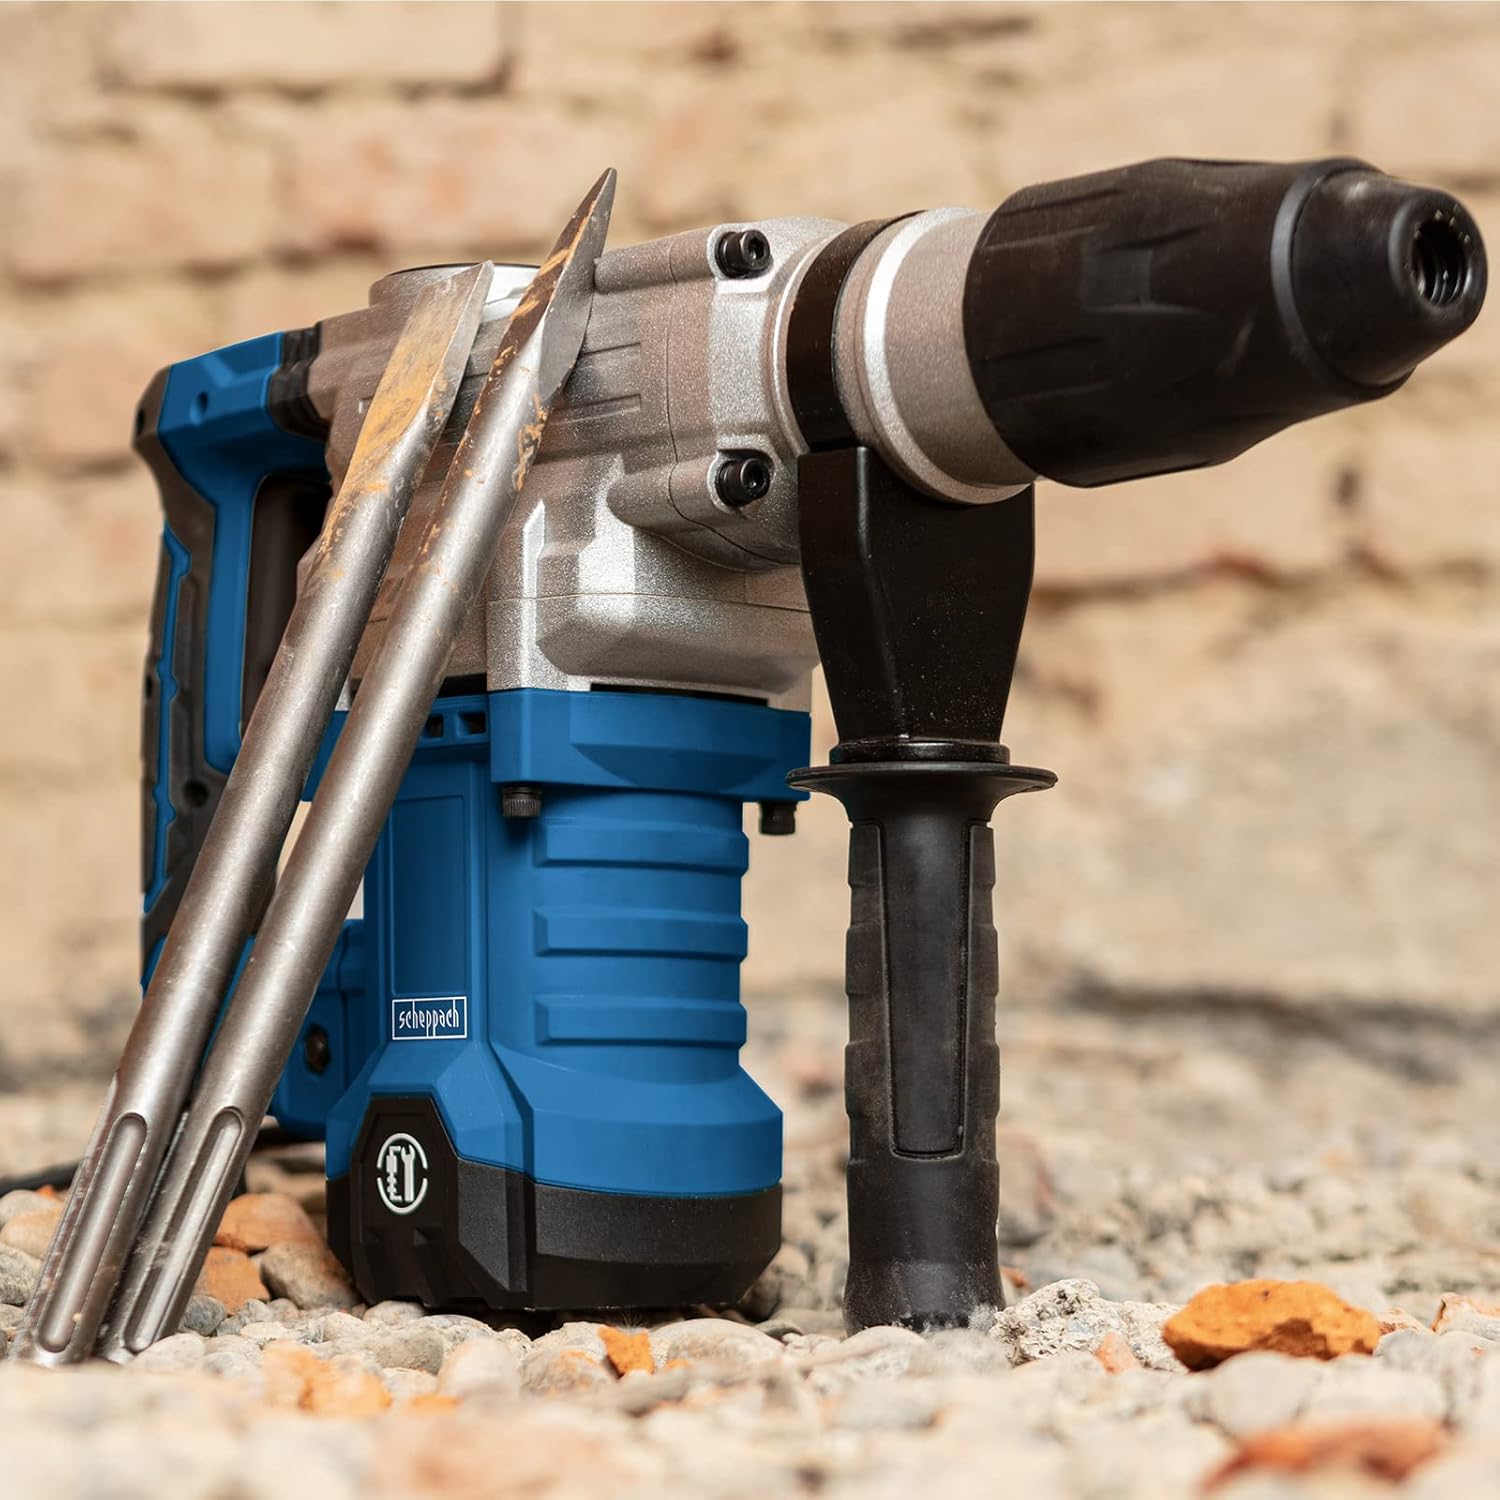
Image: The Scheppach DH1600MAX hammer drill positioned with its included flat and pointed chisels, ready for use.
Operating Instructions
Powering On/Off
- To turn the tool ON, press the trigger switch.
- To turn the tool OFF, release the trigger switch.
- For continuous operation, press the trigger switch and then press the lock-on button (if available on your model). To release, press the trigger switch again.
Function Selection (Impact Drilling / Chiseling)
The DH1600MAX offers two primary functions:
- Impact Drilling: For drilling holes in concrete, masonry, and stone. Select the drilling mode on the function selector switch.
- Chiseling: For breaking and chipping concrete, removing tiles, or channeling. Select the chiseling mode on the function selector switch.
Refer to the markings on the tool for the exact position of each function.
Working with the Tool
- Always ensure the workpiece is stable and secured.
- Apply steady, firm pressure. Do not force the tool; let the impact mechanism do the work.
- For chiseling, position the chisel at the desired angle and activate the tool.
- For drilling, start with light pressure to create an initial indentation, then apply more consistent pressure.
- Take breaks during prolonged use to prevent overheating of the tool and reduce user fatigue.

Image: A user demonstrating the chiseling function of the DH1600MAX on a brick wall.

Image: A user demonstrating the impact drilling function of the DH1600MAX into a concrete wall.
Application Examples
The Scheppach DH1600MAX is suitable for a variety of heavy-duty applications:
- Demolishing brick walls and structures.
- Breaking up concrete slabs and foundations.
- Removing old tiles from floors and walls.
- Chiseling channels for electrical conduits or plumbing.
- Drilling large diameter holes in hard materials.

Image: Visual examples of the hammer drill's effectiveness in breaking down brick and concrete structures.

Image: Illustrative icons showing common applications for the tool, including concrete bases, tiles, and natural stone.
Maintenance and Care
Regular maintenance ensures the longevity and optimal performance of your DH1600MAX.
- Cleaning: After each use, clean the tool with a dry cloth. Remove any dust or debris from the ventilation openings. Do not use water or chemical cleaners.
- Lubrication: Periodically apply grease from the included tube to the SDS Max chuck and the shanks of your accessories to ensure smooth operation and prevent wear.
- Carbon Brushes: Check the carbon brushes regularly. Worn brushes should be replaced by a qualified technician to maintain motor performance.
- Power Cord: Inspect the power cord for any damage before each use. Do not use the tool if the cord is damaged.
- Storage: Store the tool in its original carrying case in a dry, secure place, out of reach of children.
Troubleshooting
This section addresses common issues you might encounter and their potential solutions.
| Problem | Possible Cause | Solution |
|---|---|---|
| Tool does not start. | No power supply; damaged power cord; faulty switch. | Check power connection and circuit breaker. Inspect power cord for damage. If cord or switch is faulty, seek professional repair. |
| Reduced impact force. | Worn carbon brushes; insufficient lubrication; damaged internal components. | Check and replace carbon brushes if worn. Apply grease to the chuck and accessory shank. If problem persists, professional service is required. |
| Excessive vibration. | Damaged accessory; internal component issue. | Ensure accessory is not bent or damaged. If vibration persists, contact customer support. |
| Tool overheats. | Continuous heavy use; blocked ventilation slots. | Allow the tool to cool down. Clear any obstructions from ventilation slots. Avoid prolonged continuous operation. |
Technical Specifications
| Specification | Value |
|---|---|
| Model | DH1600MAX |
| Power Input | 1600 W |
| Voltage | 230 V |
| Impact Force | 10 Joules |
| Max. Impact Rate | 3800 strokes/min |
| Chuck Type | SDS Max |
| Max. Rotational Speed | 630 RPM |
| Drilling Capacity (Metal) | 32 mm |
| Item Weight | 7.3 kg (16.06 lbs) |
| Product Dimensions (L x W x H) | 18.11" x 3.94" x 10.63" |
| Power Source | Corded Electric |
| Material | Metal |
Warranty and Customer Support
Scheppach products are manufactured to high-quality standards and undergo rigorous quality control. This product is covered by a manufacturer's warranty against defects in materials and workmanship under normal use. Please refer to the warranty card included with your product for specific terms and conditions, including the warranty period and coverage details.
For technical assistance, spare parts, or warranty claims, please contact Scheppach customer support. Have your product model number and purchase date ready when contacting support.
Note: Unauthorized repairs or modifications to the tool will void the warranty.


