
Foxpark Solar 3
Contents
Foxpark Solar 3 Wireless Digital Backup Camera System
Model: Solar 3
Introduction
The Foxpark Solar 3 Wireless Digital Backup Camera System provides a clear and stable view of your vehicle's rear, enhancing safety during reversing and parking. Featuring a 1080p image sensor, a 5-inch Full HD LCD monitor, and solar charging capabilities, this system offers a convenient and reliable solution for various vehicles. Its IP69K waterproof rating ensures durability in diverse weather conditions.
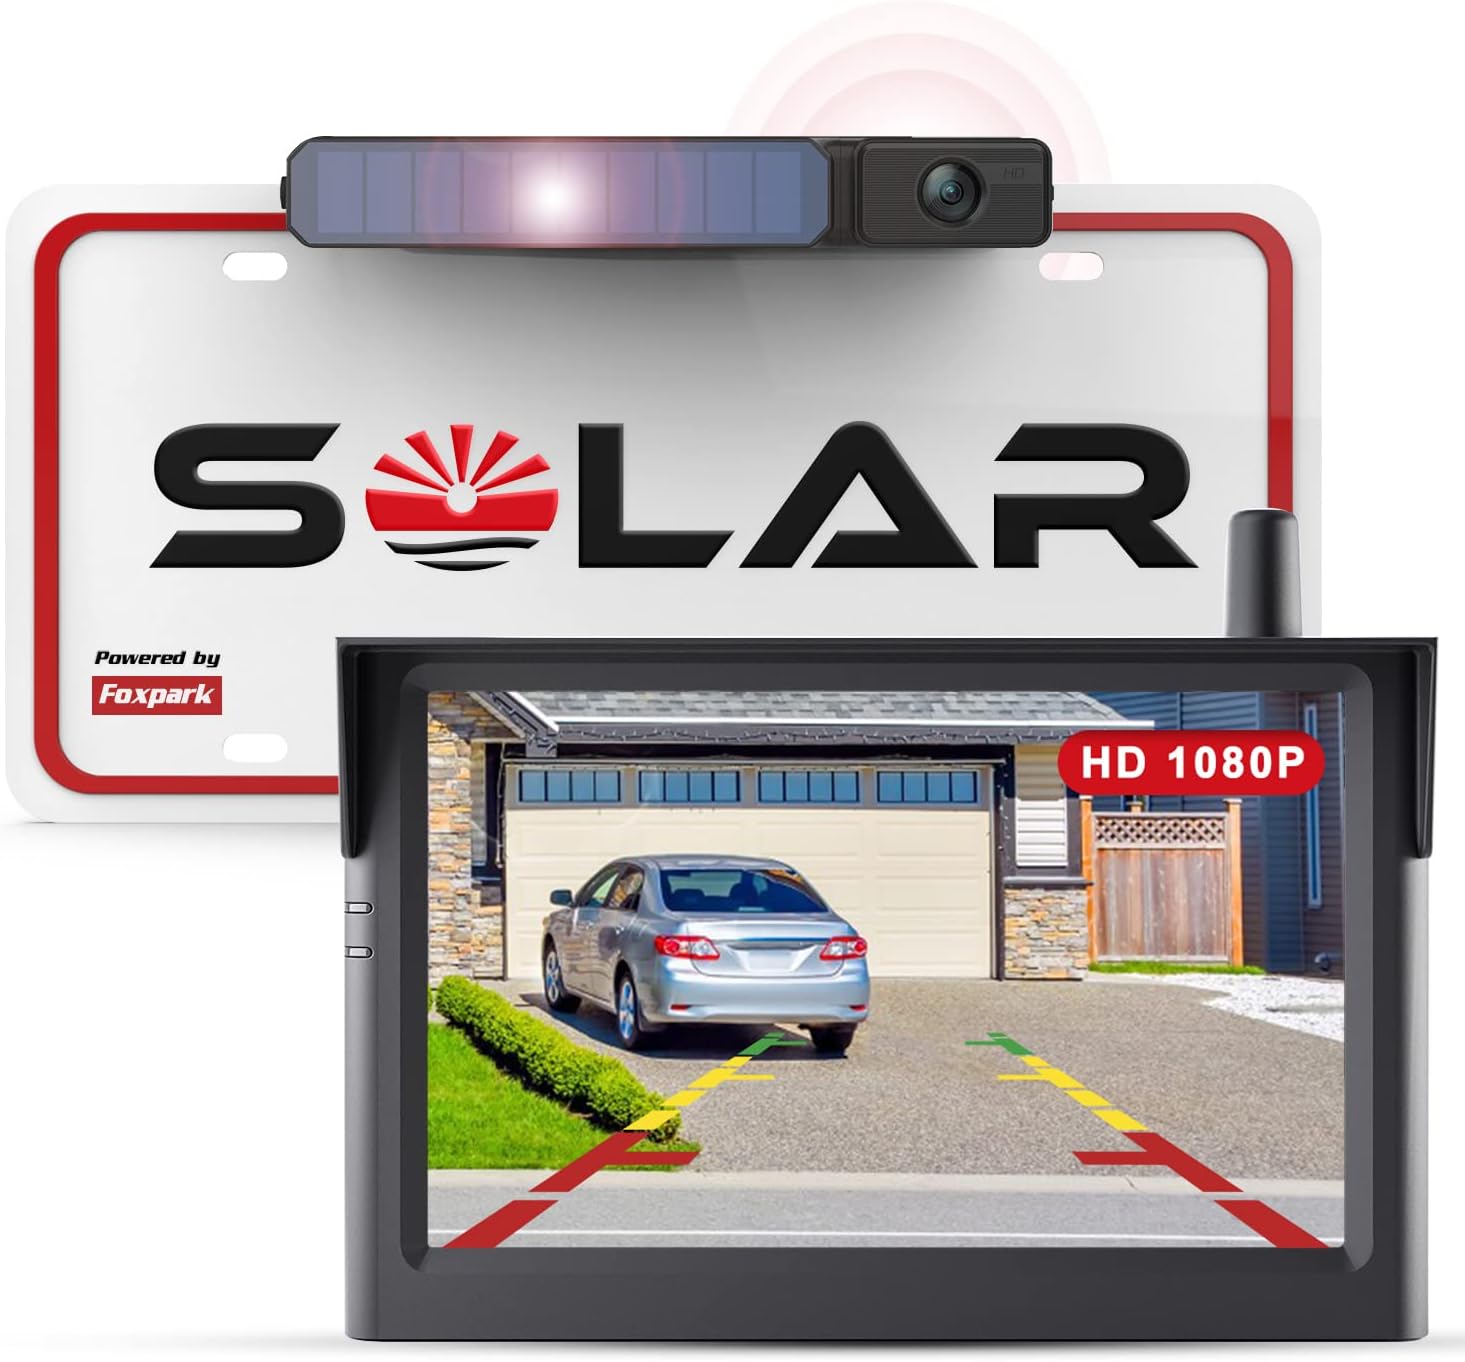
Image: The Foxpark Solar 3 camera mounted on a license plate frame, paired with its 5-inch monitor displaying a clear rear view with parking guidelines.
Package Contents
Verify that all the following items are included in your package:
- Solar Backup Camera
- 5-inch Monitor
- Double-Sided Tape
- Car Charger with Active Button (11.5 ft)
- Battery Charging Cable (4.9 ft)
- Monitor Mount
- User Manual

Image: An illustration detailing the contents of the Foxpark Solar 3 package, including the solar camera, 5-inch monitor, various cables, mount, and documentation.
Setup and Installation
The Foxpark Solar 3 system is designed for quick and easy installation, typically within 3 minutes, without the need for complex wiring or drilling.
Camera Installation
- Charge the Camera: Before installation, ensure the camera's built-in battery is sufficiently charged. You can charge it via the solar panel or using the provided USB charging cable.
- Mount the Camera: The camera is integrated into a license plate frame. Securely attach the camera unit to your vehicle's license plate using the existing license plate screws. Ensure the camera lens has a clear, unobstructed view. The design allows for flexible installation, either at the top or bottom of the license plate, depending on your vehicle's structure.

Image: A person demonstrating the simple installation of the Foxpark Solar 3 camera by attaching it to a vehicle's license plate frame.

Image: An illustration highlighting the quick 3-minute installation time for the Foxpark Solar 3 wireless camera compared to a typical 90-minute wired camera installation.

Image: Two examples of the Foxpark Solar 3 camera mounted on different vehicles, illustrating the flexibility to install it either above or below the license plate.
Monitor Installation
- Attach the Mount: Secure the monitor mount to a suitable location on your dashboard or windshield using the suction cup or adhesive. Ensure it does not obstruct your view while driving.
- Attach the Monitor: Connect the 5-inch monitor to the mount.
- Power the Monitor: Plug the car charger into your vehicle's 12V power outlet (cigarette lighter socket). The monitor will power on automatically when the vehicle is started.
Operating Instructions
Powering On/Off
- The monitor automatically powers on when the car charger is connected to a live 12V outlet and the vehicle's ignition is on.
- To manually turn off the monitor, press and hold the power button on the monitor.
Viewing the Camera Feed
- Once powered on, the monitor will automatically display the live feed from the backup camera.
- The system uses digital point-to-point encryption for a clear and stable real-time image.
Monitor Settings
The monitor features buttons (Up, Menu/OK, Down) for navigating the settings menu. Options typically include:
- Pair: For pairing additional cameras.
- B/C Control: Brightness/Contrast control.
- M/U Control: Mirror/Up-down image flip.
- Reversing Time: Adjust the display duration of the camera feed (e.g., 45s, 60s, 90s).
- Guide Line: Enable or disable parking guidelines and adjust their position.
- Reset: Restore factory settings.

Image: A close-up of the Foxpark Solar 3 monitor displaying its main menu options for configuration.
Dual Camera Support
The Solar 3 system supports up to two cameras. An additional camera (sold separately) can be connected for front, interior, or side monitoring. Refer to the monitor's 'Pair' menu option for instructions on adding a second camera.

Image: A visual representation of the Foxpark Solar 3 system in a car, demonstrating its capability to support dual cameras for all-around monitoring, including views of pets, children, or other vehicle areas.
Features Overview
- 1080p Full HD Image Output: The camera is equipped with a 1080p image sensor, providing a clear and detailed view for improved safety.
- Solar Powered & Wireless Transmission: The camera features a built-in rechargeable 5000mAh battery and a solar panel for continuous charging. This eliminates the need for complex wiring to the vehicle's reverse lights.
- IP69K Waterproof Rating: The camera is certified IP69K, ensuring reliable operation in harsh weather conditions, including rain, snow, and extreme temperatures ranging from -20°C to 65°C (-4°F to 149°F).

Image: A split image comparing the visual clarity of a 720p resolution display on the left with a 1080p resolution display on the right, showcasing the enhanced detail of the 1080p output.

Image: A detailed view of the Foxpark Solar 3 camera, pointing out its integrated solar panel and a Type-C charging port for alternative charging without sunlight.

Image: The Foxpark Solar 3 camera shown with water droplets, accompanied by icons indicating its waterproof, cold-resistant, heat-resistant, and dustproof properties.
Maintenance
Charging the Camera Battery
- The camera's built-in battery is primarily charged via its integrated solar panel when exposed to sunlight.
- If the vehicle is frequently parked indoors or in shaded areas, or during prolonged periods of low sunlight, the camera can be charged using the provided USB cable via its Type-C charging port.

Image: Icons illustrating the two charging methods for the camera: solar charging and USB charging.
Cleaning
- Regularly clean the camera lens and solar panel with a soft, damp cloth to ensure optimal performance.
- Clean the monitor screen with a soft, dry, lint-free cloth. Avoid abrasive cleaners.
Troubleshooting
- No Image on Monitor:
- Ensure the monitor is properly powered via the car charger and the vehicle's ignition is on.
- Check if the camera battery is charged. Charge it via solar or USB if needed.
- Verify that the camera and monitor are paired. If not, use the 'Pair' option in the monitor menu.
- Unstable or Flickering Image:
- Ensure there are no major obstructions between the camera and the monitor that could interfere with the wireless signal.
- Check for strong electromagnetic interference from other devices in the vehicle.
- Camera Not Charging via Solar:
- Ensure the solar panel is clean and free from dirt or debris.
- Confirm the vehicle is parked in direct sunlight for sufficient periods.
- If solar charging is insufficient, use the USB charging cable.
- Monitor Not Responding:
- Disconnect and reconnect the car charger.
- Try resetting the monitor to factory settings via the menu option.
Specifications
| Feature | Detail |
|---|---|
| Brand | Foxpark |
| Model | Solar 3 |
| Display Size | 5 Inch LCD |
| Video Resolution | 1080p |
| Voltage | 12 Volt |
| Battery Type | Lithium-ion (included) |
| Lens Type | Wide-angle |
| Actual Viewing Angle | 70 Degrees |
| Waterproof Rating | IP69K |
| Product Dimensions | 24 x 17.93 x 7.01 cm; 935 g |
| Connectivity | Wireless |
Warranty and Support
Foxpark offers 12 months of customer service after purchase. For any issues, questions, or support needs, please contact Foxpark customer service. Refer to the contact information provided in your product packaging or on the official Foxpark website.
Ask a question about this manual
Ask about setup, troubleshooting, compatibility, parts, safety, or missing instructions. Manuals+ will review the question and use this page’s manual context to help answer it.