
1. Introduction
This manual provides essential information for the safe and effective operation, maintenance, and troubleshooting of your ARCCAPTAIN 110V/220V Stick Welder, Model ARC160. Please read this manual thoroughly before using the product to ensure proper function and to prevent injury or damage.

Figure 1.1: The ARCCAPTAIN 160Amp Stick Welder, Model ARC160. This image shows the compact red and black welding machine with its handle, front panel, and power cord.
2. Safety Information
WARNING: Welding can be hazardous. Always follow safety precautions to prevent serious injury or death.
- Eye and Face Protection: Always wear a welding helmet with appropriate shade lenses to protect your eyes and face from arc rays and sparks.
- Body Protection: Wear flame-resistant clothing, heavy-duty gloves, and safety shoes to protect against burns and electric shock.
- Ventilation: Ensure adequate ventilation to remove welding fumes and gases from the work area.
- Electrical Safety: Ensure the welder is properly grounded. Do not operate in wet conditions. Inspect cables and connections for damage before each use.
- Fire Prevention: Keep flammable materials away from the welding area. Have a fire extinguisher readily available.
- Work Area: Keep the work area clean and free of clutter. Ensure stable footing.
- Certification: This welder has passed TÜV and ANSI standards, ensuring a level of safety and quality.
3. Package Contents
Upon unpacking, please verify that all items listed below are included and undamaged:
- ARCCAPTAIN ARC160 Welder Unit
- 10FT Earth Clamp
- 10FT Electrode Holder
- 110/220V Power Adapter
- Shoulder Strap
- Brush
- Product Manual (this document)

Figure 3.1: Contents included with the ARCCAPTAIN ARC160 Welder. This image displays the welder unit along with its accessories: earth clamp, electrode holder, power adapter, shoulder strap, brush, and product manual.
4. Setup
Follow these steps to set up your ARCCAPTAIN ARC160 welder:
- Power Connection: Connect the power adapter to the welder and then to a suitable 110V or 220V power outlet. Ensure the power source matches the welder's requirements.
- Ground Clamp Connection: Connect the earth clamp cable to the negative output terminal (-) on the welder's front panel. Secure the clamp to the workpiece or a clean, bare metal part of the work table to ensure a good electrical connection.
- Electrode Holder Connection: Connect the electrode holder cable to the positive output terminal (+) on the welder's front panel. Insert the welding electrode into the holder.
- Power On: Turn on the power switch located on the rear of the welder. The LED display will illuminate.

Figure 4.1: Diagram showing proper welding cable connections for Stick (6011/7018, 6013) and Lift TIG modes. Note the different polarity for electrode types.
5. Operating Instructions
The ARCCAPTAIN ARC160 offers intuitive controls for both Stick (MMA) and Lift TIG welding.
5.1. Control Panel Overview

Figure 5.1: Close-up of the welder's large LED display and control knob. The display shows current settings and electrode diameter selection, indicating its user-friendly interface.
The front panel features a large LED display for clear data readings, a welding mode button, electrode selection buttons, a function mode button, and a value knob for adjustments.
5.2. Synergic Control (For Beginners)
For ease of use, especially for beginners, the welder features synergic control:
- Press the SYN button.
- Select the desired electrode diameter (e.g., ̆1.6, ̆2.0, ̆2.5, ̆3.2, ̆4.0) using the electrode selection buttons.
- The welder will automatically set the optimal current and voltage for the selected electrode.
5.3. Manual Adjustment (For Professionals)
Professionals can fine-tune settings manually:
- After selecting the welding mode (Stick or Lift TIG), use the Value Knob to adjust the current (Amperage) to your specific needs.
- The welder's advanced MCU control system and IGBT inverter technology ensure stable arc performance.
5.4. Key Welding Features
- Hot Start: Increases the current at the moment of short-circuiting between the electrode and the workpiece, facilitating faster and more stable arc starts. This feature is adjustable.
- Arc Force: Applies superimposed current to prevent electrodes from sticking to the workpiece, providing deeper and smoother welds. This feature is adjustable.
- Anti-Stick: Automatically reduces the current if the electrode sticks to the workpiece, preventing overheating and making it easier to detach the electrode.
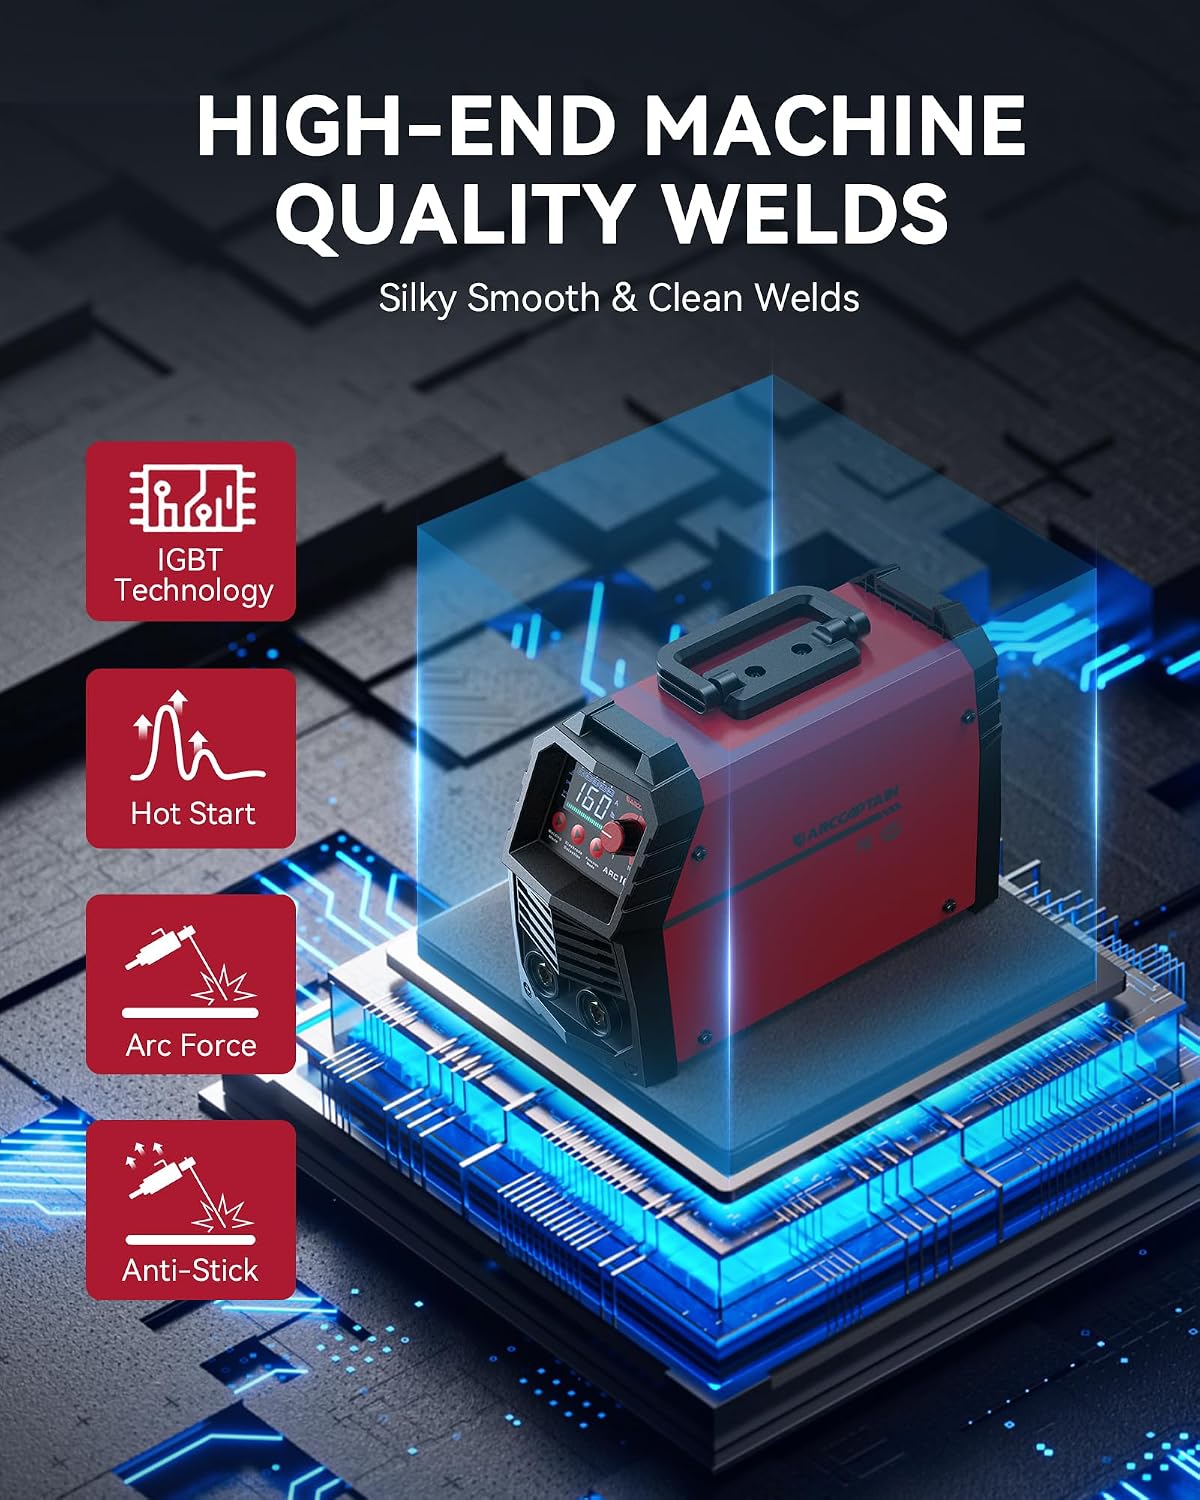
Figure 5.2: Visual representation of the welder's core technologies: IGBT for efficient power conversion, Hot Start for easy arc ignition, Arc Force for stable arc, and Anti-Stick to prevent electrode sticking.
5.5. Welding Modes: Stick (MMA) and Lift TIG
The ARC160 supports two primary welding processes:
- Stick (MMA) Welding: Suitable for welding various materials including stainless steel, mild steel, and other metal materials. It performs well with 6011, 6013, and 7018 rods.
- Lift TIG Welding: Provides precise and clean welds. Note that the TIG torch is not included and must be purchased separately.

Figure 5.3: This image illustrates the dual functionality of the welder, capable of both MMA (Stick) welding and Lift TIG welding, offering versatility for different applications.
Important Note: DO NOT power on until the screen turns off and the fan stops working after a previous operation. This ensures proper shutdown and prevents potential damage.
6. Maintenance
Regular maintenance ensures the longevity and optimal performance of your welder:
- Cleaning: Periodically clean the internal components using dry, compressed air to remove dust and metal particles. Ensure the welder is unplugged before cleaning.
- Cable Inspection: Regularly inspect welding cables, electrode holder, and earth clamp for any signs of wear, cuts, or damage. Replace damaged components immediately.
- Ventilation Grilles: Keep the ventilation grilles clear of obstructions to ensure proper airflow and prevent overheating.
- Storage: Store the welder in a dry, clean environment, away from excessive dust, moisture, and corrosive materials.
7. Troubleshooting
Here are some common issues and their potential solutions:
| Problem | Possible Cause | Solution |
|---|---|---|
| Welder does not power on. | No power supply; faulty power cord/plug; internal fault. | Check power outlet and circuit breaker. Ensure power cord is securely connected. Contact customer support if issue persists. |
| Arc is unstable or difficult to strike. | Improper current setting; poor ground connection; damp electrodes. | Adjust current (Amperage). Ensure ground clamp has good contact with clean metal. Use dry electrodes. Utilize Hot Start and Arc Force features. |
| Electrode sticks to workpiece. | Low current setting; improper technique. | Increase current. Improve welding technique. The Anti-Stick function should help prevent this. |
| Welder overheats and shuts down. | Exceeded duty cycle; blocked ventilation. | Allow welder to cool down. Ensure ventilation grilles are clear. Do not exceed recommended duty cycle. |
8. Specifications
| Feature | Detail |
|---|---|
| Manufacturer | ARCCAPTAIN |
| Part Number | ARC160 |
| Item Weight | 11.02 pounds |
| Product Dimensions | 10.98 x 4.02 x 7.99 inches |
| Item Model Number | ARC160 |
| Size | 160A |
| Power Source | AC 110V/220V (auto-sensing) |
| Voltage | 1 Volts (Operating Voltage) |
| Wattage | 1 Watt (Standby/Control) |
| ASIN | B09XMTX6QK |
| First Available Date | April 11, 2022 |

Figure 8.1: Detailed technical specifications for the ARCCAPTAIN ARC160 MMA inverter welder, including input/output voltages, currents, and insulation class.
9. Warranty and Support
ARCCAPTAIN provides quality support for its products. The ARC160 welder comes with a 2-year quality support period from the date of purchase.
For technical assistance, warranty claims, or any questions regarding your ARCCAPTAIN welder, please refer to the official user manual or contact ARCCAPTAIN customer service.
You can also find the official User Manual (PDF) here.