
GELUOXI KIT4
Contents
GELUOXI Engine Rebuild Kit for 3.6L Pentastar Engines (2011-2015 Chrysler, Jeep, Dodge, Ram) - Installation Manual
1. Introduction and Overview
This manual provides essential information for the installation and maintenance of the GELUOXI Engine Rebuild Kit. This kit is designed to replace critical engine components in specific 3.6L Pentastar V6 engines, ensuring proper function and longevity. It is crucial to follow all instructions carefully and consult a qualified automotive technician for installation if you are not experienced with engine repair.
The GELUOXI Engine Rebuild Kit (Model KIT4) includes a comprehensive set of components necessary for a thorough engine overhaul, addressing common wear points in the specified engine models.
2. Product Contents
The GELUOXI Engine Rebuild Kit (KIT4) contains the following components:
- 1x Timing Chain Tensioner Gear Kit
- 1x Cylinder Head Gasket Bolts Set
- 1x Valve Cover Gasket
- 1x Water Pump
- 1x Oil Pump & Solenoid Kit
- 24x Valve Lifters
- 24x Rocker Arms
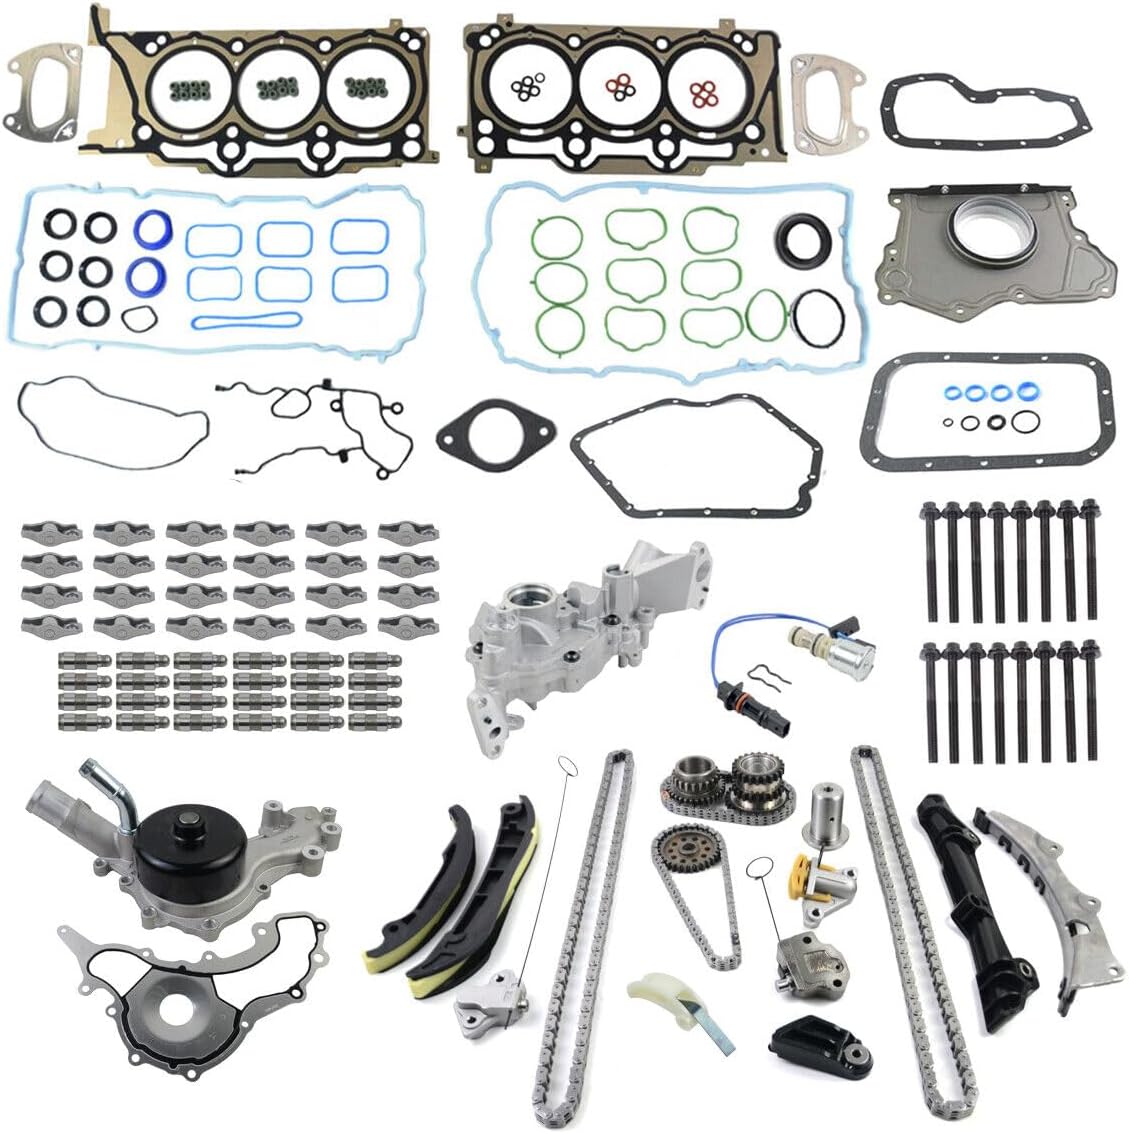
Figure 2.1: Overview of the GELUOXI Engine Rebuild Kit components.
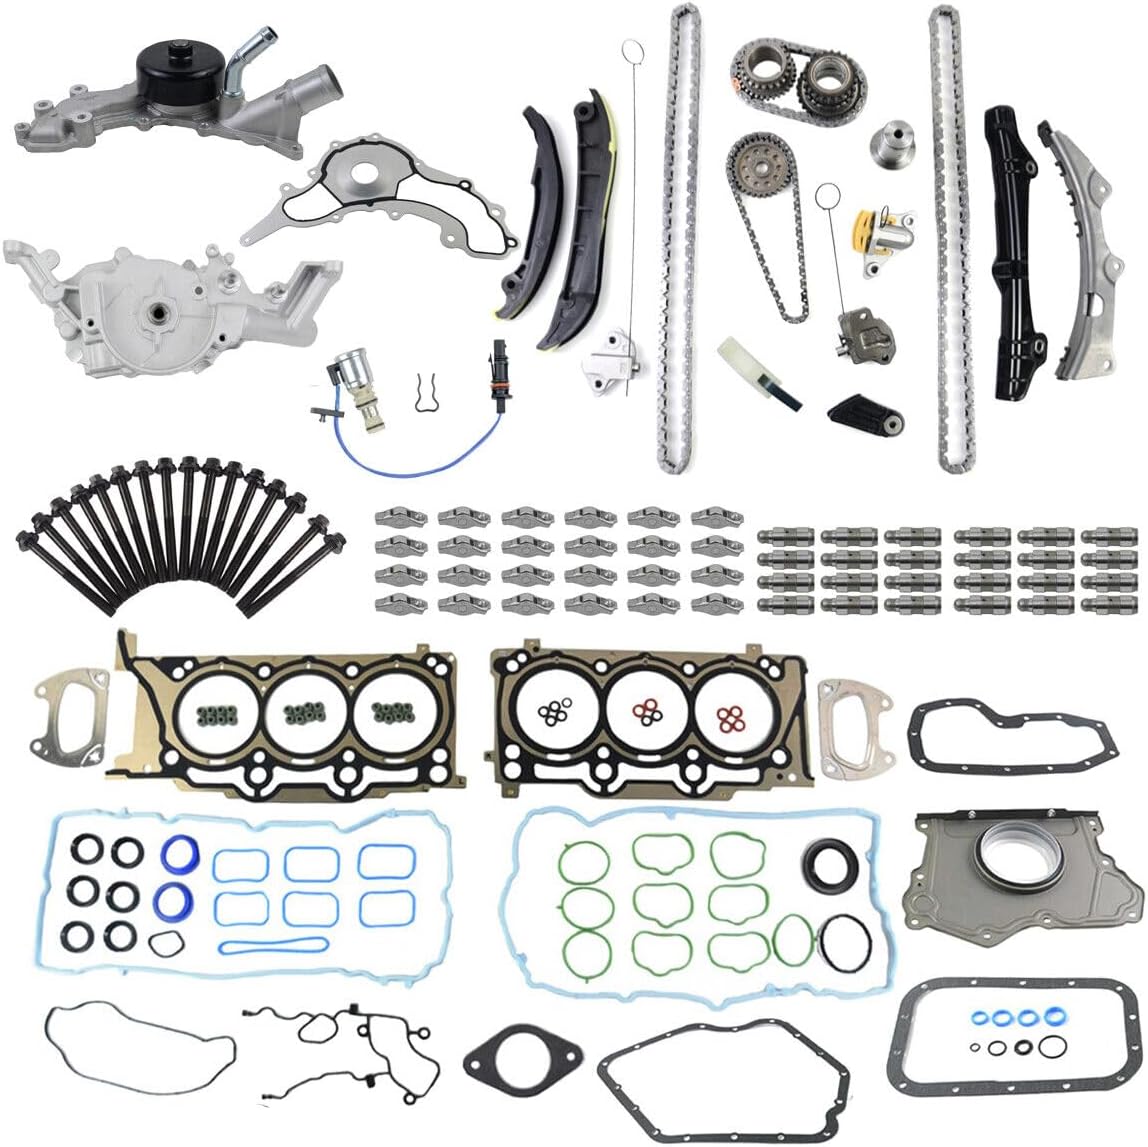
Figure 2.2: Detailed view of gaskets, timing chain, and other components.
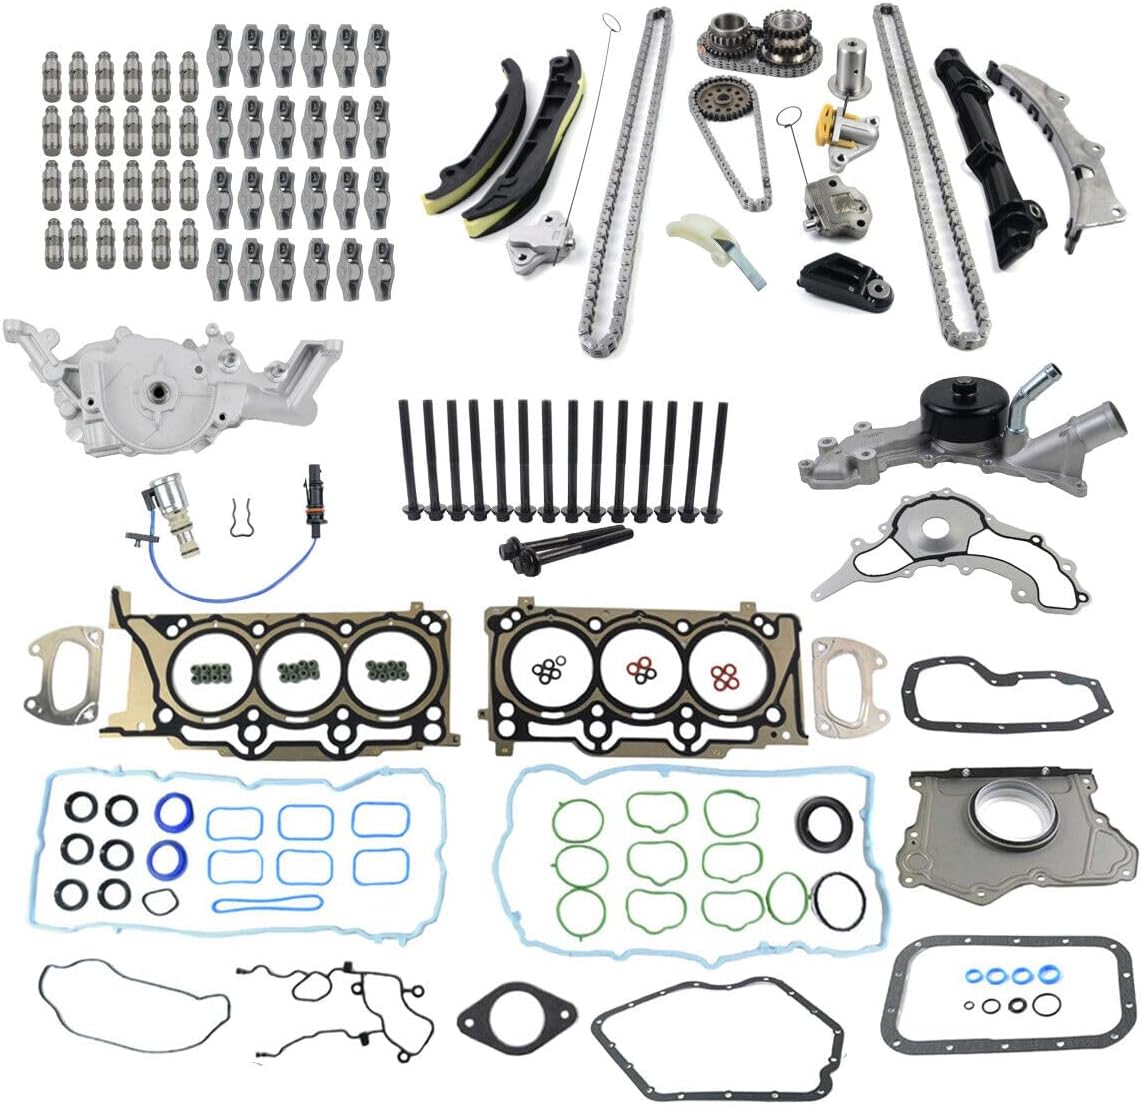
Figure 2.3: Detailed view of valve lifters, rocker arms, and other engine parts.
3. Vehicle Compatibility
This GELUOXI Engine Rebuild Kit is compatible with 3.6L V6 DOHC 24-Valve Pentastar engines found in the following vehicle models and years:
- Chrysler:
- 200 3.6L (2011-2015)
- 300 3.6L (2011-2015)
- Town & Country 3.6L (2011-2015)
- Dodge:
- Avenger 3.6L (2011-2014)
- Challenger 3.6L (2011-2015)
- Charger 3.6L (2011-2015)
- Durango 3.6L (2011-2015)
- Grand Caravan 3.6L (2011-2015)
- Journey 3.6L (2011-2015)
- Ram 1500 3.6L (2013-2015)
- Ram C/V 3.6L (2012-2015)
- Jeep:
- Grand Cherokee 3.6L (2011-2015)
- Wrangler 3.6L (2012-2015)
Please verify your vehicle's make, model, year, and engine type before proceeding with installation.
4. Installation (Setup)
Installation of an engine rebuild kit requires specialized tools, knowledge, and experience. It is highly recommended that this kit be installed by a certified automotive technician or a professional with extensive experience in engine repair.
General Installation Guidelines:
- Safety First: Always disconnect the battery, allow the engine to cool, and use appropriate personal protective equipment (PPE) such as safety glasses and gloves. Ensure the vehicle is securely supported on jack stands or a lift.
- Engine Disassembly: Carefully disassemble the engine components, following the vehicle manufacturer's service manual for specific procedures, torque specifications, and component removal sequences. Label all parts and fasteners for reassembly.
- Component Inspection: Thoroughly inspect all engine components for wear, damage, or cracks. Clean all mating surfaces to ensure proper sealing with new gaskets.
- New Part Installation: Install the new GELUOXI components according to the vehicle manufacturer's service manual. Pay close attention to:
- Gaskets: Ensure all gasket surfaces are clean and dry. Use appropriate sealants if specified by the manufacturer.
- Timing Chain Kit: Correct timing chain alignment is critical. Refer to the service manual for timing marks and tensioner installation procedures. Incorrect timing can lead to severe engine damage.
- Valve Lifters and Rocker Arms: Ensure proper lubrication during installation. Follow specific procedures for pre-loading or adjusting hydraulic lifters if applicable.
- Water Pump and Oil Pump: Install with new gaskets and ensure proper seating.
- Torque Specifications: Adhere strictly to all torque specifications provided in the vehicle's service manual for all fasteners, especially cylinder head bolts.
- Engine Reassembly: Reassemble the engine in reverse order of disassembly, ensuring all connections are secure and all sensors are properly reconnected.
- Fluid Refill: Refill engine oil, coolant, and any other necessary fluids to the manufacturer's recommended levels.
Note: This kit does not include a detailed step-by-step installation guide specific to your vehicle. Always refer to your vehicle's official service manual for precise instructions.
5. Initial Engine Operation (Operating)
After completing the engine rebuild and reassembly, follow these steps for initial startup and break-in:
- Pre-Start Checks: Double-check all fluid levels, electrical connections, and hose connections. Look for any tools or debris left in the engine bay.
- Prime Oil System: If possible, prime the engine's oil system to ensure oil pressure before starting. This can often be done by disabling ignition and cranking the engine for short intervals until oil pressure builds.
- First Start: Start the engine and immediately check for oil pressure, unusual noises, leaks, or warning lights. If any issues are detected, shut down the engine immediately and investigate.
- Initial Run-in: Allow the engine to reach operating temperature. Monitor coolant temperature and oil pressure closely. Avoid prolonged idling.
- Break-in Period: Follow the vehicle manufacturer's recommendations for engine break-in. This typically involves varying engine RPMs, avoiding heavy loads, and refraining from sustained high RPMs for the first few hundred miles. An oil change is often recommended after the initial break-in period.
6. Maintenance
Proper maintenance is crucial for the longevity of your rebuilt engine. Adhere to the vehicle manufacturer's recommended service schedule.
- Regular Oil Changes: Use the recommended type and viscosity of engine oil. Change oil and filter at specified intervals.
- Coolant System: Maintain proper coolant levels and ensure the system is free of leaks. Flush and replace coolant as per manufacturer guidelines.
- Air Filter: Inspect and replace the engine air filter regularly to ensure clean air intake.
- Spark Plugs: Replace spark plugs at recommended intervals.
- Listen for Unusual Noises: Pay attention to any new or unusual engine noises, which could indicate a developing issue.
7. Troubleshooting
If you encounter issues after installing the rebuild kit, consider the following general troubleshooting steps. For complex problems, consult a professional technician.
- Engine Not Starting/Rough Idle:
- Check all electrical connections, especially to sensors and ignition components.
- Verify fuel delivery and spark.
- Re-check engine timing if applicable.
- Inspect for vacuum leaks.
- Oil Leaks:
- Inspect all gasket and seal areas for proper installation and seating.
- Ensure all bolts are torqued to specification.
- Coolant Leaks/Overheating:
- Check all hose connections and clamps.
- Inspect water pump installation and gasket.
- Verify proper bleeding of the cooling system.
- Unusual Engine Noises:
- Could indicate issues with valve lifters, rocker arms, or timing chain components.
- Stop engine immediately and investigate to prevent further damage.
- Check Engine Light (CEL):
- Scan for diagnostic trouble codes (DTCs) using an OBD-II scanner.
- Codes will provide specific information to guide troubleshooting.
8. Specifications
| Attribute | Detail |
|---|---|
| Brand | GELUOXI |
| Model Number (Kit) | KIT4 |
| Manufacturer Part Numbers | 5184357AE, 5184356AE |
| Compatible Engine | 3.6L V6 DOHC 24-Valve Pentastar |
| Item Weight | 27.8 pounds |
| Package Dimensions | 21.75 x 14.38 x 4.5 inches |
| ASIN | B09XHN7DG2 |
9. Warranty Information
This GELUOXI Engine Rebuild Kit is covered by a 12-month warranty from the date of purchase. This warranty covers manufacturing defects and material failures under normal use and service conditions.
The warranty does not cover damage resulting from improper installation, misuse, neglect, accident, modification, or unauthorized repair. Proof of purchase is required for all warranty claims. For warranty service, please contact your retailer or GELUOXI customer support.
10. Support
For technical assistance, questions regarding product compatibility, or warranty claims, please contact GELUOXI customer support through your original point of purchase or visit the official GELUOXI store page on Amazon:
Visit the GELUOXI Store on Amazon
When contacting support, please have your product model (KIT4) and purchase information readily available.
Ask a question about this manual
Ask about setup, troubleshooting, compatibility, parts, safety, or missing instructions. Manuals+ will review the question and use this page’s manual context to help answer it.