Introduction
Thank you for choosing the HandyLux Color Click Wireless LED Lights. This manual provides essential information for the safe and efficient use of your new LED lights. Please read it thoroughly before installation and operation, and retain it for future reference.

Image: Three HandyLux Color Click LED lights (one white, one blue, one green) and their remote control, illustrating the product components.
Safety Information
- Keep batteries out of reach of children.
- Do not mix old and new batteries, or different types of batteries.
- Insert batteries with correct polarity (+/-).
- Remove batteries if the device will not be used for an extended period.
- Do not expose the lights to extreme temperatures or direct moisture.
- The lights are designed for indoor use only.
Package Contents
- 3 x HandyLux Color Click LED Lights
- 1 x Remote Control (with 1x CR 2025 3V battery included)
- Adhesive Pads (pre-applied or separate, for mounting)
Note: 3x AAA 1.5V batteries per lamp are required and not included.
Setup
1. Battery Installation
- For each LED Light: Open the battery compartment on the back of the light. Insert 3 AAA 1.5V batteries, ensuring correct polarity. Close the compartment securely.
- For the Remote Control: The remote control comes with a CR 2025 3V battery pre-installed. If necessary, remove the plastic tab to activate it, or replace the battery by sliding out the battery tray.
2. Mounting the Lights
The HandyLux Color Click lights are designed for easy, drill-free installation using adhesive pads.
- Choose a clean, dry, and smooth surface for mounting.
- Peel off the protective film from the adhesive pad located on the back of each LED light.
- Firmly press the light onto the desired surface for at least 30 seconds to ensure a strong bond.

Image: A hand demonstrating the removal of the protective film from the adhesive backing of a HandyLux LED light, prior to mounting.
Operating Instructions
1. Turning Lights On/Off
- Manual Operation: Press the center of the light to turn it on or off.
- Remote Control: Press the 'ON' button to turn on the lights or the 'OFF' button to turn them off.

Image: A close-up of a finger pressing the center of a HandyLux LED light, demonstrating the manual 'click' operation to turn it on or off.
2. Changing Colors and Modes
Use the remote control to access various lighting options:
- White Light: Press the 'WHITE' button for standard white illumination.
- Color Selection: Press any of the 12 color buttons on the remote to select a specific color.
- Multi-Color Mode: Press the 'FULL COLOR' button to activate an automatic color-changing sequence.
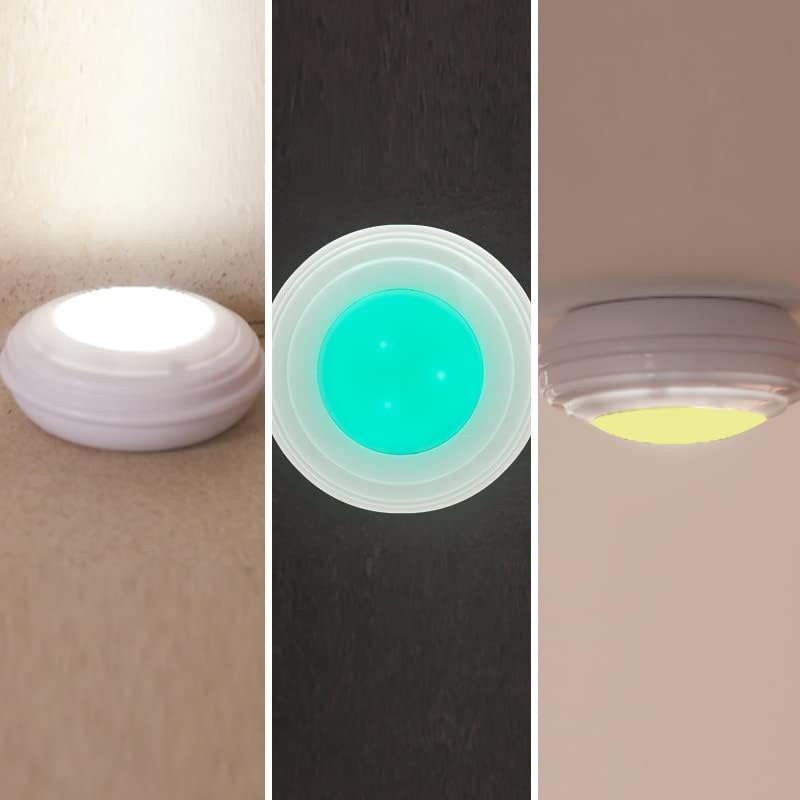
Image: A visual representation of three HandyLux LED lights, each illuminated in a different color (white, blue, and yellow), showcasing the color-changing capability.
3. Dimmer Function
Adjust the brightness of the lights using the dimmer buttons on the remote control:
- Press the '+' button to increase brightness.
- Press the '-' button to decrease brightness.
4. Timer Function
Set the lights to automatically turn off after a specified period:
- Press the '4H' button to set a 4-hour timer.
- Press the '8H' button to set an 8-hour timer.
Maintenance
1. Battery Replacement
When the lights dim or the remote control becomes unresponsive, it is time to replace the batteries. Follow the battery installation steps in the Setup section.
2. Cleaning
Wipe the lights with a soft, dry cloth. Do not use abrasive cleaners or immerse the lights in water.
Troubleshooting
- Lights not turning on:
- Check if batteries are inserted correctly with the right polarity.
- Replace old batteries with new ones.
- Remote control not working:
- Ensure the remote's battery is active (remove plastic tab if new) or replace it.
- Make sure there are no obstructions between the remote and the lights.
- Ensure the remote is within operating range.
- Lights not changing color:
- Verify that the remote control is functioning correctly.
- Check battery levels in the lights.
Specifications
| Feature | Detail |
|---|---|
| Brand | HandyLUX |
| Model Number | M27797 |
| Light Source Type | LED |
| Number of Lights | 3 |
| Light Battery Requirement | 3 x AAA 1.5V batteries per light (not included) |
| Remote Battery | 1 x CR 2025 3V battery (included) |
| Lamp Dimensions (Ø x H) | 65 mm x 30 mm |
| Remote Dimensions (L x W x H) | 85 x 40 x 7 mm |
| Adhesive Pad Diameter | 35 mm |
| Material | Plastic |
| Maximum Watts | 1 Watt |
| Voltage | 4.5 Volts (DC) |
| Special Features | Color changing, Dimmer, Timer |
| Weight | 180 g (total for 3 lights) |
Warranty Information
Warranty information for this product is not available in the provided data. Please refer to your purchase documentation or contact the retailer for details regarding warranty coverage.
Support
For further assistance or inquiries, please contact HandyLux customer support through the retailer's website or the contact information provided with your purchase.

