1. Product Overview
The ROCAM CR1002 DAB Digital Alarm Clock Radio is a versatile device designed for various environments such as bedrooms, offices, and kitchens. It features a unique spherical design and integrates multiple functions including DAB/DAB+/FM radio, dual alarms, a 7-color night light, and USB charging ports.
Key features include:
- DAB/DAB+/FM Digital Radio for clear audio reception.
- Dual Alarm settings with adjustable volume and choice of buzzer, DAB, or FM tones.
- 7-Color Night Light for ambient lighting.
- Snooze function for additional sleep time.
- USB-A and USB-C charging ports for external devices.
- Adjustable display brightness.
- Sleep Timer function.
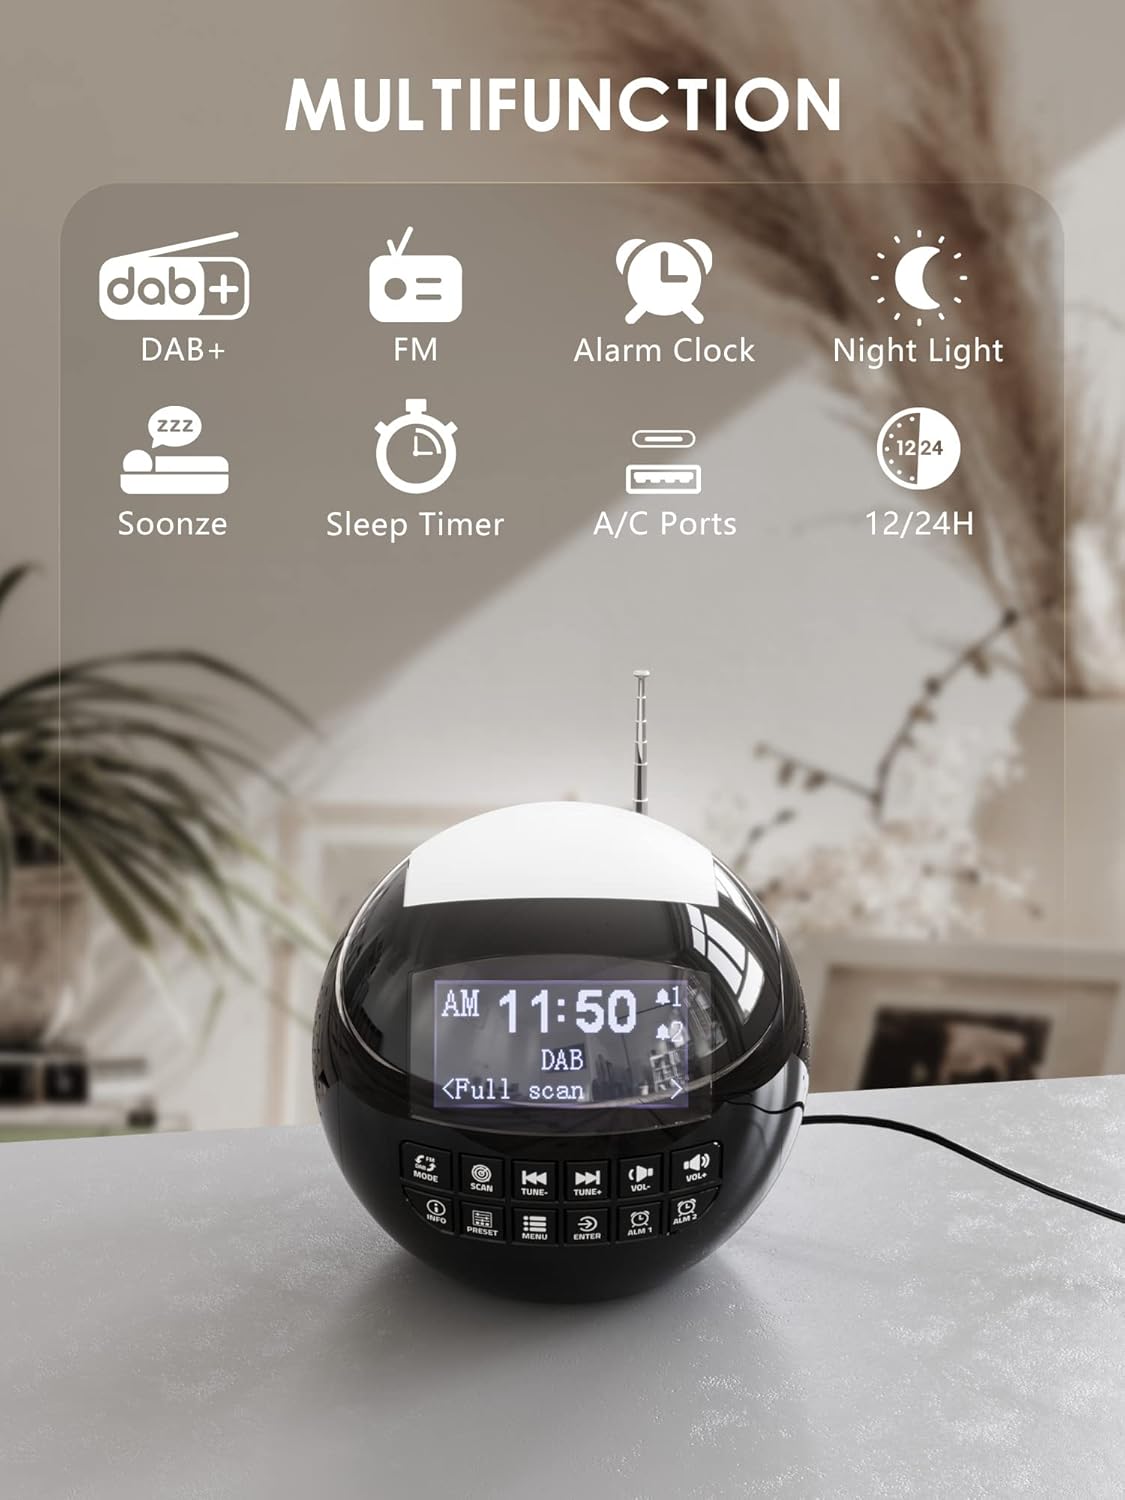
Image 1.1: Overview of the ROCAM CR1002 DAB Digital Alarm Clock Radio highlighting its multifunction capabilities including DAB+, FM radio, alarm clock, night light, snooze, sleep timer, and USB-A/USB-C charging ports.
2. Safety Information
- Ensure the device is placed on a stable, flat surface.
- Do not expose the device to water, moisture, or extreme temperatures.
- Avoid blocking ventilation openings.
- Use only the provided power adapter or a compatible one.
- Keep out of reach of children.
- Do not attempt to disassemble or repair the unit yourself. Contact qualified service personnel.
3. Setup
3.1 Power Connection
- Connect the power adapter to the DC IN port on the back of the alarm clock.
- Plug the power adapter into a standard wall outlet (220 Volts).
- The device will power on and the display will illuminate.
3.2 Backup Battery Installation
To retain time and alarm settings during a power outage, install backup batteries.
- Locate the battery compartment on the bottom of the unit.
- Open the compartment cover.
- Insert 2 "AAA" batteries (not included), ensuring correct polarity (+/-).
- Close the battery compartment cover securely.
3.3 Antenna Adjustment
Extend the telescopic antenna fully for optimal DAB/DAB+ and FM radio reception. Adjust its position for the best signal.
4. Operating Instructions
4.1 Basic Operation
- Power On/Off: Press the MODE button to turn the unit on or off.
- Volume Adjustment: Use the VOL- and VOL+ buttons to adjust the volume (levels 1-16).
- Display Brightness: The display has 3 adjustable brightness levels. Refer to the menu settings for adjustment.
4.2 DAB/DAB+ Radio
- Press the MODE button to select DAB mode.
- Press the SCAN button to perform an automatic scan for available DAB/DAB+ stations. The radio will store all found stations.
- Use the TUNE- and TUNE+ buttons to navigate through the stored stations.
- Press INFO to view station information (e.g., program type, signal strength).
- To save a station as a preset, press and hold the PRESET button, then use TUNE-/TUNE+ to select a preset number (1-10) and press ENTER to confirm.
- To recall a preset, press the PRESET button briefly, then use TUNE-/TUNE+ to select the desired preset and press ENTER.

Image 4.1: The radio in DAB mode, showing the "Full scan" process to find and store available digital radio stations.
4.3 FM Radio
- Press the MODE button to select FM mode.
- Press and hold the SCAN button to automatically scan for FM stations. The radio will stop at the next strong signal.
- Alternatively, use the TUNE- and TUNE+ buttons for manual tuning.
- Saving and recalling FM presets follows the same procedure as DAB presets (Section 4.2).
4.4 Setting Alarms
The device supports two independent alarms (Alarm 1 and Alarm 2).
- Press and hold either ALM 1 or ALM 2 button to enter alarm setup.
- Use TUNE-/TUNE+ to adjust the hour, then press ENTER. Repeat for minutes.
- Select the alarm source: Buzzer, DAB, or FM. If DAB/FM is selected, choose a preset station. Press ENTER.
- Adjust the alarm volume (1-16) using TUNE-/TUNE+, then press ENTER.
- Select the alarm frequency: Once, Daily, Weekdays, or Weekends. Press ENTER to confirm.
- To activate/deactivate an alarm, briefly press ALM 1 or ALM 2. An alarm icon will appear/disappear on the display.

Image 4.2: Illustration of the dual alarm function with customizable wake-up sounds (FM, DAB, or Buzzer).
4.5 Snooze Function
When an alarm sounds, press the large SNOOZE/NIGHTLIGHT button on top to temporarily silence the alarm for 9 minutes. The alarm will sound again after this period.

Image 4.3: The snooze function in action, providing an additional 9 minutes of sleep.
4.6 Sleep Timer
The sleep timer allows the radio to play for a set duration before automatically turning off.
- Press the MENU button.
- Navigate to "Sleep Timer" using TUNE-/TUNE+ and press ENTER.
- Select a duration from 10 to 90 minutes. Press ENTER to confirm.
4.7 Night Light Function
The device features a 7-color night light.
- Briefly press the large SNOOZE/NIGHTLIGHT button on top to cycle through the 7 colors or turn the night light off.
- The night light can be used independently of the alarm function.

Image 4.4: The night light feature illuminating the top of the alarm clock in blue, one of the seven available colors.
4.8 USB Charging Ports
The alarm clock is equipped with a standard USB-A port and a USB-C port for charging external devices.
- Connect your device's charging cable to either the USB-A or USB-C port on the back of the alarm clock.
- Ensure the alarm clock is powered on and connected to a wall outlet for charging functionality.
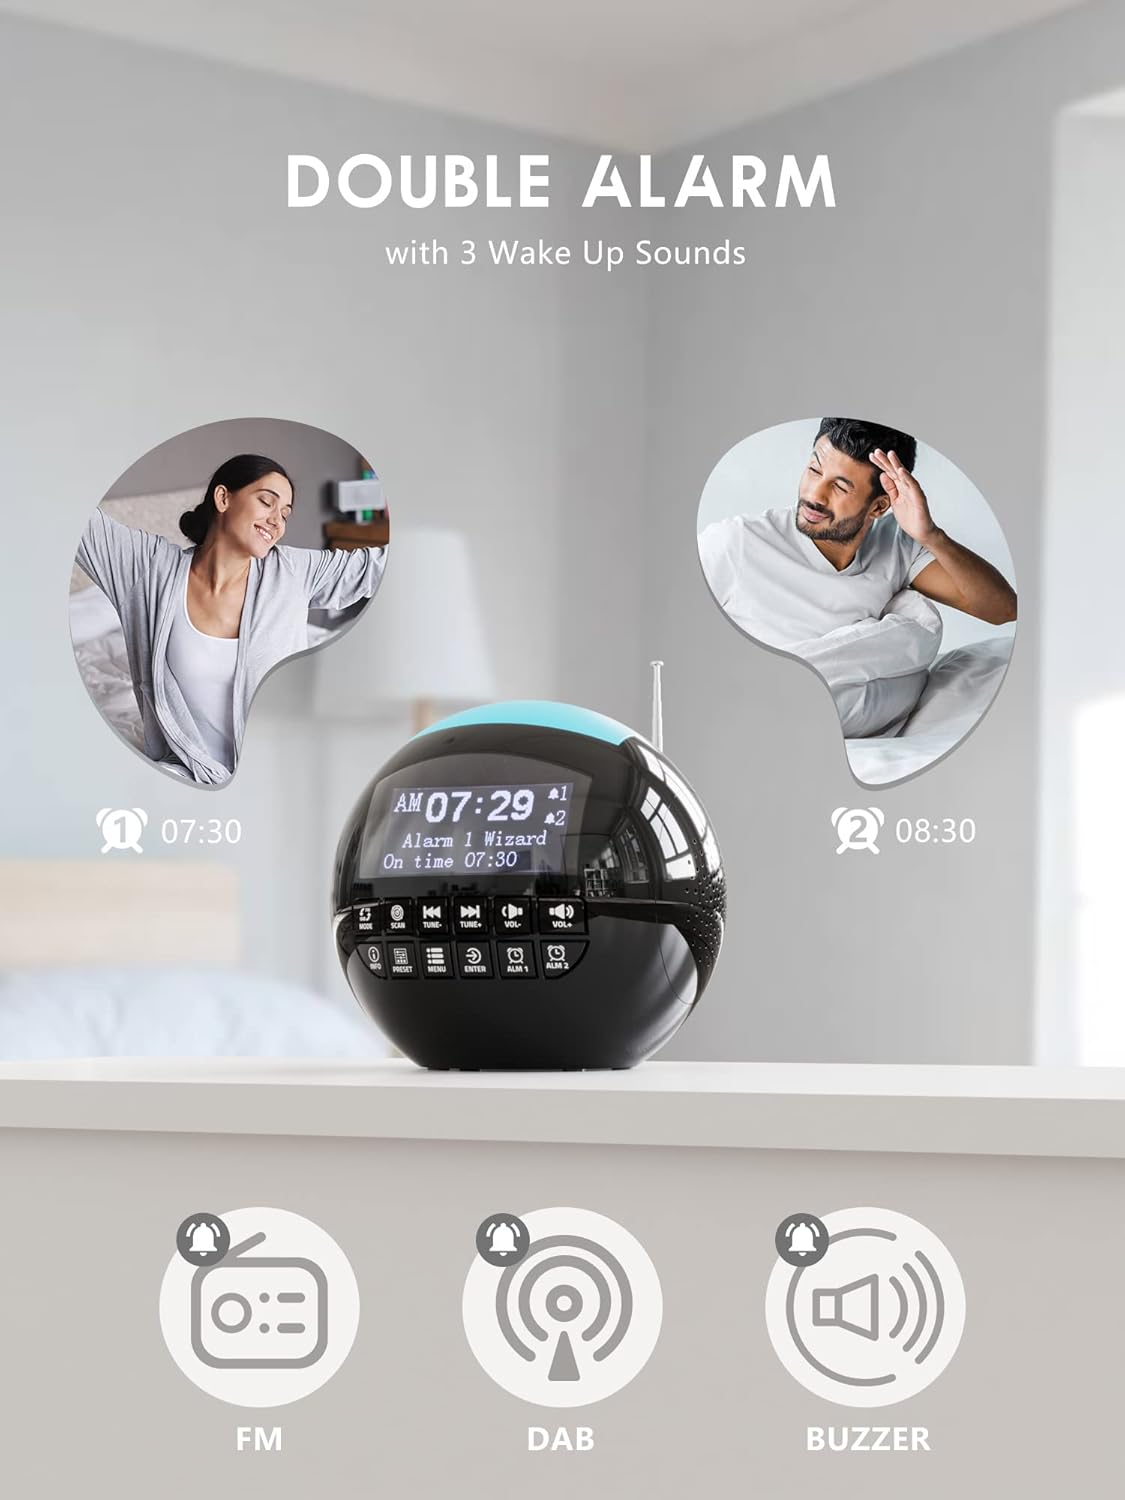
Image 4.5: The USB-A and USB-C charging ports in use, simultaneously charging a smartphone and wireless earbuds.
5. Maintenance
- Cleaning: Wipe the unit with a soft, dry cloth. Do not use abrasive cleaners or solvents.
- Storage: If storing the unit for an extended period, disconnect it from power and remove backup batteries.
6. Troubleshooting
| Problem | Possible Cause | Solution |
|---|---|---|
| Unit does not power on. | No power connection. | Ensure the power adapter is securely plugged into the unit and a working wall outlet. |
| Poor radio reception (DAB/FM). | Antenna not extended or poor signal area. | Extend the telescopic antenna fully and adjust its position. Try moving the unit to a different location. Perform a full scan for DAB stations. |
| Alarm does not sound. | Alarm not activated or volume too low. | Check if the alarm icon is displayed. Ensure alarm volume is set to an audible level (1-16). Verify alarm time and frequency settings. |
| USB charging not working. | Unit not powered or cable issue. | Ensure the alarm clock is connected to a wall outlet. Check the charging cable for damage and ensure it is properly connected to both the alarm clock and the external device. |
| Display is too bright/dim. | Brightness setting needs adjustment. | Adjust the display brightness through the menu settings. |
7. Specifications
| Feature | Detail |
|---|---|
| Brand | ROCAM |
| Model Number | CR1002 DAB |
| Color | Black |
| Dimensions (L x W x H) | 15.9 x 3.81 x 16.2 cm |
| Weight | 468 grams |
| Voltage | 220 Volts |
| Material | Plastic |
| Display Type | Digital |
| Special Features | Adjustable Brightness, Radio (DAB/DAB+/FM), Dual Alarm, 7-Color Night Light, USB-A & USB-C Charging Ports, Snooze, Sleep Timer |
| Power Source | Corded Electric |
| Backup Battery | 2 x AAA (not included) |
8. Warranty and Support
For warranty information or technical support, please refer to the documentation included with your purchase or contact ROCAM customer service through their official website or the retailer where the product was purchased.
Please have your model number (CR1002 DAB) and purchase details ready when contacting support.


