1. Introduction
This manual provides detailed instructions for the installation, operation, and maintenance of your REDTIGER F7NP Dash Cam. Please read this manual thoroughly before using the product to ensure proper function and safety. The REDTIGER F7NP is a high-performance 4K front and 1080P rear dash camera designed to capture critical driving footage with advanced features like STARVIS 2 sensor, built-in GPS, and WiFi connectivity.
2. Package Contents
Verify that all items listed below are included in your package:
- REDTIGER F7NP Front Dash Cam
- Rear Camera
- Hardwire Kit
- Memory Card (Included)
- GPS Module (Built-in)
- Power Cable
- Suction Mount

Image: Overview of the REDTIGER F7NP Dash Cam and its included accessories.
3. Product Overview
The REDTIGER F7NP Dash Cam offers a compact and reliable solution for vehicle recording, integrating multiple advanced features for enhanced safety and convenience.
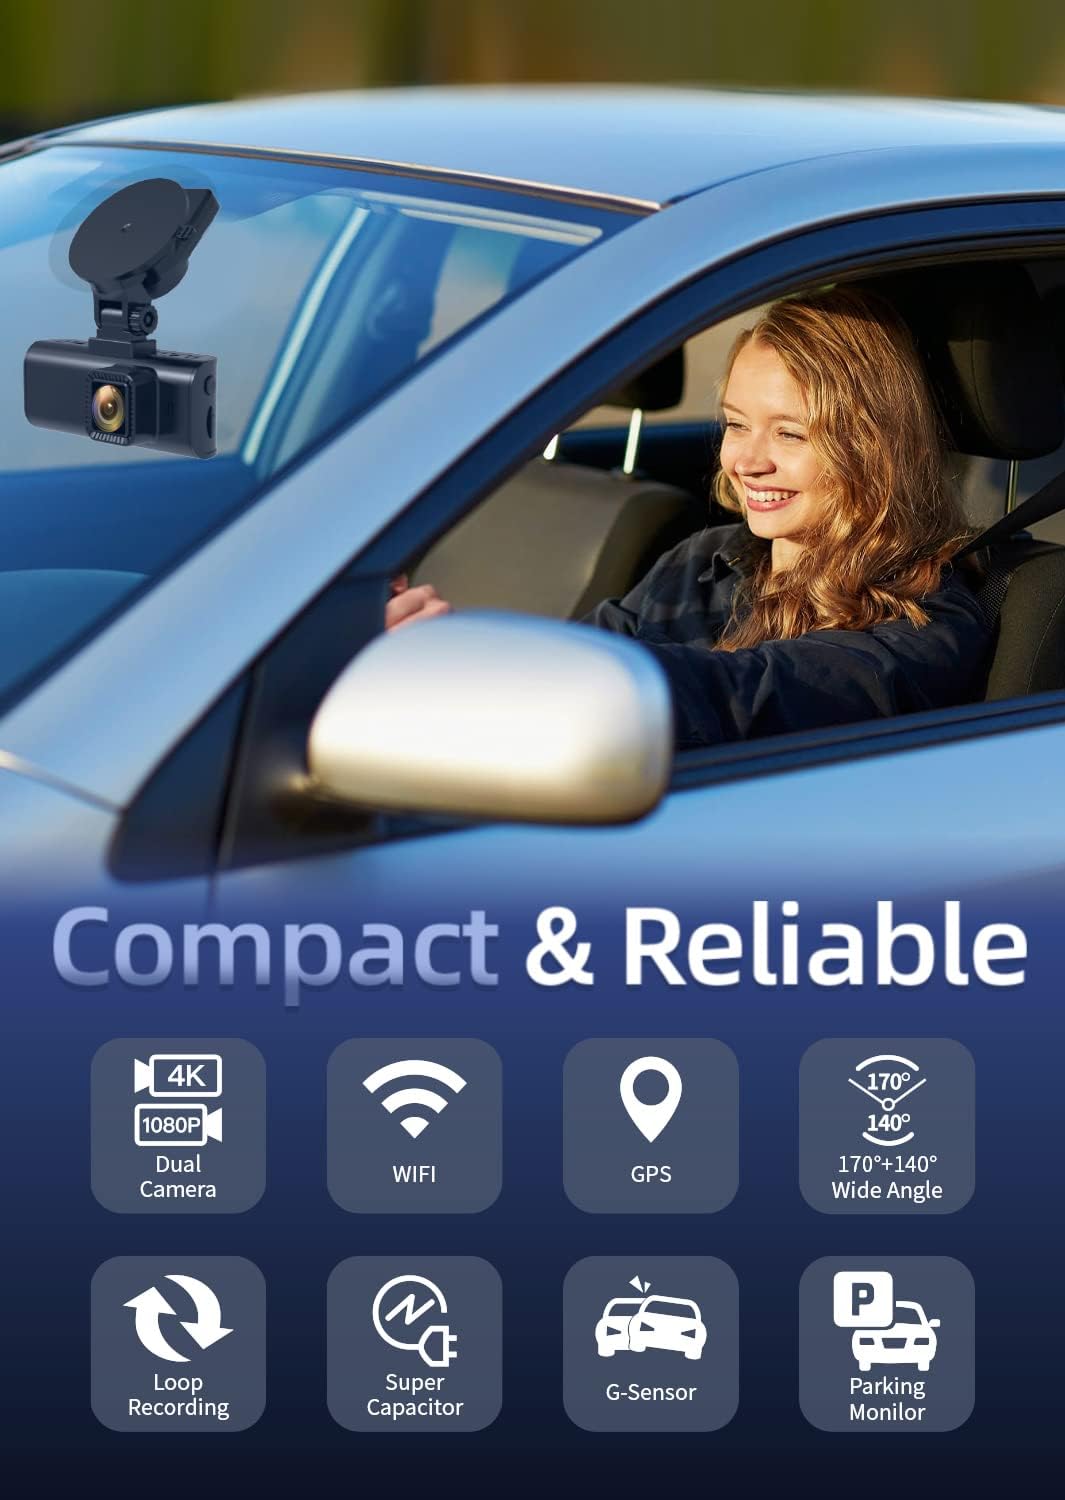
Image: The F7NP Dash Cam's key features and compact design.
Key Features:
- 4K+1080P Front & Rear Recording: Captures sharp 4K front and 1080P rear video.
- STARVIS 2 Sensor & WDR Night Vision: Delivers clear, high-contrast footage in various lighting conditions.
- Built-in 5.8GHz WiFi & Smart App: Enables fast video downloads, real-time preview, and settings management via the Redtiger Cam app.
- Loop Recording & Included Memory Card: Ensures continuous recording by overwriting older files, with important events locked.
- 24/7 Parking Mode* & G-Sensor: Provides round-the-clock protection with time-lapse recording or collision detection. (*Hardwire kit needed for 24/7 parking mode).

Image: Demonstrates the clarity of 4K front and 1080P rear recording.
4. Setup & Installation
Proper installation is crucial for optimal performance. Follow these steps carefully.
4.1. Dash Cam Installation
- Clean the windshield area where the dash cam will be mounted.
- Attach the suction mount to the dash cam, then firmly press the mount onto the cleaned windshield.
- Adjust the camera angle to ensure a clear view of the road ahead.
- Insert the included memory card into the dash cam's card slot.
4.2. Rear Camera Installation
- Mount the rear camera on the rear windshield, ensuring a clear view.
- Connect the rear camera cable to the main dash cam unit.
- Route the rear camera cable discreetly along the vehicle's headliner and A-pillars to the front unit.
4.3. Hardwire Kit Installation (for 24/7 Parking Mode)
The included hardwire kit allows for continuous power supply and enables the 24/7 parking mode feature. Professional installation is recommended if you are unfamiliar with vehicle electrical systems.

Image: Hardwire Kit components.

Image: Different types of fuse tap sets provided.
- Step 1: Identify Fuse Slots. Use a multimeter to check and confirm the constant power fuse slot and ACC power fuse slot in your vehicle's fuse box.
- Step 2: Connect Wires. Connect the red wire to the ACC fuse slot and the yellow wire to the constant fuse slot using the appropriate fuse tap.
- Step 3: Ground Wire. Crimp the black wire and secure it down to any non-coated metal bolt/screw in your vehicle to ground it.

Image: Hardwire kit installation steps.
The hardwire kit includes low-voltage battery drain protection, which automatically shuts down the dash cam if the input voltage drops below 11.6V (±0.2V), ensuring enough power to ignite your engine.

Image: The 24-hour parking monitor feature.
5. Operating Instructions
5.1. Basic Operation
- Power On/Off: The dash cam will automatically power on and begin recording when the vehicle engine starts, and power off when the engine is turned off.
- Screen Display: The screen will display live footage from the front and rear cameras. You can switch display modes (front only, rear only, picture-in-picture) via the menu settings.
5.2. Recording Modes
- Loop Recording: The camera records video in continuous loops. When the memory card is full, the oldest unlocked files are automatically overwritten. Important event files are locked and protected from being overwritten.
- G-Sensor: In the event of a sudden impact or collision, the built-in G-sensor will automatically detect the event and lock the current video footage, preventing it from being overwritten.
- Parking Mode: With the hardwire kit installed, the dash cam can monitor your vehicle 24/7. It supports time-lapse recording for continuous low-bitrate monitoring or G-sensor mode to record upon collision detection while parked.
5.3. WiFi & Smart App
Connect your smartphone to the dash cam's built-in 5.8GHz WiFi for fast data transfer and remote control.
- Download the 'Redtiger Cam' app from your smartphone's app store.
- Enable WiFi on your dash cam and connect your smartphone to the dash cam's WiFi network.
- Using the app, you can preview live footage, download recorded videos, replay events, check GPS data (route, speed, and location), and manage device settings.

Image: Redtiger Cam app interface on a smartphone, showing GPS data and sharing options.
6. Maintenance
- Memory Card: Format the memory card regularly (e.g., once a month) to prevent data corruption and ensure optimal recording performance. Use a high-quality Class 10 or U3 microSD card.
- Cleaning: Keep the camera lenses clean using a soft, lint-free cloth. Avoid using abrasive cleaners.
- Temperature: Avoid exposing the dash cam to extreme temperatures for extended periods.
7. Troubleshooting
- Camera not powering on: Check the power connection. Ensure the hardwire kit is correctly installed or the cigarette lighter adapter is fully inserted and receiving power.
- Recording issues (e.g., freezing, corrupted files): Format the memory card. Ensure you are using a high-speed, high-quality memory card. Replace the memory card if issues persist.
- Poor video quality: Clean the camera lenses. Ensure the protective film has been removed from the lenses. Adjust camera angle.
- GPS not working: Ensure the dash cam has a clear view of the sky. Check GPS settings in the app.
- WiFi connection issues: Ensure the dash cam's WiFi is enabled. Try restarting both the dash cam and your smartphone.
8. Specifications
| Feature | Specification |
|---|---|
| Brand | REDTIGER |
| Model Name | F7NP |
| Video Capture Resolution | Front: 4K, Rear: 1080P |
| Field Of View | 170 Degrees (Front), 140 Degrees (Rear) |
| Connectivity Technology | USB, Built-in 5.8GHz WiFi |
| Special Features | STARVIS 2 Sensor, WDR Night Vision, Built-in GPS, G-Sensor, Loop Recording, 24/7 Parking Mode (with Hardwire Kit) |
| Included Components | Hardwire Kit, Memory Card |
| Mounting Type | Suction Mount |
| Control Method | App |
9. Warranty & Support
For warranty information and technical support, please refer to the official REDTIGER website or contact their customer service directly. Keep your purchase receipt as proof of purchase for warranty claims.


