Introduction
The Browning Spec Ops Elite HP5 is a high-performance trail camera designed for capturing wildlife images and videos, as well as for security surveillance. It features advanced imaging capabilities, robust construction, and user-friendly controls to ensure reliable operation in various outdoor conditions. This manual provides detailed instructions for setting up, operating, maintaining, and troubleshooting your camera.

Image: Front view of the Browning Spec Ops Elite HP5 Trail Camera, showcasing its camouflage design and lens.
Key Features
- High-Resolution Imaging: Captures 24MP still images for exceptional detail.
- Full HD Video: Records 1920 x 1080p HD+ videos with sound.
- Fast Trigger Speed: Adjustable 0.1-0.7 second trigger speed to capture fast-moving subjects.
- Extended Night Vision: Invisible infrared (IR) illumination reaches up to 100 feet, ideal for discreet night surveillance.
- Illuma-Smart Technology: Automatically adjusts IR flash for optimal night photos.
- Long Detection Range: Features an 80ft detection range.
- Programmable Delay: Customizable picture delay from 1 second to 60 minutes.
- Multi-Shot & Rapid-Fire: Options for capturing multiple images per trigger or rapid-fire sequences.
- Color Viewing Screen: Built-in 2-inch color screen for easy setup and playback.
- SDXC Card Support: Supports memory cards up to 512GB.
- Durable Design: Rugged and water-resistant construction (IP54 rated) for outdoor use.
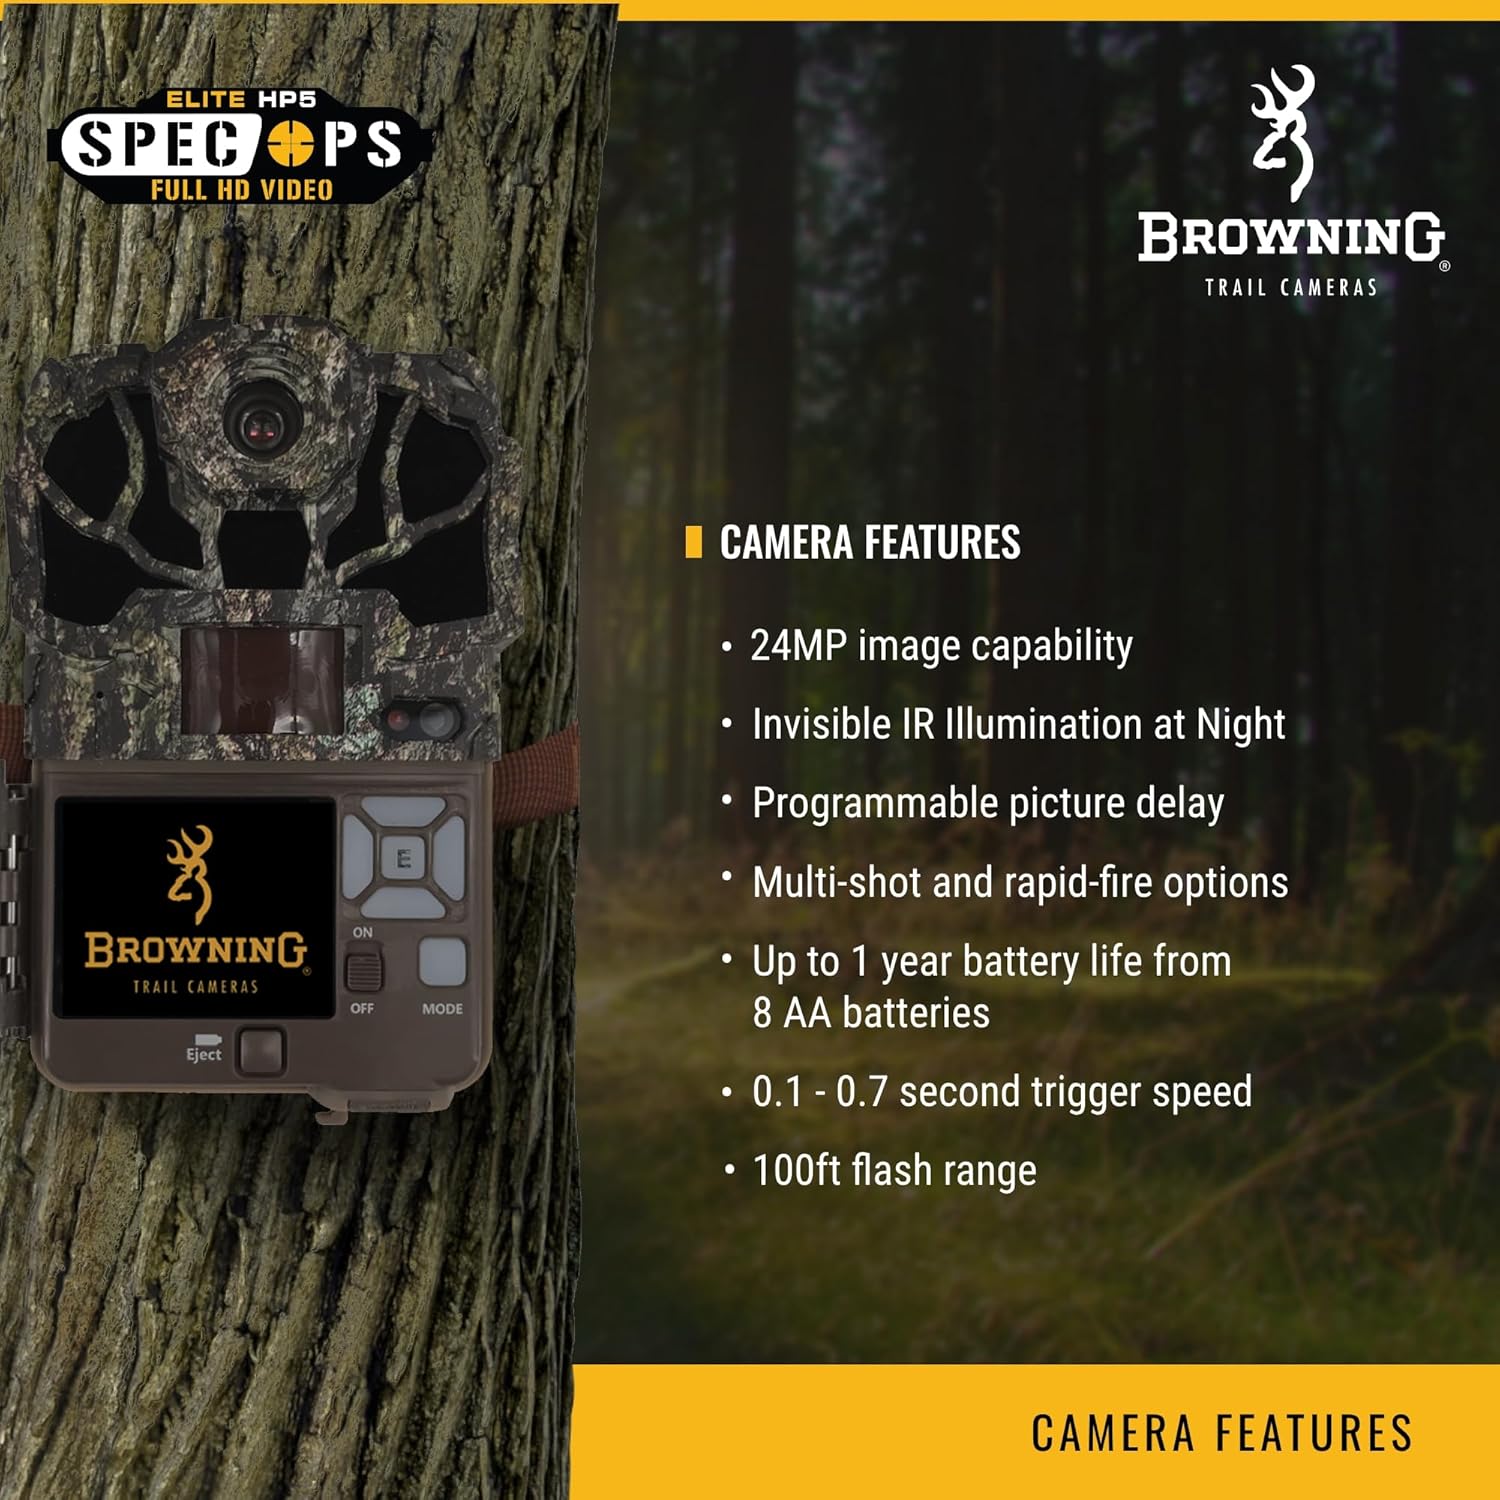
Image: A visual representation of the camera highlighting its key features like 24MP capability and invisible IR illumination.

Image: Another view emphasizing advanced features such as 1080p Full HD videos and the 2-inch color view screen.
Setup
1. Battery Installation
- Open the camera housing by releasing the latches on the side.
- Locate the battery compartment. The Spec Ops Elite HP5 requires 8 AA batteries.
- Insert the batteries, ensuring correct polarity (+/-) as indicated inside the compartment.
- Close the battery compartment securely.
2. SD Card Insertion
- With the camera housing open, locate the SD card slot.
- Insert a compatible SDXC memory card (up to 512GB) into the slot until it clicks into place. Ensure the card is inserted with the label facing the correct direction.
- To remove the SD card, gently push it in until it clicks, then release, and it will eject.

Image: The camera with its side compartment open, showing the battery and SD card slots, and the internal display screen.
3. Mounting the Camera
The camera can be mounted using the rear housing bracket or the bottom standard 1/4"-20 thread. Use the included strap or a compatible mounting accessory to secure the camera to a tree or post. Ensure the camera is stable and pointed towards the desired area of surveillance.

Image: Two individuals setting up the Browning Spec Ops Elite HP5 trail camera in an outdoor environment, demonstrating typical mounting.
Operating the Camera
1. Powering On and Initial Settings
- After installing batteries and SD card, slide the power switch to the 'ON' position.
- The 2-inch color viewing screen will activate.
- Navigate the menu using the directional buttons and 'OK' button to set the date, time, and other initial preferences.
2. Selecting Operation Mode
The camera offers various operation modes:
- Trail Cam (Photo Mode): Captures still images when motion is detected.
- Video Mode: Records video clips when motion is detected.
- Time Lapse Plus: Captures images at set intervals over a period, in addition to motion-triggered images.
Access the 'Operation Mode' setting in the menu to select your desired mode. For optimal wildlife monitoring, 'Video Mode' is often preferred for capturing animal behavior with sound.
3. Adjusting Settings
Within the menu, you can customize various settings:
- Photo Quality: Select image resolution (e.g., 24MP).
- Video Resolution: Choose video quality (e.g., 1080p).
- Trigger Speed: Adjust the speed at which the camera reacts to motion.
- Detection Delay: Set the time interval between consecutive captures.
- Flash Mode: Configure night vision settings.
- Camera ID: Assign a unique ID for easier organization if using multiple cameras.
4. Viewing Captured Media
Use the 'Playback' option in the menu to review photos and videos directly on the camera's screen. You can also remove the SD card and view media on a computer or compatible device.

Image: A high-quality image of a deer captured by the Browning Spec Ops Elite HP5, demonstrating the camera's performance in the field.
Maintenance
- Cleaning: Regularly wipe the camera lens and IR sensors with a soft, lint-free cloth to ensure clear images. Avoid abrasive materials or harsh chemicals.
- Battery Replacement: Replace all 8 AA batteries when the low battery indicator appears or when performance degrades. Use high-quality alkaline or lithium batteries for best results.
- SD Card Management: Periodically format your SD card using the camera's menu option to maintain optimal performance and prevent data corruption. Back up important media before formatting.
- Storage: When not in use, store the camera in a cool, dry place away from direct sunlight and extreme temperatures. Remove batteries if storing for extended periods.
- Weather Protection: Although water-resistant, avoid submerging the camera in water. Ensure all latches are securely closed during outdoor deployment to protect internal components from moisture.
Troubleshooting
| Problem | Possible Cause / Solution |
|---|---|
| Camera not powering on | Check battery polarity. Replace batteries with fresh ones. Ensure power switch is in 'ON' position. |
| No images/videos captured | Ensure SD card is inserted correctly and not full. Check 'Operation Mode' settings. Verify motion sensor is clear and active. Format SD card. |
| Poor image/video quality at night | Clean lens and IR sensors. Ensure flash range is adequate for subject distance. Check battery level. |
| Short battery life | Use high-quality alkaline or lithium batteries. Reduce frequency of captures or video length settings. Extreme cold weather can reduce battery performance. |
| Camera not detecting motion | Ensure camera is positioned correctly (not facing direct sunlight or heat sources). Clear any obstructions from the sensor. Adjust sensitivity settings. |
Specifications
| Feature | Detail |
|---|---|
| Model | BTC-8E-HP5 |
| Still Image Resolution | 24 MP |
| Video Resolution | 1920 x 1080p HD+ with Sound |
| Trigger Speed | Adjustable 0.1 - 0.7 seconds |
| Recovery Time | 0.5 seconds |
| Night Vision Range | 100 feet (Invisible IR) |
| Detection Range | 80 feet |
| Power Source | 8 AA Batteries |
| Memory Card Support | Up to 512GB SDXC |
| Display | 2-inch Color Viewing Screen |
| Dimensions (L x W x H) | 3.5 x 10.5 x 5.25 inches |
| Weight | 0.005 ounces (approx.) |
| Material | Plastic |
| Weather Resistance | IP54 |

Image: A detailed specification chart for the Spec Ops Elite HP5, outlining technical data.
Warranty and Support
The Browning Spec Ops Elite HP5 Trail Camera comes with a 1-Year Limited Warranty. This warranty covers defects in workmanship and materials under normal conditions of use. Browning will repair or replace the unit with a new or refurbished unit as needed.
For technical support, warranty claims, or additional product information, please visit the official Browning website or contact their customer service department. You can also visit the Browning Store on Amazon for more products and resources.


