1. Product Overview
The Klarstein CGCH6-Illuminosa-D is a 2-burner built-in gas hob designed for efficient and precise cooking. It features a durable stainless steel frame and a ceramic glass surface, making it suitable for both indoor kitchens and recreational vehicles. This appliance offers quick heat regulation and includes essential safety features for reliable operation.

Image 1.1: Top-down view of the Klarstein CGCH6-Illuminosa-D 2-burner gas hob with blue flames visible, showcasing its sleek black ceramic glass surface and two control knobs.
2. Safety Instructions
Please read all safety instructions carefully before installation and use. Failure to follow these instructions may result in property damage, personal injury, or death.
- Professional Installation: Gas appliances must be installed by a qualified and certified technician in accordance with local regulations and standards.
- Gas Type: Ensure the appliance is configured for the correct gas type (natural gas or liquid gas) before connection. Conversion kits may be required.
- Ventilation: Always ensure adequate ventilation in the area where the gas hob is installed and operated.
- Flame Failure Protection: This hob is equipped with a flame failure safety device that automatically cuts off the gas supply if the flame accidentally extinguishes, enhancing safety.
- Children and Pets: Keep children and pets away from the appliance during operation and while it is cooling down.
- Hot Surfaces: The hob surface and surrounding areas become hot during use. Use oven mitts or pot holders when handling cookware.
- Cleaning: Disconnect the appliance from the gas supply and ensure it is completely cool before cleaning.
3. Included Components
Upon unpacking, verify that all the following components are present:
- 1 x Klarstein 2-Burner Gas Hob Unit
- 1 x Mounting Material Set
- 2 x Cast Iron Pot Holders
- 1 x Multilingual User Manual
4. Installation
This gas hob is designed for built-in installation. Refer to the detailed diagrams and instructions in the multilingual user manual for precise cutout dimensions and mounting procedures. Gas connections must be performed by a certified professional.
4.1 Gas Connection
- The appliance is compatible with both natural gas and liquefied petroleum gas (LPG).
- Ensure the gas supply pressure matches the appliance's requirements.
- Use appropriate gas hoses and fittings that comply with local safety standards.
- After connection, check all joints for gas leaks using a soapy water solution. Never use an open flame.
4.2 Electrical Connection
The hob requires a 220-240 V ~ | 50/60 Hz electrical supply for the electronic ignition system. Ensure the electrical installation is grounded and protected by a suitable circuit breaker.

Image 4.1: A close-up view of a gas burner with a lit blue flame, illustrating the hob's flexibility to operate with either liquid or natural gas.
5. Operation
The Klarstein gas hob features intuitive rotary controls for easy and precise heat adjustment.
5.1 Lighting a Burner
- Place a suitable pan on the cast iron pot holder over the desired burner.
- Press down and turn the corresponding control knob counter-clockwise to the maximum flame setting.
- The electronic ignition will automatically spark, lighting the gas. Hold the knob down for a few seconds to activate the flame failure safety device.
- Once the flame is stable, release the knob. If the flame goes out, repeat the process.
5.2 Adjusting the Flame
After lighting, you can adjust the flame intensity by rotating the control knob between the maximum and minimum flame settings. The precise control allows for quick and efficient heat regulation.
5.3 Turning Off a Burner
To turn off a burner, turn the control knob clockwise until it clicks into the 'OFF' position. Ensure the flame is completely extinguished.
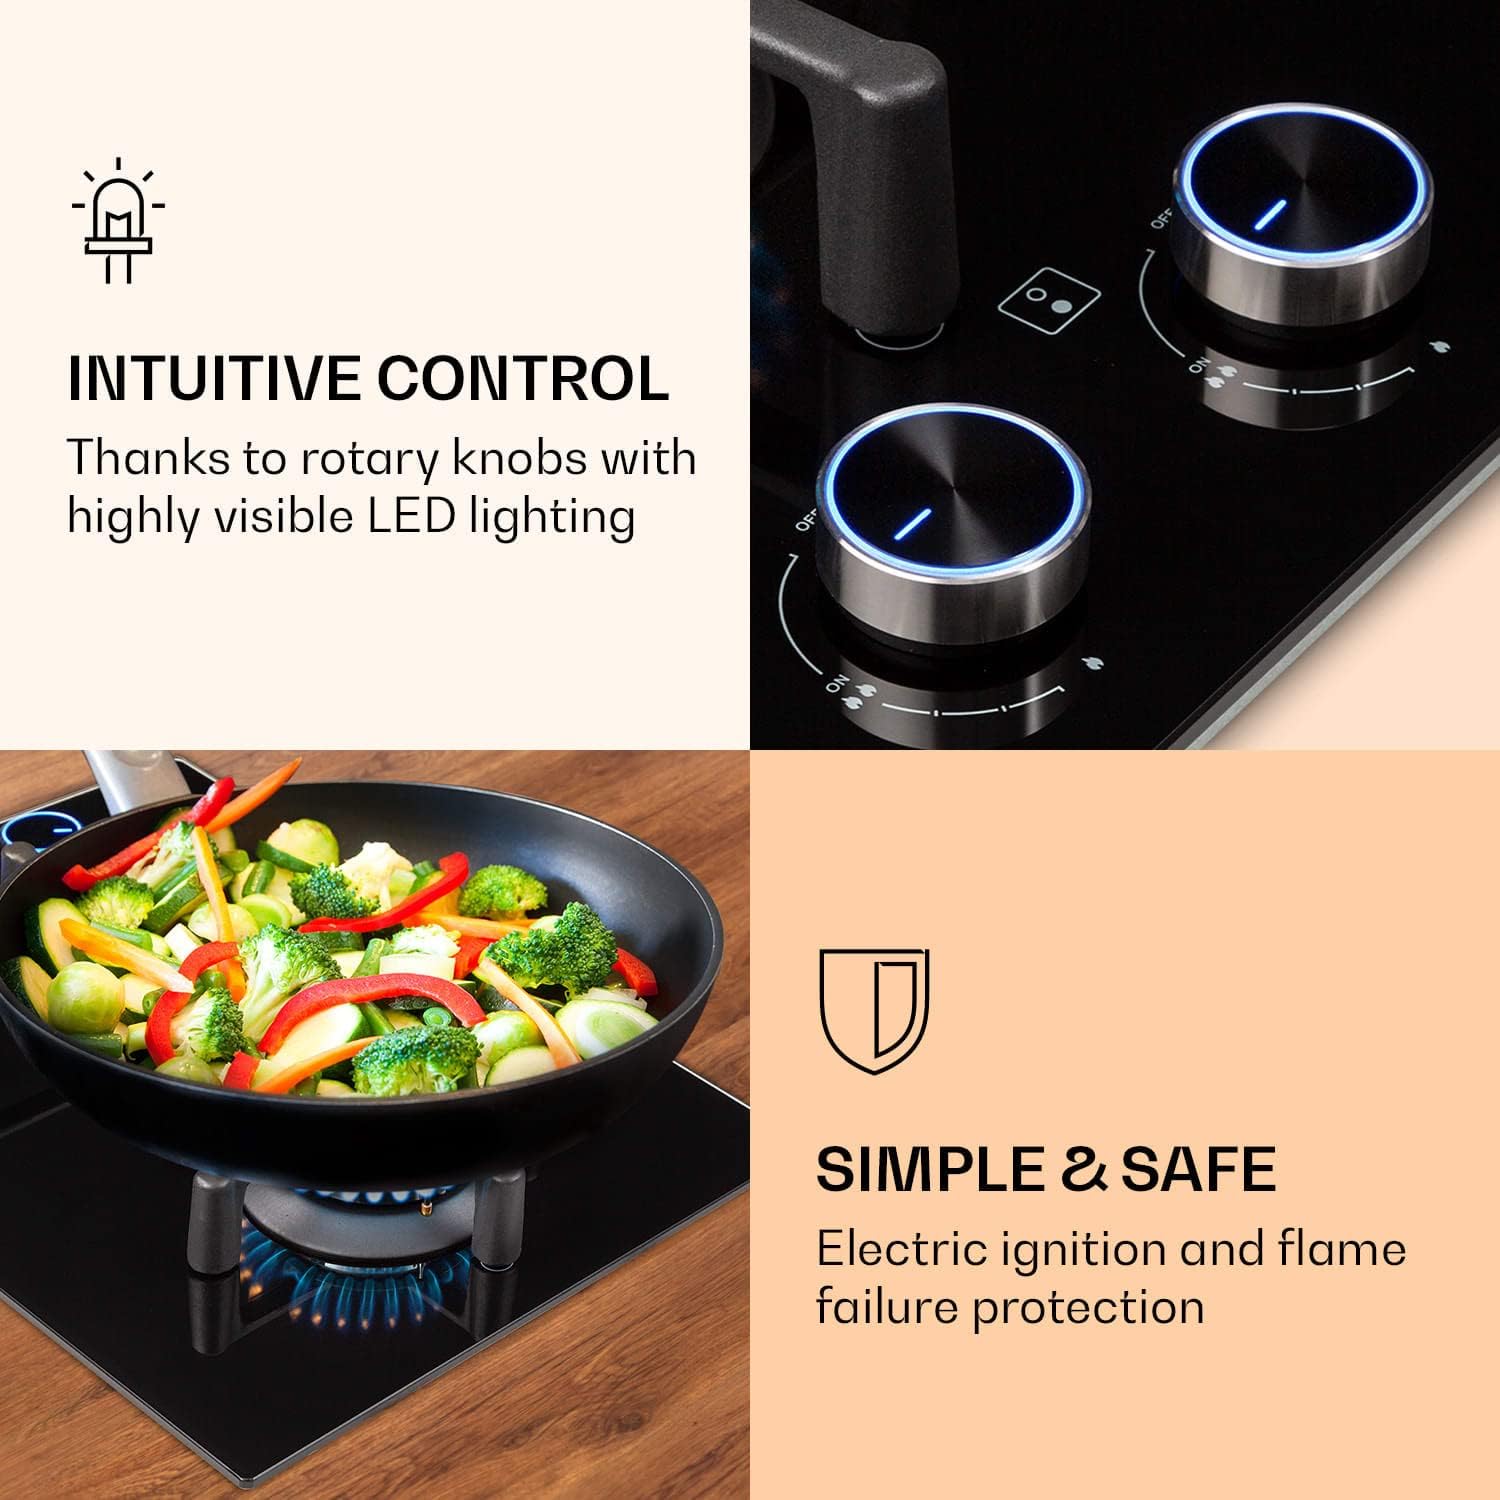
Image 5.1: A view of the hob's control knobs with illuminated LED rings, indicating intuitive control. Below, a pan sits on a burner, demonstrating the simple and safe electric ignition and flame failure protection.

Image 5.2: A close-up of a gas burner with a stable blue flame, highlighting the balanced heat distribution from the long-life Sabaf gas burners and the 4000 Watts total power (3000W main, 1000W auxiliary).

Image 5.3: A detailed view of the robust cast iron pot holders, designed for a perfect and secure hold of cookware, featuring integrated magnetic holders.
6. Maintenance and Cleaning
Regular cleaning and maintenance will ensure the longevity and optimal performance of your gas hob.
6.1 Cleaning the Ceramic Glass Surface
- Ensure the hob is completely cool before cleaning.
- Use a soft cloth or sponge with a mild detergent and warm water.
- For stubborn stains, use a ceramic hob cleaner. Avoid abrasive cleaners or scouring pads, as they can scratch the surface.
- Wipe dry with a clean cloth to prevent water spots.
6.2 Cleaning the Pot Holders and Burner Caps
- The cast iron pot holders and burner caps are removable for easy cleaning.
- Wash them in warm soapy water, rinse thoroughly, and dry completely before placing them back on the hob.
- Ensure burner caps are correctly positioned before re-using the hob.

Image 6.1: A hand wiping the black ceramic glass surface of the gas hob with a blue cloth, demonstrating the ease of cleaning due to its smooth surface and removable pot holders.
7. Troubleshooting
If you encounter issues with your gas hob, refer to the following common troubleshooting steps. For complex problems, contact a qualified technician.
7.1 Burner Not Lighting
- No Gas Supply: Check if the main gas valve is open and if there is gas in the cylinder (for LPG).
- Ignition Spark: Ensure the ignition electrodes are clean and dry. If there's no spark, check the electrical connection.
- Burner Cap Misalignment: Ensure the burner cap and crown are correctly seated.
7.2 Uneven Flame
- Clogged Burner Ports: Clean the burner ports with a small brush or needle to remove any food debris.
- Burner Cap Position: Verify that the burner cap is correctly placed.
7.3 Gas Odor
- Immediate Action: If you smell gas, immediately turn off all burners and the main gas supply. Open windows and doors for ventilation.
- Do Not: Do not operate any electrical switches, light matches, or use phones near the appliance.
- Contact Professional: Evacuate the area and contact your gas supplier or a qualified technician immediately.
8. Specifications
| Feature | Specification |
|---|---|
| Brand | Klarstein |
| Model Number | CGCH6-Illuminosa-D |
| Dimensions (L x W x H) | 36 x 51 x 14 cm |
| Weight | 8.8 kg |
| Installation Type | Built-in |
| Number of Burners | 2 |
| Total Power | 4000 Watts |
| Fuel Type | Natural Gas, Liquid Gas |
| Material | Cast Iron (grates), Vitroceramic (surface) |
| Ignition System | Electronic |
| Control Type | Rotary Knob |
| Power Supply | 220-240 V ~ | 50/60 Hz |
9. Warranty and Support
For warranty information, please refer to the documentation provided with your purchase or contact Klarstein customer service. Keep your proof of purchase for any warranty claims.
For technical support or inquiries, please consult the multilingual user manual included with your product or visit the official Klarstein website for contact details.


