
Headerbs Headerbsc4twepo6g98511
Contents
Motion Pro Tire Lever Tool Set User Manual
Model: Headerbsc4twepo6g98511
Introduction
Thank you for choosing the Headerbs Motion Pro Tire Lever Tool Set. This set includes two high-quality tire lever spoons designed for efficient and safe tire changes on motorcycles and bicycles. Crafted from hardened stainless steel with a polished chrome finish, these tools are built for durability, weather resistance, and rust prevention, ensuring reliable performance for both garage and on-the-go repairs.

Image: The Headerbs Motion Pro Tire Lever Tool Set, featuring two tire levers with ergonomic blue handles and polished chrome ends.
Product Specifications
| Feature | Detail |
|---|---|
| Manufacturer | Headerbs |
| Brand | Headerbs |
| Product Weight | 380 g |
| Package Dimensions | 26.9 x 18.3 x 2.6 cm |
| Manufacturer Reference | Headerbsc4twepo6g98511 |
| Material | Hardened Stainless Steel with Polished Chrome Finish |
| Quantity | 2 pieces (tire lever spoons) |

Image: A single tire lever illustrating its approximate length of 265mm.
Setup and Preparation
Before attempting any tire change, ensure you have a clean, well-lit workspace. Gather all necessary tools, including your Headerbs tire levers, a valve core remover, a new inner tube (if applicable), tire lubricant, and a pump.
Pre-use Checklist:
- Inspect both tire levers for any signs of damage or manufacturing defects.
- Ensure the blue handles are securely attached and provide a firm grip.
- Confirm the tire levers are clean and free of debris to prevent scratching rims.
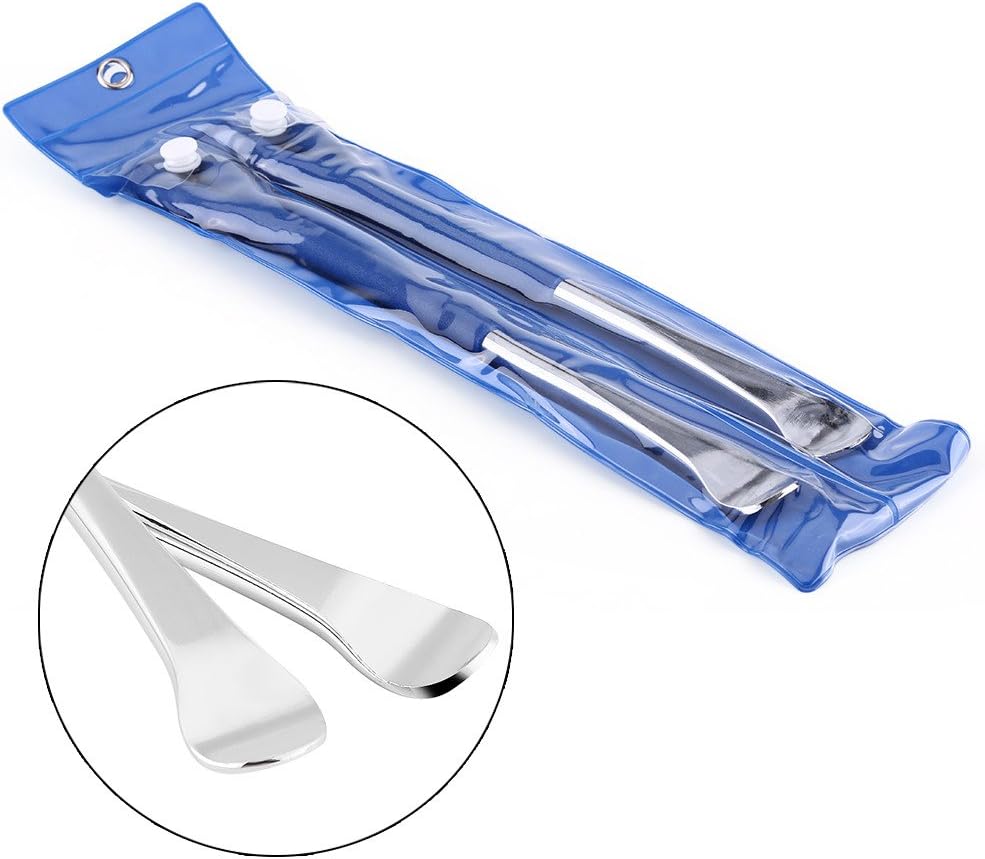
Image: The tire levers stored in their clear plastic pouch, indicating their compact and portable nature.
Operating Instructions
These tire levers are designed to assist in removing and installing tires on various wheels, particularly for motorcycles and bicycles. Always exercise caution to avoid damaging the tire, rim, or inner tube.
Step-by-Step Tire Removal:
- Deflate the Tire: Completely remove the valve core to ensure all air is out of the tire.
- Break the Bead: Push the tire bead away from the rim on both sides. This may require some force, especially on stubborn tires.
- First Lever Insertion: Insert the spoon end of one tire lever under the tire bead, ensuring it hooks onto the rim. Pry the bead over the rim edge.
- Second Lever Insertion: Hold the first lever in place. Approximately 6-8 inches away from the first lever, insert the spoon end of the second tire lever under the bead and pry it over the rim.
- Work Around the Rim: Continue working around the rim with the second lever, moving it along the bead while keeping the first lever in place. This will gradually peel the tire bead off the rim.
- Remove Inner Tube (if applicable): Once one side of the tire bead is off, carefully pull out the inner tube.
- Remove Second Bead: Repeat the process for the second tire bead, using the levers to pry it off the rim.
Step-by-Step Tire Installation:
- Lubricate: Apply a thin layer of tire lubricant or soapy water to the tire beads and rim edges.
- First Bead Installation: Place one side of the tire bead onto the rim, working it on by hand as much as possible.
- Insert Inner Tube (if applicable): Slightly inflate the inner tube to give it shape, then carefully insert it into the tire, aligning the valve stem with the rim's valve hole.
- Second Bead Installation: Begin working the second tire bead onto the rim. Use the tire levers to carefully pry the remaining portion of the bead over the rim edge. Be cautious not to pinch the inner tube.
- Check for Pinches: Before fully inflating, push the tire bead away from the rim around the entire circumference to ensure the inner tube is not pinched between the tire and the rim.
- Inflate: Reinstall the valve core and inflate the tire to the recommended pressure.
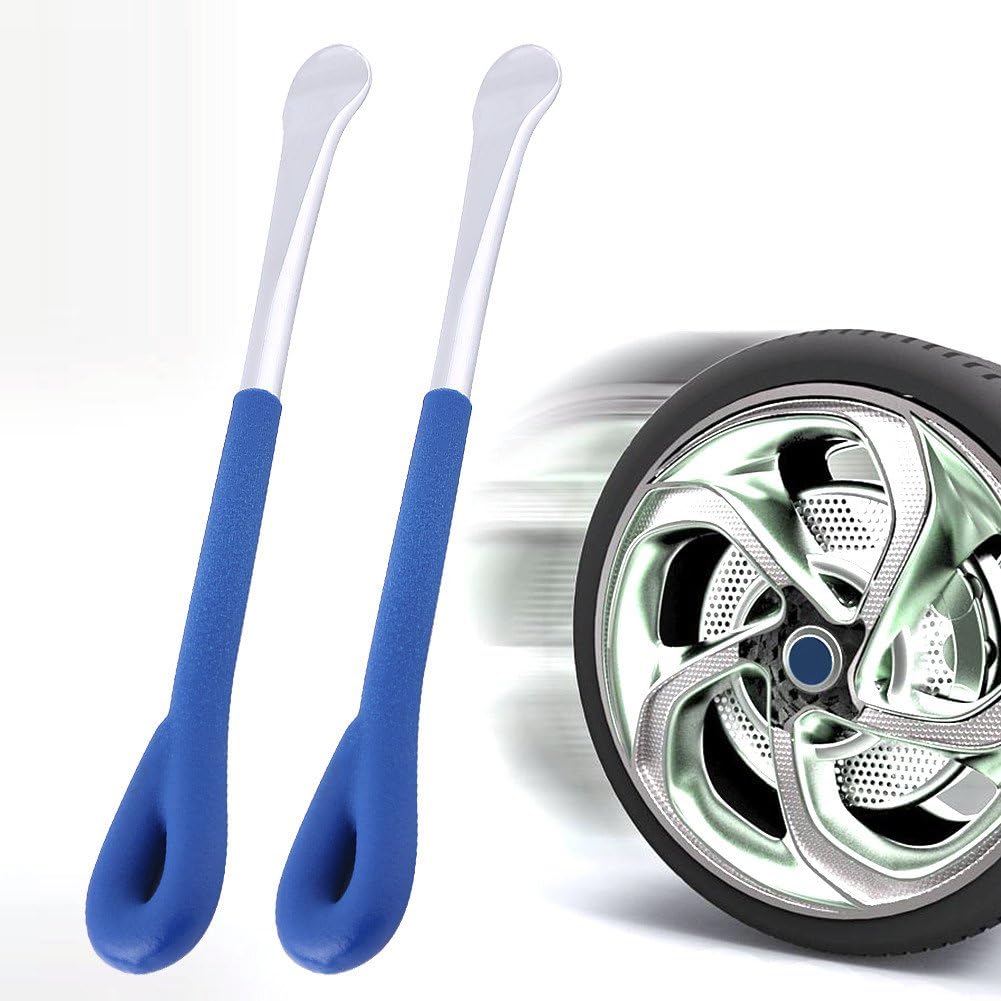
Image: The tire levers positioned near a car wheel, demonstrating their application in tire maintenance.

Image: The tire levers shown in context with a motorcycle wheel, highlighting their suitability for motorcycle tire changes.
Maintenance and Care
Proper maintenance will extend the life of your Headerbs tire levers and ensure their continued performance.
- Cleaning: After each use, wipe the tire levers clean with a damp cloth to remove any dirt, grease, or tire lubricant residue.
- Drying: Ensure the tools are completely dry before storage to prevent water spots or potential corrosion, despite their rust-resistant properties.
- Storage: Store the tire levers in a dry place, preferably in their original plastic pouch or a tool roll, to protect them from scratches and impacts.
- Inspection: Periodically inspect the spoon ends for any signs of wear, bending, or burrs that could damage tires or rims.

Image: A close-up view of the spoon ends of the tire levers, showing their polished chrome finish and design for prying.
Troubleshooting
While these tire levers are straightforward to use, some common issues may arise during tire changes.
Common Issues and Solutions:
- Difficulty Prying Bead:
- Ensure the tire is fully deflated.
- Apply more tire lubricant or soapy water to the bead and rim.
- Ensure the bead is pushed into the drop center of the rim opposite where you are prying.
- Pinching Inner Tube:
- Use smaller bites with the tire lever.
- Ensure the inner tube is slightly inflated and pushed fully into the tire before installing the second bead.
- Be extra careful when the lever is near the valve stem.
- Scratching Rim:
- Use rim protectors (not included) if your rims are delicate.
- Ensure the lever is properly hooked under the bead and not scraping the rim edge.
- Apply sufficient lubricant.
Warranty and Support
Headerbs is committed to providing high-quality products. While specific warranty details are not provided in this manual, we encourage customers to refer to the product listing or contact Headerbs customer support for any warranty-related inquiries.
Customer Support:
If you have any questions regarding the installation, quality, or use of your Headerbs Motion Pro Tire Lever Tool Set, please do not hesitate to contact us. We are dedicated to ensuring your satisfaction and will make every effort to resolve any issues you may encounter.
For further assistance, please visit the official Headerbs store on Amazon or contact their customer service directly through the platform where you purchased the product.

Image: The Headerbs brand logo, representing the manufacturer of the tire lever tool set.
Ask a question about this manual
Ask about setup, troubleshooting, compatibility, parts, safety, or missing instructions. Manuals+ will review the question and use this page’s manual context to help answer it.