
Introduction
This manual provides comprehensive instructions for the setup, operation, and maintenance of your Tasco Low Glow Trail Camera. Designed for capturing wildlife and for security purposes, this camera offers 12MP photos and 720P video, a 50-foot flash range, and a long battery life. Please read this manual thoroughly before using your camera to ensure optimal performance and longevity.

Image: The Tasco Low Glow Trail Camera package includes two cameras, 16 AA batteries, and two 32GB Transcend SD cards.
Package Contents
- 2 x Tasco Low Glow Trail Cameras
- 16 x Energizer Premium Max AA Batteries
- 2 x Transcend 32GB SD Memory Cards
- 2 x Mounting Straps
Setup
1. Battery Installation
The camera requires 8 AA batteries for operation.
- Open the camera casing by unlatching the side clips.
- Locate the battery tray.
- Insert 8 AA batteries into the tray, ensuring correct polarity (+/-).
- Slide the battery tray back into the camera and close the casing securely.

Image: Proper installation of AA batteries into the camera's removable battery tray.
2. SD Card Installation
The camera supports SD cards up to 32GB. Two 32GB Transcend SD cards are included.
- With the camera casing open, locate the SD card slot.
- Insert the 32GB SD card into the slot until it clicks into place. Ensure the card is inserted in the correct orientation.
- To remove, gently push the card in until it springs out.
3. Mounting the Camera
The camera can be mounted using the included strap.
- Thread the mounting strap through the slots on the back of the camera.
- Secure the camera to a tree, pole, or other stable surface at the desired height and angle.
- Ensure the camera is stable and pointed towards the area you wish to monitor.

Image: Examples of mounting the camera using the provided strap on various surfaces.
Operating Instructions
Powering On/Off and Mode Selection
The camera typically has a switch for ON, OFF, and SETUP modes.
- OFF: Camera is powered off.
- SETUP: Allows access to the camera's menu for settings configuration.
- ON: Camera is active and ready to capture images/videos based on settings.
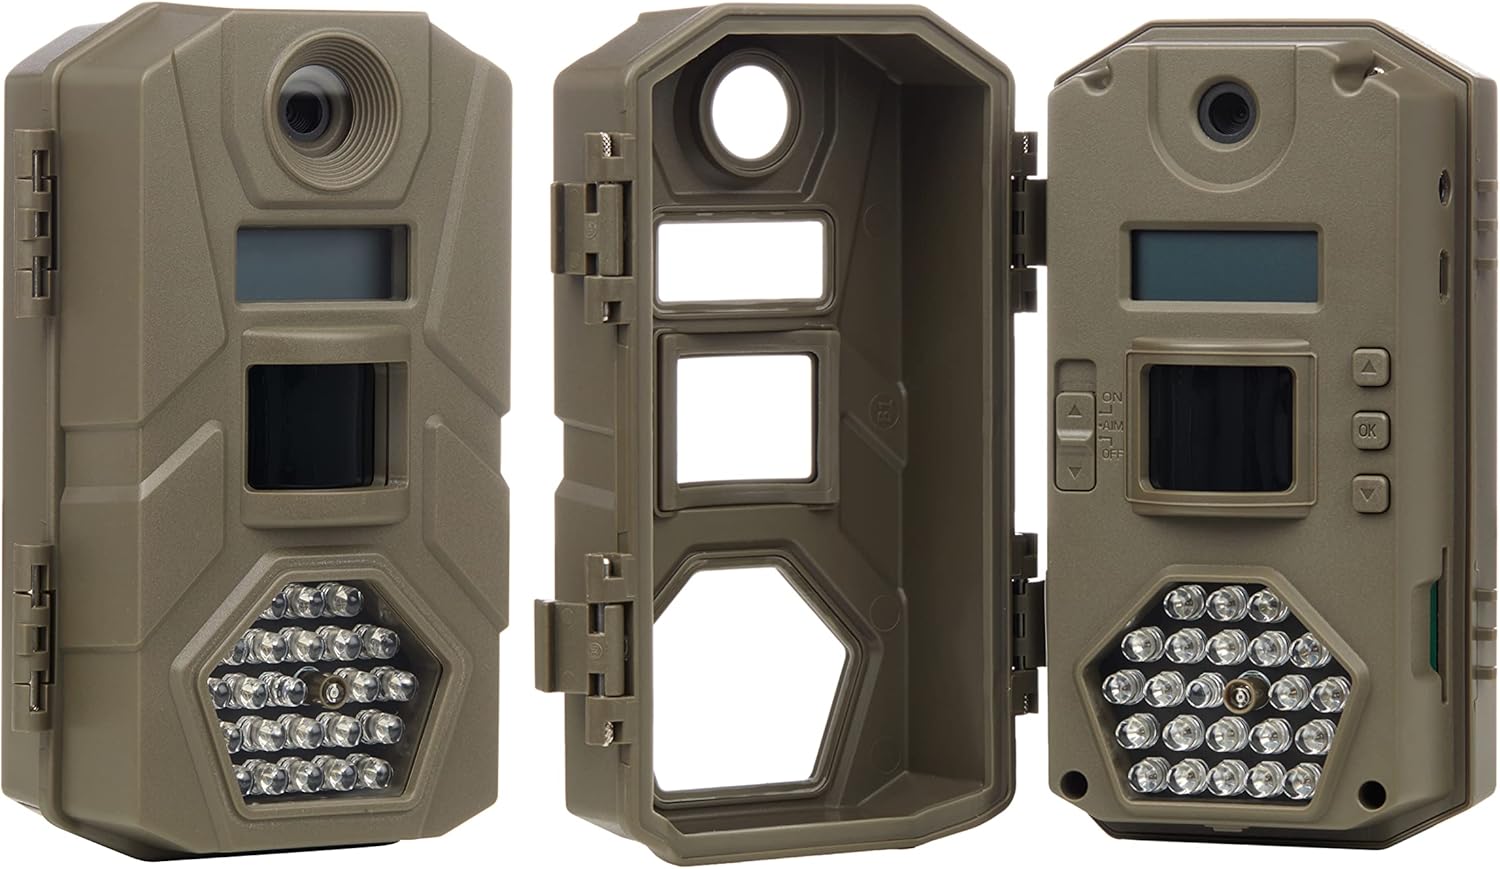
Image: Various views of the camera, including the internal control panel for mode selection.
Capture Modes
The Tasco Low Glow Trail Camera supports multiple capture modes:
- Photo Mode: Captures still images at 12MP resolution.
- Video Mode: Records video at 720P resolution.
- Burst Mode: Captures multiple photos in quick succession.
- Time-Lapse Mode: Captures images at set intervals over a period.
These modes can be configured in the SETUP menu. The camera features a 1-second trigger speed and 5-second recovery time for efficient capture.
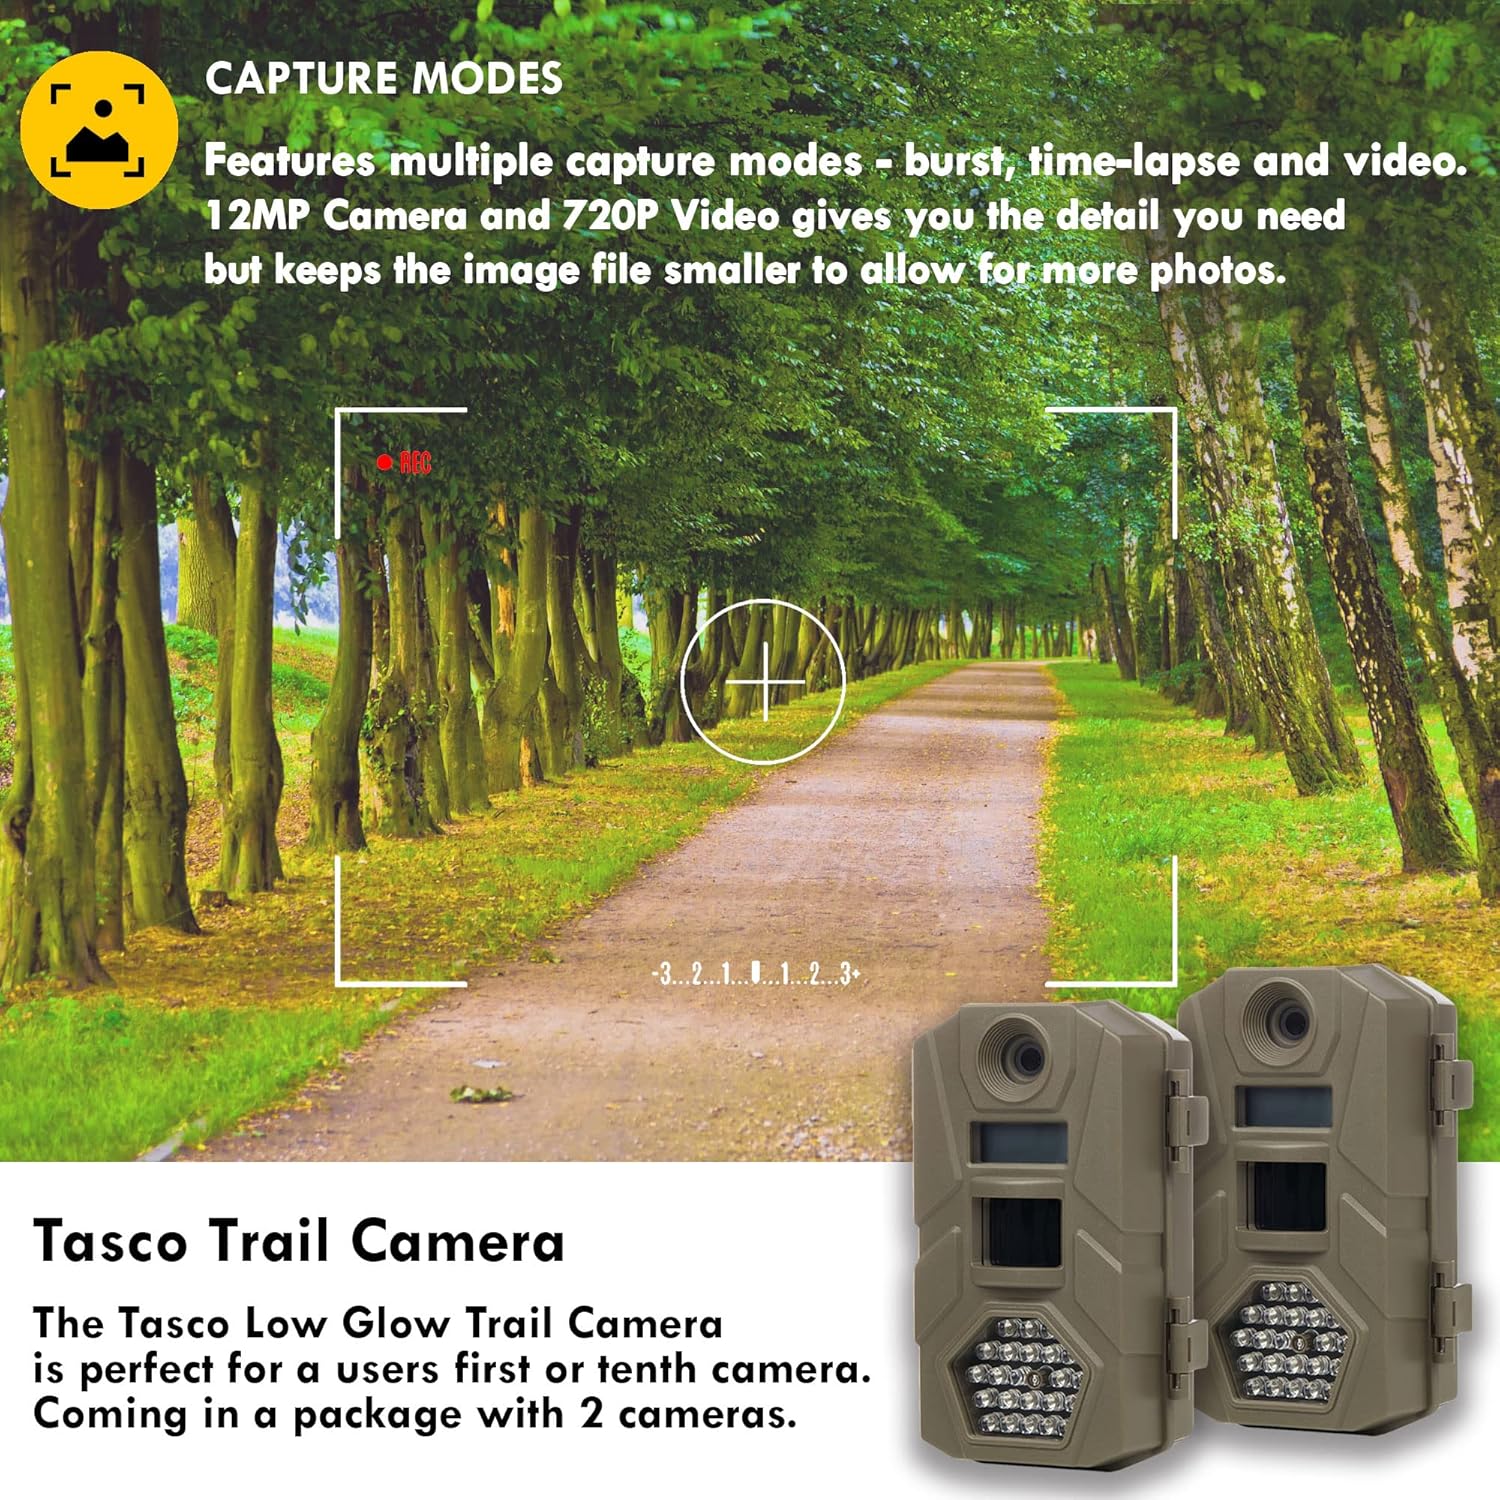
Image: The camera supports various capture modes including burst, time-lapse, and video.

Image: The camera's quick trigger speed ensures moving subjects are captured effectively.

Image: The camera captures 12MP images and 720P video, with time and date stamping.
Viewing and Transferring Files
To view captured images and videos, remove the SD card from the camera and insert it into a compatible device (e.g., computer, card reader). Files can then be transferred to your computer for storage and viewing.
Maintenance
- Cleaning: Use a soft, dry cloth to clean the camera lens and housing. Avoid abrasive cleaners.
- Battery Life: The camera offers approximately 6 months of battery life. Replace batteries when the low battery indicator appears or performance degrades. Always use fresh, high-quality AA alkaline batteries.
- SD Card Management: Regularly format your SD card to ensure optimal performance and prevent data corruption. Back up important files before formatting.
- Weather Protection: While designed for outdoor use, ensure the camera casing is securely closed to protect against moisture and dust.
Troubleshooting
| Problem | Possible Cause | Solution |
|---|---|---|
| Camera not powering on | Low or dead batteries; incorrect battery installation; camera switch in OFF position. | Replace batteries with fresh ones, ensuring correct polarity. Check if the switch is in ON or SETUP mode. |
| No images/videos captured | SD card full or corrupted; incorrect settings; sensor obstruction; trigger speed too slow for moving objects. | Format or replace SD card. Verify capture mode and sensitivity settings. Ensure clear line of sight for the sensor. Consider camera placement relative to subject movement. |
| Poor image/video quality | Dirty lens; low light conditions; subject too far or too close; camera shake. | Clean the lens. Ensure adequate lighting or use flash effectively. Position camera appropriately for subject distance. Securely mount the camera. |
| Water inside camera casing | Casing not properly sealed; damaged gasket. | Ensure all latches are securely closed. Inspect the rubber gasket around the camera opening for damage. If damaged, contact support. |
Specifications
| Feature | Detail |
|---|---|
| Effective Still Resolution | 12 MP |
| Video Capture Resolution | 720p |
| Flash Range | 50 feet |
| Flash Type | Low Glow/Red Infrared |
| Trigger Speed | 1 second |
| Recovery Time | 5 seconds |
| Battery Type | 8 x AA (Alkaline recommended) |
| Estimated Battery Life | Up to 6 months |
| Memory Type | SD Card (up to 32GB) |
| International Protection Rating | IP54 |
| Mounting Type | Wall Mount (Strap included) |
| Connectivity Protocol | Wi-Fi |
| Dimensions (Package) | 9.37 x 9.02 x 3.39 inches |
| Item Weight | 2.33 pounds |
Warranty and Support
For warranty information and technical support, please refer to the official Tasco website or contact their customer service. Keep your purchase receipt as proof of purchase.
Tasco Official Website: Visit the TASCO Store on Amazon