
Funsicle Oasis Designer 14ft x 48in Round Above Ground Pool
Funsicle 14ft x 48in Round Oasis Designer Above Ground Pool Instruction Manual
Model: Oasis Designer 14ft x 48in Round Pool
Brand: Funsicle
Introduction
This manual provides essential instructions for the safe assembly, operation, and maintenance of your Funsicle 14ft x 48in Round Oasis Designer Above Ground Pool. Please read this manual thoroughly before setting up and using your pool to ensure proper function and longevity. Keep this manual for future reference.
Important Safety Information
WARNING: Failure to follow these instructions can result in serious injury or death.
- Adult supervision is required at all times when children are in or near the pool.
- Do not dive or jump into the pool. The pool depth is 48 inches (1.22 meters), which is not sufficient for diving.
- Ensure the pool is set up on a firm, level surface free of sharp objects.
- Keep electrical cords and equipment away from water. Always use a GFCI (Ground Fault Circuit Interrupter) with the filter pump.
- Secure the pool area to prevent unsupervised access, especially by young children.
- Regularly inspect the pool liner, frame, and all components for damage. Do not use if damaged.
- Maintain proper water chemistry to ensure a safe and healthy swimming environment.
Components List
Before beginning assembly, verify that all parts listed below are present and undamaged. If any parts are missing or damaged, contact Funsicle customer support.
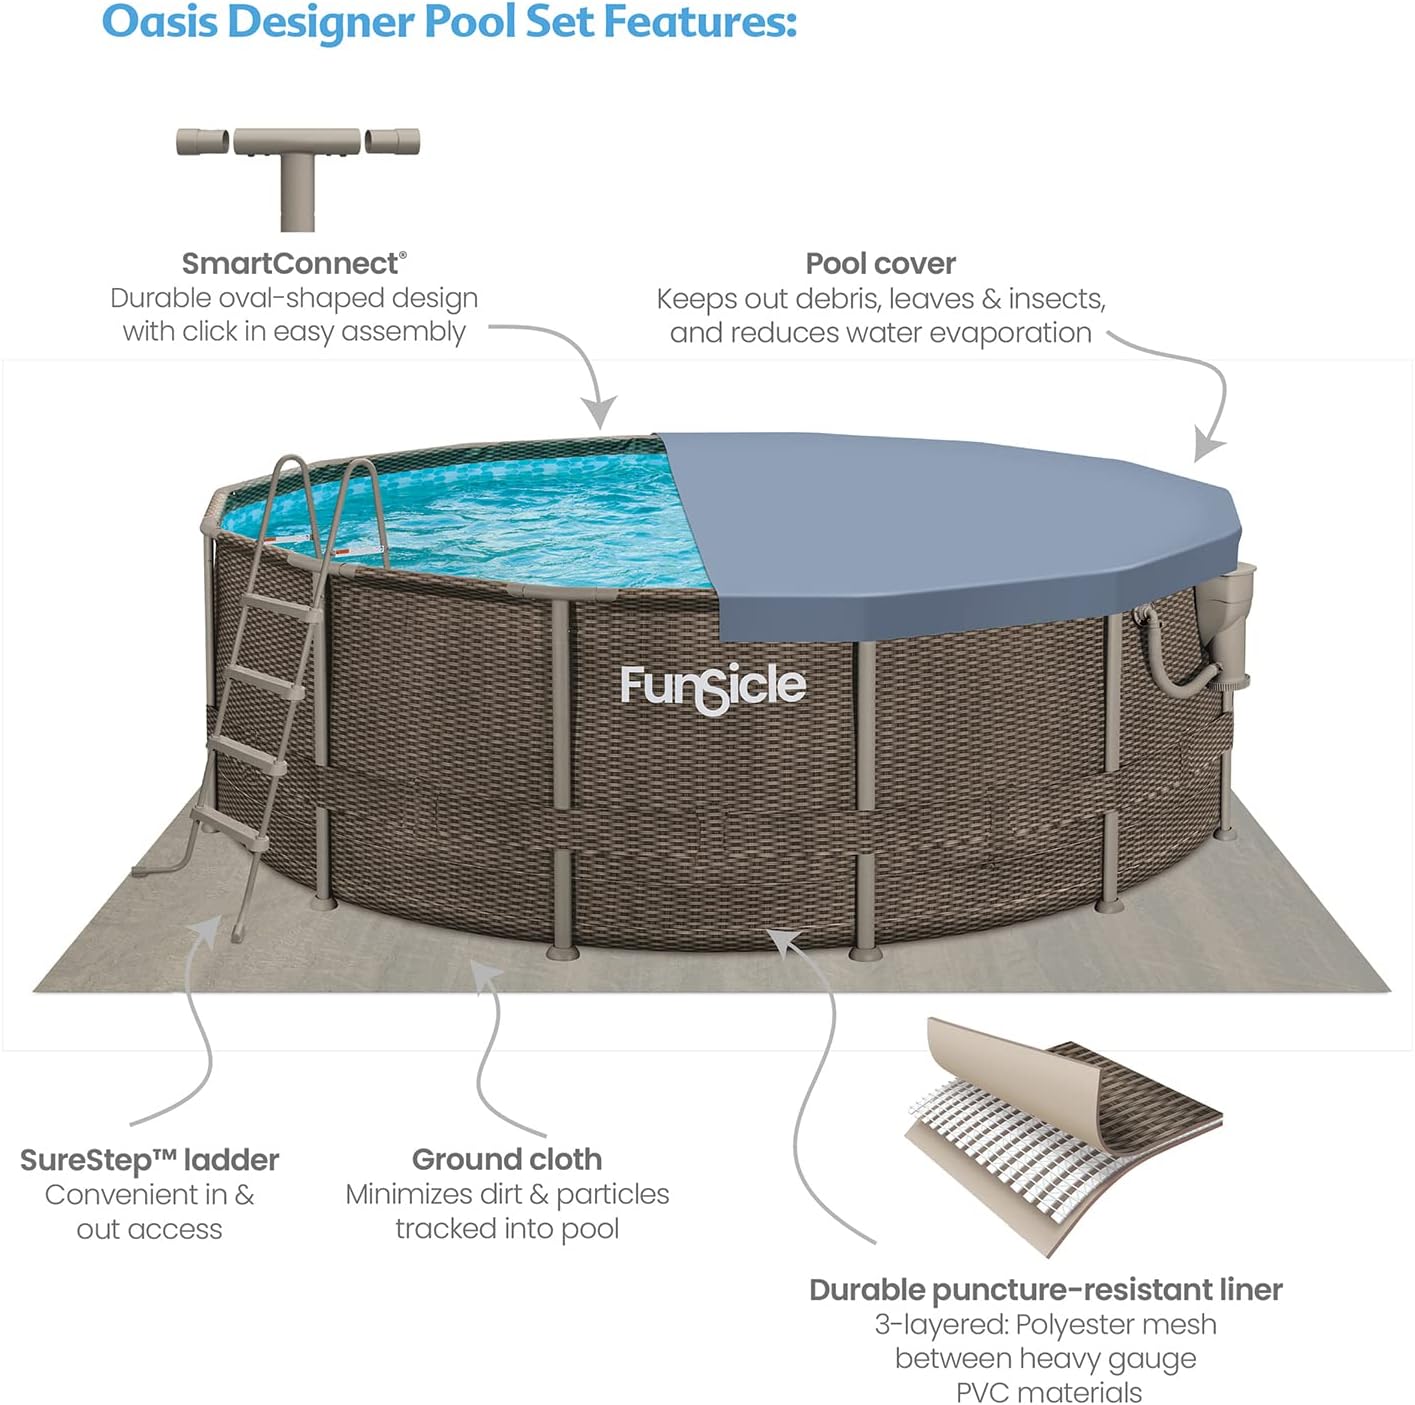
- Pool Liner (Durable non-phthalates liner with rattan design)
- SmartConnect™ Frame Poles (Ultra-strong oval metal frame with anti-corrosive matte finish)
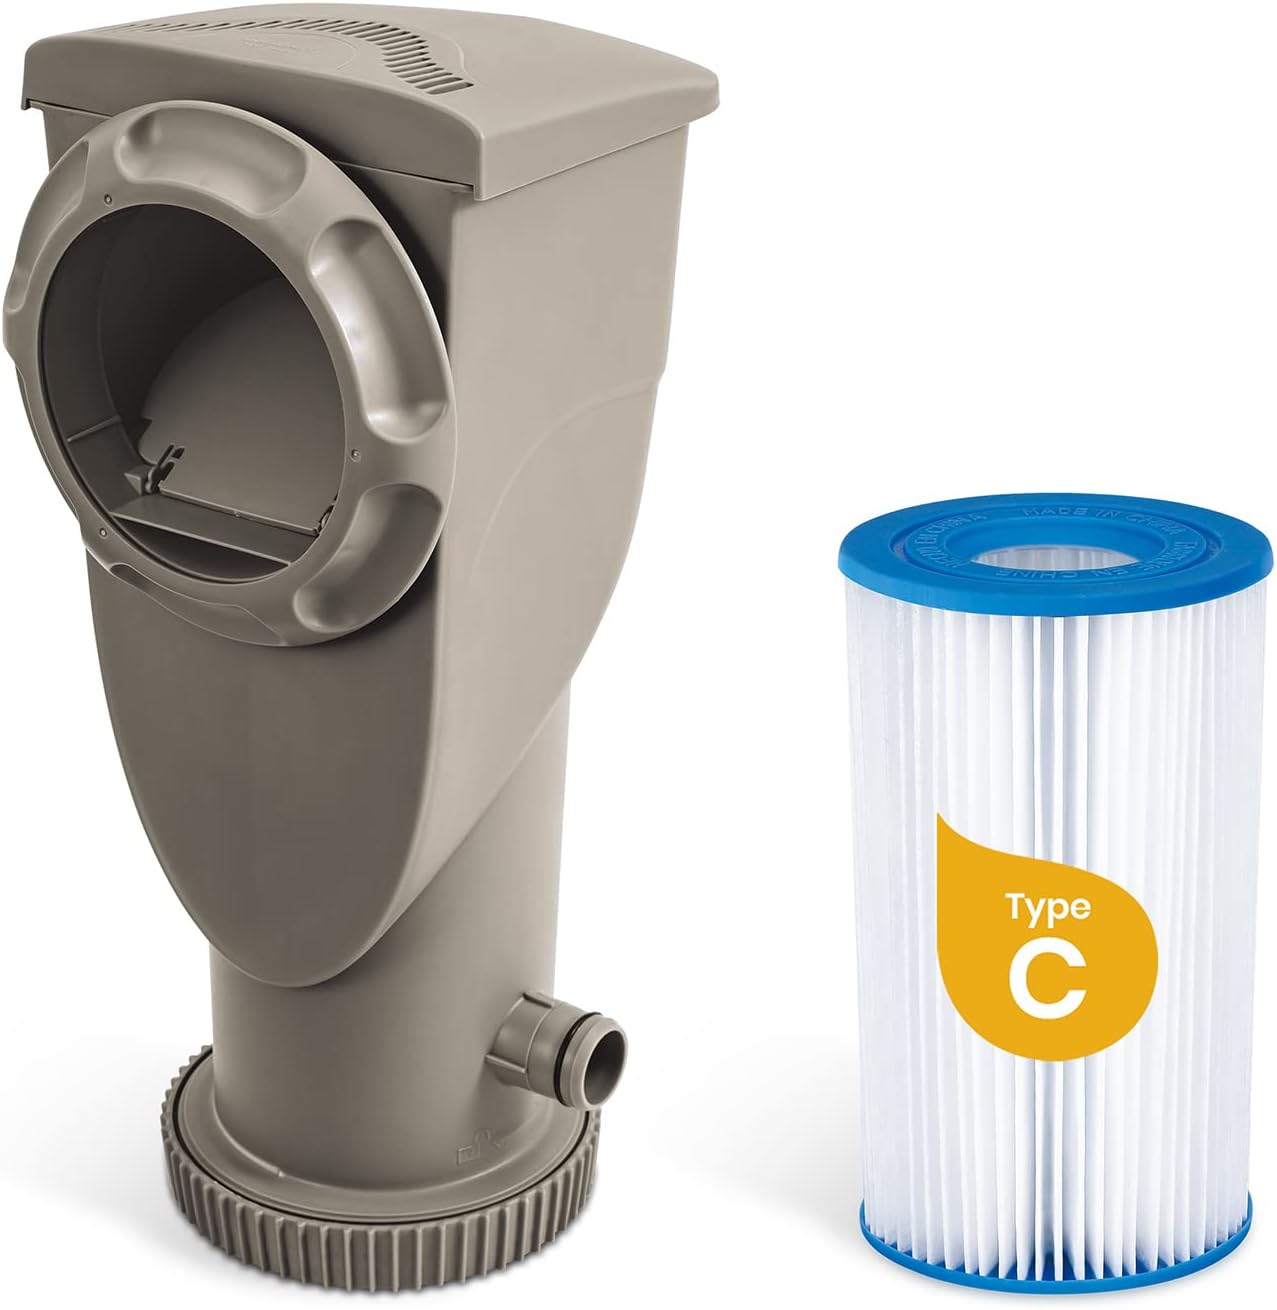
- SFX1000 SkimmerPlus® Filter Pump (with GFCI)
- Type C Filter Cartridge
- SureStep™ Ladder
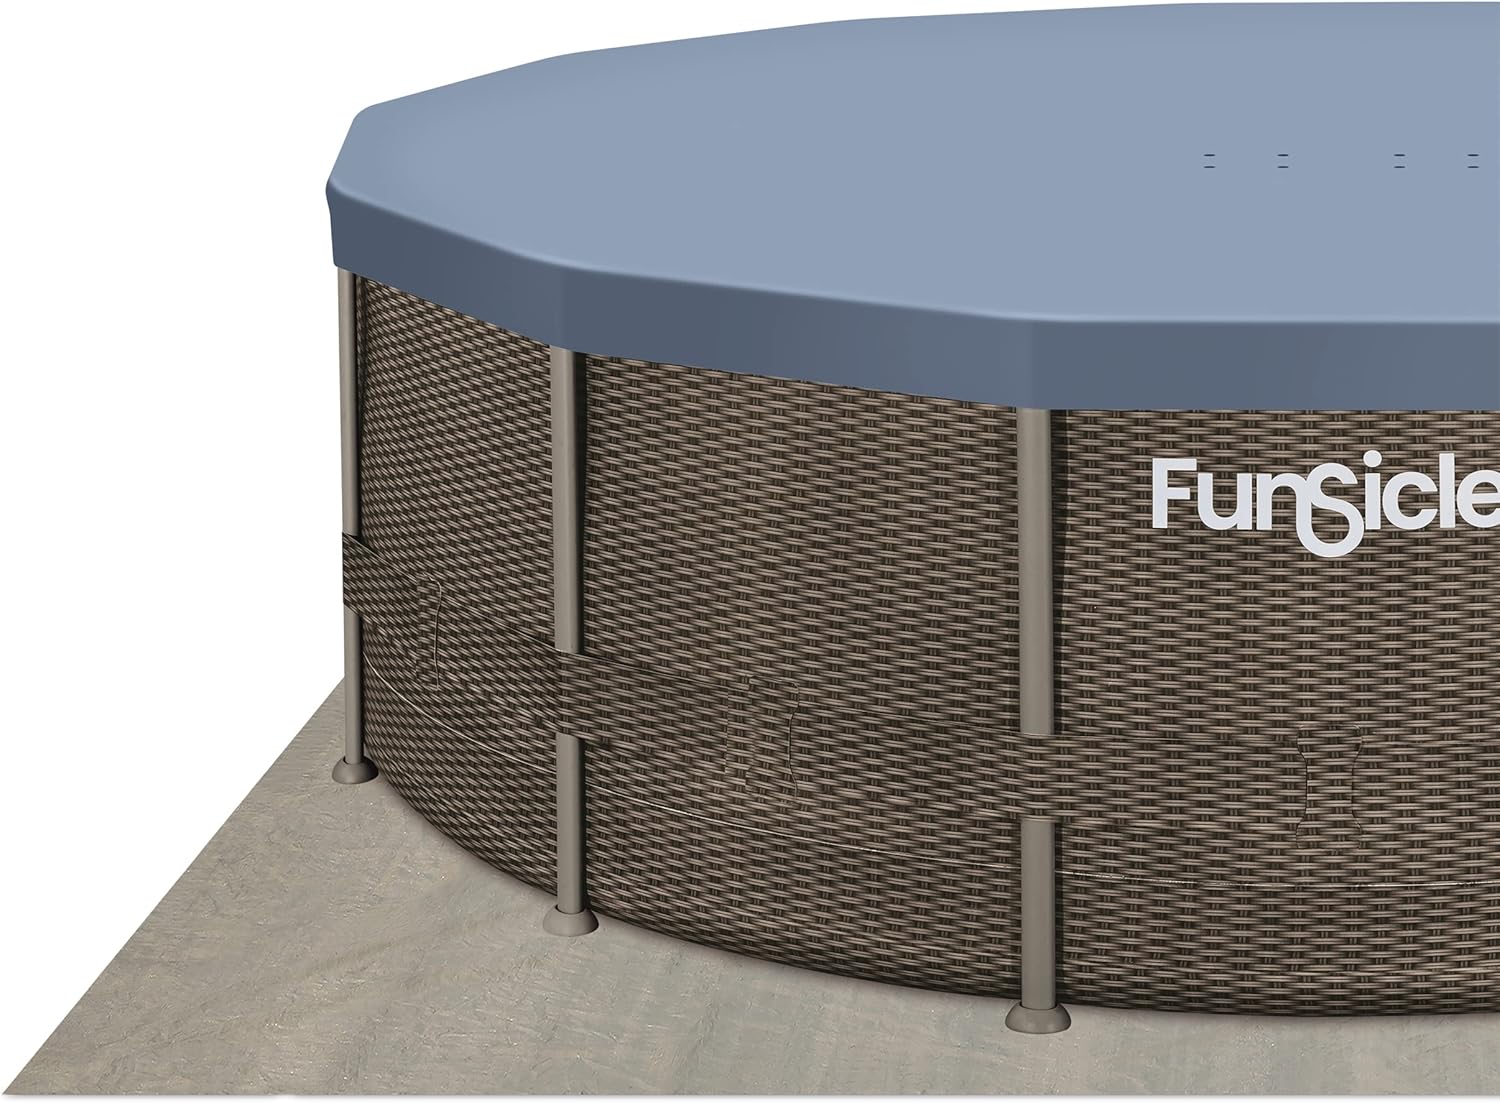
- Pool Cover
- Ground Cloth
- Deluxe Maintenance Kit (includes vacuum, skimmer net, pole)
- Repair Patch
- Hoses and Clamps for Filter Pump



Setup Instructions
1. Site Selection and Preparation
- Choose a level, solid surface for your pool. The area must be free of sharp objects, rocks, or debris.
- Ensure the chosen site is away from overhead power lines, trees (to minimize debris), and structures that could be damaged by water.
- Clear the area of any vegetation. Level the ground if necessary; even a slight incline can cause significant stress on the pool structure.
- Lay out the ground cloth provided on the prepared site. This protects the pool liner from punctures.
2. Pool Assembly (SmartConnect™ Frame)
- Unfold the pool liner and spread it out on the ground cloth, ensuring the drain plug is positioned correctly for future draining.
- Identify the different frame poles. The SmartConnect™ poles feature a convenient snap-in design for easy assembly.
- Assemble the top rail first by connecting the horizontal poles. Insert the vertical support legs into the designated slots on the top rail.
- Ensure all connections are securely snapped into place. The frame should form a perfect circle.
- Gently pull the liner outwards to ensure it is centered and wrinkle-free within the frame.
3. Filter Pump and Ladder Installation
- Attach the SFX1000 SkimmerPlus® Filter Pump to the designated opening on the pool sidewall. Follow the pump's specific instructions for hose connections and clamping.
- Insert the Type C filter cartridge into the pump housing.
- Assemble the SureStep™ Ladder according to its separate instructions. Place the ladder securely on a level surface outside the pool, with the steps extending into the pool.
4. Filling the Pool
- Begin filling the pool with water. As the water level rises, smooth out any remaining wrinkles in the liner from the center outwards.
- Fill the pool to the recommended water line, typically indicated on the liner or in the pump manual. Do not overfill.
- Once filled, check for any leaks around the pump connections or liner.
Operating Your Pool
1. SkimmerPlus® Filter Pump Operation
- The SFX1000 SkimmerPlus® Filter Pump combines a skimmer and filter pump in one unit. The skimmer basket collects large debris like leaves and insects from the water surface.
- The filter cartridge captures smaller particles, ensuring clean water.
- Plug the pump into a GFCI-protected outlet. Run the pump for several hours daily to ensure adequate water circulation and filtration. The exact duration depends on pool usage and water conditions.
- Regularly check and empty the skimmer basket.


2. Water Chemistry
- Test your pool water regularly (daily or every other day) for pH, chlorine, and alkalinity levels using a pool test kit.
- Maintain pH levels between 7.2 and 7.6.
- Maintain chlorine levels between 1-3 ppm (parts per million).
- Add appropriate pool chemicals as needed, following the chemical manufacturer's instructions.
- Always add chemicals to water, never water to chemicals.
Maintenance
1. Daily Maintenance
- Remove floating debris with a skimmer net.
- Check and empty the skimmer basket.
- Run the filter pump for sufficient hours.
- Test water chemistry and adjust as necessary.
2. Weekly Maintenance
- Vacuum the pool floor using the deluxe maintenance kit to remove settled debris.
- Brush the pool walls to prevent algae growth.
- Backwash or clean the filter cartridge. For the Type C cartridge, remove and rinse thoroughly with a garden hose. Replace the cartridge every 2-4 weeks depending on usage.
3. Long-Term Maintenance / Winterization
- At the end of the swimming season, drain the pool completely using the drain plug.
- Clean the pool liner thoroughly with mild soap and water. Allow it to dry completely before folding.
- Disassemble the frame and pump. Clean and dry all components.
- Store all parts in a dry, protected area, away from extreme temperatures and pests.
Troubleshooting
| Problem | Possible Cause | Solution |
|---|---|---|
| Water is cloudy/dirty | Insufficient filtration; dirty filter cartridge; improper water chemistry. | Run pump longer; clean/replace filter cartridge; test and adjust water chemistry (chlorine, pH). |
| Pump not running | Not plugged in; GFCI tripped; motor issue. | Check power connection; reset GFCI; contact customer support if motor issue suspected. |
| Water leaking from pool | Hose connections loose; liner puncture. | Tighten hose clamps; locate and repair puncture with provided patch kit. |
| Algae growth | Low chlorine; high pH; insufficient circulation. | Shock treat with chlorine; adjust pH; brush walls; run pump more. |
Specifications
- Model: Funsicle Oasis Designer Above Ground Pool
- Dimensions: 14 feet (4.27 meters) diameter x 48 inches (1.22 meters) height
- Shape: Round
- Color: Dark Double Rattan
- Material: Durable 3-ply PVC with polyester mesh reinforcement
- Filter Pump: SFX1000 SkimmerPlus® Filter Pump (1000 GPH)
- Filter Cartridge Type: Type C
- Capacity: Approximately 4,000 gallons (15,140 liters) at 90% fill
Warranty and Customer Support
Funsicle products are manufactured to high-quality standards. For specific warranty details, please refer to the warranty card included with your product or visit the official Funsicle website. If you encounter any issues or require assistance, please contact Funsicle customer support:
Website: Visit the Funsicle Store on Amazon (for general inquiries and product information)
Contact Information: Refer to your product packaging or the Funsicle website for the most current customer service contact details (phone number, email).
Ask a question about this manual
Ask about setup, troubleshooting, compatibility, parts, safety, or missing instructions. Manuals+ will review the question and use this page’s manual context to help answer it.