
1. Introduction
This manual provides essential information for the safe and efficient installation, operation, and maintenance of your HOFTRONIC Milano Smart Home Recessed Mini Spots. Please read these instructions carefully before use and retain them for future reference.
The HOFTRONIC Milano Smart Home Recessed Mini Spots are designed for versatile indoor and outdoor applications, including living rooms, bedrooms, porches, and bathrooms. These 12V LED spots offer a warm white light (2700K) and feature smart control capabilities via smartphone or voice commands.

Image 1.1: HOFTRONIC Milano Smart Home Recessed Mini Spots kit.
2. Safety Information
WARNING: Electrical installation should only be performed by a qualified electrician. Always disconnect power at the main circuit breaker before installation, maintenance, or repair.
- Ensure the power supply voltage matches the product's requirements (230V AC for the transformer input, 12V DC output for the spots).
- Do not modify the product or its components. Unauthorized modifications may lead to electric shock, fire, or product damage.
- The spots are IP65 rated, meaning they are protected against dust ingress and low-pressure water jets from any direction. This makes them suitable for damp environments like bathrooms and outdoor covered areas like porches. However, they are not designed for submersion in water.
- Keep packaging materials out of reach of children.
- Avoid direct eye exposure to the LED light source.
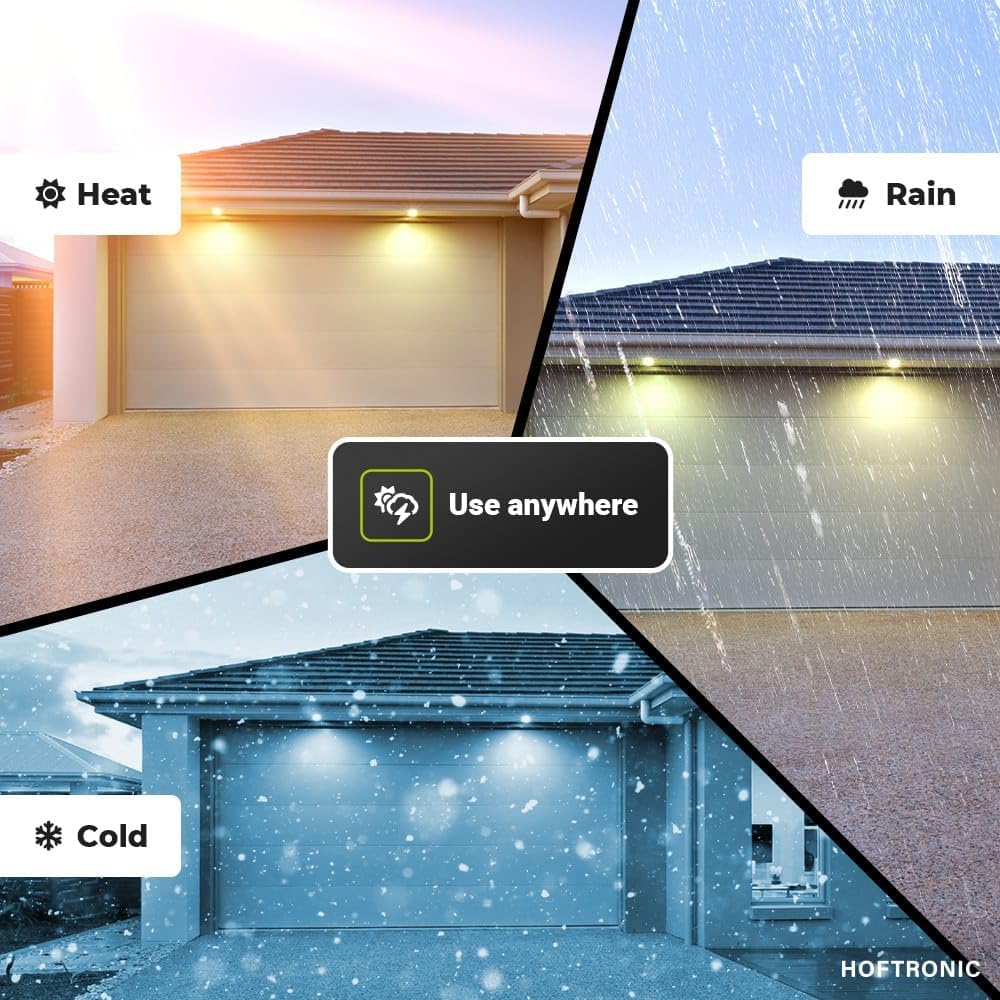
Image 2.1: The IP65 rating ensures durability in various environmental conditions.
3. Package Contents
Verify that all components are present and undamaged upon opening the package. If any items are missing or damaged, contact customer support immediately.
- 6 x HOFTRONIC Milano 12V 3W CREE LED Recessed Mini Spots (Stainless Steel)
- 1 x 12V Transformer (Power Driver)
- Installation accessories (e.g., connectors, mounting springs)
4. Product Overview
The HOFTRONIC Milano Smart Home Recessed Mini Spots are designed for ease of installation and smart control. Key features include:
- Smart Control: Connects via WiFi and Bluetooth for smartphone app control and voice control (Google Home, Amazon Alexa, Siri).
- Dimmable: Fully dimmable via your smartphone to create desired ambiance.
- Warm White Light: Emits 2700K warm white light with 200 lumens output per spot.
- Energy Efficient: Each spot consumes only 3 Watts, equivalent to a 25 Watt incandescent bulb.
- Compact Design: Mini saw size of 28mm and installation depth of 34mm for easy fitting in various ceilings.
- Durable Construction: Made from maintenance-free aluminum with a moisture-resistant powder coating, ensuring rust prevention and IP65 waterproof rating.
- Easy Connection: Each spot features a 5-meter cable with an ANP connector for tool-free connection to the transformer. The transformer connects directly to 230V mains.
- Long Lifespan: Equipped with CREE LED chips for a lifespan of 25,000 hours.
5. Setup and Installation
Follow these steps for proper installation of your recessed mini spots.
5.1 Preparing for Installation
- Disconnect Power: Turn off the main power supply at the circuit breaker before starting any electrical work.
- Choose Location: Select appropriate locations for your spots, ensuring sufficient space for the spot and transformer.
- Drill Holes: Using a 28mm saw, drill the necessary holes in the ceiling for each spot. The required installation depth is 34mm.
5.2 Wiring the Spots
- Connect Spots to Transformer: Each spot has a 5-meter cable with an ANP connector. Connect these connectors directly to the corresponding ports on the 12V transformer. Ensure a secure, tool-free connection.
- Connect Transformer to Mains: Connect the transformer's input cable to your 230V AC mains power supply. Ensure correct wiring (Live, Neutral, Earth) according to local electrical codes.

Image 5.1: Plug & Play connection of spots to the transformer.
5.3 Installing the Spots
- Insert Spots: Gently push each spot into its drilled hole. The spring clips will secure the spot in place.
- Position Transformer: Place the transformer in a suitable, accessible location, ensuring it is not covered or enclosed in a way that prevents proper ventilation.
- Restore Power: Once all connections are secure and spots are installed, restore power at the main circuit breaker.
5.4 Smart Home App Setup
- Download App: Download the recommended Smart Home app (refer to product packaging or manufacturer's website for specific app name) on your smartphone.
- Pair Devices: Open the app and follow the on-screen instructions to pair your HOFTRONIC Milano spots. The spots use WiFi and Bluetooth for a strong and consistent connection.
- Configure Settings: Once paired, you can access various smart features such as dimming, grouping, GEO-Fencing, timers, and schedules.
6. Operating Instructions
Your HOFTRONIC Milano Smart Home Recessed Mini Spots offer flexible control options.
6.1 App Control
Use the dedicated Smart Home app on your smartphone to control your lights:
- Dimming: Adjust the brightness of the spots from 0% to 100%.
- Grouping: Group multiple spots together to control them simultaneously. This is useful for managing lights in different rooms or areas.
- GEO-Fencing: Set up location-based automation, such as turning lights on when you arrive home.
- Timers & Schedules: Program specific times for lights to turn on/off or change brightness.

Image 6.1: Controlling lights via the Smart Home app.

Image 6.2: Dimmable LED chips controlled via the app.

Image 6.3: Grouping multiple spots for unified control.
6.2 Voice Control
Integrate your spots with popular voice assistants for hands-free control:
- Google Home: Link your Smart Home app to Google Home and use commands like "Hey Google, turn on the porch lights."
- Amazon Alexa: Enable the relevant skill in the Alexa app and control lights with voice commands.
- Siri: Utilize Siri Shortcuts to create custom voice commands for your lighting scenes.

Image 6.4: Voice control integration with smart assistants.
7. Maintenance
The HOFTRONIC Milano spots are designed for minimal maintenance due to their durable aluminum construction and powder coating.
- Cleaning: To clean the spots, ensure power is off. Use a soft, damp cloth to wipe the surface. Avoid abrasive cleaners or solvents that could damage the finish.
- Inspection: Periodically check the spots and wiring for any signs of damage or wear. If any issues are found, disconnect power and contact a qualified electrician or customer support.
- No User-Serviceable Parts: The LED chips are integrated and not user-replaceable. Do not attempt to open the spot housing.
8. Troubleshooting
If you encounter issues with your HOFTRONIC Milano spots, refer to the following table:
| Problem | Possible Cause | Solution |
|---|---|---|
| Spots do not light up | No power supply Loose connection Faulty transformer | Check circuit breaker and wall switch. Ensure all ANP connectors are securely plugged in. Verify transformer is receiving 230V input and providing 12V output. Contact support if faulty. |
| Spots flicker or dim inconsistently | Unstable power supply Poor connection App/firmware issue | Ensure stable power. Check connections. Restart the app and/or the spots (by cycling power). Check for app updates. |
| Cannot connect to app/Wi-Fi | Incorrect Wi-Fi password Router too far Bluetooth disabled App issue | Verify Wi-Fi password. Move router closer or use a Wi-Fi extender. Ensure Bluetooth is enabled on your smartphone. Restart the app and try pairing again. |
| Voice control not working | Not linked to voice assistant Incorrect commands Internet connectivity issue | Ensure the Smart Home app is correctly linked to Google Home/Alexa/Siri. Use precise commands as specified by the voice assistant. Check your internet connection. |
If the problem persists after attempting these solutions, please contact HOFTRONIC customer support.
9. Specifications
| Feature | Specification |
|---|---|
| Brand | HOFTRONIC |
| Model Number | 5438561 |
| Product Dimensions (L x W x H) | 3.6 x 3.6 x 3.4 cm (per spot) |
| Weight | 5 Kilograms (total package) |
| Material | Aluminum |
| Finish Type | Powder Coating |
| Color | Stainless Steel |
| Ingress Protection (IP) Rating | IP65 |
| Number of Spots | 6 |
| Light Source Type | LED (CREE chips) |
| Wattage (per spot) | 3 Watts |
| Luminous Flux (per spot) | 200 lumens |
| Incandescent Equivalent | 25 Watts |
| Color Temperature | 2700 Kelvin (Warm White) |
| Dimmable | Yes (via Smart Home app) |
| Input Voltage (Transformer) | 230 Volts AC |
| Output Voltage (Spots) | 12 Volts DC |
| Cable Length (per spot) | 5 meters (with ANP connector) |
| Installation Depth | 34 mm |
| Saw Size | 28 mm |
| Lifespan | 25,000 hours |
| Energy Efficiency Class | G |

Image 9.1: Dimensions of the HOFTRONIC Milano Mini Spot.

Image 9.2: Dimensions of the HOFTRONIC 12V Power Driver (Transformer).

Image 9.3: Energy Label for Model 5438561. For more details, visit EPREL Database.

Image 9.4: Product Data Sheet.
10. Warranty and Support
HOFTRONIC provides a 2-year warranty for these Milano Smart Home Recessed Mini Spots. This warranty covers defects in materials and workmanship under normal use.
- Defects will be repaired free of charge within the warranty period.
- The warranty does not cover damage caused by improper installation, misuse, accidents, or unauthorized modifications.
For warranty claims, technical assistance, or any questions regarding your product, please contact HOFTRONIC customer support. We aim to respond to all inquiries within 24 hours.
Contact Information: Please refer to the HOFTRONIC official website or your purchase documentation for the most up-to-date contact details.