
1. Introduction
Thank you for purchasing the EZVALO Multifunctional Digital Alarm Clock. This device combines an alarm clock, FM radio, Bluetooth speaker, wireless phone charger, night light, and USB-C PD fast charger into one compact unit. This manual provides detailed instructions for setup, operation, and maintenance to ensure optimal performance and longevity of your product.
2. Safety Information
- Read all instructions carefully before use.
- Keep the device away from water, moisture, and high temperatures.
- Do not disassemble or attempt to repair the device yourself. Contact customer support for assistance.
- Ensure the power adapter is compatible with your local power supply.
- Avoid placing metal objects, pop sockets, or credit cards on the wireless charging pad to prevent interference or damage.
- Use only the provided power adapter.
3. Package Contents
- EZVALO Digital Alarm Clock
- Power Adapter
- User Manual
4. Product Overview
The EZVALO Digital Alarm Clock features a sleek design with intuitive controls for its various functions. Below is an illustration of the device and its key components.

Figure 1: Top view of the EZVALO Digital Alarm Clock, highlighting the wireless charging pad and control buttons.
Control Panel:
- Scrolling Wheel: Adjusts volume.
- Alarm Setting Button: Enters alarm setting mode.
- Clock Setting Button: Press once to enter time setting mode. Press and hold to switch between 12-hour and 24-hour format.
- Snooze Button: Press to snooze; press and hold to turn off the alarm.
- Brightness Adjustment Button: Cycles through the brightness settings of the display. Press and hold to turn on and off the halo light.
- Mode Switch: Cycles through speaker modes: Bluetooth mode / FM Radio Mode / Speaker off.
- Thumbwheel Switch: In Bluetooth mode, go to the previous or next song. Press for play/pause. In FM Radio mode, go to the previous or next channel. Hold down for channel auto-scan. In Time setting mode, set the clock.

Figure 2: Front view of the EZVALO Digital Alarm Clock showing the time display and fabric finish.

Figure 3: Rear view of the EZVALO Digital Alarm Clock, illustrating the USB-C and USB-A charging ports.
5. Setup
5.1 Power Connection
Connect the provided power adapter to the DC IN port on the back of the alarm clock and plug it into a wall outlet. The display will light up.
5.2 Setting the Time
- Press the Clock Setting Button once to enter time setting mode. The hour digits will flash.
- Use the Thumbwheel Switch to adjust the hour.
- Press the Clock Setting Button again to switch to minute setting. The minute digits will flash.
- Use the Thumbwheel Switch to adjust the minute.
- Press the Clock Setting Button a third time to confirm and exit time setting mode.
- To switch between 12-hour and 24-hour format, press and hold the Clock Setting Button.
5.3 Setting the Alarm
The device supports two independent alarm settings.
- Press the Alarm Setting Button once to enter Alarm 1 setting mode. The alarm hour digits will flash.
- Use the Thumbwheel Switch to adjust the alarm hour.
- Press the Alarm Setting Button again to switch to alarm minute setting. The minute digits will flash.
- Use the Thumbwheel Switch to adjust the alarm minute.
- Press the Alarm Setting Button a third time to select the alarm sound (e.g., FM radio, buzzer).
- Press the Alarm Setting Button a fourth time to confirm and activate Alarm 1. An alarm icon will appear on the display.
- Repeat steps 1-6 for Alarm 2 by pressing the Alarm Setting Button twice initially.
5.4 Bluetooth Pairing
- Press the Mode Switch until 'BT' appears on the display, indicating Bluetooth mode. The 'BT' icon will flash, signifying pairing mode.
- On your mobile device, enable Bluetooth and search for 'EZVALO Clock'.
- Select 'EZVALO Clock' to pair. Once connected, the 'BT' icon will stop flashing.
5.5 FM Radio Tuning
- Press the Mode Switch until 'FM' appears on the display, indicating FM Radio mode.
- To auto-scan and save available stations, press and hold the Thumbwheel Switch.
- To manually tune or switch between saved stations, rotate the Thumbwheel Switch.
5.6 Wireless Charging
Place your Qi-compatible device (e.g., smartphone, earbuds) on the wireless charging pad located on top of the alarm clock. Ensure the device is centered on the charging symbol. The charging indicator on the clock display will illuminate to confirm charging. Note: Remove any metal objects, pop sockets, or thick cases that may interfere with charging.
5.7 USB Charging
The device includes a USB-C PD fast charging port and a standard USB-A port on the back. Connect your devices using appropriate USB cables to these ports for charging.
Video 1: Demonstrates using the alarm clock as a Bluetooth speaker and charging multiple devices simultaneously.
Video 2: A review of the LED Digital Alarm Clock, showcasing its features and functionality.
6. Operating Instructions
6.1 Adjusting Display Brightness
Press the Brightness Adjustment Button to cycle through 5 brightness levels for the LED display, including an OFF setting for undisturbed sleep.
6.2 Using the Night Light
Press and hold the Brightness Adjustment Button to turn the warm halo night light on or off. This light is located at the bottom of the clock and can provide a soothing ambiance.
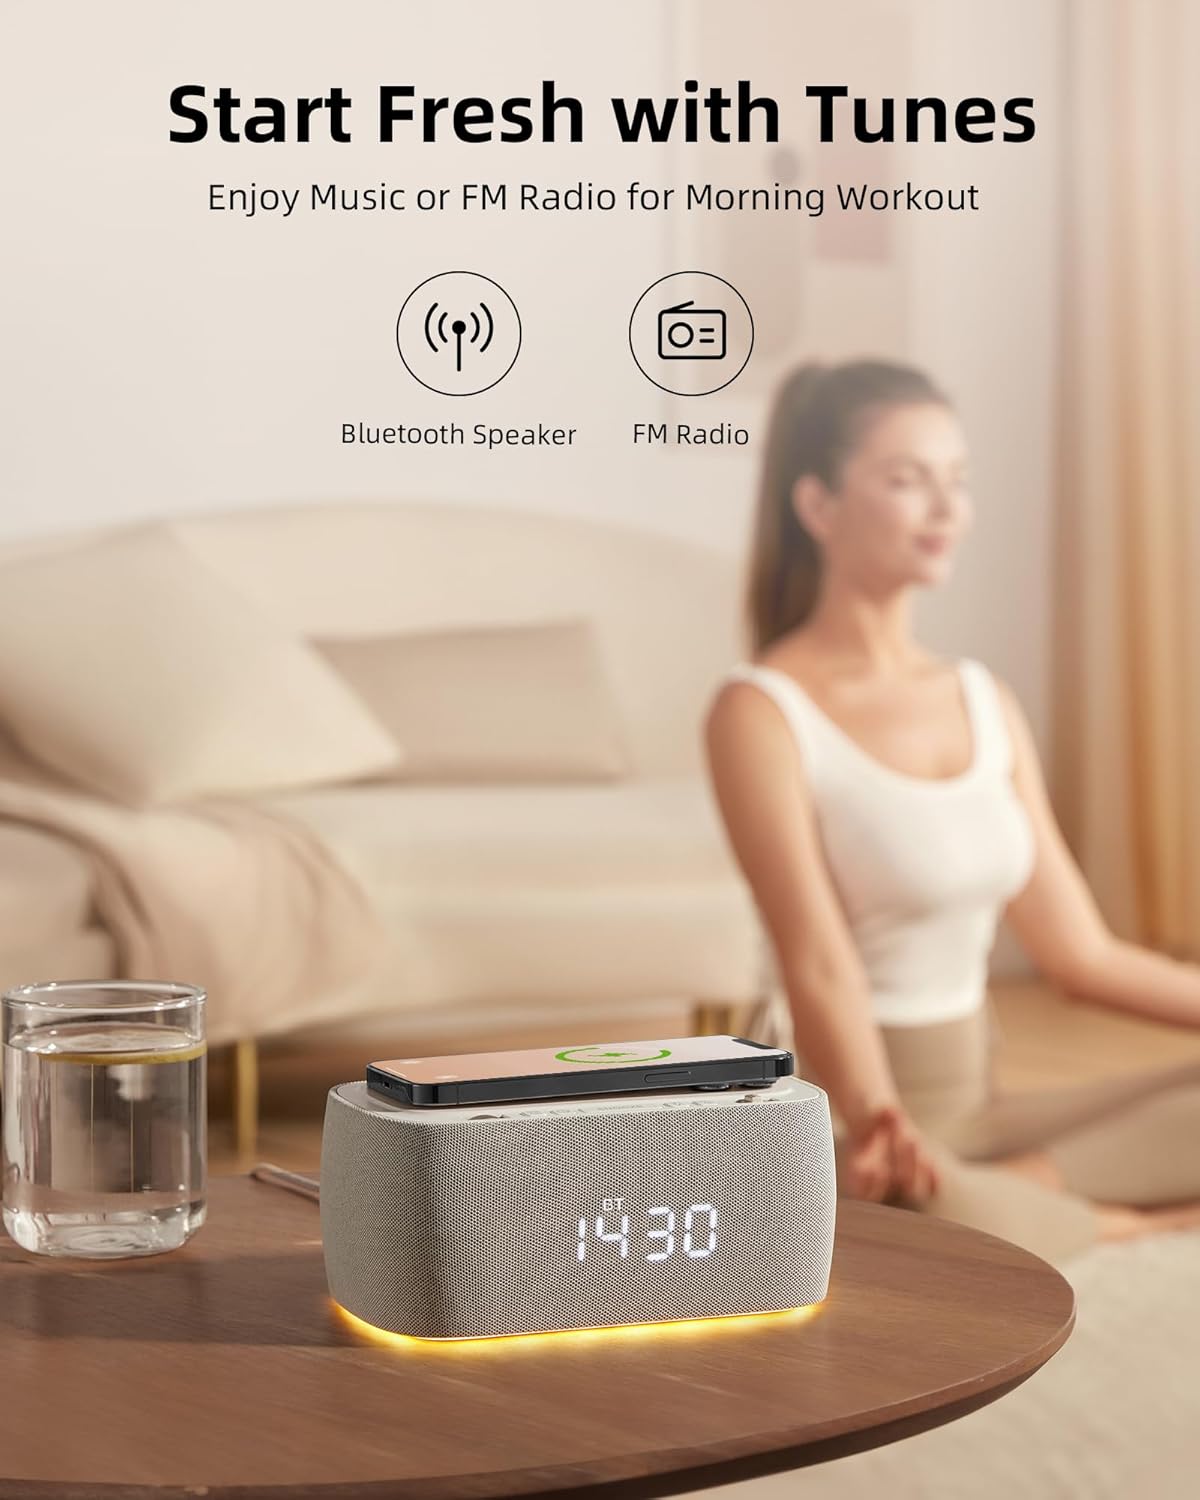
Figure 4: The EZVALO Digital Alarm Clock with its warm halo night light illuminated.
6.3 Playing Music via Bluetooth
Once paired (refer to section 5.4), you can play music from your connected device. Use the Thumbwheel Switch to skip tracks (rotate) or play/pause (press).
6.4 Using FM Radio
In FM Radio mode (refer to section 5.5), use the Thumbwheel Switch to navigate between saved stations or manually tune. Adjust the volume using the Scrolling Wheel.
6.5 Snooze Function
When an alarm sounds, press the Snooze Button to temporarily silence the alarm for a set period (typically 9 minutes). To turn off the alarm completely, press and hold the Snooze Button.
Video 3: A comprehensive overview of the alarm clock's features and benefits for a bedroom setup.
7. Features
The EZVALO Digital Alarm Clock is designed with multiple functionalities to enhance your daily routine:
- 6-in-1 Functionality: Large clock display, Bluetooth speaker, FM radio, Wireless Phone Charger, Night light, USB-C PD Fast Charger.
- Digital FM Radio: Features digital tuning from 87.5MHz to 108.0MHz with 30 levels of volume adjustment.
- Dual Alarm Settings: Conveniently set two separate alarms for different schedules.
- Stereo Speaker with Bluetooth 5.0: Dual speaker design for rich stereo sound, offering faster speed and greater range (10m distance) for music and audiobooks.
- Dimmable LED Display: 5 brightness levels, including an OFF setting, to suit your preference and ensure undisturbed sleep.
- Halo Night Light: Emits a warm light from the bottom, ideal for a gentle sleep aid or low-light navigation.
- Wireless Charging Pad: Provides up to 7.5W for iOS and 10W for Android devices.
- Additional USB-C Fast Charging Port: Boost charges PD-enabled phones from 0 to 50% in approximately 30 minutes.
- USB-A Charging Port: Offers an additional charging option for other devices.

Figure 5: Visual representation of the 6-in-1 features of the EZVALO Digital Alarm Clock.
Video 4: Highlights how the 7-in-1 alarm clock can simplify your routine and reduce screen time.
8. Maintenance
8.1 Cleaning
To clean the device, gently wipe the surfaces with a soft, dry cloth. Do not use abrasive cleaners, solvents, or harsh chemicals, as these may damage the finish or internal components.
8.2 Storage
When not in use for extended periods, unplug the device and store it in a cool, dry place away from direct sunlight and extreme temperatures.
9. Troubleshooting
If you encounter any issues with your EZVALO Digital Alarm Clock, please refer to the following common problems and solutions:
- Device not powering on: Ensure the power adapter is securely connected to both the device and a working power outlet.
- Wireless charging not working: Check that your device is Qi-compatible and properly centered on the charging pad. Remove any thick cases, metal objects, or magnetic attachments that may interfere with charging.
- Alarm not sounding: Verify that the alarm is set correctly and activated (alarm icon visible on display). Check the alarm volume.
- Bluetooth pairing issues: Ensure the clock is in Bluetooth pairing mode ('BT' flashing) and your device's Bluetooth is enabled and searching. Try unpairing and re-pairing if issues persist.
- Poor FM radio reception: Extend the FM antenna (if applicable) and try repositioning the device for better signal. Perform an auto-scan to find stronger stations.
- Display too bright/dim: Use the Brightness Adjustment Button to cycle through the desired brightness levels.
If the problem persists after trying these solutions, please contact customer support.
10. Specifications
| Feature | Specification |
|---|---|
| Brand | EZVALO |
| Model Number | PEG_WOMENMOBILEPURCHASE-609312726093-6 |
| Color | Gray |
| Display Type | Digital LED |
| Power Source | Corded Electric |
| Product Dimensions | 7.08"W x 3.14"H |
| Item Weight | 2.16 pounds |
| Material | Acrylonitrile Butadiene Styrene (ABS) |
| Connectivity Technology | USB-C, Bluetooth 5.0 |
| Wireless Charging Output | Up to 10W (Android), 7.5W (iOS) |
| USB-C PD Fast Charging | Yes |
| FM Radio Frequency | 87.5MHz to 108.0MHz |
11. Warranty and Support
EZVALO products are designed and manufactured to the highest quality standards. For warranty information or technical support, please refer to the contact details provided with your purchase or visit the official EZVALO website. Please have your model number and purchase date ready when contacting support.