
SCS Sentinel PVF0052
SCS Sentinel VisioKit 7 Wired Video Intercom System
User Manual
1. Introduction
Thank you for choosing the SCS Sentinel VisioKit 7 Wired Video Intercom System. This system provides enhanced security and convenience by allowing you to see and communicate with visitors before granting access to your home or property. This manual provides detailed instructions for the proper installation, operation, and maintenance of your new video intercom system. Please read this manual thoroughly before installation and keep it for future reference.
The VisioKit 7 includes one indoor monitor and one outdoor unit with a visor, designed for reliable performance and ease of use.
2. Safety Information
- Ensure all power is disconnected before performing any installation or maintenance.
- Installation should be performed by a qualified electrician or technician to prevent electric shock or damage to the system.
- Do not expose the outdoor unit to direct water jets or extreme weather conditions beyond its IP rating.
- Use only the provided power adapter and accessories.
- Keep the system away from sources of heat, direct sunlight, and high humidity.
- Do not attempt to repair or modify the system yourself. Contact qualified personnel for service.
3. Package Contents
Please check the package for the following components:
- 1 x Indoor Monitor
- 1 x Outdoor Unit with Visor
- 1 x Power Adapter
- Mounting Screws and Wall Plugs
- User Manual (this document)

Figure 3.1: Product packaging of the SCS Sentinel VisioKit 7, displaying the indoor monitor, outdoor unit, and branding.
4. Product Overview
The SCS Sentinel VisioKit 7 consists of two main components:
4.1. Indoor Monitor

Figure 4.1: Front view of the indoor monitor, featuring a large screen and touch-sensitive buttons on the right side.
The indoor monitor features a 7-inch display and intuitive touch controls. It allows you to view the outdoor camera feed, communicate with visitors, open gates/doors, and adjust system settings. Up to two additional monitors can be connected to the system.
4.2. Outdoor Unit

Figure 4.2: Side view of the outdoor unit, showing the camera lens, infrared LEDs, call button, and nameplate, protected by a top visor.
The outdoor unit is designed for outdoor installation and features a wide-angle camera (90° view), infrared LEDs for night vision, a call button, and a nameplate. It is robust and weather-resistant.

Figure 4.3: The complete SCS Sentinel VisioKit 7 system, illustrating the indoor monitor with a live view of two people and the outdoor unit.
5. Installation
The VisioKit 7 is designed for simple two-wire installation. Ensure you have the necessary tools (drill, screwdriver, wire strippers) before beginning.
5.1. Wiring Diagram

Figure 5.1: Simplified wiring diagram illustrating the two-wire connection between the outdoor unit and the indoor monitor, power supply, and optional connections for gate/door opening and additional monitors. Maximum distance is 100m.
The system requires only two wires to connect the outdoor unit to each indoor monitor. For distances up to 50m, use 0.75mm² cable. For distances between 50m and 100m, use 1mm² cable.
5.2. Outdoor Unit Installation
- Choose a suitable mounting location, typically near your entrance, at a height of approximately 1.5 to 1.6 meters from the ground. Ensure it is protected from direct heavy rain if possible.
- Mark the drilling points using the outdoor unit's mounting bracket as a template.
- Drill holes and insert wall plugs.
- Connect the two-wire cable from the indoor monitor to the designated terminals on the outdoor unit. Ensure correct polarity if indicated.
- Secure the outdoor unit to the wall using the provided screws.
- Ensure the visor is correctly positioned over the unit for added protection.

Figure 5.2: The outdoor unit mounted on a wall, demonstrating a typical installation scenario near an entrance gate.
5.3. Indoor Monitor Installation
- Select a convenient location inside your home, away from direct heat or moisture, and within reach of a power outlet.
- Mount the monitor's bracket to the wall using screws and wall plugs.
- Connect the two-wire cable from the outdoor unit to the indoor monitor's terminals.
- Connect the power adapter to the indoor monitor and plug it into a power outlet.
- Carefully attach the indoor monitor to its wall bracket.
6. Operation
6.1. Answering a Call
When a visitor presses the call button on the outdoor unit, the indoor monitor will ring and display the visitor's image. Press the Answer button (typically a phone icon) on the monitor to establish two-way communication.
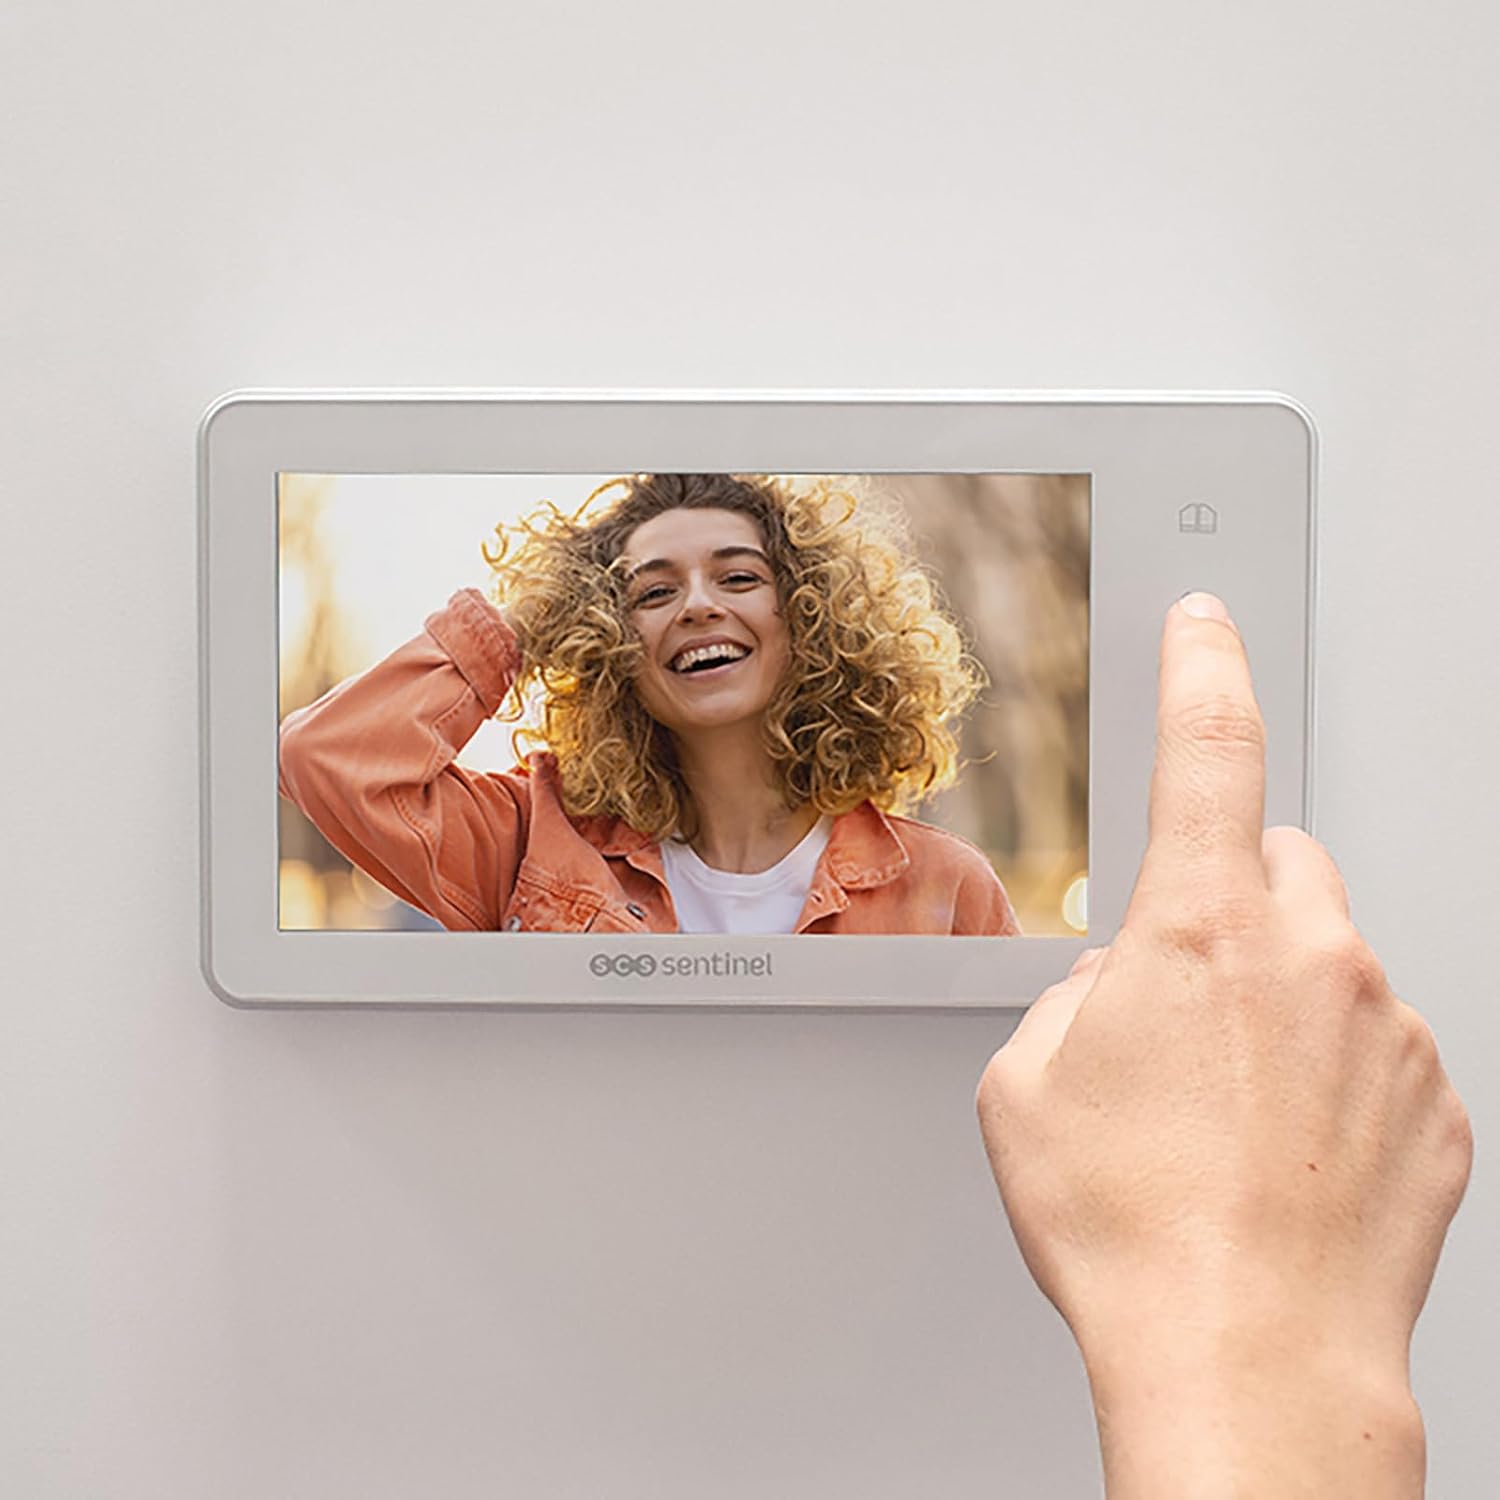
Figure 6.1: User interacting with the indoor monitor, demonstrating the touch interface for operation.
6.2. Opening a Gate/Door
During a call or while monitoring, press the Unlock button (typically a key or lock icon) on the indoor monitor to activate the connected electric lock or gate opener.
6.3. Monitoring
You can view the outdoor camera feed at any time without a visitor pressing the call button. Press the Monitor button (typically an eye or camera icon) on the indoor monitor to activate the camera and view the outside area.
6.4. Melody Selection
The indoor monitor offers 10 different melody types. Refer to the monitor's on-screen menu or specific buttons (often a music note icon) to browse and select your preferred ringtone.
7. Maintenance
- Cleaning: Use a soft, dry cloth to clean the indoor monitor and outdoor unit. For stubborn dirt, a slightly damp cloth can be used. Avoid abrasive cleaners or solvents.
- Outdoor Unit: Regularly check the outdoor unit's camera lens and infrared LEDs for dirt, dust, or spiderwebs that might obstruct the view. Clean gently if necessary.
- Cabling: Periodically inspect all visible cables for any signs of damage or wear.
8. Troubleshooting
| Problem | Possible Cause | Solution |
|---|---|---|
| No image on indoor monitor. |
|
|
| No audio or distorted audio. |
|
|
| Poor night vision. |
|
|
| Outdoor unit not ringing indoor monitor. |
|
|
9. Specifications
| Feature | Detail |
|---|---|
| Model Number | PVF0052 |
| Brand | SCS Sentinel |
| Product Dimensions | 9 x 9 x 14 cm (Outdoor Unit) |
| Item Weight | 778 grams |
| Indoor Monitor Screen Size | 7 inches |
| Outdoor Unit Camera Angle | 90 degrees |
| Night Vision | Infrared LEDs |
| Wiring Type | 2-wire system |
| Max. Cable Distance | 100 meters |
| Number of Melodies | 10 |
| Expandability | Up to 2 additional indoor monitors |
10. Warranty and Support
SCS Sentinel products are designed for reliability and ease of use. For warranty information, technical support, or service inquiries, please refer to the contact information provided with your purchase or visit the official SCS Sentinel website. Keep your proof of purchase for warranty claims.
You can also visit the SCS Sentinel Store on Amazon for more information and support resources.
Related documentsPVF0052


Ask a question about this manual
Ask about setup, troubleshooting, compatibility, parts, safety, or missing instructions. Manuals+ will review the question and use this page’s manual context to help answer it.