1. Product Overview
This manual provides essential information for the installation, operation, and maintenance of your new HQparts replacement carburetor. This carburetor is designed to replace Walbro WA55, WA55A/B, and WA551 models, ensuring compatibility and reliable performance for specific Echo backpack blowers.
1.1 Compatibility
This carburetor is compatible with the following Echo backpack blower models:
- PB-400 (Serial Numbers 001001-054522 and 054523 and up)
- PB-400E (Serial Numbers 001001-128095, 128096-249241, and 249242 and up)
- LBB-4000 (After Serial Number 001001)
Please verify your blower's model and serial number to ensure proper fitment. Comparing the provided images with your original carburetor is also recommended.
1.2 Kit Contents
The package includes the following components:
- 1x Carburetor
- 2x Gaskets
- 2x Fuel Filters
- 2x Fuel Lines (Yellow)
- 1x Fuel Line (Black)
- 1x Spark Plug
- 1x Air Filter
- 1x Primer Bulb
- 1x Screwdriver

2. Product Details
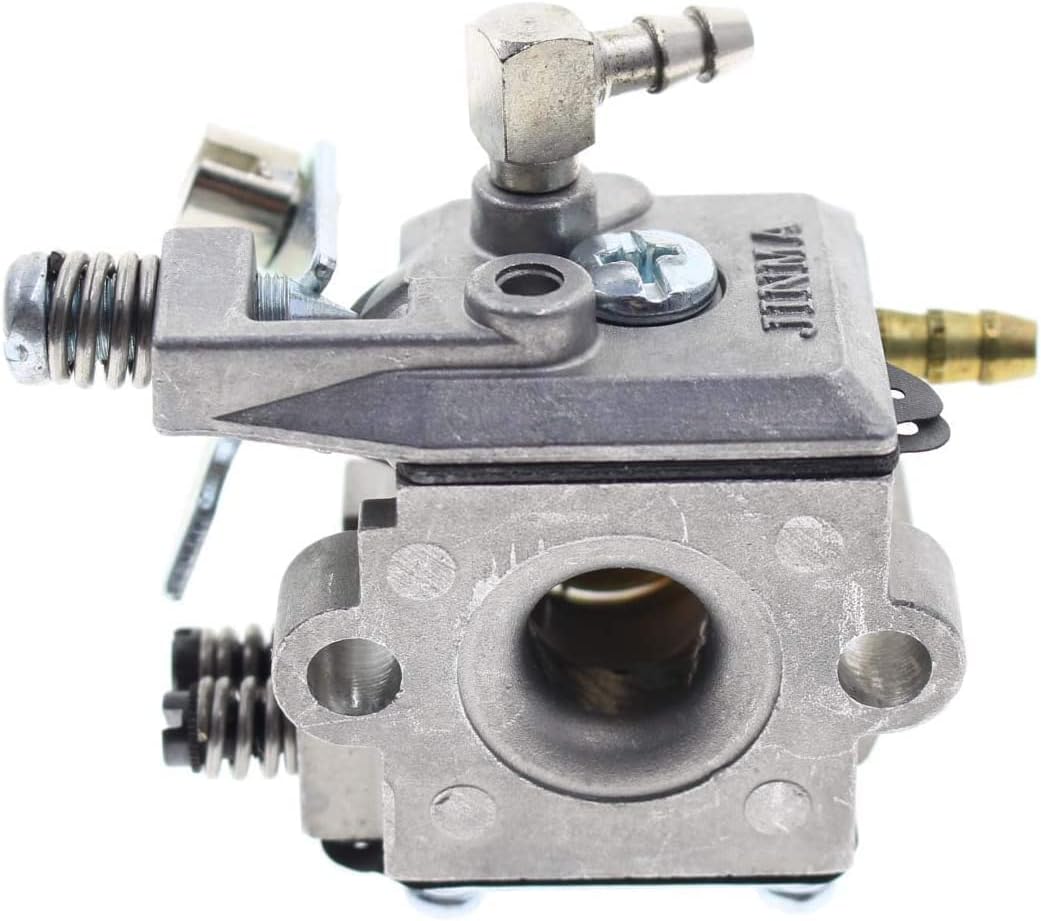
Detailed views of the replacement carburetor are provided below to assist with identification and installation.


3. Installation (Setup)
Replacing a carburetor requires careful attention to detail. If you are unsure about any step, it is recommended to consult a qualified technician.
3.1 Safety Precautions
- Always disconnect the spark plug wire before performing any maintenance or installation.
- Ensure the engine is cool to the touch.
- Work in a well-ventilated area.
- Wear appropriate personal protective equipment, such as gloves and eye protection.
- Drain the fuel tank before starting the replacement process to prevent spills.
3.2 Replacement Steps
- Access the Carburetor: Remove the air filter cover and air filter assembly to gain access to the existing carburetor.
- Disconnect Fuel Lines: Carefully disconnect the fuel lines from the old carburetor. Note their positions for reinstallation.
- Remove Throttle Linkage: Disconnect the throttle cable and choke linkage from the carburetor.
- Unmount Old Carburetor: Remove the mounting bolts or nuts that secure the carburetor to the engine intake.
- Remove Gaskets: Remove and discard the old gaskets. Clean the mounting surfaces thoroughly.
- Install New Gaskets: Place the new gaskets provided in the kit onto the mounting studs or surfaces.
- Mount New Carburetor: Position the new HQparts carburetor onto the mounting studs and secure it with the bolts/nuts. Do not overtighten.
- Reconnect Linkages: Reattach the throttle cable and choke linkage to the new carburetor. Ensure smooth operation.
- Reconnect Fuel Lines: Connect the new fuel lines and fuel filters as per the original configuration. Ensure all connections are secure to prevent leaks.
- Install New Air Filter and Spark Plug: Replace the old air filter with the new one provided. Install the new spark plug, ensuring it is gapped correctly (refer to your blower's original manual for specific gap settings, typically around 0.6mm).
- Reassemble: Reinstall the air filter cover and any other components removed during disassembly.
4. Operating Instructions
After successful installation, follow these steps to operate your backpack blower.
4.1 Initial Start-Up
- Add Fuel: Fill the fuel tank with the correct fuel mixture (gasoline and 2-stroke oil) as specified by your Echo blower's manufacturer.
- Prime the Carburetor: Press the primer bulb several times until fuel is visible in the return line or the bulb is full.
- Set Choke: Move the choke lever to the FULL CHOKE position.
- Start Engine: Pull the starter rope firmly until the engine attempts to start or fires once.
- Adjust Choke: Move the choke lever to the HALF CHOKE or RUN position.
- Restart Engine: Pull the starter rope again until the engine starts and runs smoothly.
- Warm-Up: Allow the engine to warm up for a minute or two before applying full throttle.
4.2 Carburetor Adjustments (If Necessary)
This replacement carburetor is typically pre-tuned for optimal performance. However, minor adjustments may be required depending on altitude or specific engine conditions. Most carburetors have two adjustment screws:
- High-Speed (H) Screw: Controls the fuel-air mixture at high engine RPMs.
- Low-Speed (L) Screw: Controls the fuel-air mixture at idle and low engine RPMs.
Note: Adjustments should be made in small increments (e.g., 1/8 turn) with the engine running. Turning screws clockwise leans the mixture (less fuel), and counter-clockwise enriches it (more fuel). Consult your blower's original manual for specific adjustment procedures and recommended settings.
5. Maintenance
Regular maintenance ensures the longevity and optimal performance of your carburetor and blower.
- Air Filter: Inspect and clean the air filter regularly. Replace it with the new one provided in the kit if it is dirty or damaged. A clean air filter is crucial for proper engine operation.
- Fuel Filters: The kit includes new fuel filters. Replace them periodically, especially if you notice fuel delivery issues or if the old filters appear clogged.
- Spark Plug: The kit includes a new spark plug. Replace the spark plug annually or if the engine experiences starting difficulties or misfires. Ensure the correct gap is set.
- Fuel Lines: Inspect fuel lines for cracks, hardening, or leaks. Replace them if any damage is observed. The kit provides new fuel lines.
- Carburetor Cleaning: If the blower is stored for extended periods, especially with fuel containing ethanol, it is advisable to drain the fuel system or use a fuel stabilizer. For persistent issues, the carburetor may need to be disassembled and cleaned with a carburetor cleaner.
6. Troubleshooting
If you encounter problems after installing the new carburetor, refer to the following common issues and solutions.
6.1 Engine Will Not Start
- No Fuel: Check fuel level, ensure fuel lines are correctly connected, and fuel filter is not clogged.
- No Spark: Check spark plug connection, ensure the new spark plug is installed correctly and gapped.
- Improper Choke Setting: Ensure the choke is set correctly for starting (FULL CHOKE, then HALF CHOKE/RUN).
- Flooded Engine: If the engine is flooded (excess fuel), remove the spark plug, pull the starter rope several times to clear the cylinder, then reinstall the plug and attempt to start with the choke off.
6.2 Engine Runs Poorly / Lacks Power
- Dirty Air Filter: Inspect and clean or replace the air filter.
- Clogged Fuel Filter: Replace the fuel filter.
- Incorrect Fuel Mixture: Ensure you are using the correct gasoline-to-oil ratio for your blower.
- Carburetor Adjustment: Minor adjustments to the high-speed and low-speed screws may be necessary (refer to Section 4.2).
- Spark Plug Condition: Inspect the spark plug; replace if fouled or worn.
7. Specifications
| Feature | Detail |
|---|---|
| Product Type | Replacement Carburetor Kit |
| Brand | HQparts |
| Replaces Part Numbers | Walbro WA55, WA55A/B, WA551 |
| Compatible Blower Models | Echo PB-400, PB-400E, LBB-4000 |
| Kit Contents | Carburetor, Gaskets, Fuel Filters, Fuel Lines, Spark Plug, Air Filter, Primer Bulb, Screwdriver |
8. Support Information
For further assistance, technical support, or inquiries regarding this product, please contact the manufacturer, HQparts, through their official channels or the retailer from whom the product was purchased.