1. Introduction
This manual provides essential information for the safe and efficient operation, maintenance, and troubleshooting of your Garland 56ESG-0005 gasoline scarifier. This machine is designed for aerating and dethatching lawns, promoting healthier grass growth by removing thatch and improving soil aeration. Please read this manual thoroughly before assembly, operation, or maintenance to ensure proper use and to prevent injury or damage.
2. Safety Instructions
Operating power equipment requires careful attention to safety. Always follow these guidelines:
- Read the Manual: Familiarize yourself with all controls and safety warnings before operating the machine.
- Personal Protective Equipment (PPE): Always wear appropriate safety glasses, hearing protection, sturdy footwear, and long pants. Avoid loose clothing that could get caught in moving parts.
- Clear Work Area: Before starting, inspect the work area and remove any objects such as rocks, sticks, wires, or debris that could be thrown by the blades.
- Fuel Handling: Handle gasoline with extreme care. Store fuel in approved containers, in a well-ventilated area, away from ignition sources. Refuel outdoors, with the engine off and cool. Do not smoke while refueling.
- Engine Off: Always turn off the engine, disconnect the spark plug wire, and allow the machine to cool before performing any adjustments, cleaning, or maintenance.
- Keep Bystanders Away: Ensure children, pets, and other people are kept at a safe distance (at least 15 meters) from the operating area.
- Slope Operation: Exercise extreme caution when operating on slopes. Scarify across the face of slopes, never up and down. Avoid excessively steep slopes.
- Blade Awareness: The scarifying blades are sharp. Never touch them while the engine is running.
- Machine Condition: Do not operate the machine if it is damaged or not in proper working order. Ensure all guards and safety devices are in place.
3. Product Overview
The Garland 56ESG-0005 is a robust gasoline-powered scarifier designed for efficient lawn maintenance. Key components include:
- Gasoline Engine: Provides power for the scarifying action.
- Scarifying Roller: Equipped with steel blades for effective thatch removal and soil aeration.
- Collection Bag: Gathers removed thatch and debris.
- Ergonomic Handlebar: Designed for comfortable operation and features a tool-free folding mechanism for compact storage.
- Depth Adjustment Lever: Centralized control for setting the scarifying depth.
- Transport Mode Lever: Allows for easy movement of the machine without engaging the blades.

Figure 1: Overview of the Garland 56ESG-0005 Gasoline Scarifier.
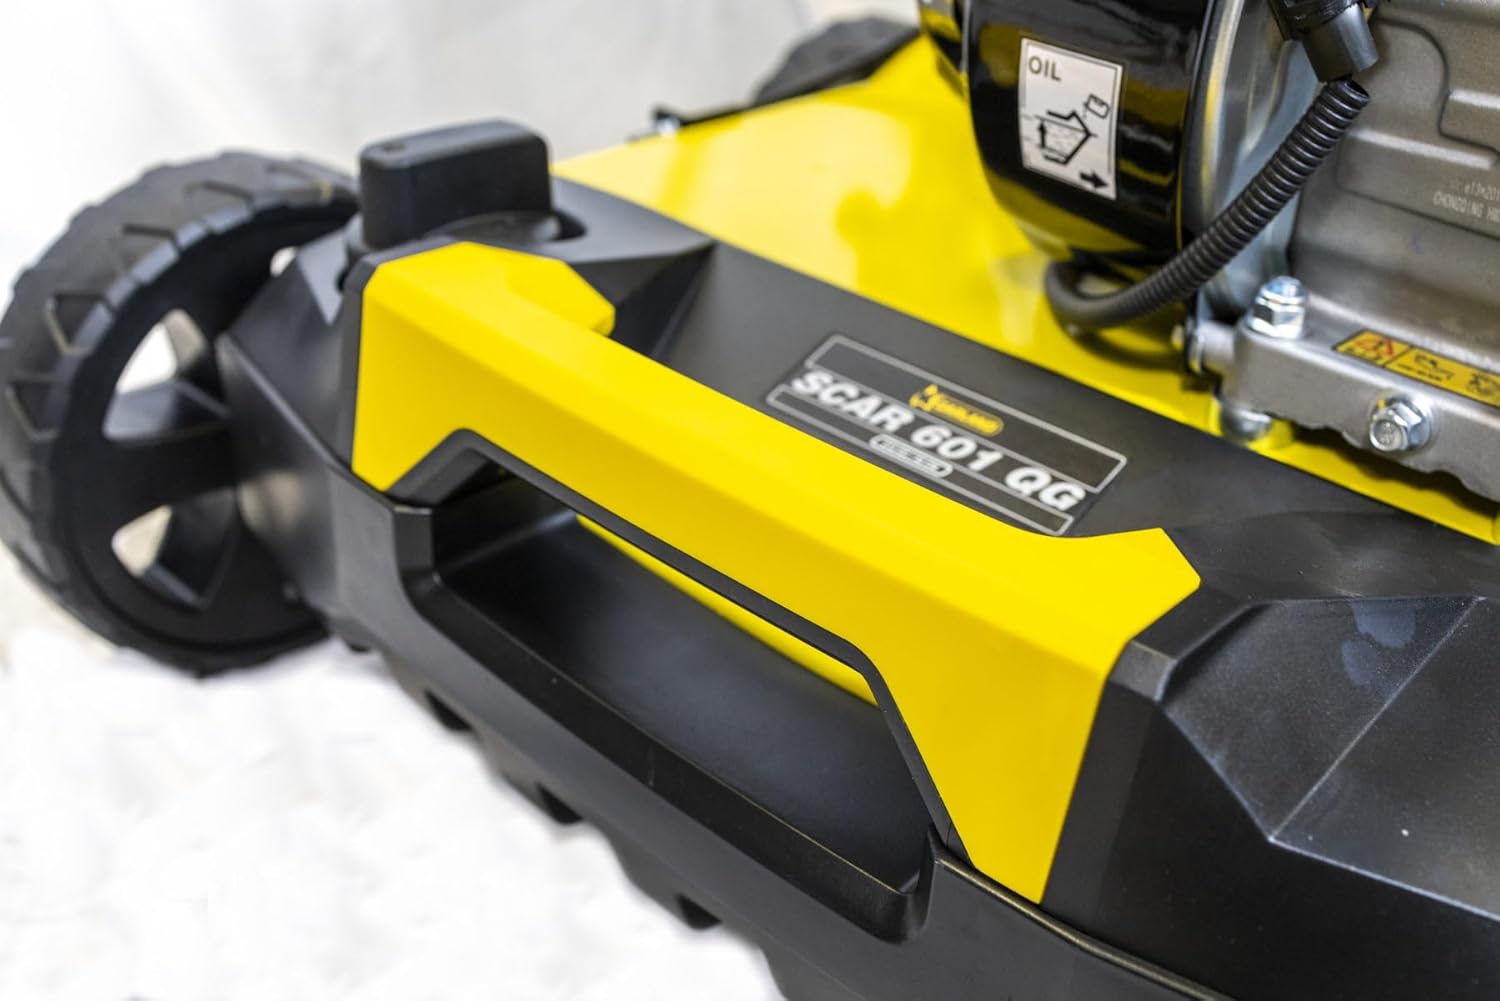
Figure 2: Close-up view of the scarifier deck, indicating the model 'SCAR 601 QG'.

Figure 3: The ergonomic handlebar with its safety lever for user comfort and control.
4. Setup
Follow these steps to prepare your scarifier for first use:
- Unpacking: Carefully remove all components from the packaging. Check for any damage during transit.
- Handlebar Assembly: Unfold the handlebar and secure it in the operating position. The design allows for tool-free folding and unfolding. Ensure all locking mechanisms are engaged.
- Collection Bag Attachment: Assemble the collection bag if necessary and securely attach it to the rear of the scarifier. Ensure it is properly seated to prevent debris from escaping.
- Add Engine Oil: Before starting the engine for the first time, fill the engine with the recommended type and amount of engine oil. Refer to the engine manual for specific oil requirements and capacity. Do not overfill.
- Add Fuel: Fill the fuel tank with fresh, unleaded gasoline. Use a funnel to prevent spills. Do not fill the tank completely; leave space for fuel expansion. Securely close the fuel cap.
- Pre-Operation Check: Verify that all nuts, bolts, and fasteners are tight. Ensure the scarifying roller rotates freely and is not obstructed.
5. Operating
Proper operation ensures effective results and extends the life of your scarifier.
5.1 Starting the Engine
- Ensure the fuel valve is open (if applicable) and the engine switch is in the 'ON' position.
- Apply choke as needed for a cold engine (refer to engine manual).
- Pull the starter cord firmly until the engine starts.
- Once started, gradually release the choke.
5.2 Adjusting Scarifying Depth
The scarifier features a centralized depth adjustment system with 5 positions, ranging from -5mm to 15mm.
- Use the depth adjustment lever located on the handlebar to select the desired working depth.
- For initial passes or lighter dethatching, choose a shallower depth (e.g., 0mm to 5mm).
- For more aggressive thatch removal or aeration, select a deeper setting (e.g., -5mm to 15mm).
- Always start with a shallower depth and gradually increase if needed to avoid damaging the lawn.

Figure 4: Close-up of the depth adjustment lever on the handlebar.

Figure 5: The scarifier in use, demonstrating the position of the depth adjustment lever during operation.
5.3 Scarifying Technique
- Push the scarifier at a steady, even pace. Avoid rushing or stopping abruptly.
- Overlap each pass slightly to ensure complete coverage of the lawn.
- Empty the collection bag frequently to maintain optimal performance and prevent clogging.
5.4 Transport Mode
The independent centralized selector lever allows you to switch between 'work' and 'transport' positions. In transport mode, the blades are raised, preventing them from contacting the ground, which is useful for moving the machine without scarifying or damaging the blades.
- Move the selector lever to the 'transport' position when moving the scarifier to and from the work area.
- Return the lever to the 'work' position before beginning scarifying.
5.5 Stopping the Engine
- Release the safety lever on the handlebar.
- Move the engine switch to the 'OFF' position.
- Allow the engine to cool before storage or maintenance.
6. Maintenance
Regular maintenance is crucial for the longevity and performance of your scarifier.
- Cleaning: After each use, clean the machine thoroughly. Remove grass clippings, dirt, and debris from the deck, blades, and engine cooling fins. Use a brush or compressed air. Do not use a high-pressure washer directly on the engine or electrical components.
- Scarifying Blades: Regularly inspect the steel blades for wear or damage. Replace worn or bent blades to maintain effective scarifying. Ensure all blades are securely fastened.
- Engine Maintenance: Refer to the separate engine manual for detailed maintenance schedules, including oil changes, spark plug inspection/replacement, and air filter cleaning/replacement.
- Collection Bag: Empty and clean the collection bag regularly. Inspect for tears or damage.
- Storage: For long-term storage, especially over winter, drain the fuel tank or use a fuel stabilizer. Clean the machine thoroughly and store it in a dry, well-ventilated area. The foldable handlebar allows for compact storage.
7. Troubleshooting
This section addresses common issues you might encounter.
| Problem | Possible Cause | Solution |
|---|---|---|
| Engine does not start | No fuel; stale fuel; spark plug issue; engine switch OFF; choke incorrect | Check fuel level; use fresh fuel; inspect/clean/replace spark plug; turn engine switch ON; adjust choke |
| Poor scarifying performance | Blades worn or damaged; depth setting too shallow; collection bag full | Inspect/replace blades; adjust to deeper setting; empty collection bag |
| Excessive vibration | Bent or unbalanced blades; loose fasteners | Inspect/replace blades; tighten all fasteners |
| Engine loses power | Clogged air filter; low oil level; stale fuel | Clean/replace air filter; check/add oil; use fresh fuel |
If you encounter problems not listed here or if solutions do not resolve the issue, please contact customer support.
8. Specifications
Technical specifications for the Garland 56ESG-0005 Scarifier:
| Feature | Specification |
|---|---|
| Model Number | 56ESG-0005 (SCAR 601 QG) |
| Power Source | Gasoline |
| Engine Displacement | 212 cc |
| Engine Power | 5.6 hp |
| Working Width | 40 cm (400 mm) |
| Scarifying Depth Adjustment | -5 to 15 mm (5 positions) |
| Collection Bag Capacity | 45 L |
| Chassis Material | Steel |
| Product Dimensions (L x W x H) | 50 x 50 x 28 cm (packaged); 135 x 109 x 60 cm (assembled) |
| Product Weight | 42.5 kg (packaged); 38.4 kg (item) |
| Recommended Lawn Area | Up to 500 m² |
9. Warranty and Support
For information regarding warranty coverage, spare parts availability, or technical support, please refer to the warranty card included with your product or contact your retailer or the Garland customer service department. Keep your purchase receipt as proof of purchase.


