
Important Safety Information
Please read and understand all instructions before beginning installation. Failure to follow these instructions may result in electric shock, fire, or personal injury.
- Electrical Safety: Always disconnect power at the main circuit breaker before installing, cleaning, or servicing the fan. Ensure all electrical connections comply with local codes and ordinances. If you are unsure about wiring, consult a qualified electrician.
- Mounting: The fan must be mounted to a ceiling joist or a securely supported structure capable of supporting the fan's weight (17 lbs). Ensure the mounting location provides adequate clearance for the blades.
- Blade Clearance: Maintain a minimum clearance of 7 feet from the floor to the bottom of the fan blades.
- Fan Operation: Do not insert objects into the path of the fan blades while the fan is operating.
- Light Source: The LED module is integrated and replaceable. Do not attempt to replace with non-specified parts.
Package Contents
Carefully unpack all components and ensure all items are present before beginning installation. If any parts are missing or damaged, please contact customer support.
- Motor Housing
- 5 Fan Blades (reversible, white/wood grain)
- LED Light Kit (integrated module with frosted acrylic cover)
- Remote Control (with 2 AAA batteries)
- Mounting Bracket
- Downrod
- Canopy
- Hardware Pack (screws, wire nuts, etc.)
- Instruction Manual
Specifications
| Feature | Specification |
|---|---|
| Brand | POCHFAN |
| Model Name | DY1084-5B/52 |
| Size | 52-inch |
| Color | White |
| Number of Blades | 5 |
| Power Source | DC Motor |
| Air Flow Capacity | 4500 CFM |
| Fan Speeds | 6 |
| Noise Level | Below 30 Decibels |
| Light Type | Integrated Dimmable LED (24W) |
| Color Temperatures | 3000K (Warm White), 4000K (Natural White), 6500K (Cool White) |
| Timer Settings | 1H, 3H, 6H |
| Control Method | Remote Control |
| Dimensions | 52"D x 52"W x 14.7"H |
| Item Weight | 17 Pounds |
| Certifications | ETL Listed |
Setup & Installation
Follow these steps carefully to install your ceiling fan. It is recommended to have a second person assist during installation.
1. Prepare the Fan Blades
Attach the 5 fan blades to the motor housing using the provided screws. Ensure they are securely fastened. The blades are reversible, offering a white or wood grain finish. Choose your preferred side before attachment.
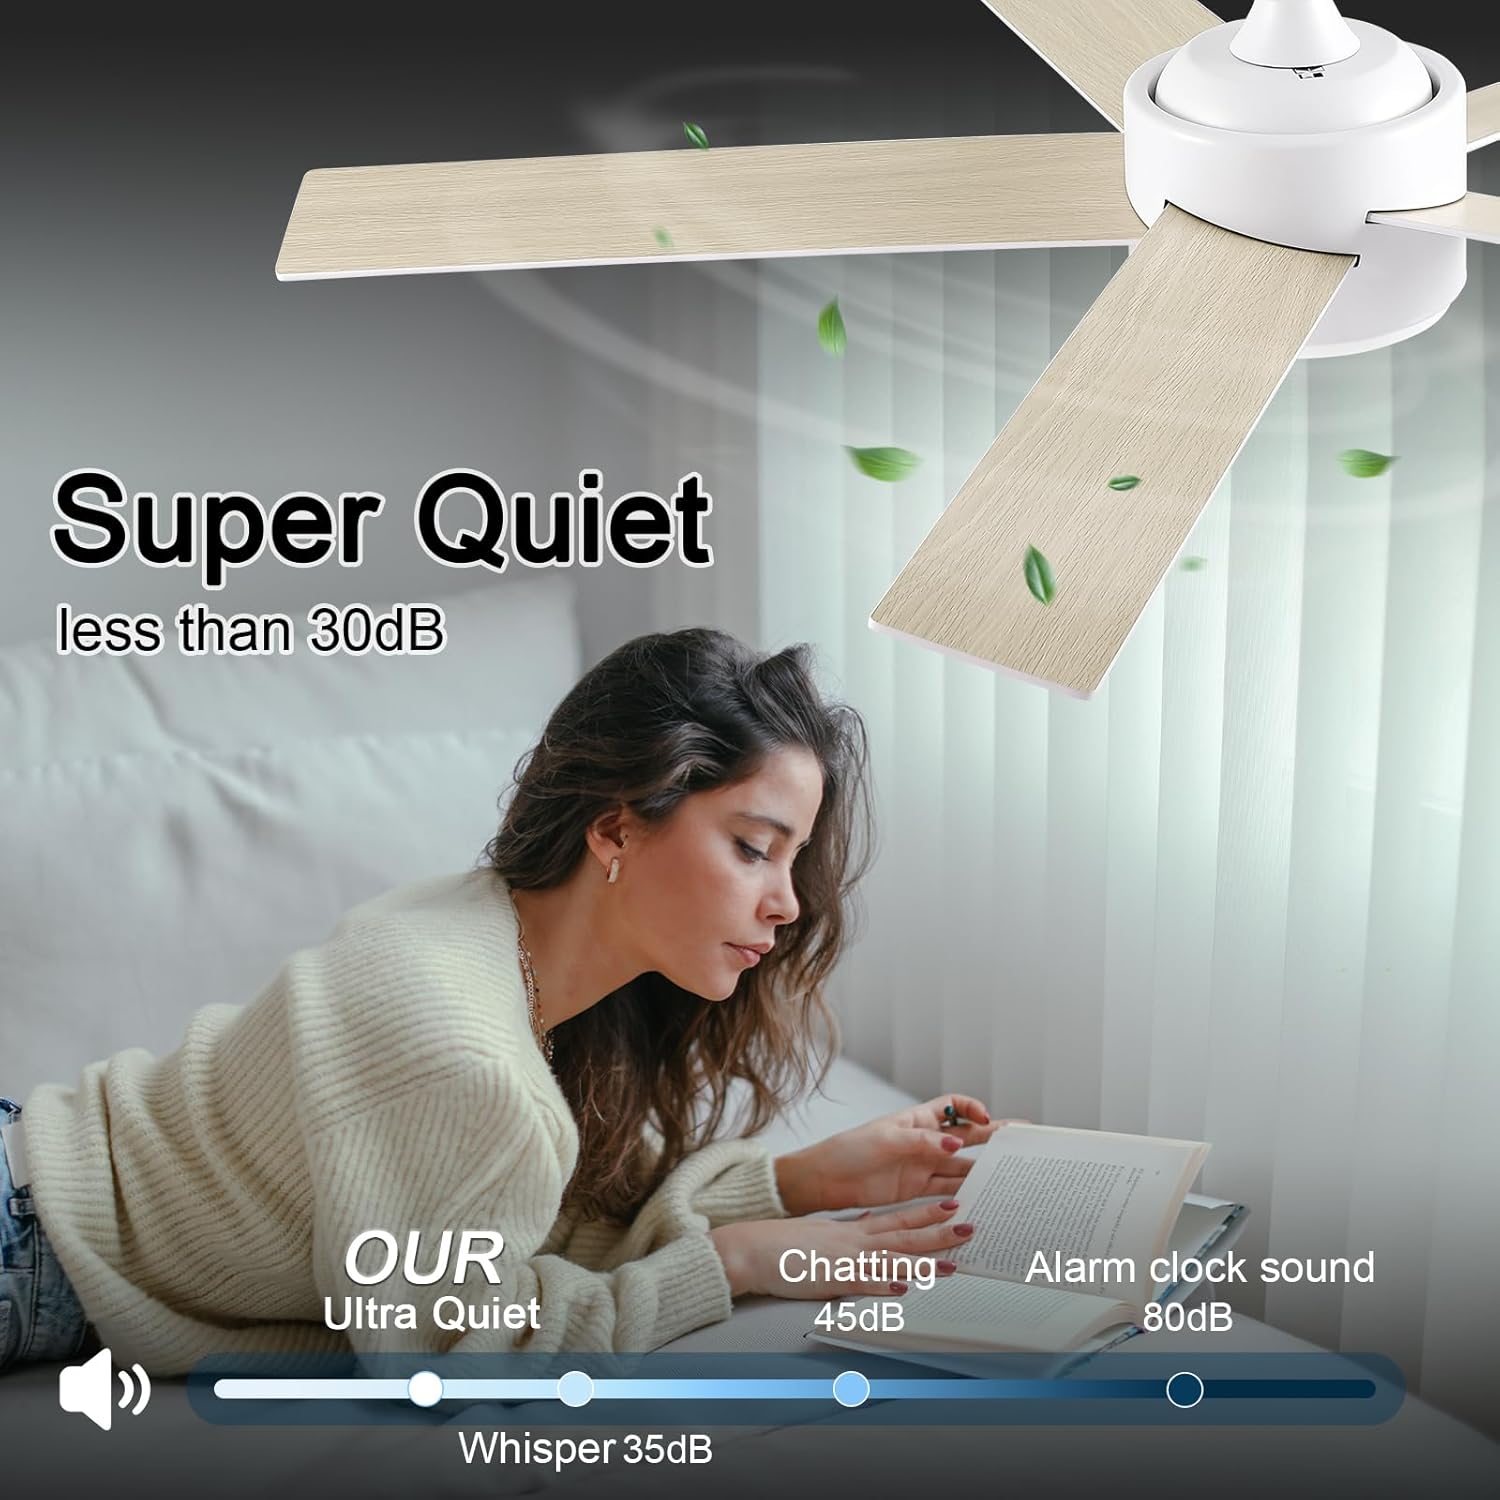
Image: Attaching the fan blades to the motor housing. The blades are shown being screwed into the central fan unit.
2. Assemble Downrod and Canopy
Feed the electrical wires from the motor through the downrod. Secure the downrod to the motor housing with the provided pin and screws. Slide the canopy over the downrod.
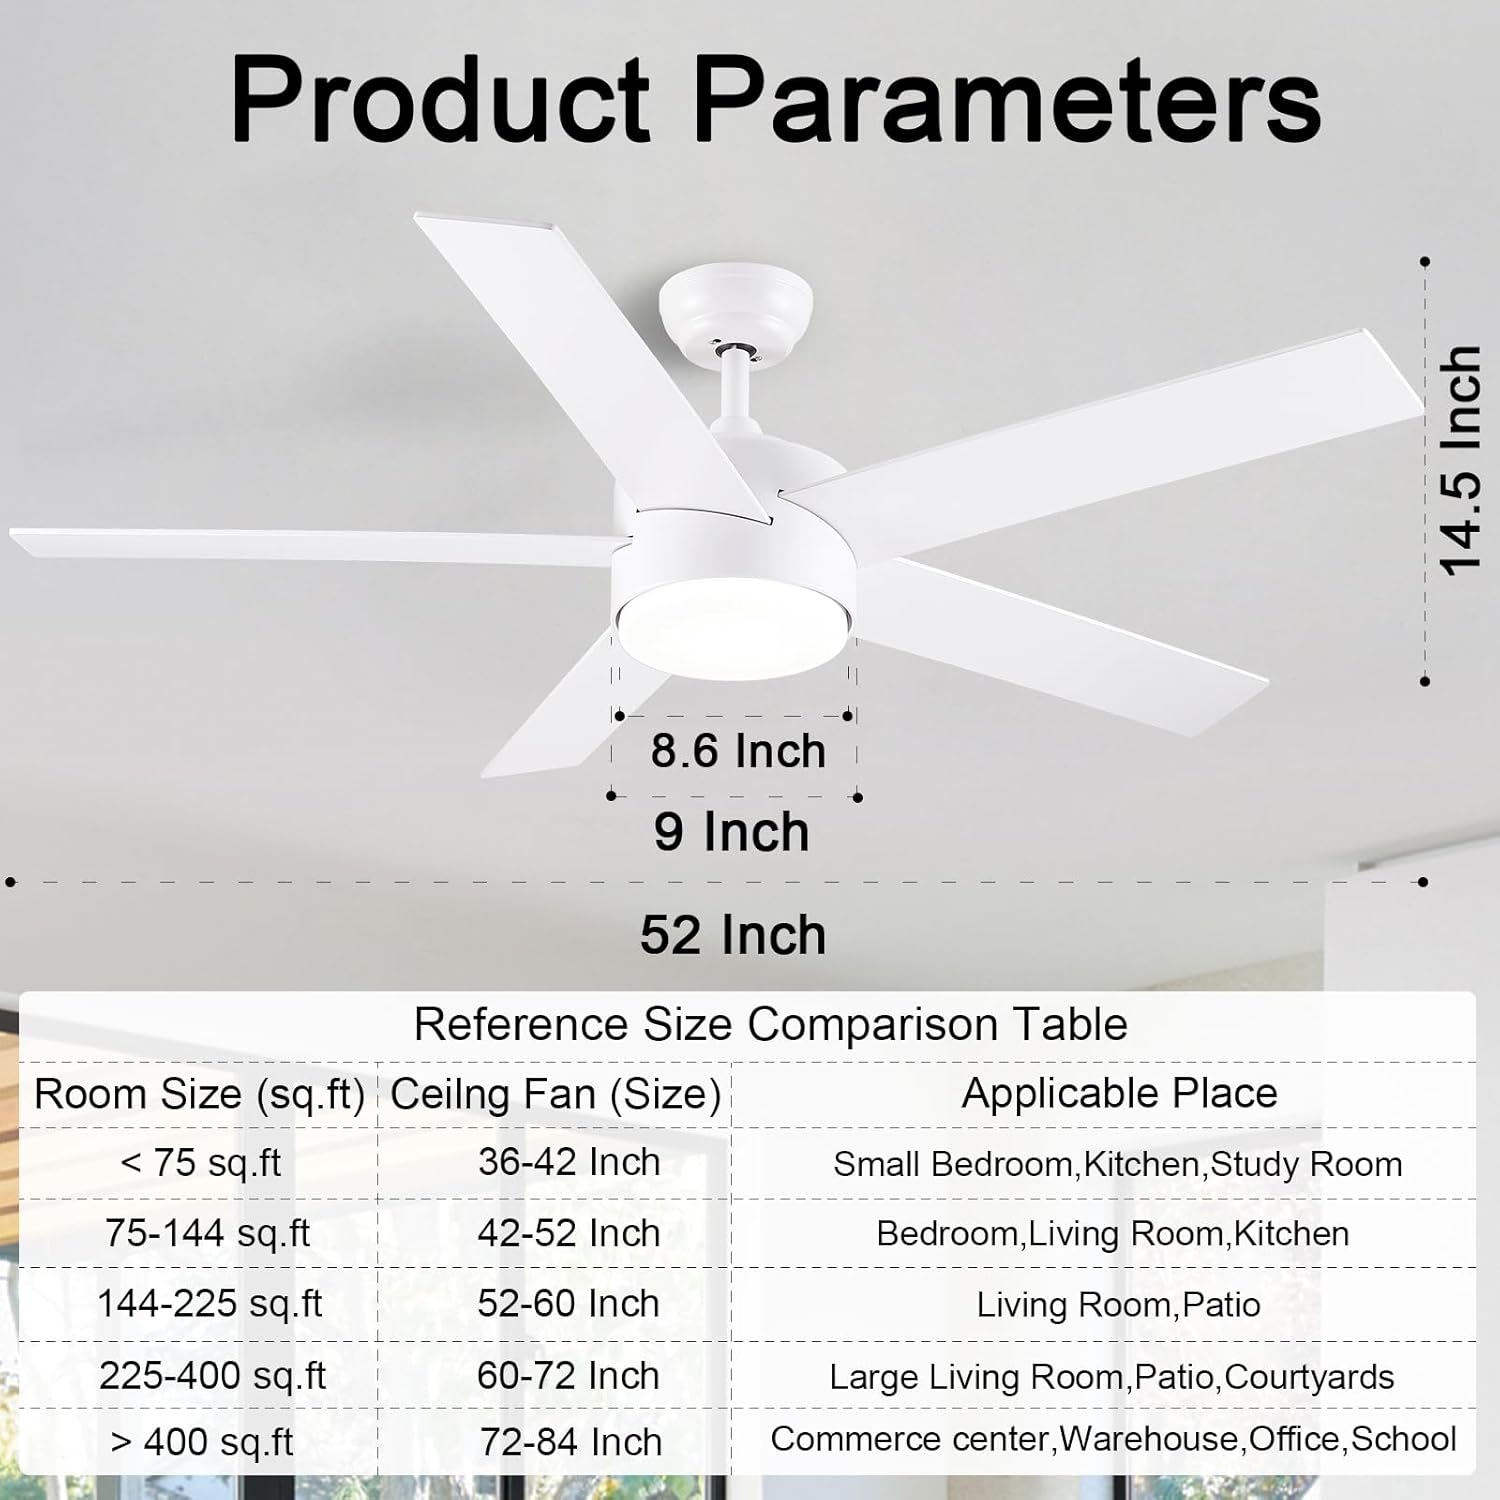
Image: Assembling the downrod and canopy, showing wires being fed through the downrod and secured.
3. Install Mounting Bracket
Secure the mounting bracket to the ceiling electrical box. Ensure the bracket is firmly attached to a structural support to prevent the fan from falling.
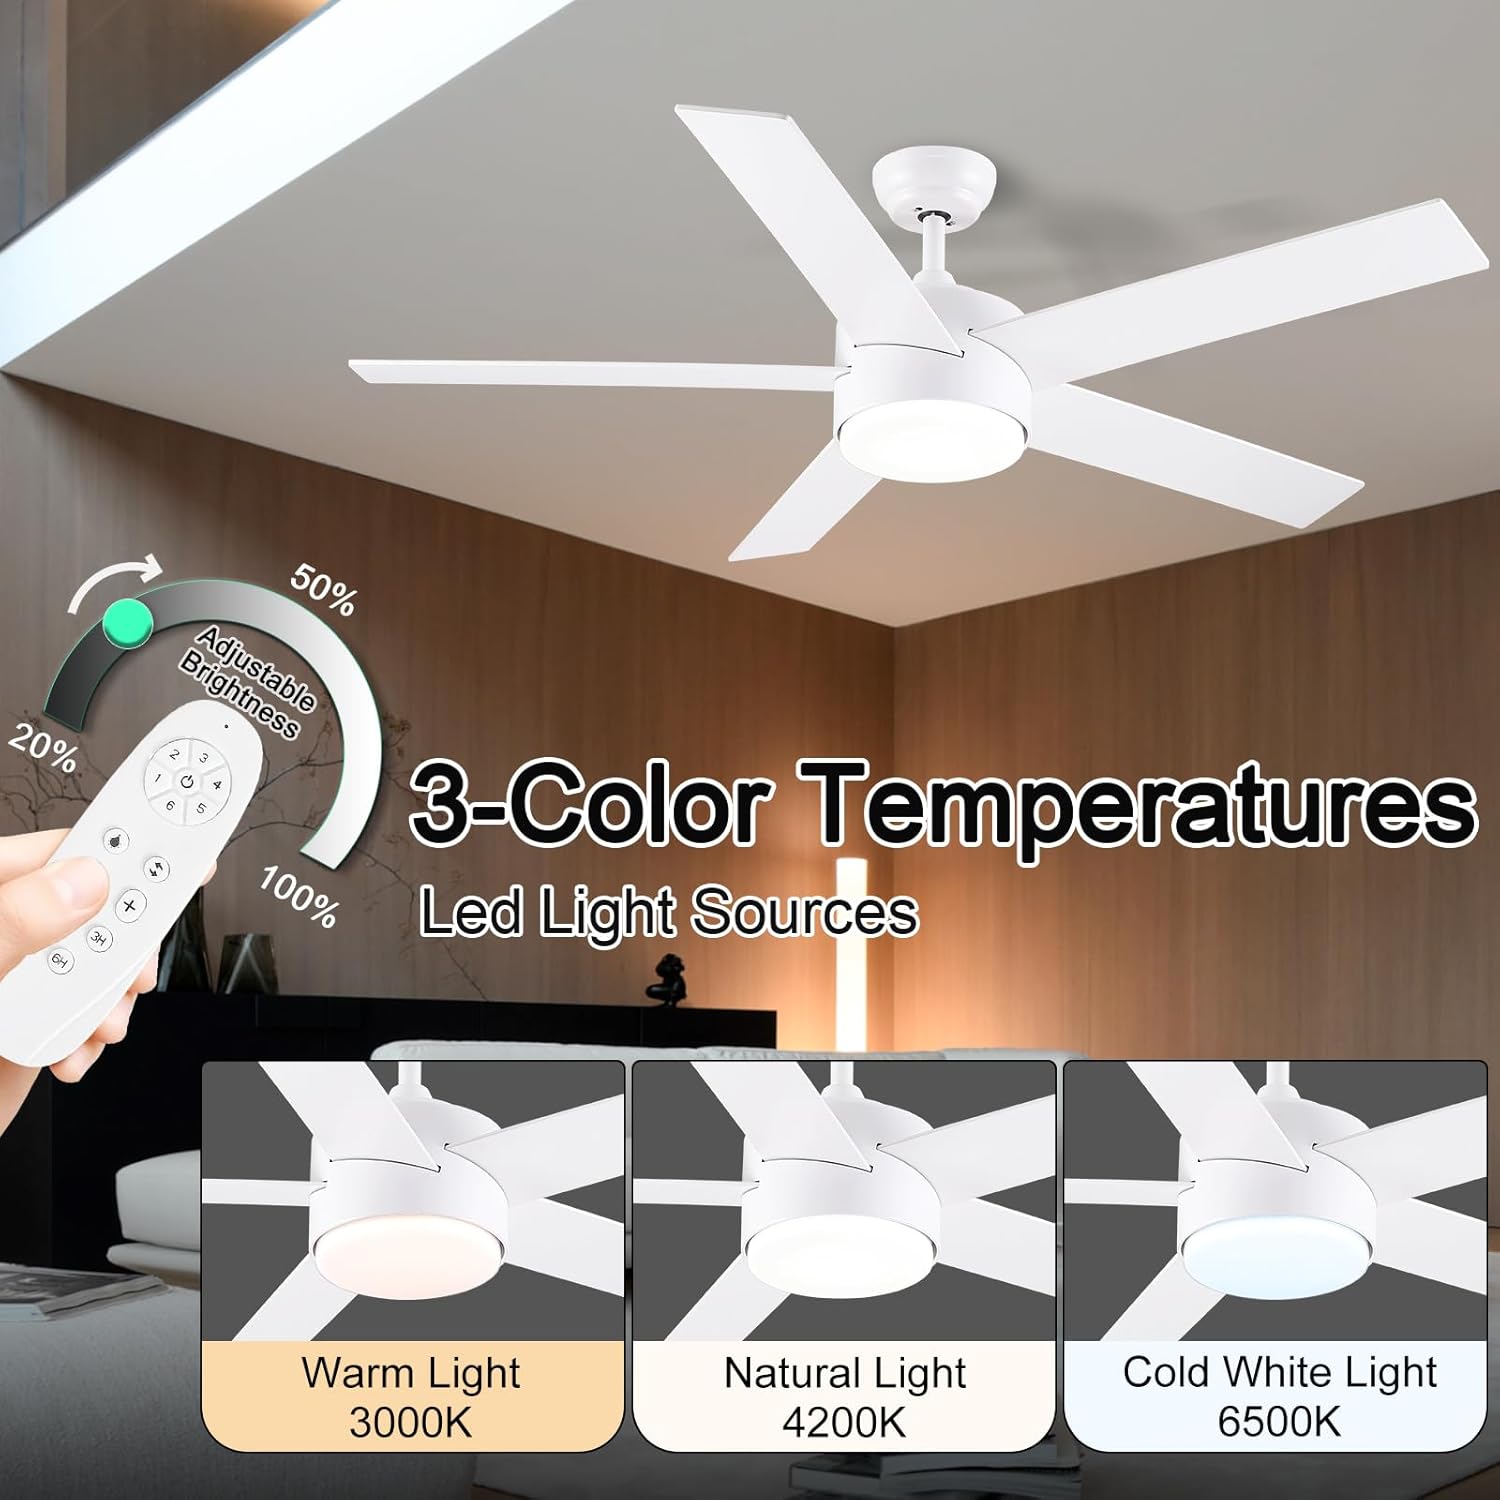
Image: A person installing the ceiling mounting bracket, showing electrical wires connected to the bracket.
4. Electrical Connections
Connect the fan's electrical wires to the household wiring according to the wiring diagram in the manual. Use the provided wire nuts to secure connections. Ensure the ground wire is properly connected.
Video: POCHFAN 52 inch Ceiling Fan with Light installation. This video demonstrates the assembly and wiring process for the ceiling fan.
5. Secure Fan to Mounting Bracket
Carefully lift the fan assembly and hang it onto the hook of the mounting bracket. This allows for hands-free wiring. Once wired, secure the fan to the mounting bracket using the designated screws.
6. Install Light Kit
Connect the LED light module wires to the fan's light kit wires. Secure the LED module to the fan's base, then attach the frosted acrylic light cover by twisting it into place.
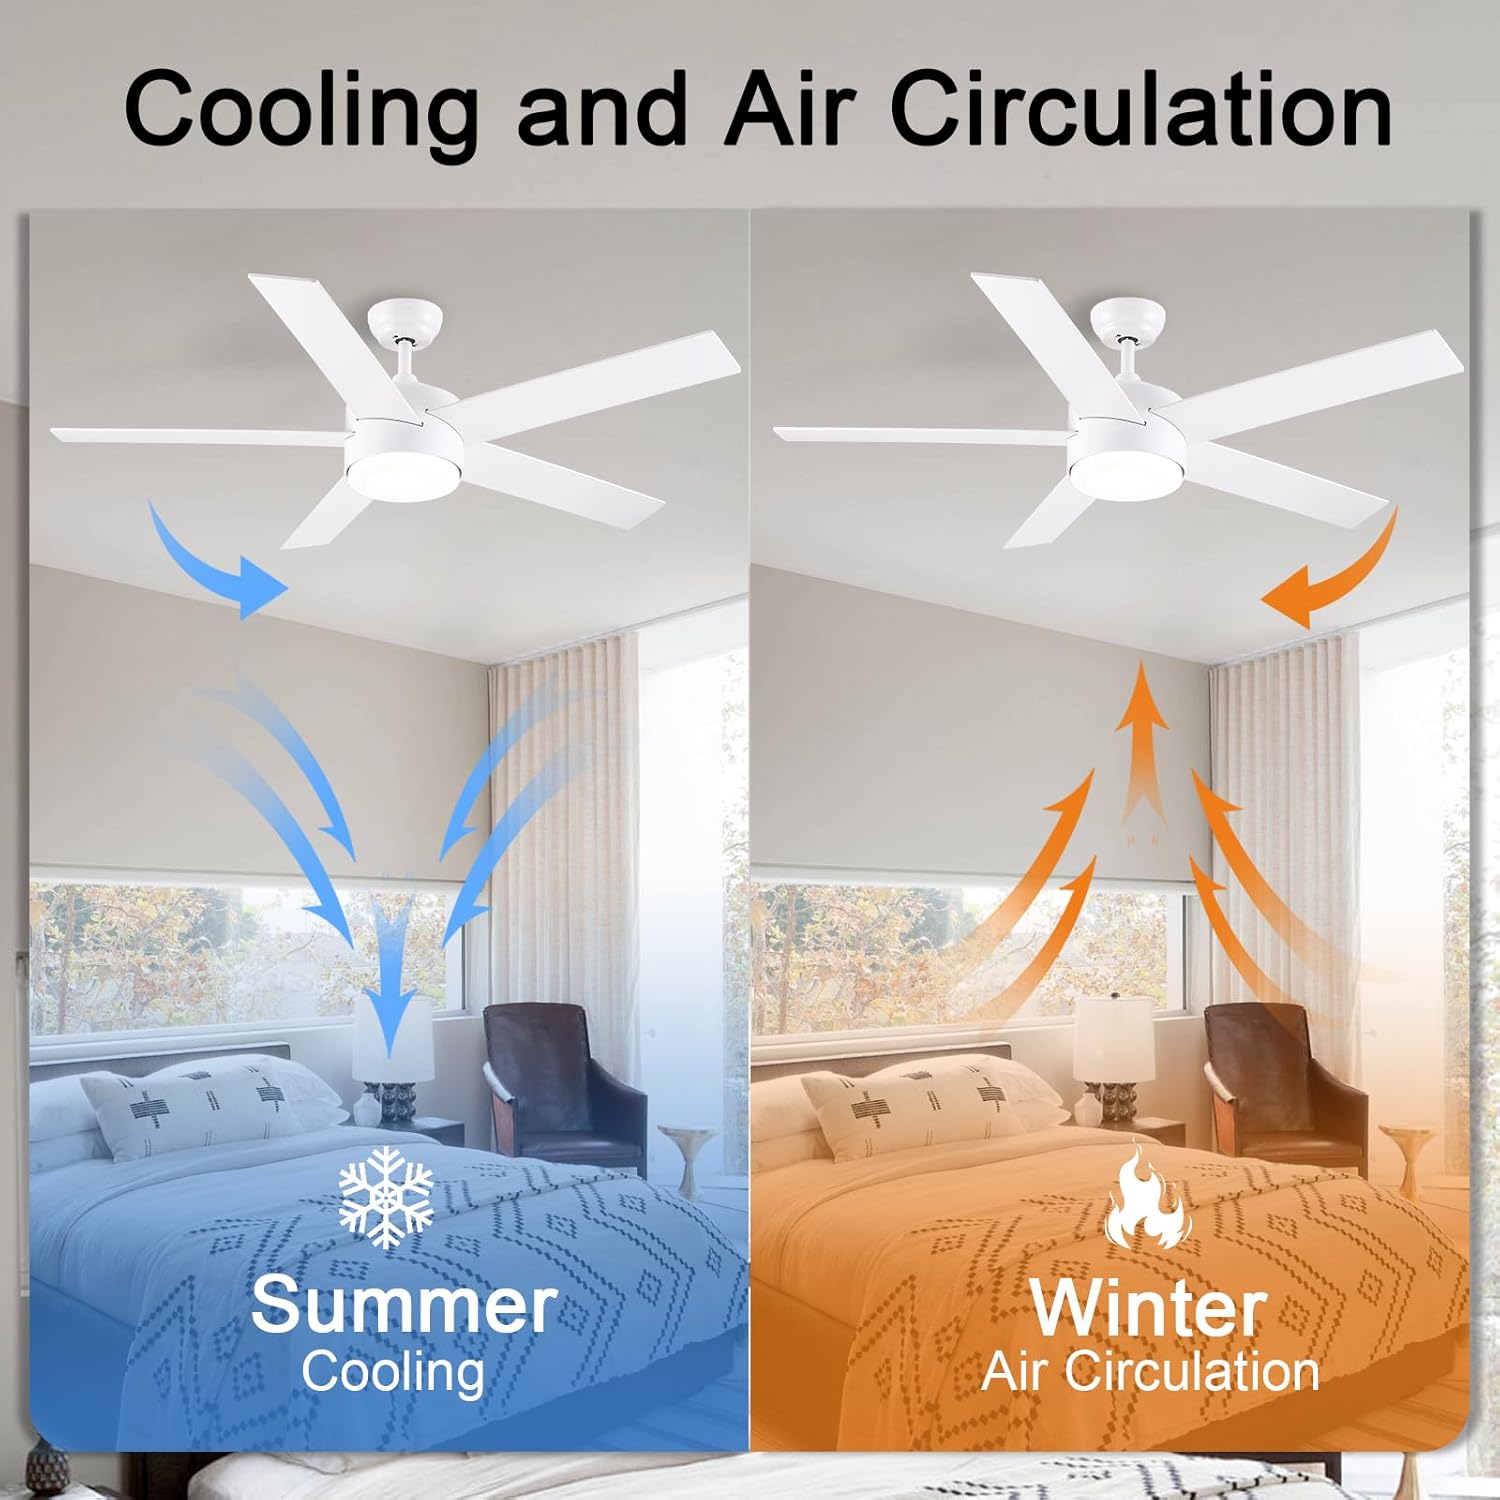
Image: A person installing the LED light module and attaching the frosted light cover to the fan base.
Operating Instructions
Your POCHFAN ceiling fan is operated using the included remote control. Ensure the 2 AAA batteries are correctly inserted into the remote.
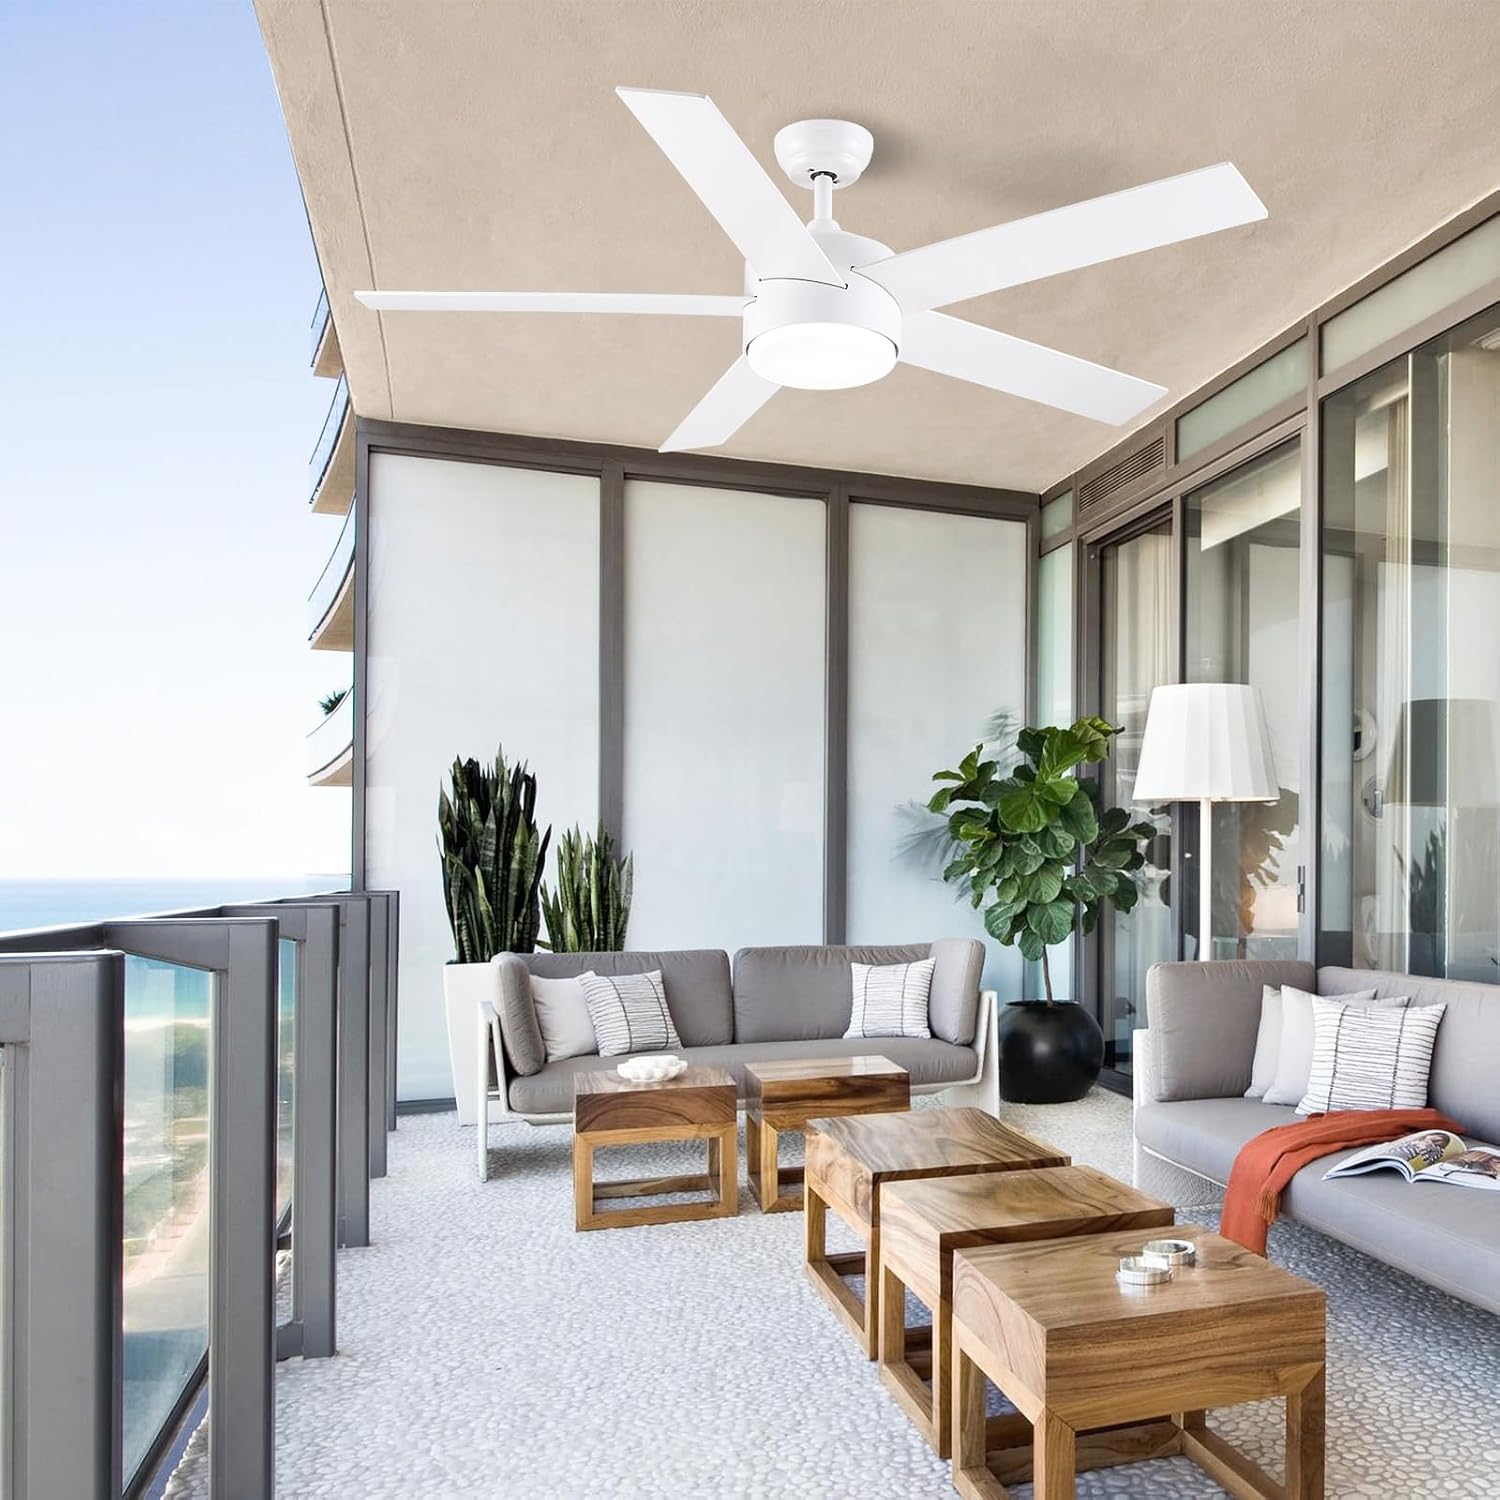
Image: Diagram of the remote control highlighting buttons for fan speed, light on/off, forward/reverse, light brightness, and fan timer settings.
Remote Control Functions:
- Fan ON/OFF: Press the power button (fan icon) to turn the fan on or off.
- Fan Speed: Use buttons 1-6 to select desired fan speed. (1 being the lowest, 6 being the highest).
- Light ON/OFF: Press the light bulb icon to turn the LED light on or off.
- Light Brightness: Use the '+' and '-' buttons to adjust the light brightness from 20% to 100%.
- Color Temperature (CCT): Press the button with three wavy lines to cycle through the 3 color temperatures: Warm White (3000K), Natural White (4000K), and Cool White (6500K).
- Reversible Function: Press the button with two arrows forming a circle to switch between downdraft (summer) and updraft (winter) modes.
- Timer Settings: Press 1H, 3H, or 6H to set the fan to automatically turn off after the selected duration.
Maintenance
Regular maintenance ensures optimal performance and longevity of your ceiling fan.
- Cleaning: Dust the fan blades and motor housing regularly with a soft, lint-free cloth. Do not use abrasive cleaners or solvents.
- Blade Inspection: Periodically check that all blade screws are tight. Loose screws can cause wobbling and noise.
- Light Cover: The frosted acrylic light cover can be removed and cleaned with mild soap and water if necessary. Ensure it is completely dry before reattaching.
Troubleshooting
If you encounter any issues with your fan, refer to the following common problems and solutions:
- Fan Does Not Start:
- Check that the power is turned on at the circuit breaker.
- Ensure all electrical connections are secure.
- Verify remote control batteries are installed correctly and are not depleted.
- Light Does Not Work:
- Check light switch on remote.
- Ensure light module wires are properly connected.
- Fan Wobbles:
- Ensure all blade screws are tightened.
- Verify the mounting bracket is securely fastened to the ceiling.
- Check that the downrod is properly secured to the motor housing.
- Remote Not Responding:
- Replace remote control batteries.
- Ensure there are no obstructions between the remote and the fan receiver.
- Re-pair the remote with the fan if necessary (refer to specific pairing instructions in the full manual).
Warranty and Support
POCHFAN offers a 2-year free replacement service for any non-working, missing, or damaged parts. Your satisfaction is our top priority.
To claim warranty or for assistance:
- Please contact POCHFAN customer support directly.
- Our expert support team is available 24/7, and most inquiries are resolved within 24 hours.


