1. Introduction
This manual provides detailed instructions for the installation, operation, and maintenance of your KAOLALI Digital GPS Speedometer. This device is designed for various applications including motorcycles, boats, yachts, vessels, vehicles, and off-road vehicles, offering precise speed, mileage, and trip tracking.
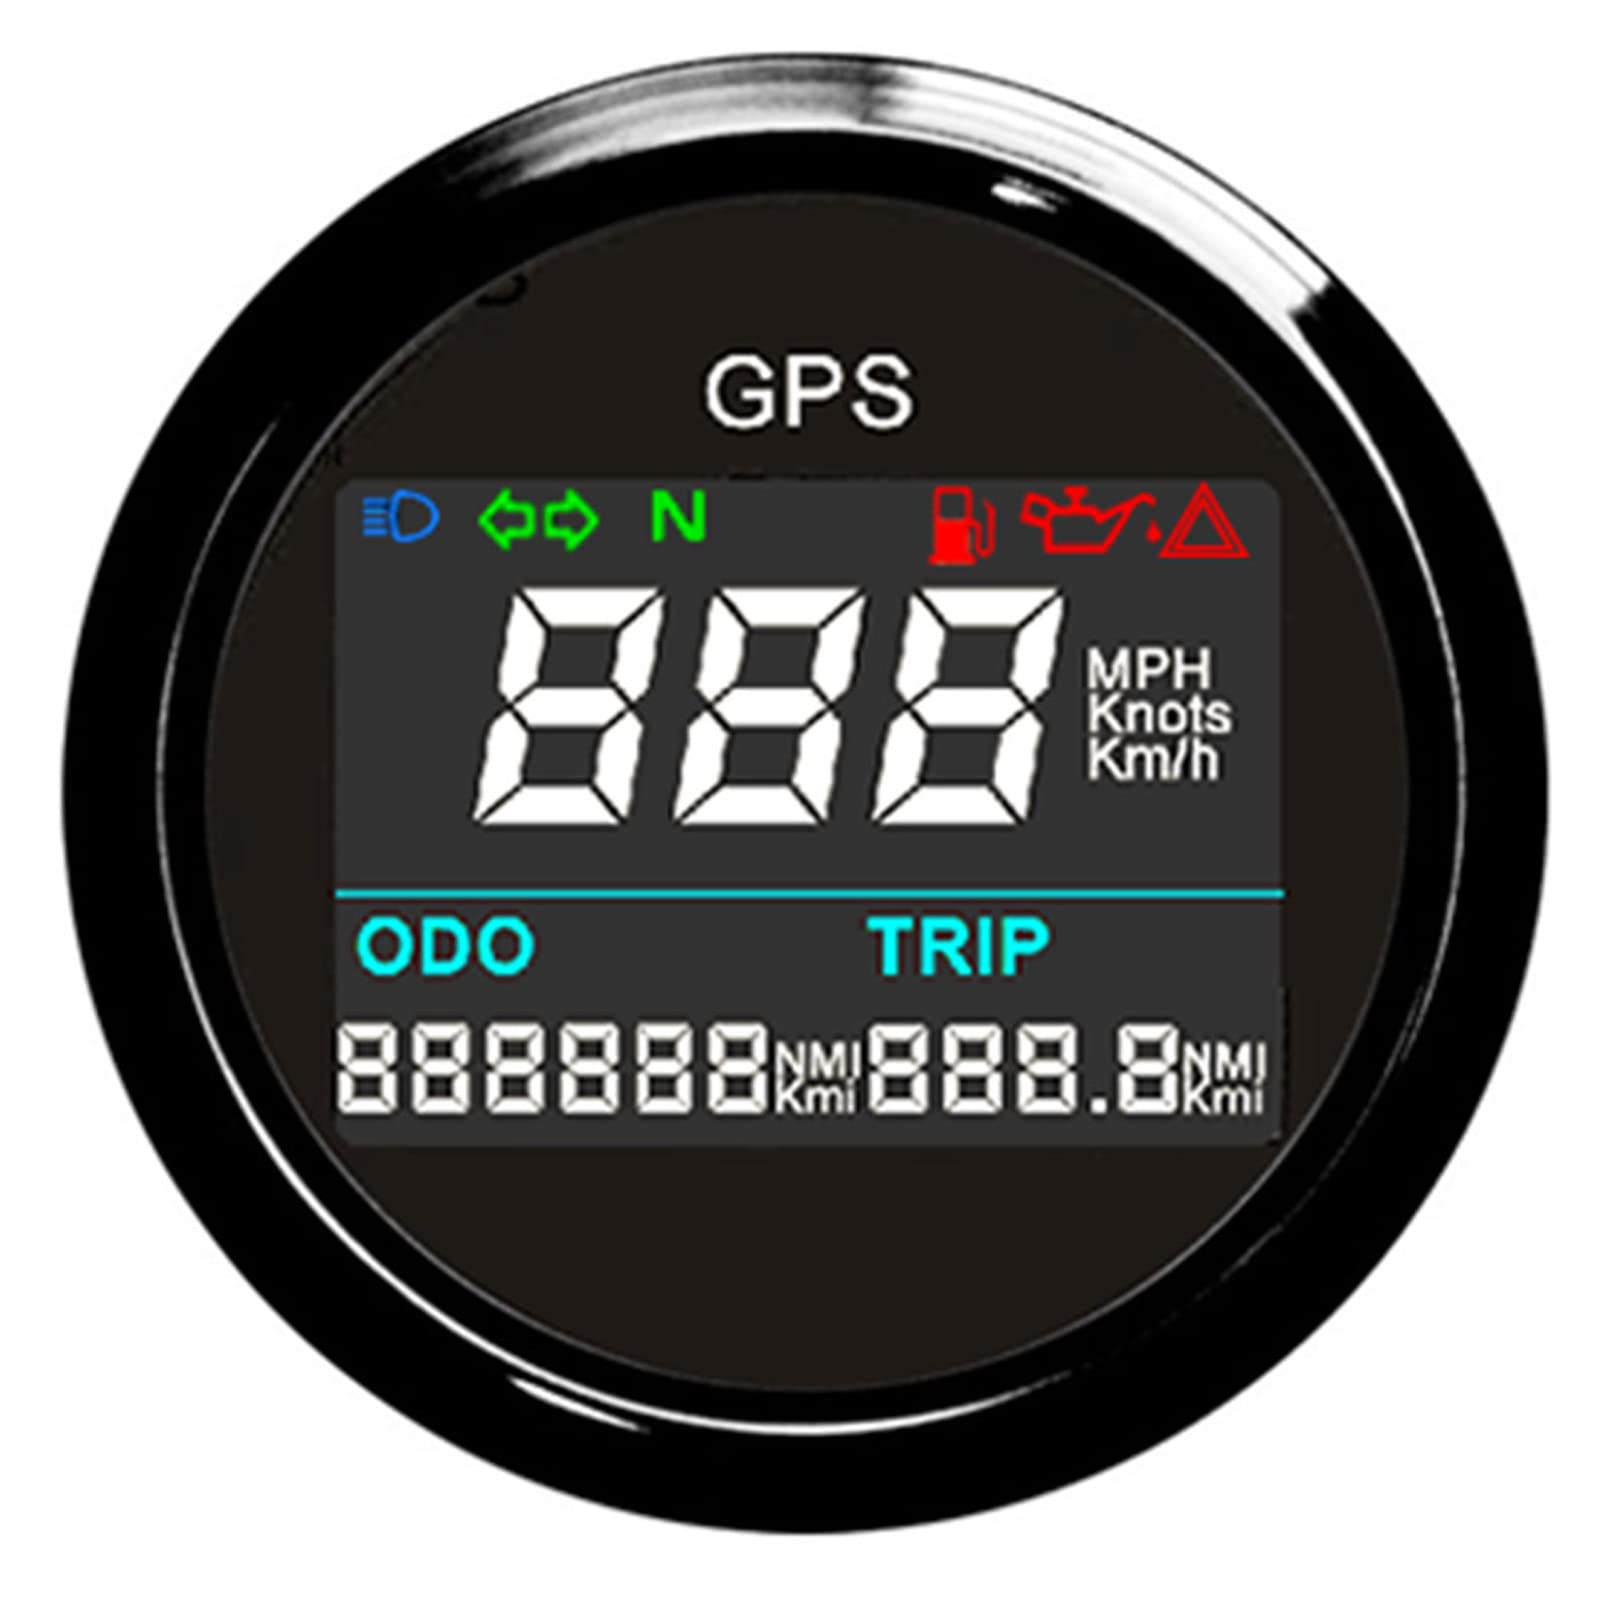
Image 1.1: Front view of the KAOLALI Digital GPS Speedometer.
2. Product Overview
2.1 Key Features
- Indicating Range: 0~999 (MPH, Knots, Km/h adjustable).
- Unit Switching: Easily switch between MPH (Mi), Knots (NMI), and Km/h (KM) using the backside button.
- Total Mileage: Adjustable mileage range from 0-99999.9 (Mi, NMI, KM available).
- Trip Counter: Tracks individual trip distances.
- Working Voltage: Compatible with 12V/24V systems.
- GPS Blind Area Compensation: Ensures accurate odometer readings even in areas with temporary GPS signal loss.
- Overspeed Buzzer Alarm: Adjustable threshold for speed alerts.
- Operating Temperature: -40 to 85°C.
- Operation Mode: LCD display with stepper motor.
- Durability: IP67 waterproof and dustproof grade.
2.2 Package Contents
The package includes the following items:
- 1x GPS Speedometer unit
- 1x GPS Antenna
- 1x Multi-plug socket (wiring harness)
- 1x Installation Instruction manual

Image 2.1: Contents of the KAOLALI Digital GPS Speedometer package.

Image 2.2: Close-up of the GPS antenna and optional external button.
3. Setup and Installation
The GPS speedometer is designed for a fixing dimension of 52mm (2 inches). Refer to the included Installation Instruction manual for detailed wiring diagrams and mounting procedures specific to your vehicle type.
3.1 Dimensions
Ensure adequate space for installation. The product dimensions are approximately 5.59 x 4.39 x 5.59 cm (Length x Width x Height).

Image 3.1: Speedometer dimensions (56mm front diameter, 44mm depth, 46.4mm cutout diameter).
3.2 Wiring
The multi-plug socket provides connections for power and other functions. Connect the speedometer to a 12V or 24V power source as per the wiring diagram in the separate installation guide. Ensure all connections are secure and insulated.

Image 3.2: Rear view of the speedometer with wiring harness connected.
4. Operating Instructions
The speedometer features an LCD display and a backside button (or an optional external button) for function selection and adjustment.

Image 4.1: Detailed view of the speedometer's TFT screen displaying various metrics.
4.1 Function Selection
To access the function selection menu (ODO, BUZZ, UNIT), follow these steps:
- Ensure the power supply to the speedometer is off.
- Press and hold the button located on the backside of the unit (or the external button if installed). You may need a pin to press the internal button through the back hole.
- While holding the button, turn on the power supply.
- The LCD will display options such as "ODO", "BUZZ", or "UNIT". Release the button to select the displayed function.
4.2 Adjusting Total Odometer (ODO)
After selecting "ODO" in the function selection menu:
- The LCD will show a default value (e.g., "5000" for 5000 km).
- Press the button repeatedly to change the flashing digit. The digits can be adjusted from 0 to 99999.
- Continue pressing to cycle through digits and set your desired total odometer value.
4.3 Setting Overspeed Buzzer Alarm (BUZZ)
After selecting "BUZZ" in the function selection menu:
- The LCD will display the current alarm threshold (e.g., "B 80" for 80 km/h).
- Press the button to change the flashing digit. The threshold can be set from 10 to 240.
- Set your desired overspeed alarm threshold. The buzzer will activate when this speed is exceeded.
4.4 Changing Units (UNIT)
After selecting "UNIT" in the function selection menu:
- The LCD will display the current unit (km/h, mph, or knots).
- Press the button to cycle through the available units.
- Stop pressing when your preferred unit is displayed.
4.5 Resetting Trip Odometer
To reset the trip odometer to zero:
- Press and hold the button on the backside of the GPS speedometer (or the external button) for 2 to 3 seconds.
- The trip odometer value will reset to zero.
5. Specifications
| Feature | Specification |
|---|---|
| Fixing Dimension | 52mm (2 inches) |
| Indicating Range | 0~999 (MPH, Knots, Km/h adjustable) |
| Total Mileage Range | 0-99999.9 (Mi, NMI, KM available) |
| Working Voltage | 9-32V |
| Operating Temperature | -40 to 85°C |
| Protection Grade | IP67 (Waterproof and Dustproof) |
| Material | Acrylonitrile Butadiene Styrene (ABS) |
| Item Weight | 200 g (7.05 Ounces) |
| Product Dimensions (L x W x H) | 5.59 x 4.39 x 5.59 cm (2.2 x 1.73 x 2.2 inches) |
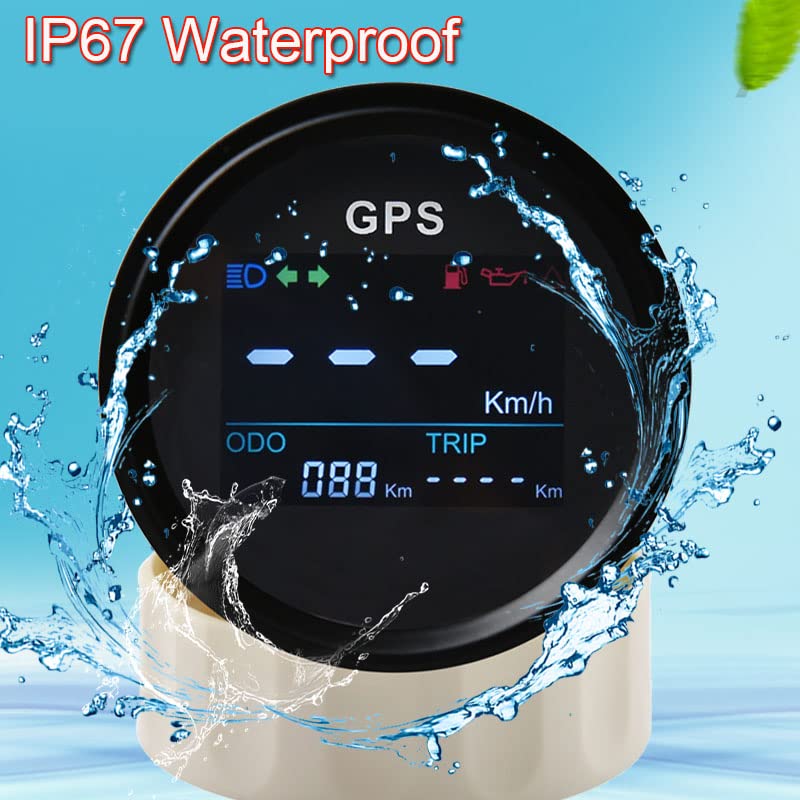
Image 5.1: The speedometer's IP67 waterproof feature.
6. Troubleshooting
This section addresses common issues you might encounter with your GPS speedometer.
6.1 Display Readability in Sunlight
Issue: The display appears dim or unreadable in bright sunlight.
Solution: While the unit features an LCD display, extreme direct sunlight can affect visibility. Ensure the unit is installed in a location with minimal direct sun exposure if possible. No internal brightness adjustment is available for this model.
6.2 Backlight Dimming or Failure
Issue: The backlight becomes dim or stops working after some time.
Solution: This could indicate a component failure. Check power connections to ensure stable voltage supply. If the issue persists, contact KAOLALI customer support for assistance.
6.3 Inaccurate Speed or Odometer Readings
Issue: Speed or odometer readings appear incorrect.
Solution: Ensure the GPS antenna has a clear, unobstructed view of the sky. Obstructions (e.g., metal roofs, tunnels, dense foliage) can interfere with GPS signal reception. The unit includes GPS blind area compensation, but prolonged signal loss will affect accuracy. Verify that the correct unit (MPH, Km/h, Knots) is selected.
7. Warranty and Support
For warranty information, technical support, or service inquiries, please refer to the contact details provided with your purchase documentation or visit the official KAOLALI website. Keep your proof of purchase for warranty claims.