
Introduction
This manual provides detailed instructions for the ECHTPower Switch OLED Joy Pad Controller (Model YS37). Please read this manual thoroughly before use to ensure proper operation and to maximize your gaming experience. This wireless controller is designed for use with Nintendo Switch, Switch Lite, and Switch OLED consoles.
Product Overview

Figure 1: ECHTPower Switch OLED Joy Pad Controller. This image shows the full controller assembly, designed to attach to the sides of the Nintendo Switch console.

Figure 2: Controller attached to Nintendo Switch OLED in handheld mode. The image displays the controller connected to a Switch console, ready for gameplay.
The ECHTPower Joy Pad Controller is a professional-grade replacement for the original Joy-Cons, offering an enhanced ergonomic design and advanced features. It is compatible with Nintendo Switch, Switch Lite, and Switch OLED models.
Setup and Connection
Initial Connection
- Ensure your Nintendo Switch console is powered on and updated to the latest system software.
- Slide the left and right ECHTPower Joy Pad controllers onto the rails of your Nintendo Switch console until you hear a click. The controllers will automatically connect to the console.
- Once connected, the LED indicators on the controllers will light up, confirming successful pairing.
Reconnecting
If the controllers disconnect, simply slide them back onto the console. They will automatically reconnect. If using wirelessly (detached from console), press any button to wake them up and they will attempt to reconnect to the last paired console.
Charging the Controllers
The controllers charge automatically when attached to the Nintendo Switch console while the console is charging or docked. Each controller contains a 400mAh battery, providing 8-10 hours of continuous use per individual Joy Pad, or up to 20 hours when used together.
Operating Instructions
Macro Function Programming
The controller supports a macro function, allowing you to combine multiple button presses into a single programmable button. This is particularly useful for complex actions in games.

Figure 3: Illustration of Programmable Buttons and Turbo Function. This image highlights the location of the programmable back buttons and the turbo button on the controller.
- Press the 'M' button (Macro button) on the back of the controller. The indicator light will flash slowly.
- Press the button you wish to program (e.g., A, B, X, Y, L, ZL, R, ZR).
- Input the sequence of buttons you want to assign to the macro.
- Press the 'M' button again to save the macro. The indicator light will stop flashing.
Turbo Function
The turbo function allows for rapid, continuous input of a button press. This can be set for A, B, X, Y, L, ZL, R, ZR buttons.
- Press and hold the 'T' button (Turbo button) and then press the button you want to apply turbo to (e.g., A).
- Release both buttons. Now, holding down the 'A' button will activate turbo.
- To deactivate turbo for that button, repeat the process: hold 'T' and press 'A' again.
Vibration Adjustment
The controller features adjustable dual vibration motors to enhance gaming immersion. There are four vibration modes available.
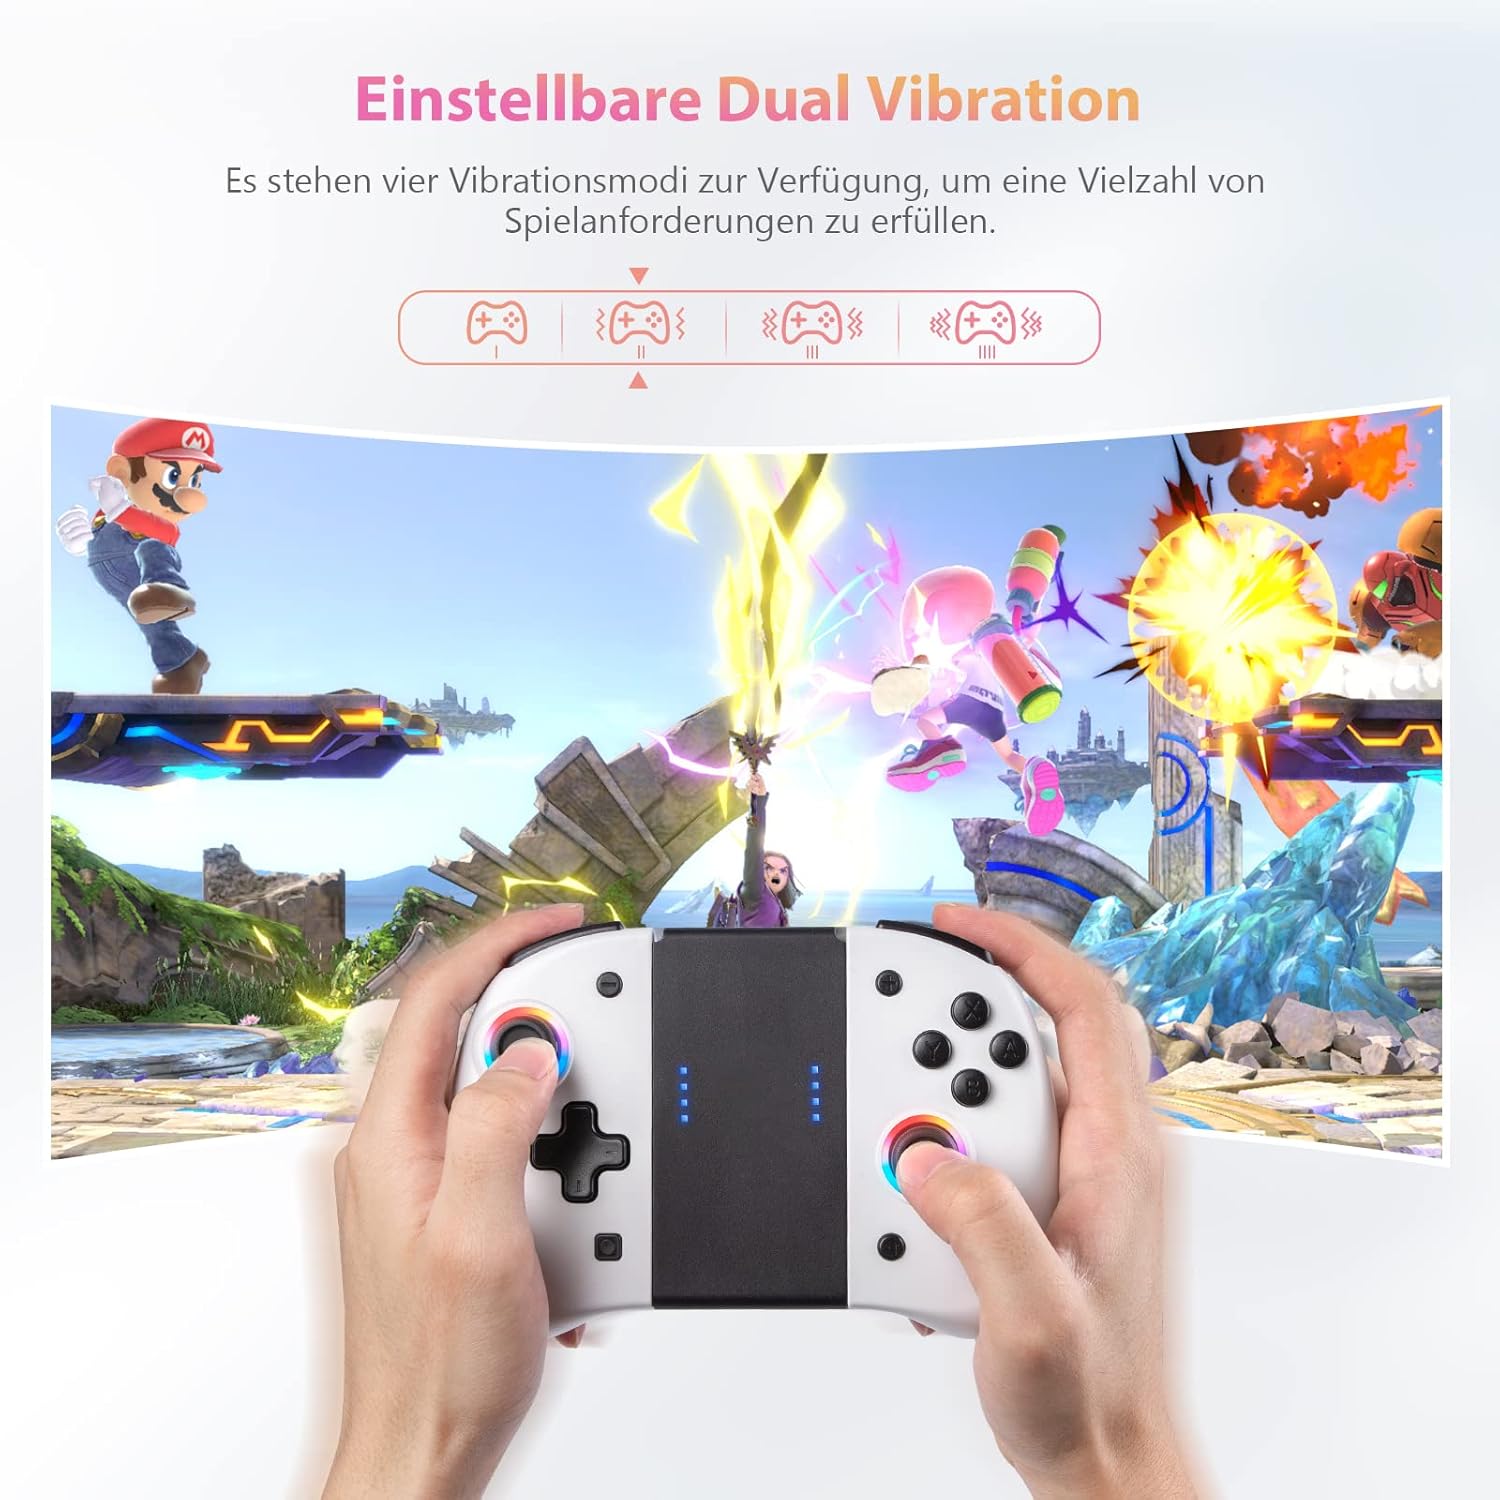
Figure 4: Diagram showing four adjustable vibration modes. This graphic illustrates the different intensity levels for the controller's vibration function.
Refer to the specific button combination in the included quick start guide for adjusting vibration intensity.
6-Axis Gyroscope Somatosensory Function
The built-in 6-axis gyroscope allows for precise motion control in compatible games, enhancing the gaming experience by responding to your movements.
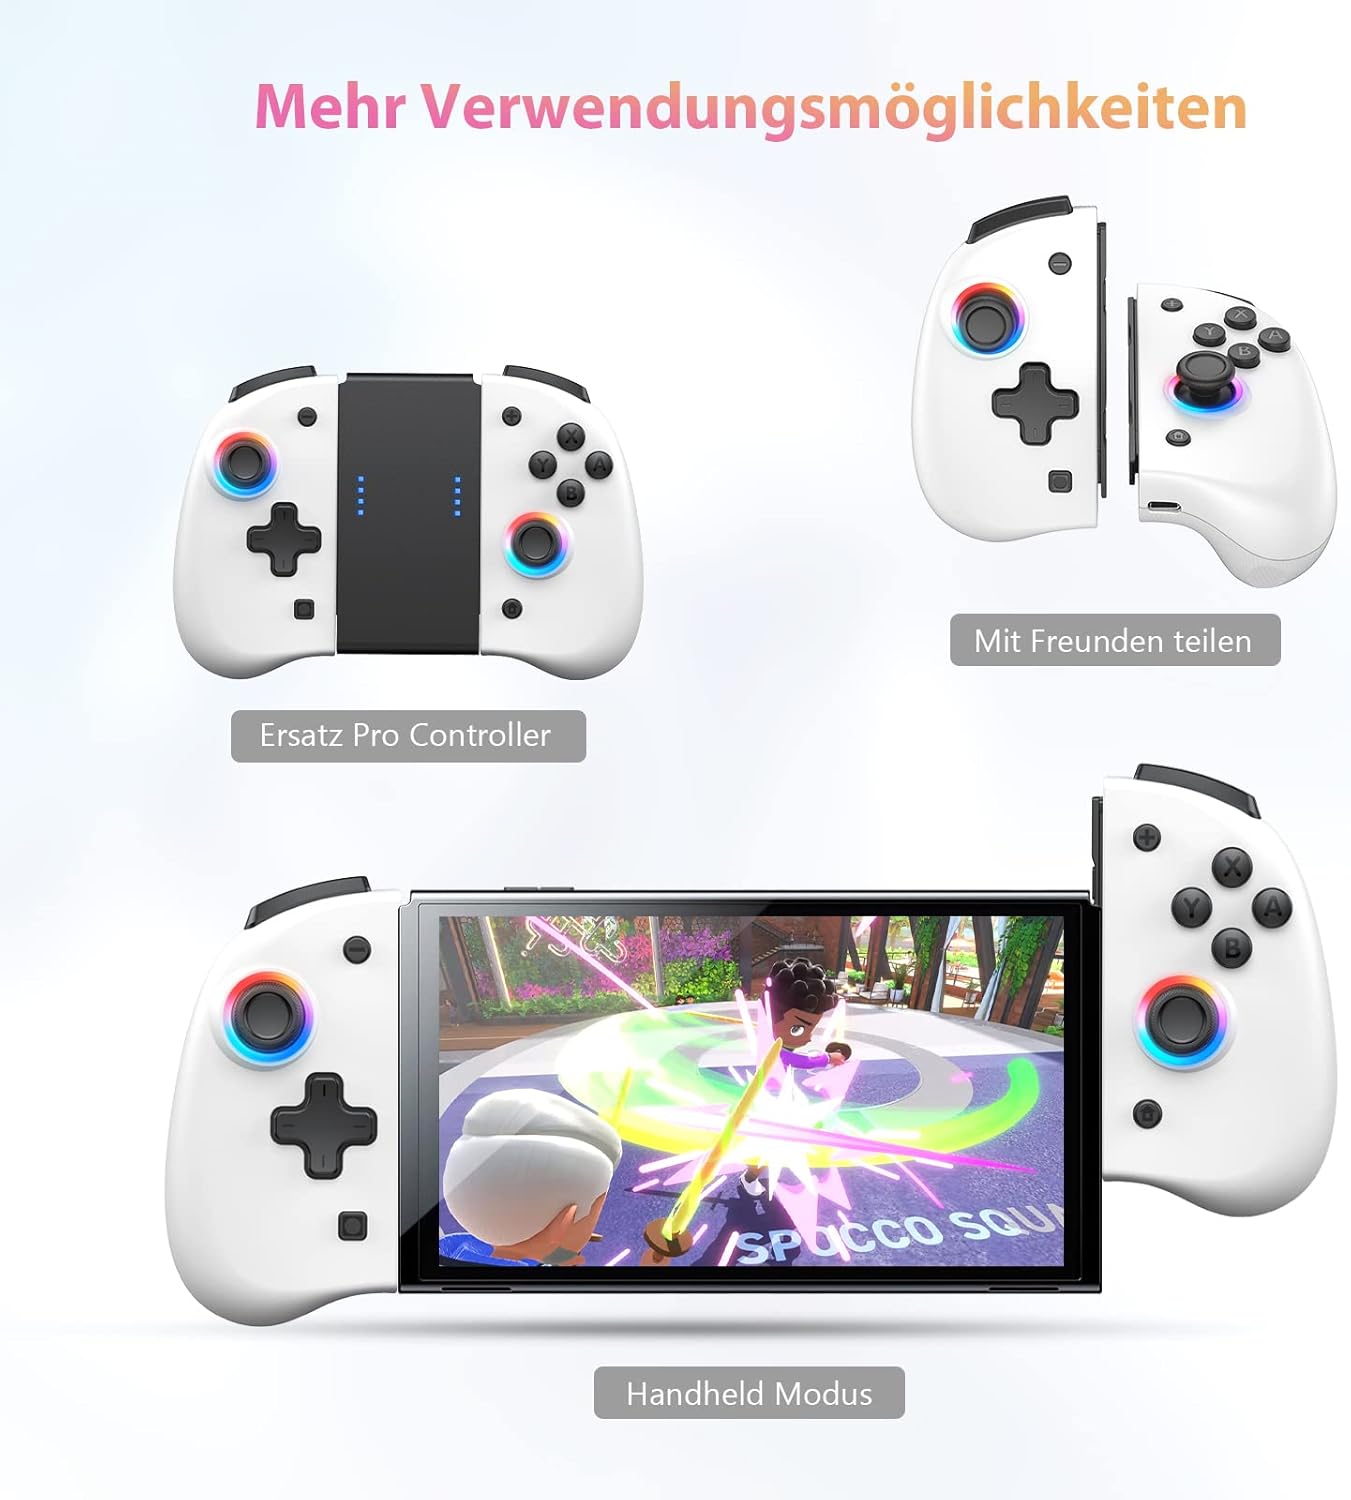
Figure 5: Examples of Gyro-Sensor Motion Control. This image demonstrates how the controller's motion sensors can be used for in-game actions like steering or aiming.
Automatic Sleep Mode
- When connected to the Switch, the controller will automatically enter sleep mode if the Switch screen turns off.
- To wake the Switch and controller, press the HOME button on the controller.
- If the controller is disconnected from the Switch and no operation is performed for 5 minutes, it will automatically enter sleep mode to conserve battery.
LED Lighting Modes
The controller features 8-color adjustable LED lights around the joysticks to enhance your gaming atmosphere.

Figure 6: Diagram illustrating 8-color LED lighting modes. This image shows the different lighting effects available for the controller's joysticks, including solid, breathing, and rainbow breathing.
Specific instructions for changing LED modes are typically found in the quick start guide or by pressing a dedicated button combination (e.g., T + R3).
Maintenance
Cleaning
Wipe the controller with a soft, dry cloth. Do not use abrasive cleaners or solvents. Avoid exposing the controller to excessive moisture.
Storage
Store the controller in a cool, dry place away from direct sunlight and extreme temperatures. If storing for an extended period, ensure the battery is partially charged (around 50%) to prolong its lifespan.
Troubleshooting
- Controller not connecting: Ensure the Switch console is updated. Re-attach the controllers firmly to the console. If using wirelessly, ensure they are charged and within range.
- Buttons not responding: Check if the controller is properly connected. Restart the Switch console.
- Vibration not working: Check in-game settings to ensure vibration is enabled. Ensure the controller's vibration mode is not set to off.
- Short battery life: Ensure the controllers are fully charged. Reduce vibration intensity or LED brightness if possible to extend battery life.
Specifications
| Feature | Detail |
|---|---|
| Model Number | YS37 |
| Brand | ECHTPower |
| Compatibility | Nintendo Switch, Switch Lite, Switch OLED |
| Connectivity | Wireless (Bluetooth) |
| Battery Capacity | 2 x 400mAh (per Joy Pad) |
| Play Time | 8-10 hours (individual), up to 20 hours (combined) |
| Charging Time | 2-3 hours |
| Special Features | Macro Function, Turbo Function, Adjustable Vibration, 6-Axis Gyroscope, LED Lighting |
| Dimensions (L x W x H) | 11.2 x 5.9 x 5.3 cm (per controller, approximate) |
Warranty and Support
For warranty information and technical support, please refer to the contact details provided with your product packaging or visit the official ECHTPower website. Keep your purchase receipt for warranty claims.
Manufacturer: echtpower
ASIN: B09V7S1954
