1. Introduction
This manual provides essential information for setting up, operating, maintaining, and troubleshooting your Lenovo ThinkPad L14 Gen 2 laptop. Please read this manual thoroughly to ensure proper use and to maximize the performance and longevity of your device.
2. Package Contents
Verify that all items are present in your package:
- Lenovo ThinkPad L14 Gen 2 Laptop
- AC Power Adapter and Power Cord
- Documentation (Quick Start Guide, Warranty Information)
- Dockstorm USB Hub (if included with your purchase)
3. Product Overview
Familiarize yourself with the components of your Lenovo ThinkPad L14 Gen 2 laptop.

Figure 3.1: Front view of the Lenovo ThinkPad L14 Gen 2 laptop with the screen displaying the Windows desktop and a blue 'Dockstorm' hub connected to the left side. This image illustrates the laptop's overall appearance and the included accessory.

Figure 3.2: Left-side angled view of the Lenovo ThinkPad L14 Gen 2 laptop, showcasing the various ports available. From left to right, these include a USB-C port (supporting Thunderbolt 4), another USB 3.2 Gen1 port, an HDMI output, and an Ethernet (RJ-45) port for wired network connections.
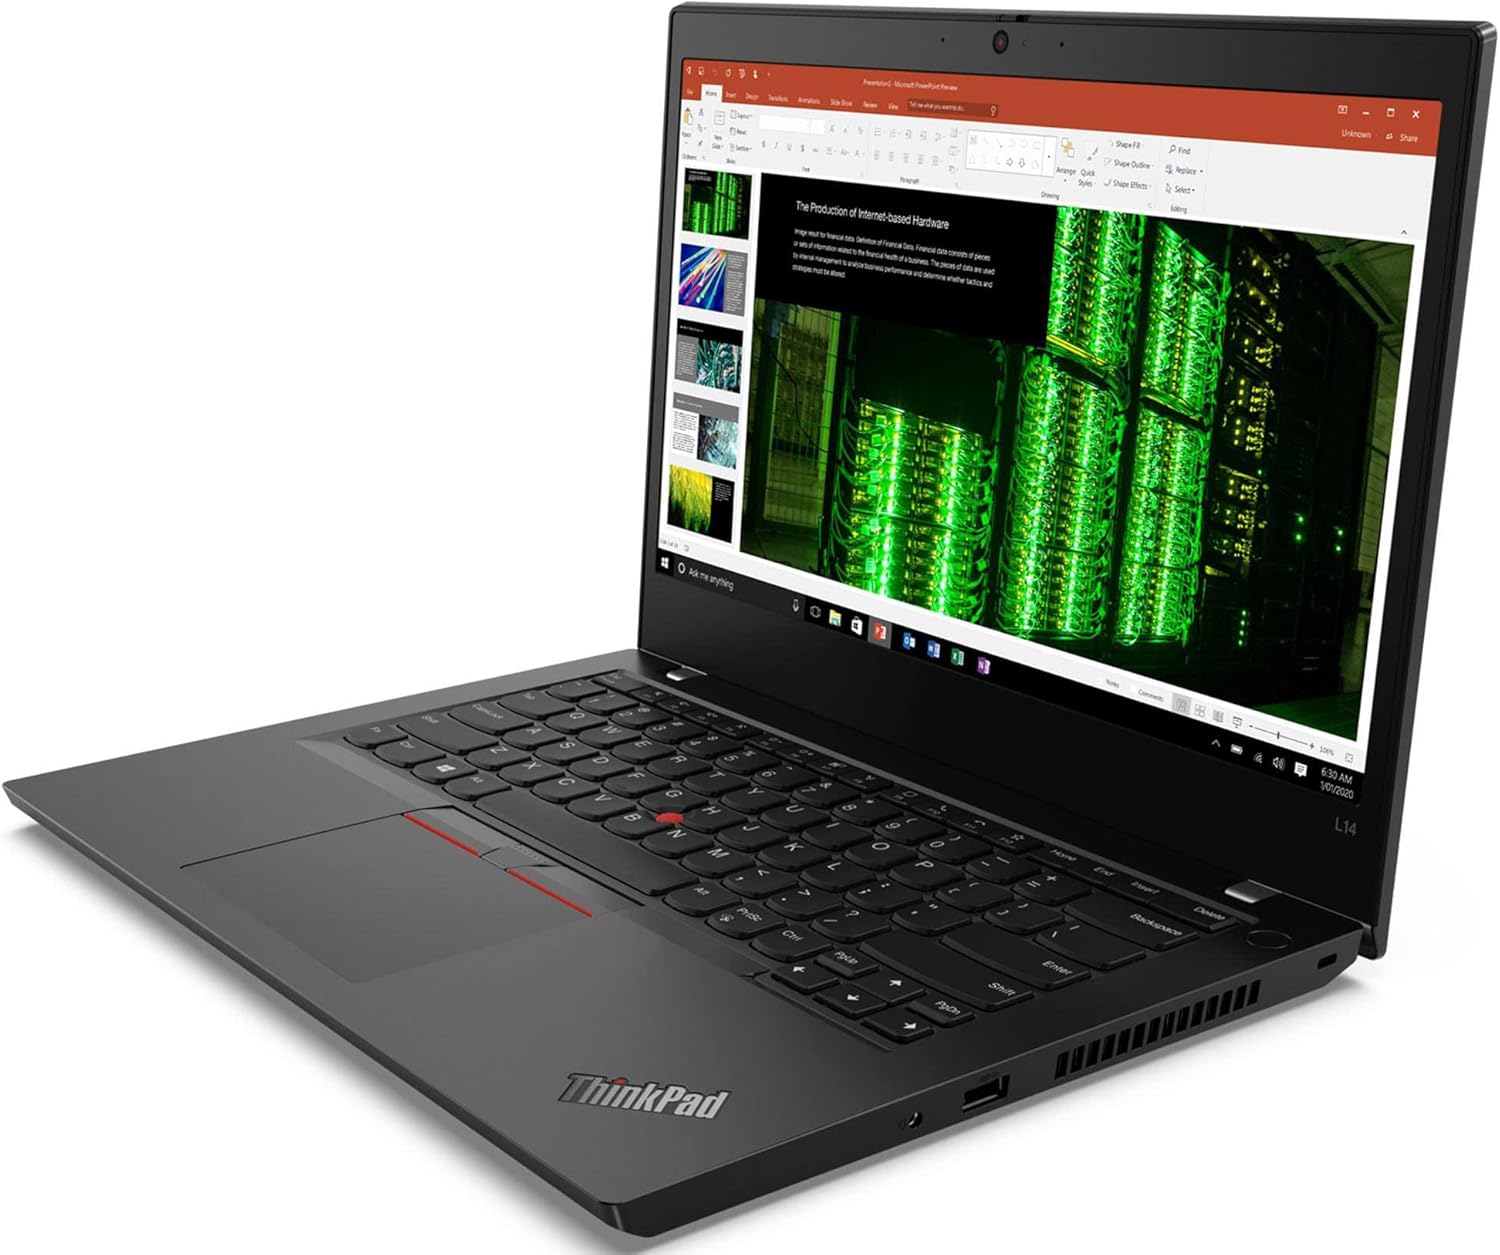
Figure 3.3: Right-side angled view of the Lenovo ThinkPad L14 Gen 2 laptop. This side features a USB 3.2 Gen1 port, a headphone/microphone combo audio jack, and a security lock slot for physical device protection.
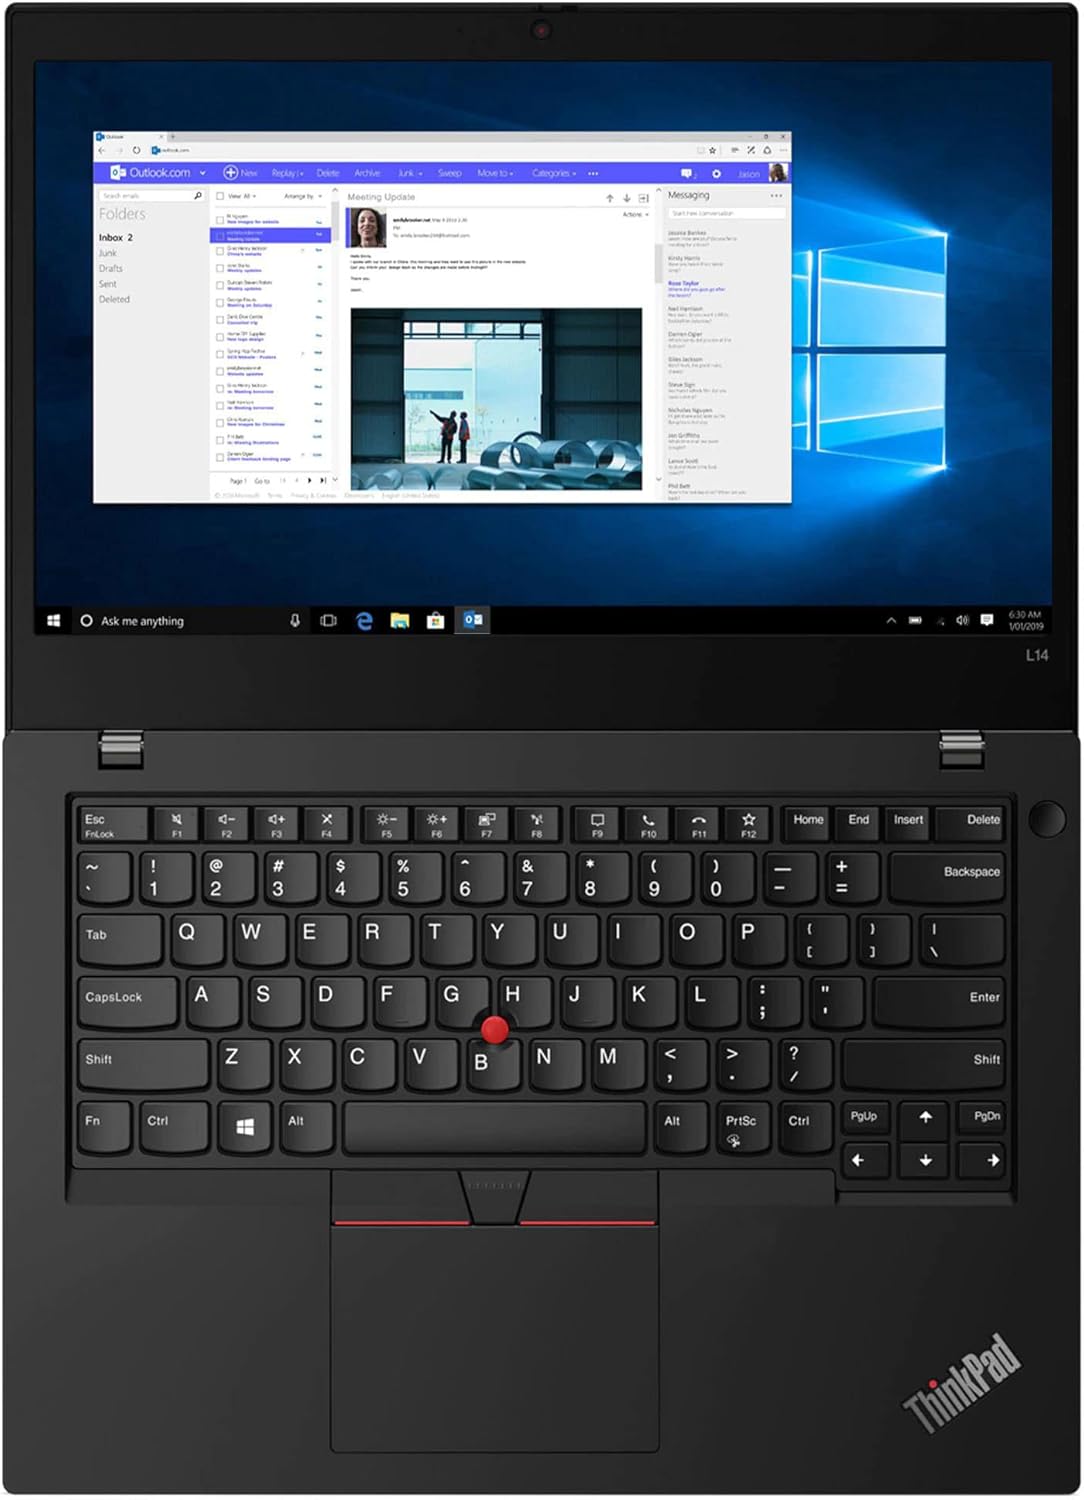
Figure 3.4: Top-down view of the open Lenovo ThinkPad L14 Gen 2 laptop, highlighting the full-sized keyboard, the iconic red TrackPoint pointing device located in the center of the keyboard, and the multi-touch touchpad below the spacebar.

Figure 3.5: Close-up view of the blue 'Dockstorm' USB hub. This accessory expands the connectivity options of your laptop, providing additional USB ports for peripherals.
4. Setup
4.1. Initial Power-On
- Connect Power: Plug the AC power adapter into the laptop's power input port (USB-C port on the left side) and then into a wall outlet.
- Power On: Open the laptop lid and press the power button, typically located on the top-right side of the keyboard deck.
- Initial Windows Setup: Follow the on-screen instructions to complete the Windows 11 Pro setup, including language selection, network connection, user account creation, and privacy settings.
4.2. Connecting Peripherals
- USB Devices: Connect USB devices such as external drives, mice, or keyboards to the available USB 3.2 Gen1 ports or via the included Dockstorm USB hub.
- External Display: Use the HDMI port or the Thunderbolt 4 (USB-C) port to connect an external monitor or projector.
- Network: For a wired connection, plug an Ethernet cable into the RJ-45 port. For wireless, connect to a Wi-Fi network during the initial setup or via Windows settings.
5. Operating Instructions
5.1. Power Management
- Power On: Press the power button.
- Sleep Mode: Close the lid or select 'Sleep' from the Start Menu.
- Shut Down: Go to Start Menu > Power > Shut down.
- Restart: Go to Start Menu > Power > Restart.
5.2. Using Input Devices
- Keyboard: Standard QWERTY layout with function keys (Fn) for system controls.
- TrackPoint: Use the red TrackPoint in the center of the keyboard for precise cursor control. The associated buttons below the spacebar function as left, right, and middle-click.
- Touchpad: The multi-touch touchpad supports gestures for navigation and control.
5.3. Connectivity
- Wi-Fi: Access Wi-Fi settings via the taskbar icon to connect to available wireless networks.
- Bluetooth: Enable Bluetooth in Windows settings to pair with compatible devices like headphones or mice.
- External Displays: Press Windows key + P to cycle through display modes (Duplicate, Extend, Second screen only).
6. Maintenance
6.1. Cleaning the Laptop
- Use a soft, lint-free cloth slightly dampened with water or a screen cleaner for the display.
- For the keyboard and chassis, use a soft cloth. Avoid harsh chemicals.
- Periodically clean the fan vents to prevent dust buildup.
6.2. Battery Care
- Avoid fully discharging the battery frequently.
- Store the laptop in a cool, dry place if not used for extended periods.
- Use only the original Lenovo power adapter.
6.3. Software Updates
- Regularly check for Windows updates via Settings > Windows Update.
- Install driver updates from the official Lenovo support website to ensure optimal performance and security.
7. Troubleshooting
7.1. Common Issues and Solutions
- Laptop not powering on:
Ensure the AC adapter is securely connected and the power outlet is functional. Try a different outlet. If the battery is removable, ensure it is properly seated. - No Wi-Fi connection:
Check if Wi-Fi is enabled in Windows settings. Restart your router and the laptop. Ensure drivers are up to date. - Display issues (no image, flickering):
Ensure external monitors are properly connected. Try updating graphics drivers. If using an external display, press Windows key + P to cycle display modes. - Slow performance:
Close unnecessary applications. Check for background processes consuming high resources (Task Manager). Ensure sufficient free storage space. Run a malware scan. - Keyboard or TrackPoint not responding:
Restart the laptop. Check for driver updates. If an external keyboard is connected, test if it works.
8. Specifications
| Feature | Specification |
|---|---|
| Processor | Intel Core i5-1135G7 (11th Gen, up to 4.2GHz, 4 Cores, 8 Threads) |
| Display | 14.0" Full HD (1920x1080) 60Hz IPS Display |
| Memory (RAM) | 16GB DDR4 SO-DIMM |
| Storage | 1TB PCIe SSD (Solid State Drive) |
| Graphics | Intel Iris Xe Integrated Graphics |
| Operating System | Windows 11 Pro-64 |
| Wireless Connectivity | 802.11ax Wi-Fi (Wi-Fi 6), Bluetooth 5.2 |
| Wired Connectivity | Ethernet LAN (RJ-45) |
| Webcam | 720p HD Webcam |
| Ports | 2x USB 3.2 Gen1, 1x HDMI, 1x Thunderbolt 4 (Type-C), 1x USB 3.2 Type-C Gen1, Micro SD Reader, Headphone/Microphone Combo Jack |
| Battery | 3-cell 45WHr Battery |
| Power Supply | 65W PSU |
| Dimensions (W x L x H) | 13.03 IN x 9.25 IN x 0.8 IN |
| Weight | 3.49 lb |
9. Warranty and Support
Your Lenovo ThinkPad L14 Gen 2 laptop comes with a 1-Year Manufacturer Warranty provided by GreatPriceTech. For warranty claims or technical support, please refer to the documentation included with your purchase or visit the official Lenovo support website for comprehensive resources, drivers, and service information.
Online Support: For the latest drivers, software, and troubleshooting guides, visit the official Lenovo Support website.


