Introduction
The TechniSat VIOLA CR 1 is a DAB+/FM radio alarm clock designed for reliable timekeeping, radio reception, and convenient charging. This manual provides essential information for setting up, operating, and maintaining your device.

Image: Front view of the TechniSat VIOLA CR 1 DAB+ Radio Alarm Clock, displaying the time and radio station.
Setup
1. Unpacking and Contents
Carefully remove all components from the packaging. Verify that the following items are included:
- TechniSat VIOLA CR 1 unit
- Rod antenna
- Power adapter
- User manual (this document)
2. Power Connection
- Connect the power adapter to the DC IN port on the rear of the VIOLA CR 1.
- Plug the power adapter into a standard electrical outlet.
3. Antenna Connection
Connect the supplied rod antenna to the ANT port on the rear of the unit. Extend the antenna fully for optimal radio reception.
4. Initial Power On and Time Setting
Upon first power-on, the device will typically initiate a scan for DAB+ radio stations and automatically set the time and date. If automatic synchronization is not successful, manual time setting may be required (refer to the Operating section).

Image: Rear view of the TechniSat VIOLA CR 1, highlighting the headphone jack, USB-A charging port, and DC IN power input.
Operating Instructions
1. Basic Controls
The VIOLA CR 1 features several buttons and a rotary knob for navigation and control. Refer to the labels on the device for specific functions such as Power, Mode, Menu, Alarm, Preset, and Volume/Select.
2. Radio Operation (DAB+ and FM)
- Switching Modes: Press the Mode button to switch between DAB+ and FM radio.
- Station Scan: In DAB+ mode, the device will automatically scan for available stations. In FM mode, use the tuning knob or scan function to find stations.
- Saving Presets: Tune to your desired station, then press and hold the Preset button. Select a preset number using the rotary knob and confirm. The device supports up to 30 presets.
- Recalling Presets: Press the Preset button briefly, then use the rotary knob to select and confirm your desired preset station.

Image: The TechniSat VIOLA CR 1 displaying a DAB+ radio station, indicating its digital radio capabilities.
3. Alarm Functions
The VIOLA CR 1 supports two independent alarms, a snooze function, and a sleep timer.

Image: The TechniSat VIOLA CR 1 on a bedside table, accompanied by icons representing its comfort functions: two adjustable alarm times, wake-up via radio or signal tone, sleep timer, and snooze.
- Setting Alarms: Press the Alarm button. Use the rotary knob to select Alarm 1 or Alarm 2. Follow the on-screen prompts to set the alarm time, source (radio or buzzer), volume, and frequency (daily, weekdays, weekends, or once).
- Snooze Function: When an alarm sounds, press the Snooze button to temporarily silence it for a set period.
- Sleep Timer: To fall asleep to music, activate the sleep timer. This function will automatically turn off the radio after a specified duration. Access this feature via the Menu button.
4. Wireless Charging
The top surface of the VIOLA CR 1 features a wireless charging pad. Place your Qi-compatible smartphone directly on the charging pad to initiate charging. Ensure the phone is centered for optimal contact.
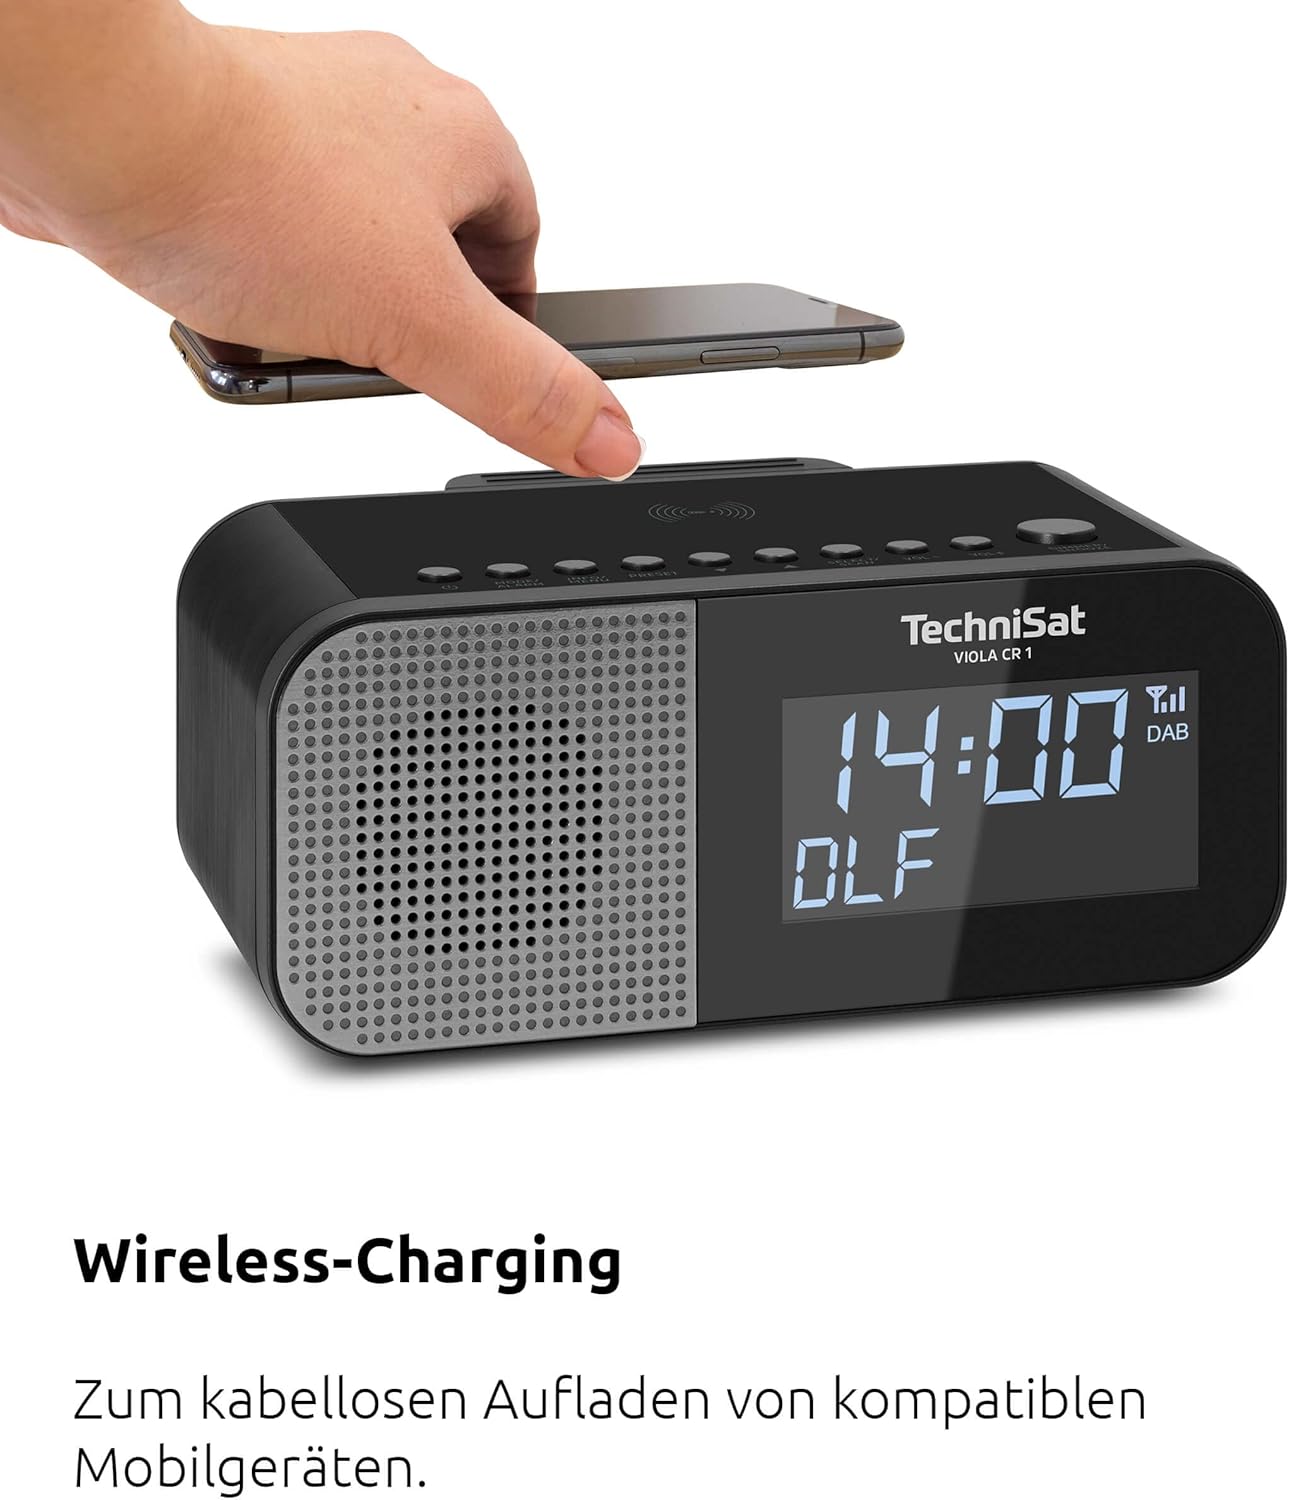
Image: A hand placing a smartphone onto the top surface of the TechniSat VIOLA CR 1, demonstrating the wireless charging function.
5. USB Charging
A USB-A port is located on the rear of the unit. Connect your smartphone or other USB-powered device using a compatible USB cable to charge it.
6. Display Brightness Adjustment
The 3.5-inch VA Crystal Clear display is dimmable. Adjust the brightness level through the device's menu settings to suit your preference, especially for nighttime use.

Image: A close-up view of the TechniSat VIOLA CR 1's large, dimmable display, showing its clear readability.
7. Headphone Use
A 3.5mm headphone jack is available on the rear of the unit for private listening. Connecting headphones will mute the internal speaker.
Maintenance
1. Cleaning
To clean the device, use a soft, dry, lint-free cloth. Do not use abrasive cleaners, waxes, or solvents, as these can damage the surface. Ensure the device is unplugged before cleaning.
2. General Care
- Avoid exposing the unit to extreme temperatures, direct sunlight, or high humidity.
- Do not block ventilation openings.
- Keep the device away from strong magnetic fields.
Troubleshooting
If you encounter issues with your TechniSat VIOLA CR 1, refer to the following common problems and solutions:
| Problem | Possible Cause | Solution |
|---|---|---|
| No power | Power adapter not connected or faulty outlet. | Ensure power adapter is securely connected and the outlet is functional. |
| Poor radio reception | Antenna not extended or poor signal area. | Extend the rod antenna fully and try repositioning the unit for better signal. |
| Wireless charging not working | Smartphone not Qi-compatible or not correctly placed. | Verify smartphone compatibility and ensure it is centered on the charging pad. Remove thick cases. |
| Alarm not sounding | Alarm not activated or volume too low. | Check alarm settings and ensure alarm volume is set appropriately. |
If the problem persists after attempting these solutions, please contact customer support.
Specifications
- Brand: TechniSat
- Model: VIOLA CR 1 (0000/2969)
- Radio Tuner: DAB+, FM (with RDS and PLL)
- Presets: Up to 30 stations
- Display: 3.5-inch VA Crystal Clear, dimmable LCD
- Audio Output: 3.3 W Mono speaker
- Alarm Functions: Two independent alarms, Snooze, Sleep Timer, Wake by radio or buzzer
- Charging: Wireless charging (Qi-compatible), USB-A charging port (5V, 1A)
- Connections: 3.5mm Headphone Jack, DC IN power input
- Power Source: External power adapter
- Product Dimensions (L x H x D): 19.00 x 8.50 x 9.60 cm
- Color: Black (Neutral)
- Intended Use: Indoor, Bedroom
Warranty and Support
Manufacturer's Warranty
The TechniSat VIOLA CR 1 comes with a 2-year manufacturer's warranty. Please retain your proof of purchase for warranty claims. The warranty covers defects in materials and workmanship under normal use.
Customer Support
For technical assistance, troubleshooting beyond this manual, or warranty inquiries, please contact TechniSat customer support. Refer to the official TechniSat website or your product packaging for the most current contact information.


