
Introduction
Thank you for purchasing the Mistral MHV1010DR High Velocity Fan. This 9-inch fan is designed to provide powerful and efficient air circulation with advanced features such as 3D oscillation, multiple speed selections, and remote control operation. Please read this manual thoroughly before use to ensure proper operation, maintenance, and safety.
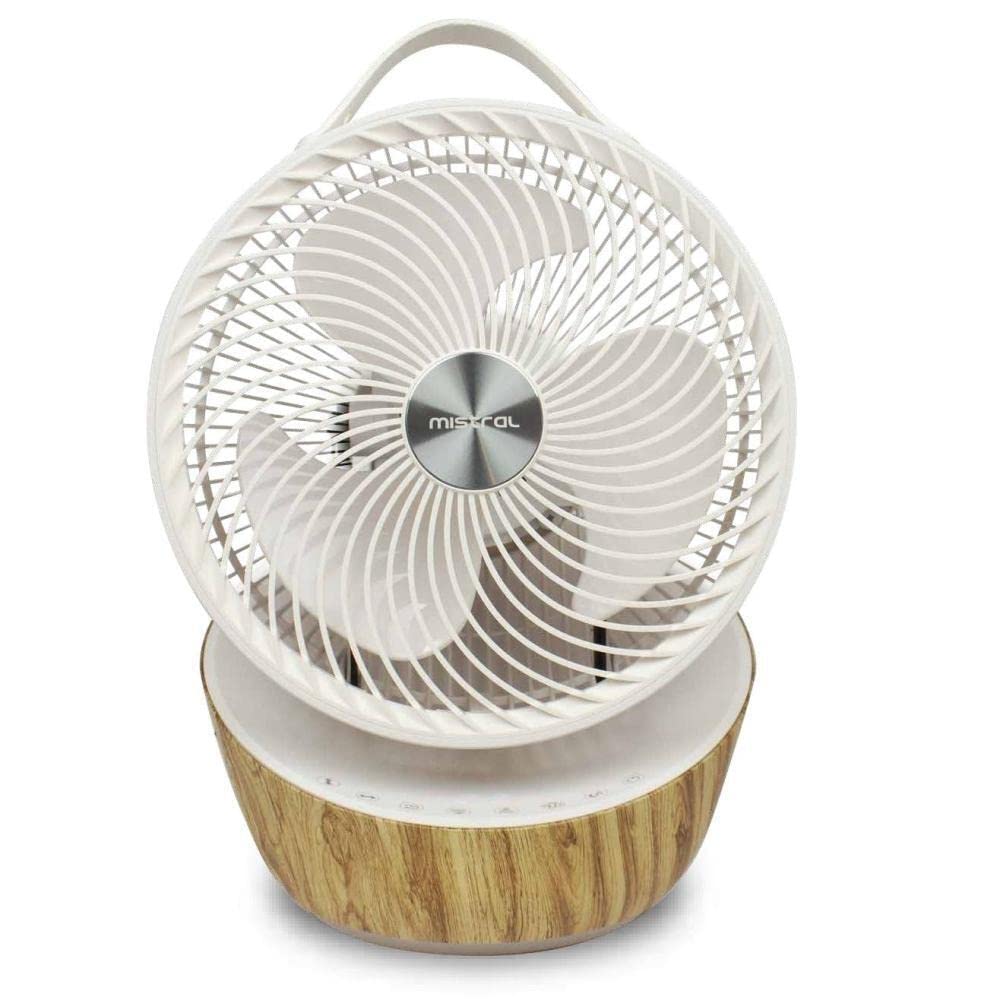
Image: The Mistral MHV1010DR fan, showcasing its compact design and beige finish, with the fan head tilted.
Important Safety Instructions
To reduce the risk of fire, electric shock, or injury, always follow these basic safety precautions:
- Read all instructions before using this fan.
- Ensure the voltage indicated on the fan matches your local power supply before connecting.
- Do not operate any fan with a damaged cord or plug. If the cord or plug is damaged, contact qualified service personnel.
- Keep the fan away from water or other liquids. Do not immerse the fan in water.
- Do not insert fingers or any objects through the grille when the fan is operating.
- Place the fan on a stable, flat surface to prevent it from tipping over.
- Unplug the fan from the power outlet when not in use, when moving it, or before cleaning.
- This appliance is not intended for use by persons (including children) with reduced physical, sensory or mental capabilities, or lack of experience and knowledge, unless they have been given supervision or instruction concerning use of the appliance by a person responsible for their safety.
- Children should be supervised to ensure that they do not play with the appliance.
Product Overview and Components
The Mistral MHV1010DR fan consists of the following main components:
- Fan Head: Contains the blades and motor, protected by front and rear grilles.
- Control Panel: Located on the base, featuring sensor touch buttons and an LED display.
- Base: Provides stability and houses the oscillation mechanism.
- Top Handle: For easy portability.
- Remote Control: For convenient operation from a distance.

Image: The Mistral MHV1010DR fan, showing the integrated top handle for easy carrying.
Setup
- Unpacking: Carefully remove the fan from its packaging. Retain the packaging for future storage or transport.
- Placement: Place the fan on a firm, level surface. Ensure there is adequate space around the fan for proper air circulation and oscillation. Avoid placing it near curtains or other objects that could obstruct airflow or get caught in the fan blades.
- Power Connection: Plug the power cord into a standard 220-240V~50/60Hz electrical outlet.
- Remote Control Batteries: Insert the required batteries (not included) into the remote control, observing the correct polarity.
Operating Instructions
The fan can be operated using the sensor touch controls on the base or the included remote control.
Control Panel / Remote Functions:
- Power On/Off: Press the power button to turn the fan on or off.
- Speed Selection: The fan offers 12 speed selections. Press the speed button repeatedly to cycle through the available speeds. The LED display will show the current speed setting.
- Horizontal Oscillation (Left/Right): Press the horizontal oscillation button to activate or deactivate 70-degree left and right auto-oscillation.
- Vertical Oscillation (Up/Down): Press the vertical oscillation button to activate or deactivate 80-degree up and down auto-oscillation.
- 3D Oscillation: Activate both horizontal and vertical oscillation simultaneously for a wider, three-dimensional air distribution.
- Timer Function: Press the timer button to set the fan to operate for a specific duration, up to 8 hours. Each press typically increases the timer by 1 hour. The LED display will show the remaining time.
- Sleep Mode: Activate sleep mode for quieter operation, often with reduced fan speed and dimmed display, suitable for nighttime use.
- Room Temperature Display: The LED display shows the current room temperature.
Maintenance
Regular cleaning will help maintain your fan's performance and extend its lifespan.
- Always unplug the fan from the power outlet before cleaning.
- Exterior Cleaning: Wipe the exterior surfaces of the fan with a soft, damp cloth. Do not use abrasive cleaners or solvents, as these may damage the finish.
- Grille Cleaning: Use a vacuum cleaner with a brush attachment to remove dust from the front and rear grilles. For more thorough cleaning, the grilles may be removable (refer to specific instructions if provided in packaging for grille removal). Ensure all parts are dry before reconnecting to power.
- Storage: When not in use for extended periods, store the fan in a cool, dry place, preferably in its original packaging.
Troubleshooting
If you encounter issues with your fan, please check the following before contacting customer service:
| Problem | Possible Cause | Solution |
|---|---|---|
| Fan does not turn on. | No power supply. Power button not pressed. | Ensure the fan is plugged into a working outlet. Press the power button on the fan or remote. |
| Remote control not working. | Batteries are dead or incorrectly inserted. Obstruction between remote and fan. | Replace batteries, ensuring correct polarity. Remove any obstructions and ensure remote is pointed at the fan. |
| Oscillation not functioning. | Oscillation function is not activated. | Press the respective horizontal or vertical oscillation button on the control panel or remote. |
| Weak airflow. | Fan speed is too low. Grilles are dusty. | Increase the fan speed setting. Clean the fan grilles as per maintenance instructions. |
Specifications
| Model Number: | MHV1010DR |
| Voltage: | 220-240V~50/60Hz |
| Wattage: | 21W |
| Fan Size: | 9-inch |
| Control Method: | Remote Control, Sensor Touch |
| Oscillation: | Left/Right 70°, Up/Down 80°, 3D Oscillation |
| Speed Selections: | 12 Speeds |
| Timer: | Up to 8 hours |
| Additional Features: | Room Temperature Display, LED Display, Sleep Mode, DC Motor, Top Handle |
| Material: | Plastic |
Warranty and Support
For warranty information, technical support, or service inquiries, please refer to the warranty card included with your product or contact your retailer/manufacturer directly. Keep your purchase receipt as proof of purchase.


