
Introduction
This instruction manual provides comprehensive guidance for the assembly, operation, and maintenance of your Outsunny 9' x 6' Outdoor Storage Shed (Model 845-031CG). Please read all instructions carefully before beginning assembly and retain this manual for future reference. This shed features a galvanized steel frame, double lockable doors, air vents, and a sloping roof, designed for efficient garden tool and equipment storage.
Safety Information
- Measure the foundation accurately before installation.
- Do not exceed the maximum load limit of 20 kg/m² (approximately 4 pounds per square foot).
- Follow assembly instructions carefully to ensure safe and proper usage.
- Requires at least three people to install it in four hours.
- Do not install in strong windy conditions.
- Always wear work gloves, eye protection, and long sleeves when assembling or performing any maintenance.
- Be careful when handling components, as some edges may be sharp.
Parts List
Before beginning assembly, unpack all components and verify against the provided parts list in your package. Ensure all parts are present and undamaged. It is recommended to use a clean, flat work surface for sorting parts.

Image: All components of the Outsunny 9' x 6' storage shed laid out for verification before assembly. This includes various metal panels, frame pieces, screws, and other hardware.
Setup and Assembly
Assembly requires careful attention to detail and, for certain steps, the assistance of at least two to three adults. Follow the instructions below sequentially.
1. Foundation Kit Assembly
Begin by assembling the base frame of the shed. Ensure all pieces are correctly oriented and securely fastened.
Video: Detailed steps for assembling the base frame of the storage shed, including connecting the various frame pieces and securing them with screws. This video highlights the importance of correct alignment and proper fastening for stability.
2. Wall Panel Installation
Attach the wall panels to the assembled base frame. Pay close attention to the orientation of each panel (long and short sides) and secure them from bottom to top.

Image: Illustration showing the installation of the corrugated metal wall panels onto the shed's base frame. The image emphasizes the vertical alignment and secure attachment of each panel.
3. Roof Support Bar Installation
Install the top support bars for the roof structure. Ensure correct orientation of the screw holes (facing upwards or inwards as specified).
Video: Demonstrates the installation of the top support bars, including how to connect them and secure them to the wall panels. It highlights the importance of aligning screw holes correctly.
4. Front and Back Triangular Parts Installation
Assemble and install the triangular front and back panels of the shed. These panels include ventilation slots.

Image: Close-up of the shed's front triangular panel, showing the integrated ventilation slots and the overall design. This panel forms the upper part of the shed's gable ends.
5. Roof Beam Installation
Install the main and auxiliary roof beams. Ensure all connections are secure and properly aligned to support the roof panels.

Image: View of the shed's interior during roof beam installation, showing the metal beams being fitted into place to create the roof structure. This step is crucial for the roof's stability.
6. Roof Wall Panel Installation
Install the roof panels in the specified order (P1, P3, P3A, P2). Do not switch the order to prevent misalignment of holes for subsequent installation. Secure each panel with screws and washers.
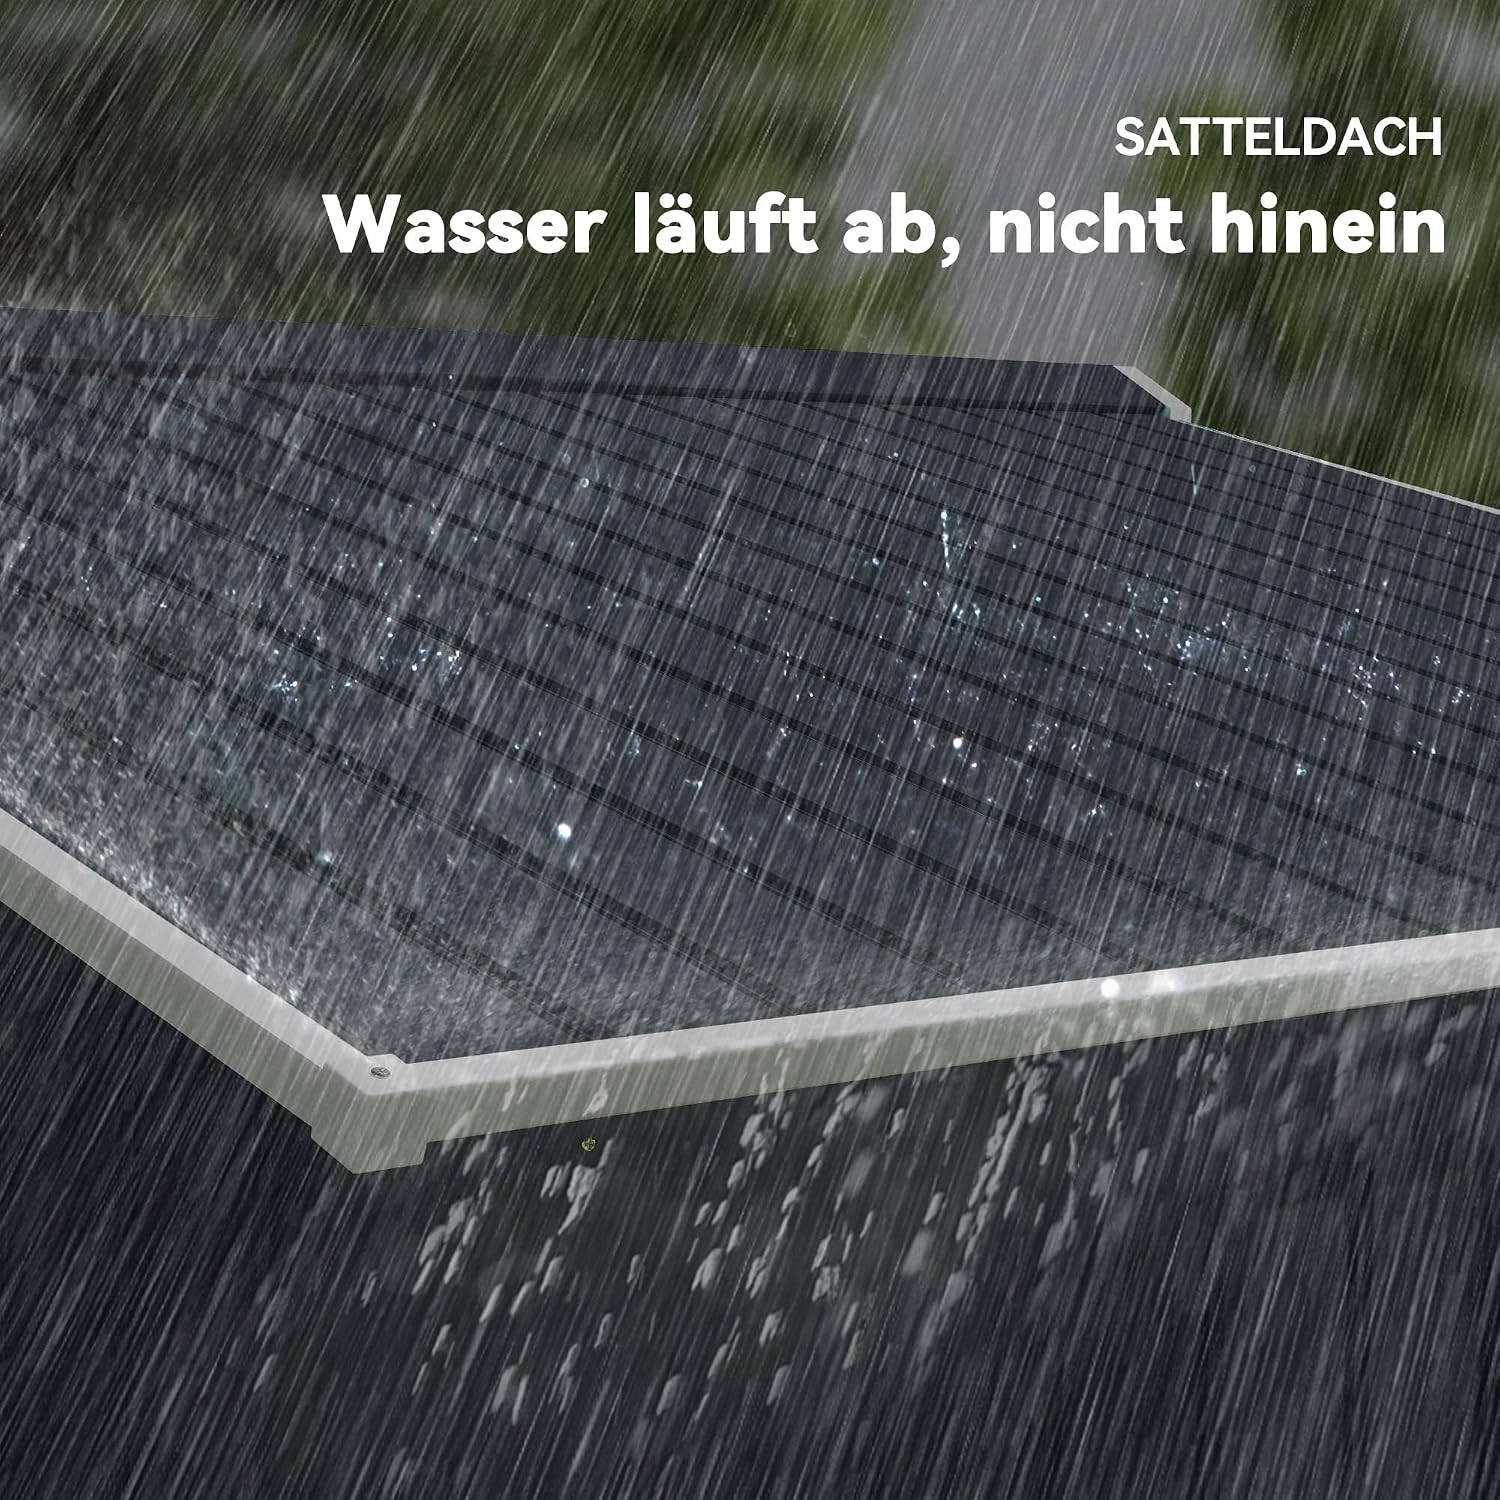
Image: Overhead view of the shed during roof panel installation, showing the corrugated panels being overlapped and secured to the roof beams. The image highlights the sloped design for water runoff.
7. Roof Protective Strips Installation
Install the protective strips around the roof edges. These strips help to seal the roof and provide a finished look.

Image: Close-up of the installed roof protective strips, showing how they cap the edges of the roof panels for enhanced weather resistance and aesthetics.
8. Door Assembly and Installation
Assemble the double doors, including hinges, handles, and reinforcement bars. Then install the assembled doors onto the shed frame.

Image: The double doors of the shed, showing the sliding mechanism and handles. This image illustrates the final step of door installation, ensuring smooth operation.
Video: A short preview video demonstrating the smooth sliding action of the shed's double doors. This video is useful for understanding the door's functionality.
Operating Instructions
- Doors: The shed features double sliding doors. To open, slide one door to the side. To close, slide it back until it meets the other door. Ensure both doors are fully closed before locking.
- Locking Mechanism: The doors are designed to be lockable (lock not included). Insert a padlock through the designated holes on the door handles to secure the shed.
- Ventilation: The shed is equipped with four ventilation slots (two on the front, two on the back) to increase airflow and prevent odor and moisture buildup. Ensure these vents are not obstructed.
Maintenance
- Cleaning: Regularly clean the shed exterior with mild soap and water. Avoid abrasive cleaners that could damage the galvanized steel finish.
- Inspection: Periodically check all screws and connections for tightness. Tighten any loose fasteners to maintain structural integrity.
- Roof: Ensure the sloping roof remains clear of heavy debris, especially during rainfall, to prevent potential damage and maintain its integrity.
- Ventilation: Keep the air vents clear of obstructions to ensure proper airflow and prevent moisture accumulation inside the shed.
Troubleshooting
- Misaligned Holes During Assembly: If screw holes do not align, ensure the shed is being assembled on a flat, level surface. Slight adjustments to the panels may be necessary.
- Door Not Closing Smoothly: After installation, gently shake the door panels to check if they are fastened correctly. If the door is uneven or does not close properly, gently push the wall to adjust its alignment.
- Water Leaks: It is highly recommended to caulk each screw on the roof to prevent potential leaks, especially during heavy rain.
- Stability Concerns: The shed includes a foundation kit. For enhanced stability, especially in windy conditions, consider reinforcing the base with plywood or anchoring it securely to the ground.
Specifications
| Feature | Detail |
|---|---|
| Brand | Outsunny |
| Model Number | 845-031CG |
| Color | Dark Gray |
| Material | Alloy Steel |
| Overall Dimensions | 109" L x 76.75" W x 75.5" H |
| Inside Dimensions | 105" W x 71.25" D |
| Item Weight | 141.9 pounds (64.5 Kilograms) |
| Weight Limit (Roof) | 4 Pounds (20 kg/m²) |
| Door Style | Sliding Doors |
| Ventilation | 4 slots (front and back) |
| Assembly Required | Yes (3+ people recommended) |
Warranty and Support
For warranty information, returns, or customer support, please refer to the documentation included with your purchase or contact Outsunny directly. The product typically includes a 30-day easy returns policy.