1. Product Overview
The Green Extreme 2 Pack BLH-1 Battery and Dual Smart Charger Kit provides a reliable power solution for compatible cameras, specifically designed for Olympus OM-D E-M1 cameras. This kit includes two high-capacity BLH-1 rechargeable lithium-ion batteries and a GX-CH2 Dual Smart Charger Base with an LCD screen, offering efficient and convenient charging.
The GX-CH2 charger features an intelligent LCD display that provides real-time charging status, voltage, and battery health. Its dual slots allow for simultaneous charging of two batteries, and a side USB port enables charging of other USB-powered devices. The charger supports universal power input (AC 110-240V or DC 12-24V), making it suitable for use in various locations.

Image 1.1: The Green Extreme BLH-1 Battery and GX-CH2 Dual Smart Charger Kit, showing the charger base and two BLH-1 batteries.
2. Package Contents
Please verify that all items listed below are included in your package:
- 2x Green Extreme BLH-1 Batteries
- 1x GX-CH2 Dual Smart Charger Base with LCD
- 2x Smart Charger Plates (for specific battery types, pre-installed or included separately)
- 1x AC Power Cable
- 1x DC Car Charger Cable (may vary by region/bundle)

Image 2.1: A single Green Extreme BLH-1 rechargeable battery pack, highlighting its specifications and safety markings.
3. Setup Instructions
3.1. Connecting the Charger
- AC Power Connection: Insert the AC power cable into the charger's power input port. Plug the other end of the cable into a standard wall outlet (110-240V).
- DC Power Connection (Optional): For in-car charging, connect the DC car charger cable to the charger's power input port and plug the other end into your vehicle's 12-24V DC outlet.
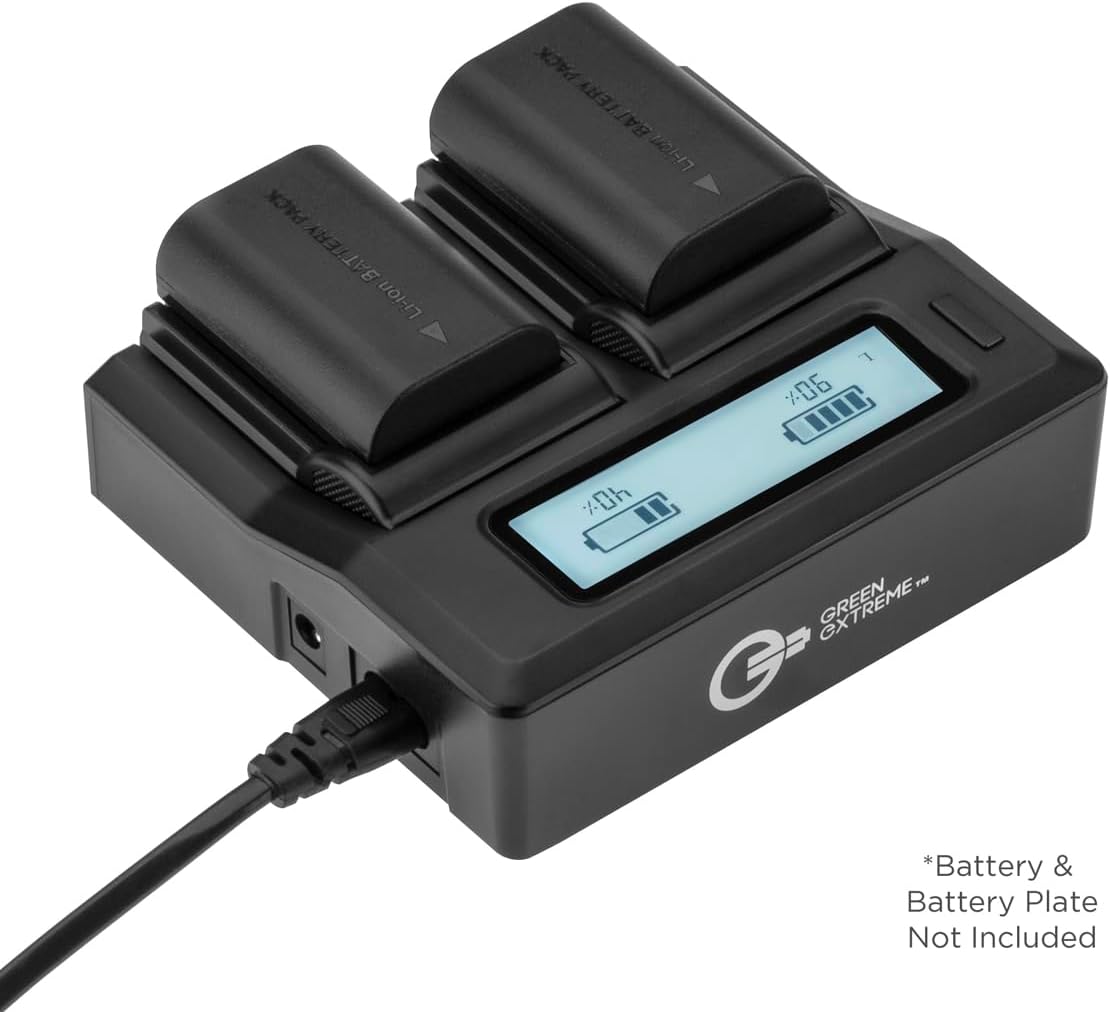
Image 3.1: The GX-CH2 Dual Smart Charger connected to a power source, with two batteries inserted into the charging slots.
3.2. Inserting Batteries
- Ensure the correct charger plate is installed for your BLH-1 batteries. The GX-CH2 charger comes with pre-installed plates or includes specific plates for various battery types.
- Align the battery contacts with the pins inside the charging slot. Gently push the battery down into the slot until it clicks into place.
- You can insert one or two batteries for charging simultaneously.
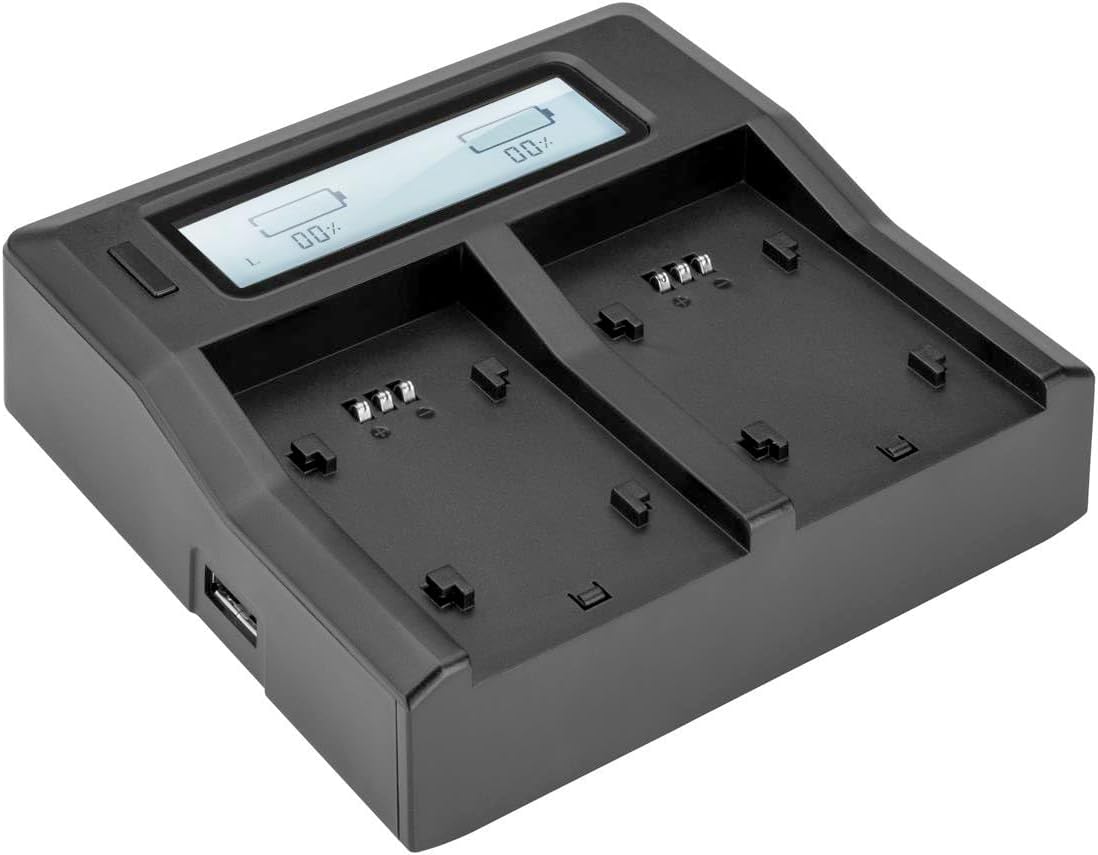
Image 3.2: The GX-CH2 Dual Smart Charger showing its two empty charging slots, ready for battery insertion.
4. Operating Instructions
4.1. Charging Process
- Once batteries are inserted and the charger is powered on, the LCD screen will illuminate.
- The LCD will display the charging status for each battery slot, typically showing a percentage, voltage, and a battery icon with charging segments.
- Charging will begin automatically. The display will update as the batteries charge.
- When a battery is fully charged, the display for that slot will indicate 100% or a full battery icon.

Image 4.1: The GX-CH2 Dual Smart Charger's LCD screen displaying the charging progress and status for two batteries.
4.2. Using the USB Output Port
- The GX-CH2 charger features a USB output port on the side.
- You can connect USB-powered devices such as smartphones, tablets, or power banks to this port for charging.
- The USB port can be used simultaneously with battery charging.
5. Maintenance and Care
5.1. Battery Care
- Store batteries in a cool, dry place away from direct sunlight and extreme temperatures.
- Do not expose batteries to fire or excessive heat.
- Avoid short-circuiting the battery contacts.
- If a battery is not used for an extended period, it is recommended to charge it periodically to maintain its health.
- Dispose of depleted batteries responsibly according to local regulations. Do not discard in household waste.
5.2. Charger Care
- Keep the charger clean and free from dust and debris. Use a soft, dry cloth for cleaning.
- Do not expose the charger to water or other liquids.
- Avoid dropping or subjecting the charger to strong impacts.
- Unplug the charger from the power source when not in use.
6. Troubleshooting
| Problem | Possible Cause | Solution |
|---|---|---|
| Charger LCD does not turn on. | No power supply; loose connection. | Ensure the power cable is securely connected to both the charger and the power outlet. Try a different outlet. |
| Battery not charging (LCD shows 0% or error). | Battery not properly inserted; faulty battery; incorrect charger plate. | Re-insert the battery, ensuring proper alignment. Try charging a different battery. Verify the correct charger plate is used for BLH-1 batteries. |
| Charging is very slow. | Low power input; charging multiple devices. | Ensure the power source provides adequate current. Disconnect other devices from the USB port if rapid battery charging is desired. |
| Charger or battery feels warm during charging. | Normal operation; excessive heat. | A slight warmth is normal. If it becomes excessively hot, disconnect immediately and contact support. Ensure proper ventilation. |
7. Product Specifications
| Feature | Detail |
|---|---|
| Product Model Number | BLH-1 (Batteries), GX-CH2 (Charger) |
| Battery Type | Lithium-Ion |
| Battery Voltage | 7.2V DC |
| Battery Capacity | 2250mAh (16.2Wh) |
| Charger Input | AC 110-240V, DC 12-24V |
| Charger Output | Variable (matches battery voltage), USB 5V |
| Charger Features | Dual Charging Slots, LCD Display, USB Output Port |
| Product Dimensions | 7 x 4.8 x 1.7 inches (approximate, for the kit) |
| Item Weight | 1.14 pounds (approximate, for the kit) |
| Manufacturer | Green Extreme |
8. Warranty and Support
Green Extreme products are designed for reliability and performance. For specific warranty terms and conditions, please refer to the warranty card included with your purchase or visit the official Green Extreme website.
If you encounter any issues or require technical assistance, please contact the retailer where you purchased the product or visit the Green Extreme brand store on Amazon for further support and contact information:


