
1. Safety Information
Read and understand all instructions before assembling or operating this tool cart. Failure to follow all instructions may result in serious injury or property damage.
- Weight Capacity: Do not exceed the maximum weight capacity of 700 lbs. Distribute weight evenly across drawers and shelves.
- Drawer Capacity: Individual drawers have a capacity of 50 lbs, with the large drawer supporting up to 100 lbs. Avoid overloading drawers.
- Stability: Always engage the locks on the swivel casters when the cart is stationary to prevent unintended movement.
- Level Surface: Operate the tool cart on a level, stable surface. Avoid sloped or uneven terrain.
- Moving the Cart: Use the ergonomic tubular side handle to move the cart. Ensure all drawers are closed and locked before moving.
- Assembly: Ensure all fasteners are securely tightened during assembly. Periodically check for loose fasteners and tighten as needed.
- Children and Bystanders: Keep children and bystanders away from the tool cart during operation and assembly.
2. Package Contents
Verify that all components are present and undamaged before beginning assembly. If any parts are missing or damaged, do not attempt to assemble the product. Contact customer support for assistance.
- Tool Cart Frame Components (various panels and supports)
- 5 Drawers with Ball Bearing Slides
- PVC Drawer Liners (for each drawer)
- 4 Casters (2 fixed, 2 swivel with lock)
- Ergonomic Tubular Side Handle
- Assembly Hardware (screws, nuts, washers)
- Keys for Lockable Drawers
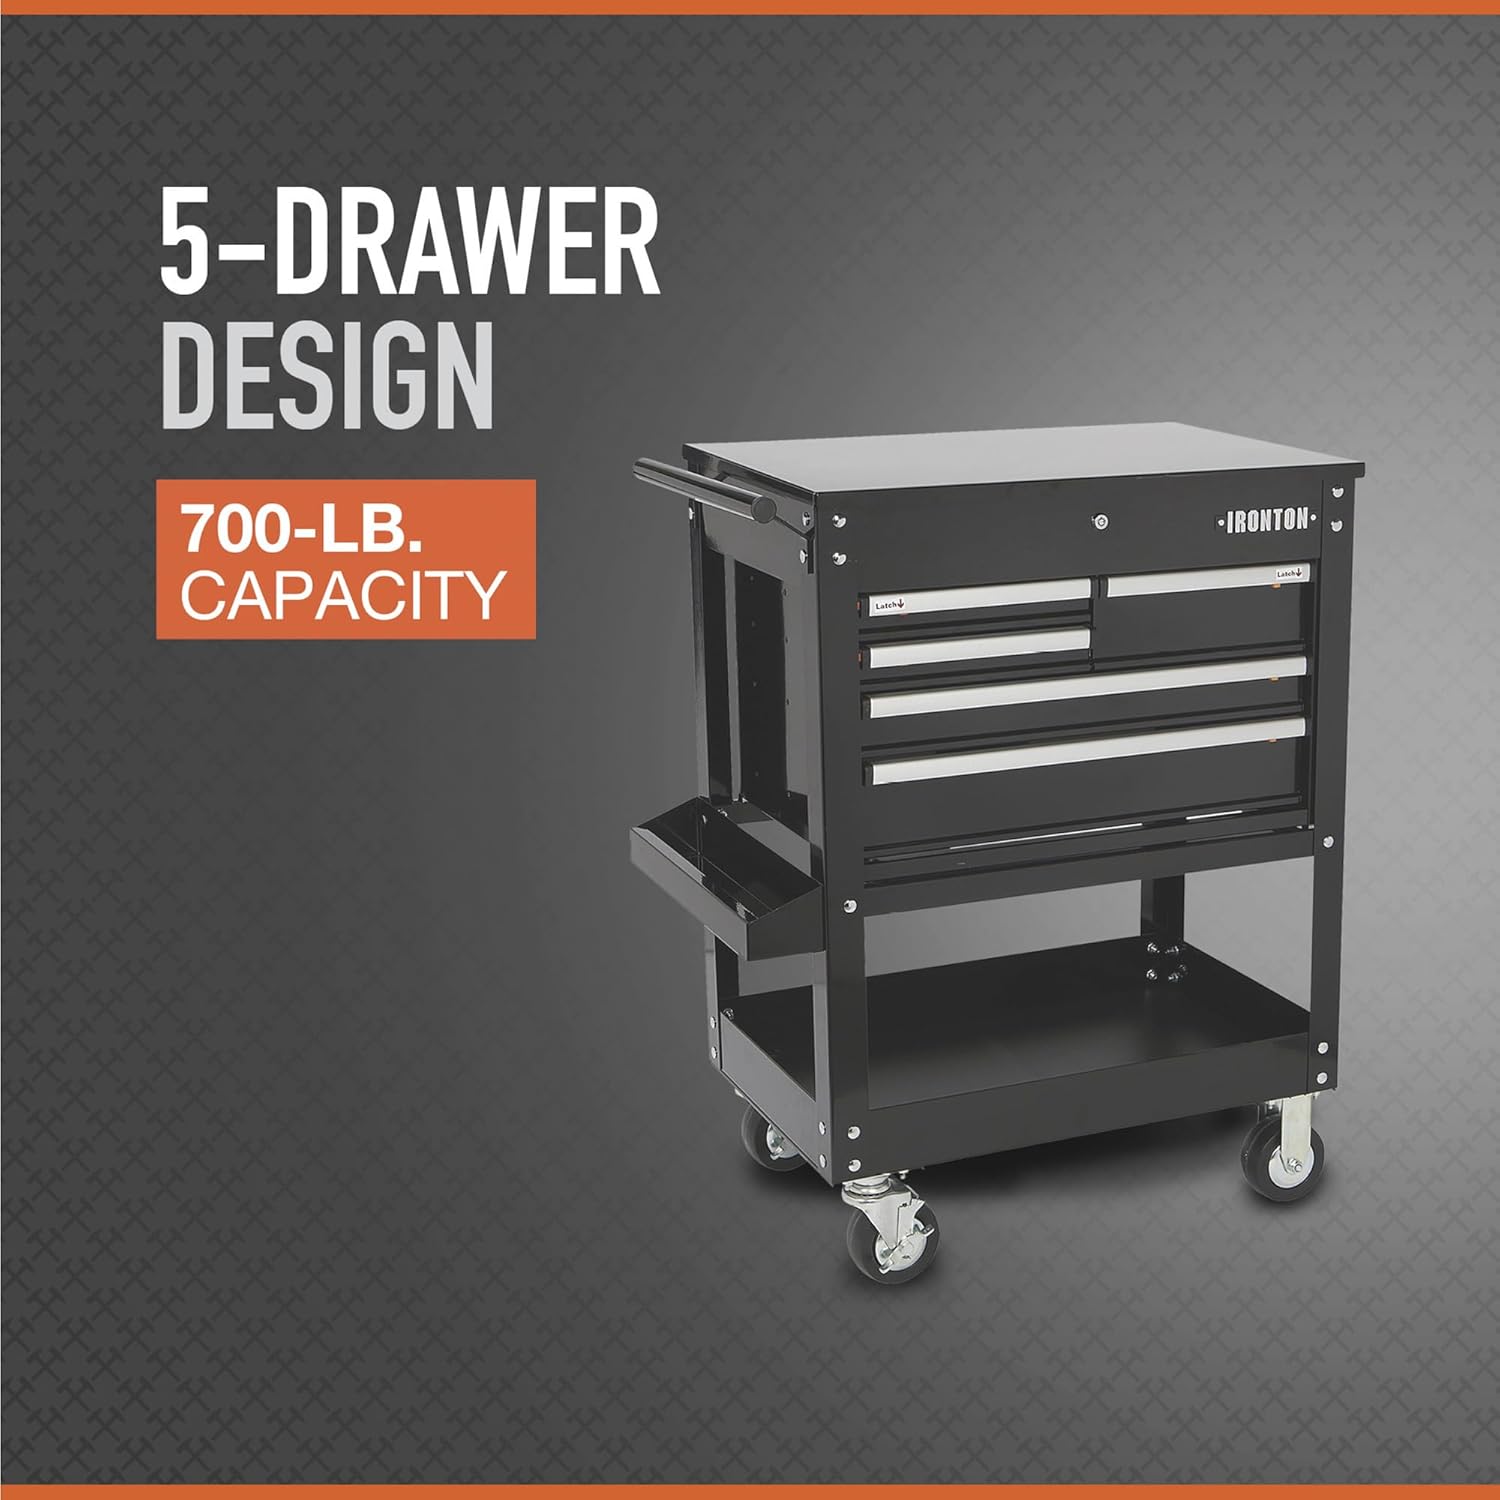
Image: Overview of the Ironton 5-Drawer Mechanic's Tool Cart components.
3. Assembly Instructions
Follow these steps carefully to assemble your Ironton 5-Drawer Mechanic's Tool Cart. It is recommended to have a second person assist with assembly.
Step 1: Attach Casters to Base
- Place the bottom panel upside down on a soft, clean surface to prevent scratches.
- Attach the four casters to the designated holes on the bottom panel using the provided screws and nuts. Ensure the two swivel casters with locks are placed on one end, and the two fixed casters on the opposite end.
- Tighten all fasteners securely.
Video: Demonstrates attaching casters to a tool cart base. Note: This video is for a similar 3-tier cart, but the caster installation process is comparable.

Image: Close-up view of a caster wheel, highlighting the locking mechanism.
Step 2: Assemble the Frame
- Attach the vertical support panels to the base, ensuring proper orientation. Do not fully tighten all bolts until the entire frame is assembled.
- Install the middle and top shelves/panels, aligning them with the pre-drilled holes in the vertical supports.
- Secure all panels and shelves with the remaining hardware. Once all components are in place, fully tighten all screws and nuts.
Video: Shows the general assembly of a rolling tool cart frame. Note: This video is for a similar 2-drawer cart, but the frame assembly principles apply.

Image: The tool cart frame with the top compartment open, showing the internal structure.
Step 3: Install Drawers and Handle
- Carefully slide each drawer into its respective slot, ensuring the ball bearing slides engage smoothly.
- Attach the ergonomic tubular side handle to the side of the cart using the provided hardware.
- Place the PVC drawer liners into each drawer.

Image: Detailed view of the smooth-rolling drawers, highlighting the ball bearing slides.

Image: The assembled tool cart with its dimensions labeled.
4. Operating Instructions
Moving the Tool Cart
- Ensure all drawers are fully closed and locked before attempting to move the cart.
- Unlock the swivel casters if they are engaged.
- Use the ergonomic tubular side handle to push or pull the cart to your desired location.
- Once in position, engage the locks on the swivel casters to prevent accidental movement.
Using the Drawers
- The drawers feature smooth-rolling ball bearing slides for easy opening and closing.
- Each drawer includes a PVC liner to protect tools and the drawer surface.
- The top compartment and drawers can be locked for security. Insert the key and turn to lock/unlock.
- Do not force drawers open or closed if they are obstructed.
5. Maintenance
- Cleaning: Wipe down the cart's powder-coated steel surfaces with a damp cloth and mild detergent. Avoid abrasive cleaners that could damage the finish.
- Drawer Slides: Periodically inspect the ball bearing drawer slides for debris or wear. Lubricate with a silicone-based spray or light grease if movement becomes stiff.
- Casters: Check casters regularly for smooth rotation and ensure the locks function correctly. Clean any accumulated dirt or hair from the wheels.
- Fasteners: Routinely inspect all screws, nuts, and bolts for tightness. Tighten any loose fasteners to maintain structural integrity.
- Storage: Store the tool cart in a dry environment to prevent rust and corrosion.
6. Troubleshooting
| Problem | Possible Cause | Solution |
|---|---|---|
| Drawers are difficult to open/close. |
|
|
| Cart is wobbly or unstable. |
|
|
| Casters do not roll smoothly or lock. |
|
|
7. Specifications
| Product Dimensions | 34"D x 22"W x 41.38"H |
| Brand | Ironton |
| Material | Alloy Steel |
| Color | Black |
| Item Weight | 132 Pounds |
| Weight Limit | 700 Pounds |
| Number of Drawers | 5 |
| Caster Type | Swivel, Rigid (4 total, 2 fixed, 2 swivel with lock) |
| Special Feature | Lockable drawers, Rolling workstation |
8. Warranty & Support
This product is typically covered by a 30-day easy return policy. For specific warranty details, product support, or to inquire about replacement parts, please contact the seller, Northern Tool + Equipment, directly or refer to the documentation included with your purchase.
You can also visit the Ironton Store on Amazon for more information on their product range.