1. Introduction
This instruction manual provides essential information for the safe and efficient operation, maintenance, and troubleshooting of your Kärcher SC 3 EasyFix Steam Cleaner. Please read this manual thoroughly before first use and keep it for future reference.
The Kärcher SC 3 EasyFix is designed for hygienic cleaning of various hard surfaces using steam, eliminating up to 99.99% of common household bacteria without the need for chemical cleaning agents.
2. Safety Instructions
Always observe the following safety precautions to prevent accidents and damage to the appliance:
- Electrical Safety: Ensure the mains voltage matches the rating plate. Do not operate with a damaged power cord.
- Hot Steam Hazard: Steam is extremely hot and can cause severe burns. Never direct steam at people, animals, or electrical components. Keep hands and face away from the steam outlet.
- Children and Pets: Keep the appliance out of reach of children and pets. Supervise children to ensure they do not play with the appliance.
- Water Usage: Only use clean tap water. Do not add detergents, fragrances, or other chemicals to the water tank, as this can damage the appliance or create hazardous fumes.
- Maintenance: Disconnect the appliance from the power supply before any cleaning or maintenance work.
- Storage: Store the appliance in a dry, frost-free place.
3. Product Components and What's in the Box
Your Kärcher SC 3 EasyFix steam cleaner comes with several components and accessories to facilitate various cleaning tasks. Familiarize yourself with each part:

Image 3.1: Fully assembled Kärcher SC 3 EasyFix Steam Cleaner, showing the main unit, flexible hose, extension tubes, and EasyFix floor nozzle.

Image 3.2: Kärcher SC 3 EasyFix Steam Cleaner with the floor nozzle and extension tubes detached, showcasing the compact main unit and hand nozzle.
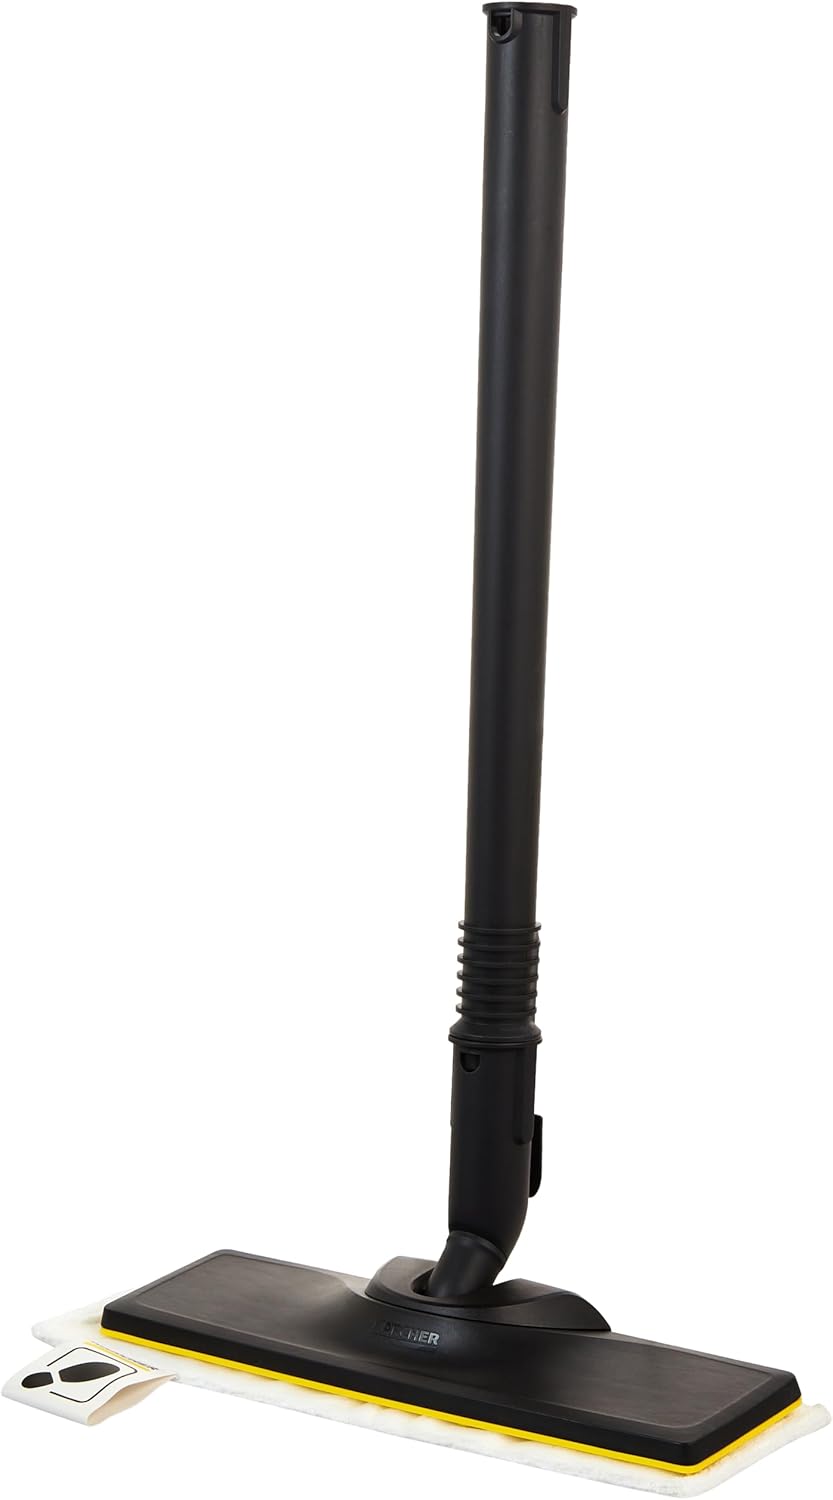
Image 3.3: Close-up of the EasyFix floor nozzle with a microfibre cloth attached, ready for floor cleaning.

Image 3.4: Packaging view illustrating the included accessories: hand nozzle, microfibre cover, round brush, detail nozzle, descaling cartridge, EasyFix floor nozzle, and extension tubes.
Standard Accessories:
- Main Unit with integrated water tank
- Steam hose with gun
- EasyFix floor nozzle
- Microfibre floor cloth
- Extension tubes (2x)
- Hand nozzle
- Microfibre cover for hand nozzle
- Detail nozzle
- Round brush
- Descaling cartridge
4. Setup
Follow these steps for initial setup before first use:
- Assemble the Floor Nozzle: Connect the two extension tubes to each other, then attach them to the steam gun. Finally, attach the EasyFix floor nozzle to the extension tubes.
- Attach Microfibre Cloth: Place the microfibre floor cloth onto the EasyFix floor nozzle. The hook-and-loop fasteners will secure it.
- Insert Descaling Cartridge: Open the water tank cap and insert the descaling cartridge into the designated slot. Ensure it is seated correctly.
- Fill Water Tank: Remove the water tank and fill it with clean tap water up to the 'MAX' mark. Reinsert the tank into the appliance. The SC 3 EasyFix features a continuous refill system, allowing you to refill the tank during operation.
- Connect to Power: Plug the power cord into a suitable grounded electrical outlet.
- Power On: Switch on the appliance. The heating indicator light will illuminate. The appliance will heat up in approximately 30 seconds. Once ready, the heating indicator light will turn off.
5. Operating Instructions
Once the appliance is ready for use (heating indicator light off), you can begin cleaning.
5.1. Adjusting Steam Volume
The steam gun has a steam volume regulator. You can select between two steam levels (minimum/maximum) or the 'Steam Off' position. For general cleaning, start with the maximum steam level.
5.2. Using the Floor Nozzle

Image 5.1: A user cleaning a wooden floor with the Kärcher SC 3 EasyFix and its EasyFix floor nozzle, demonstrating effective steam application.
Attach the EasyFix floor nozzle with the microfibre cloth. Press the steam trigger on the gun and move the floor nozzle slowly and evenly over the surface to be cleaned. For heavily soiled areas, move the nozzle back and forth several times.
5.3. Using the Hand Nozzle and Other Attachments

Image 5.2: A user cleaning a sink faucet with the hand nozzle and detail nozzle attachment, showing precise steam application for fixtures.

Image 5.3: A user cleaning a stovetop with the hand nozzle fitted with a microfibre cover, demonstrating steam cleaning for kitchen surfaces.
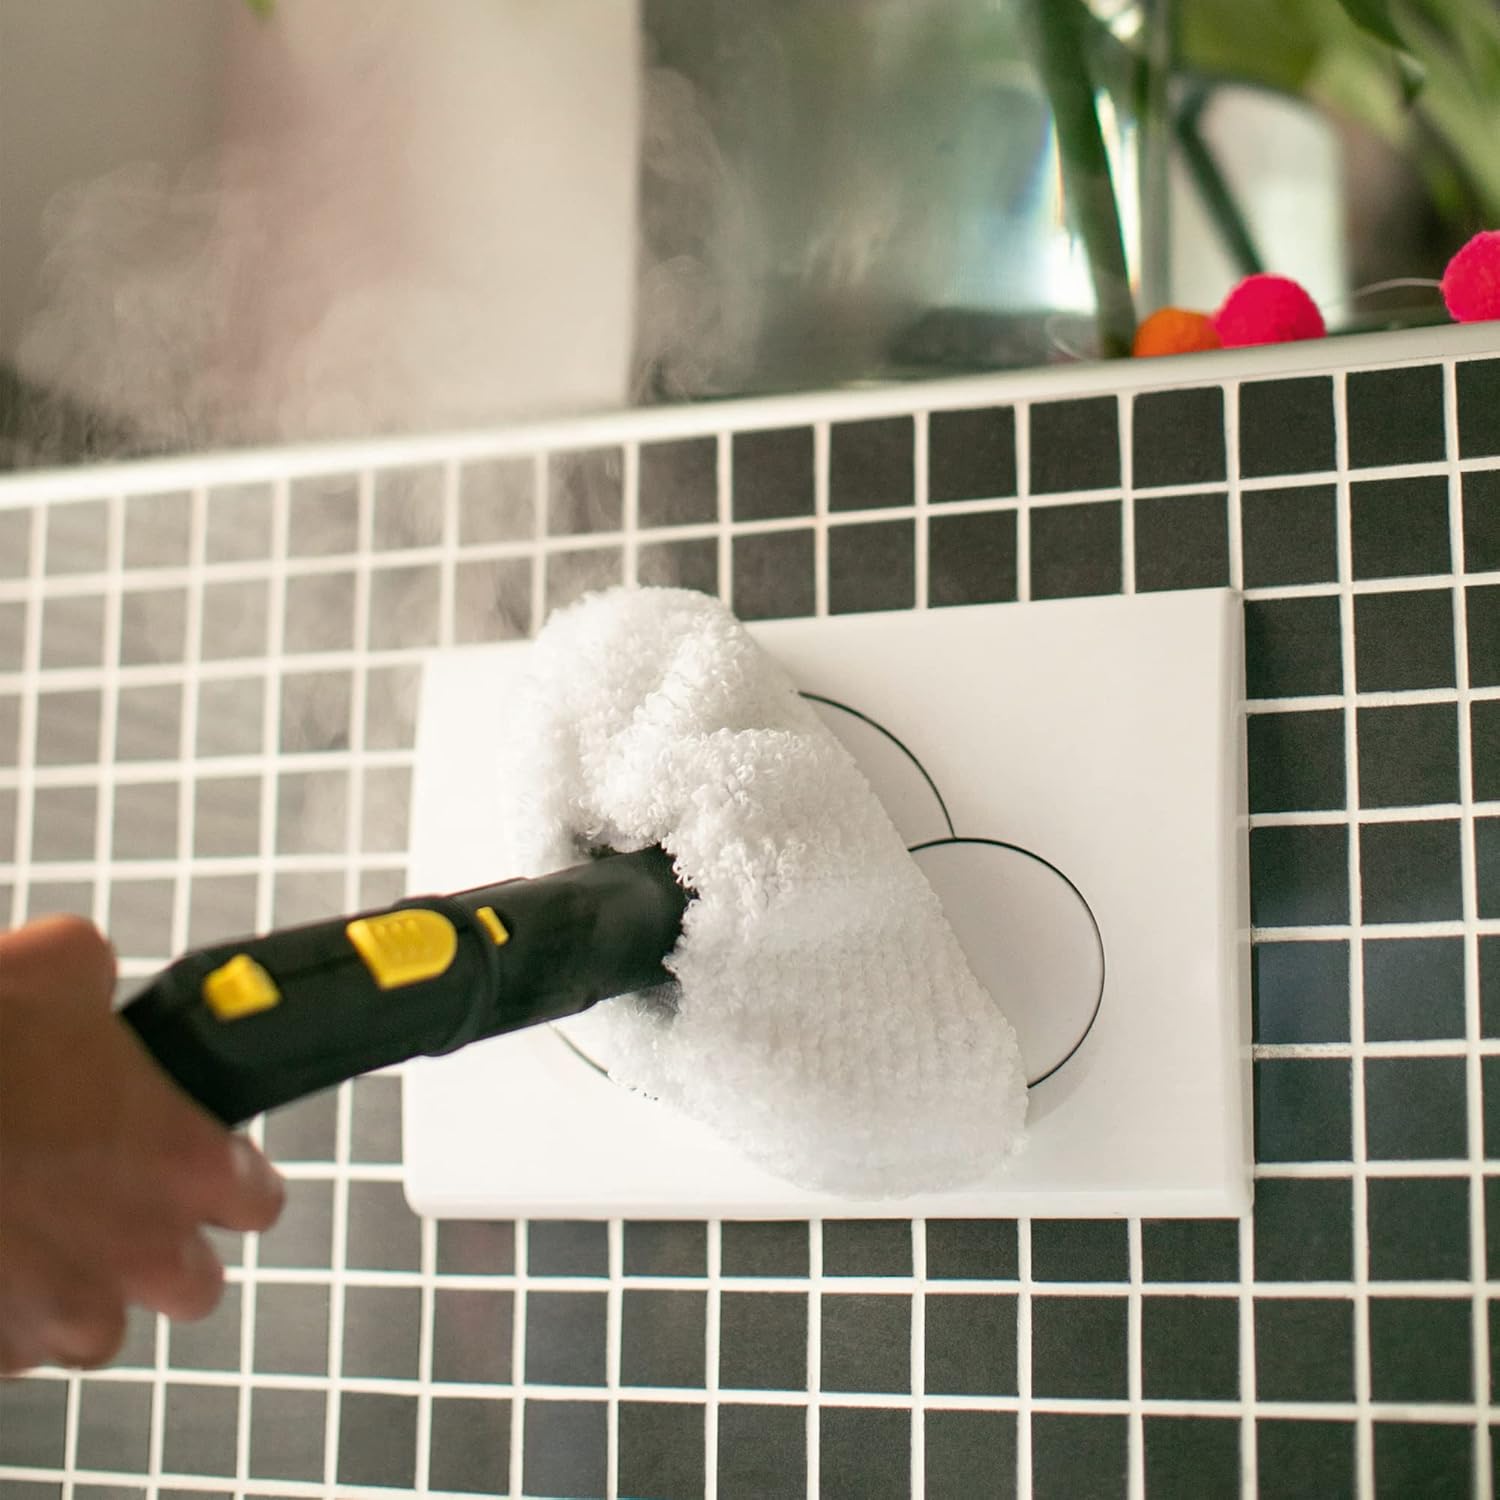
Image 5.4: A user cleaning bathroom wall tiles with the hand nozzle and microfibre cover, highlighting its use for vertical surfaces.

Image 5.5: A user cleaning a wooden banister with the hand nozzle and microfibre cover, showing versatility for various household items.
The hand nozzle, detail nozzle, and round brush are ideal for cleaning smaller areas, fixtures, grout lines, and stubborn dirt. Attach the desired accessory directly to the steam gun. For the hand nozzle, you can also attach a microfibre cover.
- Detail Nozzle: Directs a concentrated jet of steam for cleaning corners, crevices, and edges.
- Round Brush: Use with the detail nozzle for scrubbing stubborn dirt on heat-resistant surfaces like grout or oven grates.
- Hand Nozzle with Microfibre Cover: Suitable for smaller washable surfaces, shower cabins, and mirrors.
6. Maintenance
Regular maintenance ensures the longevity and optimal performance of your steam cleaner.
6.1. Cleaning Accessories
- Microfibre Cloths and Covers: These can be washed in a washing machine at up to 60°C (140°F). Do not use fabric softener, as this can impair their cleaning ability.
- Other Accessories: Wipe clean with a damp cloth.
6.2. Descaling
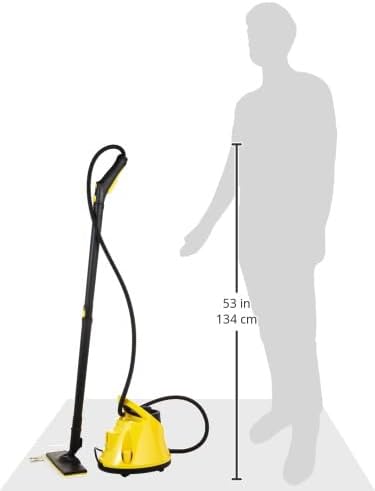
Image 6.1: A close-up view of the water tank cap area, indicating the location for the descaling cartridge and a warning symbol for hot surfaces.
The Kärcher SC 3 EasyFix features an integrated descaling cartridge. The appliance will indicate when the cartridge needs to be replaced. Follow the instructions provided with the replacement cartridge for proper installation.
6.3. Storage
After use, allow the appliance to cool down completely. Store the steam cleaner and its accessories in a dry, frost-free location, away from direct sunlight.
7. Troubleshooting
If you encounter issues with your steam cleaner, refer to the following common problems and solutions:
| Problem | Possible Cause | Solution |
|---|---|---|
| No steam or very little steam | Water tank empty; Appliance not heated up; Steam regulator set to 'Steam Off' | Refill water tank; Wait for heating indicator light to turn off; Adjust steam regulator to desired level |
| Water dripping from nozzle | Appliance not fully heated; Condensation in hose | Wait until heating indicator light turns off; Briefly direct steam into a cloth until only steam emerges |
| Appliance not turning on | No power supply; Power switch off | Check power cord connection and outlet; Ensure power switch is in 'ON' position |
| Descaling cartridge indicator light on | Descaling cartridge needs replacement | Replace the descaling cartridge as per instructions |
If the problem persists after attempting these solutions, please contact Kärcher customer support.
8. Technical Specifications
Image 8.1: A close-up of the water tank area, highlighting the descaling cartridge and the Kärcher branding.

Image 8.2: Product packaging displaying key performance specifications such as area performance, heat-up time, and tank capacity.
| Specification | Value |
|---|---|
| Model Number | 1.513-124.0 |
| Max. Steam Pressure | 3.5 bar |
| Heat-up Time | 30 seconds |
| Rated Input Power | 1900 W |
| Tank Volume | 1 Liter |
| Area Performance per Tank Filling | Approx. 75 m² |
| Item Weight | 3.91 kg (8.6 pounds) |
| Product Dimensions (L x W x H) | 14.17 x 9.29 x 9.96 inches |
| Power Source | Corded Electric |
9. Warranty and Support
For information regarding warranty terms and conditions, please refer to the warranty card included with your product or visit the official Kärcher website. For technical support, spare parts, or further assistance, please contact Kärcher customer service through their official channels.
You can find more information and support resources on the official Kärcher website: www.kaercher.com


