1. Introduction
This manual provides essential information for the safe and effective operation, maintenance, and troubleshooting of your Milwaukee M18 Brushless String Trimmer Kit. Please read all instructions carefully before use to ensure proper handling and to prevent injury or damage.
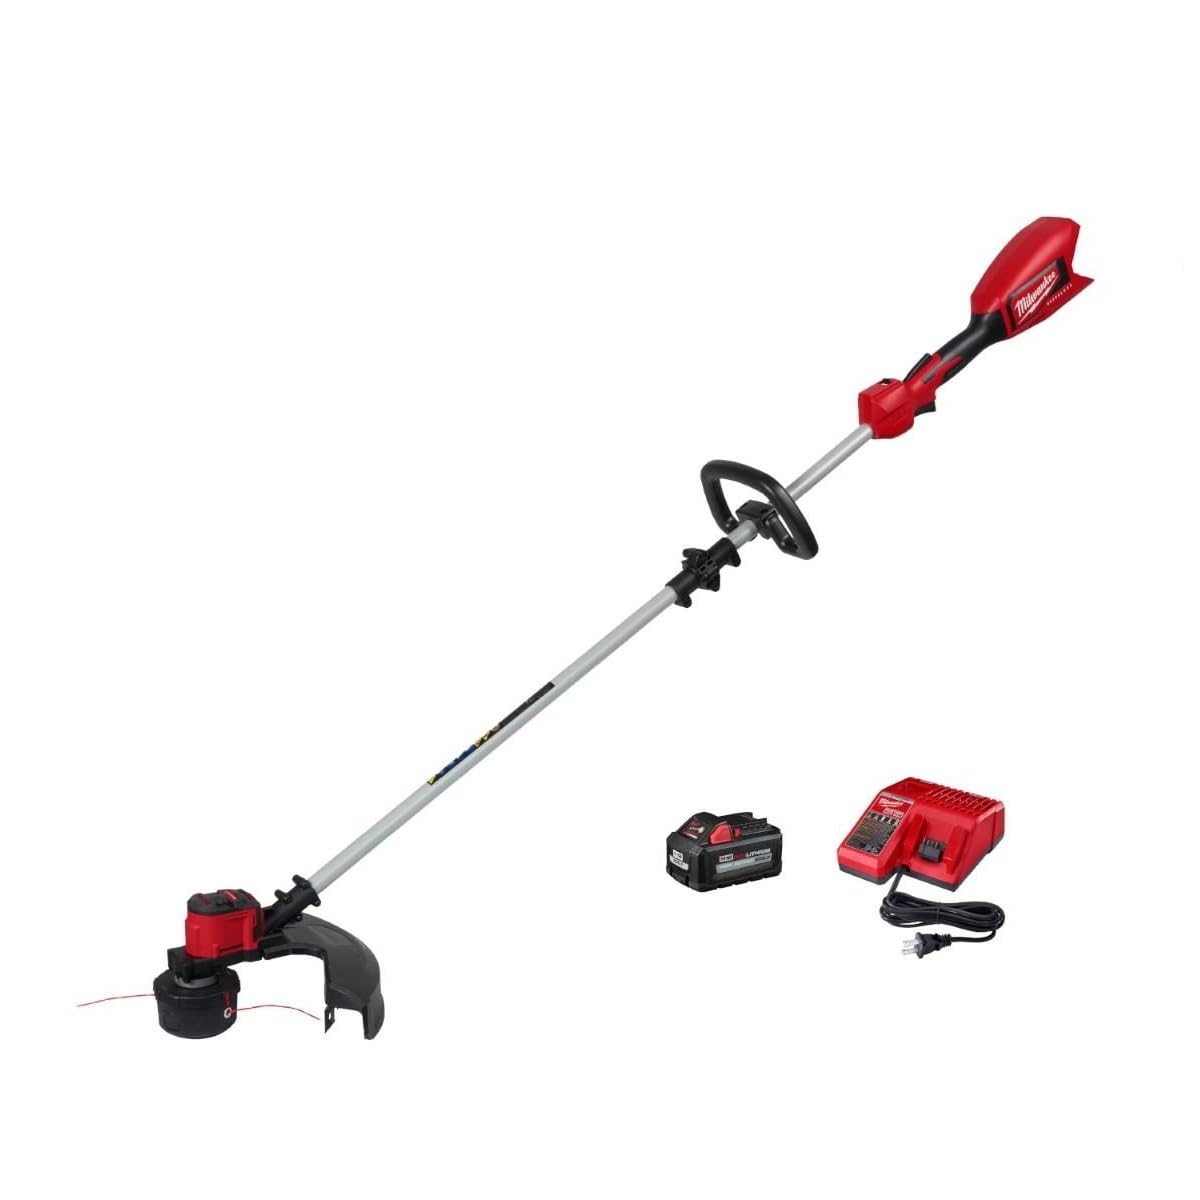
Figure 1: Milwaukee M18 Brushless String Trimmer Kit (Model 2828-21)
This image displays the complete Milwaukee M18 Brushless String Trimmer Kit, featuring the red power head, the silver shaft, and the black trimmer head with a guard. The battery is visible attached to the power head. The trimmer is shown resting on a work stand in a garage setting.
2. Safety Information
Always prioritize safety when operating power tools. Failure to follow safety instructions can result in serious injury.
- Wear Protective Gear: Always wear safety glasses or goggles, long pants, and sturdy shoes. Consider hearing protection.
- Clear Work Area: Ensure the area is free of debris, rocks, and other objects that could be thrown by the trimmer line. Keep bystanders and pets at a safe distance (at least 15 meters/50 feet).
- Inspect Before Use: Check the trimmer for any damaged parts, loose fasteners, or worn cutting line before each use.
- Proper Grip: Maintain a firm grip on both handles during operation.
- Avoid Wet Conditions: Do not operate the trimmer in wet grass or rain to prevent electrical hazards.
- Battery Safety: Only use Milwaukee M18 batteries and chargers. Do not expose batteries to water or extreme temperatures.
3. Setup
3.1. Battery Installation
- Ensure the trimmer is turned off and the trigger is disengaged.
- Align the battery pack with the battery port on the trimmer's power head.
- Slide the battery pack into the port until it clicks securely into place. A full click indicates proper installation.
- To remove, press the release buttons on the sides of the battery pack and slide it out.
3.2. Handle Adjustment
The auxiliary handle can be adjusted for optimal comfort and control. Loosen the knob on the handle, slide it to the desired position along the shaft, and tighten the knob firmly.
3.3. Trimmer Head and Line
The trimmer head comes pre-installed with cutting line. To extend or replace the line, refer to the maintenance section. The trimmer head is designed for easy line advancement by tapping it on the ground during operation.
4. Operating Instructions
4.1. Starting the Trimmer
- Ensure the battery is fully charged and securely installed.
- Hold the trimmer firmly with both hands.
- Press and hold the safety lock-off button (typically located on the top of the main handle).
- While holding the safety button, squeeze the trigger to start the trimmer. Release the safety button once the trimmer is running.
4.2. Speed Settings
The trimmer features adjustable speed settings for different cutting needs:
- Low Speed (Turtle Mode): Ideal for lighter trimming tasks and to conserve battery life.
- High Speed (Rabbit Mode): Provides maximum power for heavy-duty trimming and dense vegetation.
Toggle between speed settings using the designated switch on the handle.
4.3. Trimming Techniques
- Sweeping Motion: Use a side-to-side sweeping motion to cut grass and weeds.
- Edging: Hold the trimmer at an angle to create clean edges along sidewalks and driveways.
- Avoid Overloading: Do not force the trimmer through thick brush. Take smaller passes to prevent stalling and overheating.
5. Maintenance
Regular maintenance ensures the longevity and optimal performance of your string trimmer.
5.1. Cleaning
After each use, disconnect the battery and clean the trimmer. Remove any grass, dirt, or debris from the trimmer head, guard, and air vents using a brush or cloth. Do not use water or cleaning solutions directly on electrical components.
5.2. Trimmer Line Replacement
When the cutting line becomes too short or breaks, it needs to be replaced. This model features a bump-feed head for easy line advancement. To replace the spool, follow the instructions provided with your replacement line or consult the full product manual.
5.3. Battery Care
- Store batteries in a cool, dry place away from direct sunlight and extreme temperatures.
- Charge batteries using only Milwaukee M18 chargers.
- Do not store batteries in a discharged state for extended periods.
6. Troubleshooting
| Problem | Possible Cause | Solution |
|---|---|---|
| Trimmer does not start | Battery not installed correctly or discharged; Safety lock-off not engaged; Trigger not fully squeezed. | Ensure battery is fully charged and clicked into place. Press safety lock-off button before squeezing trigger. |
| Trimmer line does not advance | Line is tangled or too short; Spool is empty. | Tap trimmer head on ground during operation. Replace trimmer line spool if empty or tangled. |
| Reduced cutting performance | Worn or incorrect cutting line; Trimmer head clogged. | Replace with new, correct diameter cutting line. Clean trimmer head and guard. |
| Trimmer overheats | Overloading the motor; Blocked air vents. | Reduce load by taking smaller passes. Clear any debris from air vents. Allow trimmer to cool down. |
7. Specifications
- Brand: Milwaukee
- Model Number: 2828-21
- Power Source: Battery Powered (M18 REDLITHIUM)
- Item Weight: 1.3 Pounds
- Cutting Width: 16 Inches
- Speed: 6200 RPM
- Battery Average Life: 45 minutes (with compatible battery)
- Is Product Cordless: Yes
- Item Dimensions (L x W): 5"L x 11.6"W
- Required Assembly: Yes
- UPC: 045242572038
8. Warranty and Support
For warranty information, product registration, or technical support, please refer to the documentation included with your purchase or visit the official Milwaukee Tools website. Keep your purchase receipt as proof of purchase for warranty claims.


