1. Introduction
This manual provides essential information for the safe operation, maintenance, and troubleshooting of your Mellif Brushless HVLP Paint Sprayer, Model SPG-DCB20. This cordless paint sprayer is designed for various painting tasks, offering compatibility with Dewalt 20V batteries (battery not included). Please read this manual thoroughly before first use to ensure optimal performance and safety.

Figure 1: Mellif Brushless HVLP Paint Sprayer components.
2. Safety Information
WARNING: Always follow these safety guidelines to prevent injury or damage to the product.
- Follow battery handling and charging instructions to prevent damage or injury.
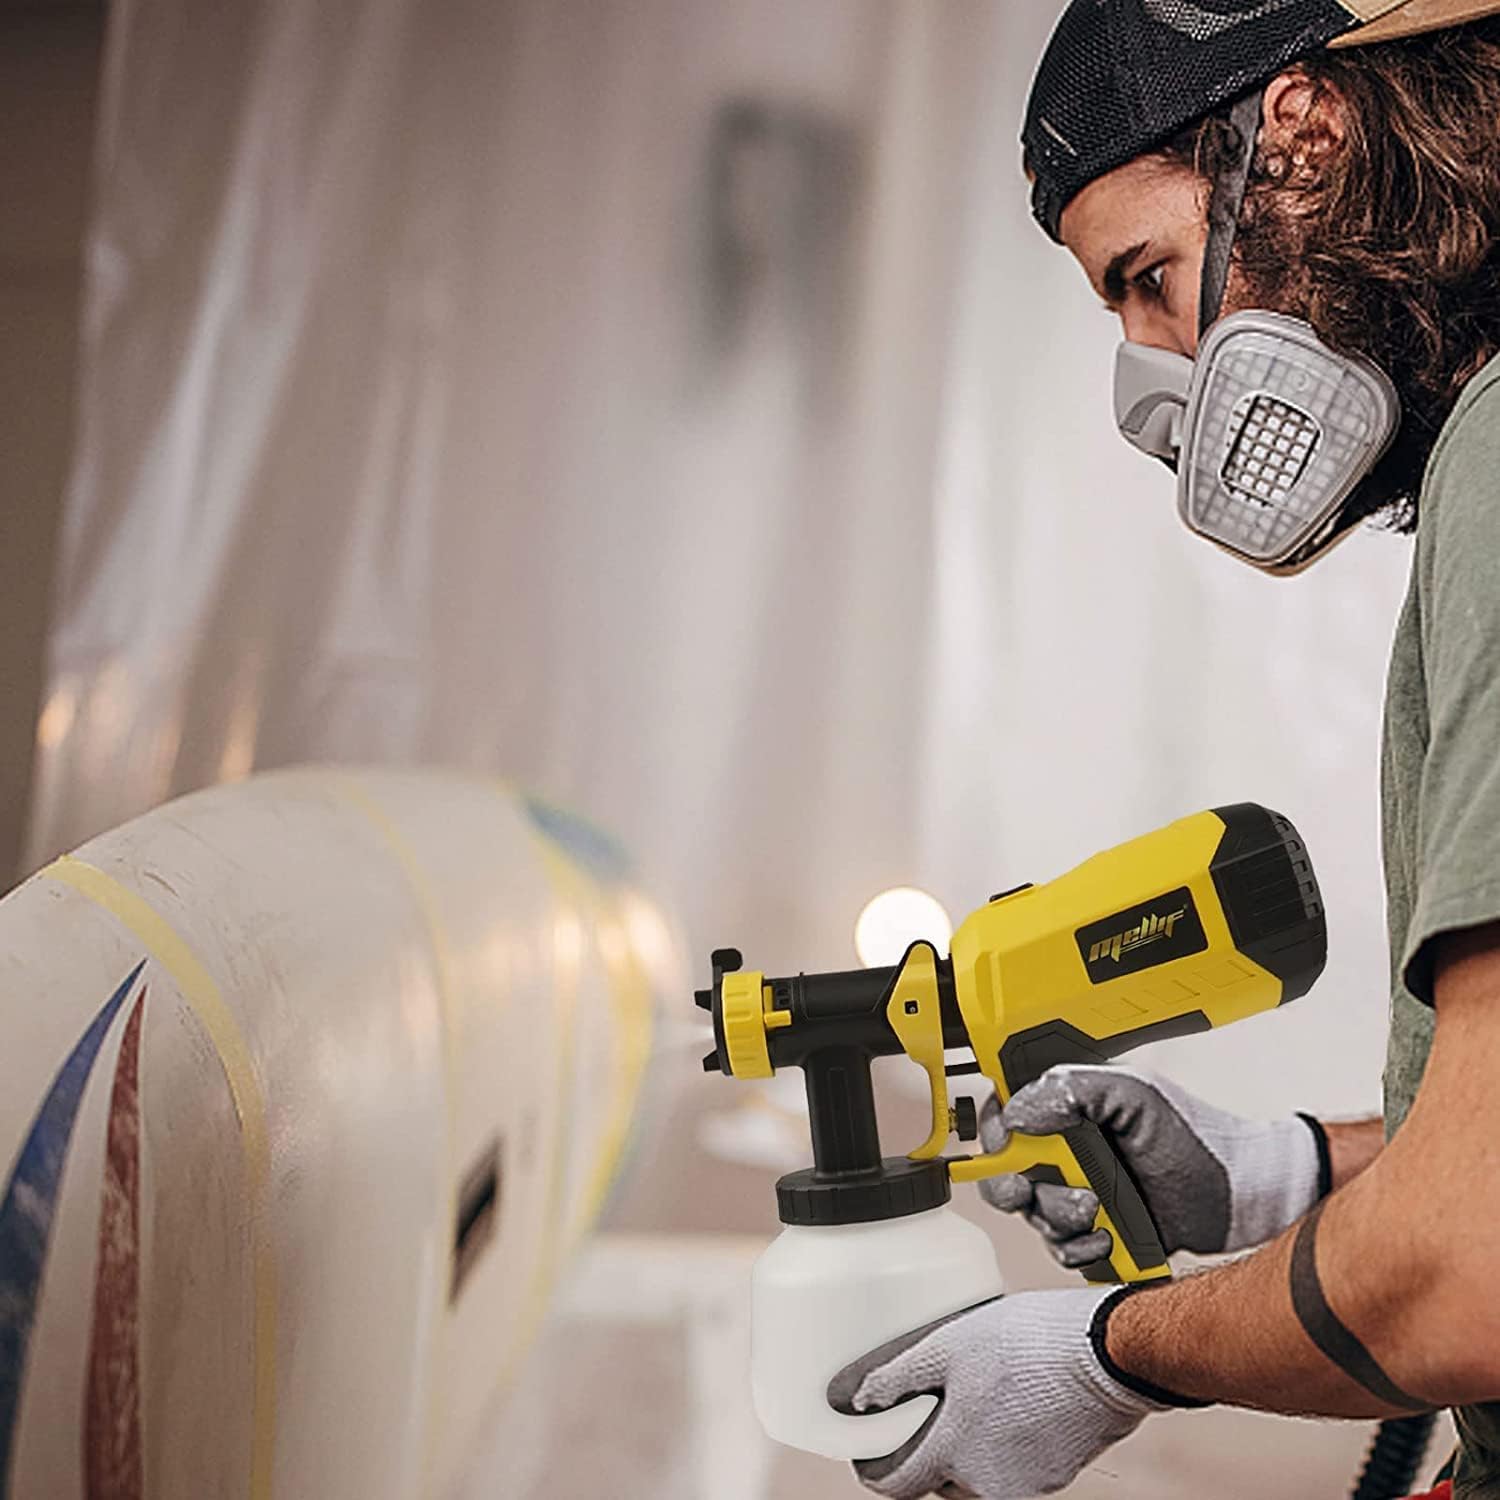
- Use appropriate personal protective equipment (PPE) such as safety glasses, gloves, and a respirator when handling and spraying materials, considering chemical exposure and fumes.
- Be cautious of pressurized liquids and ensure proper handling and disposal of paint and cleaning solutions.
- Review the user manual for specific safety instructions related to the product's operation, maintenance, and disposal.
- Ensure the work area is well-ventilated.
- Keep children and pets away from the work area.
3. Package Contents
Verify that all items listed below are included in your package:
- 1 x Cordless Paint Sprayer (Tool Only)
- 1 x 1200ml Container
- 4 x Nozzle Tips (1.5mm, 1.8mm, 2.2mm, 2.6mm - one pre-assembled)
- 1 x Through Needle
- 1 x Viscosity Cup
- 1 x Cleaning Brush
- 1 x User Manual (this document)
4. Specifications
| Feature | Specification |
|---|---|
| Model Name | SPG-DCB20 |
| Motor | Brushless, 150 W |
| Voltage | 20V (Compatible with Dewalt 20V MAX Slider Lithium Batteries) |
| Max Flow | 1000 ml/min |
| Nozzle Sizes | 1.5 mm, 1.8 mm, 2.2 mm, 2.6 mm |
| Max Viscosity | 30-50 DIN-s |
| Paint Container Capacity | 1200 ml (38 fl oz) |
| Weight (Sprayer alone) | 1.2 kg (2.64 lbs) |
| Material | Plastic |
| Power Source | Battery Powered |
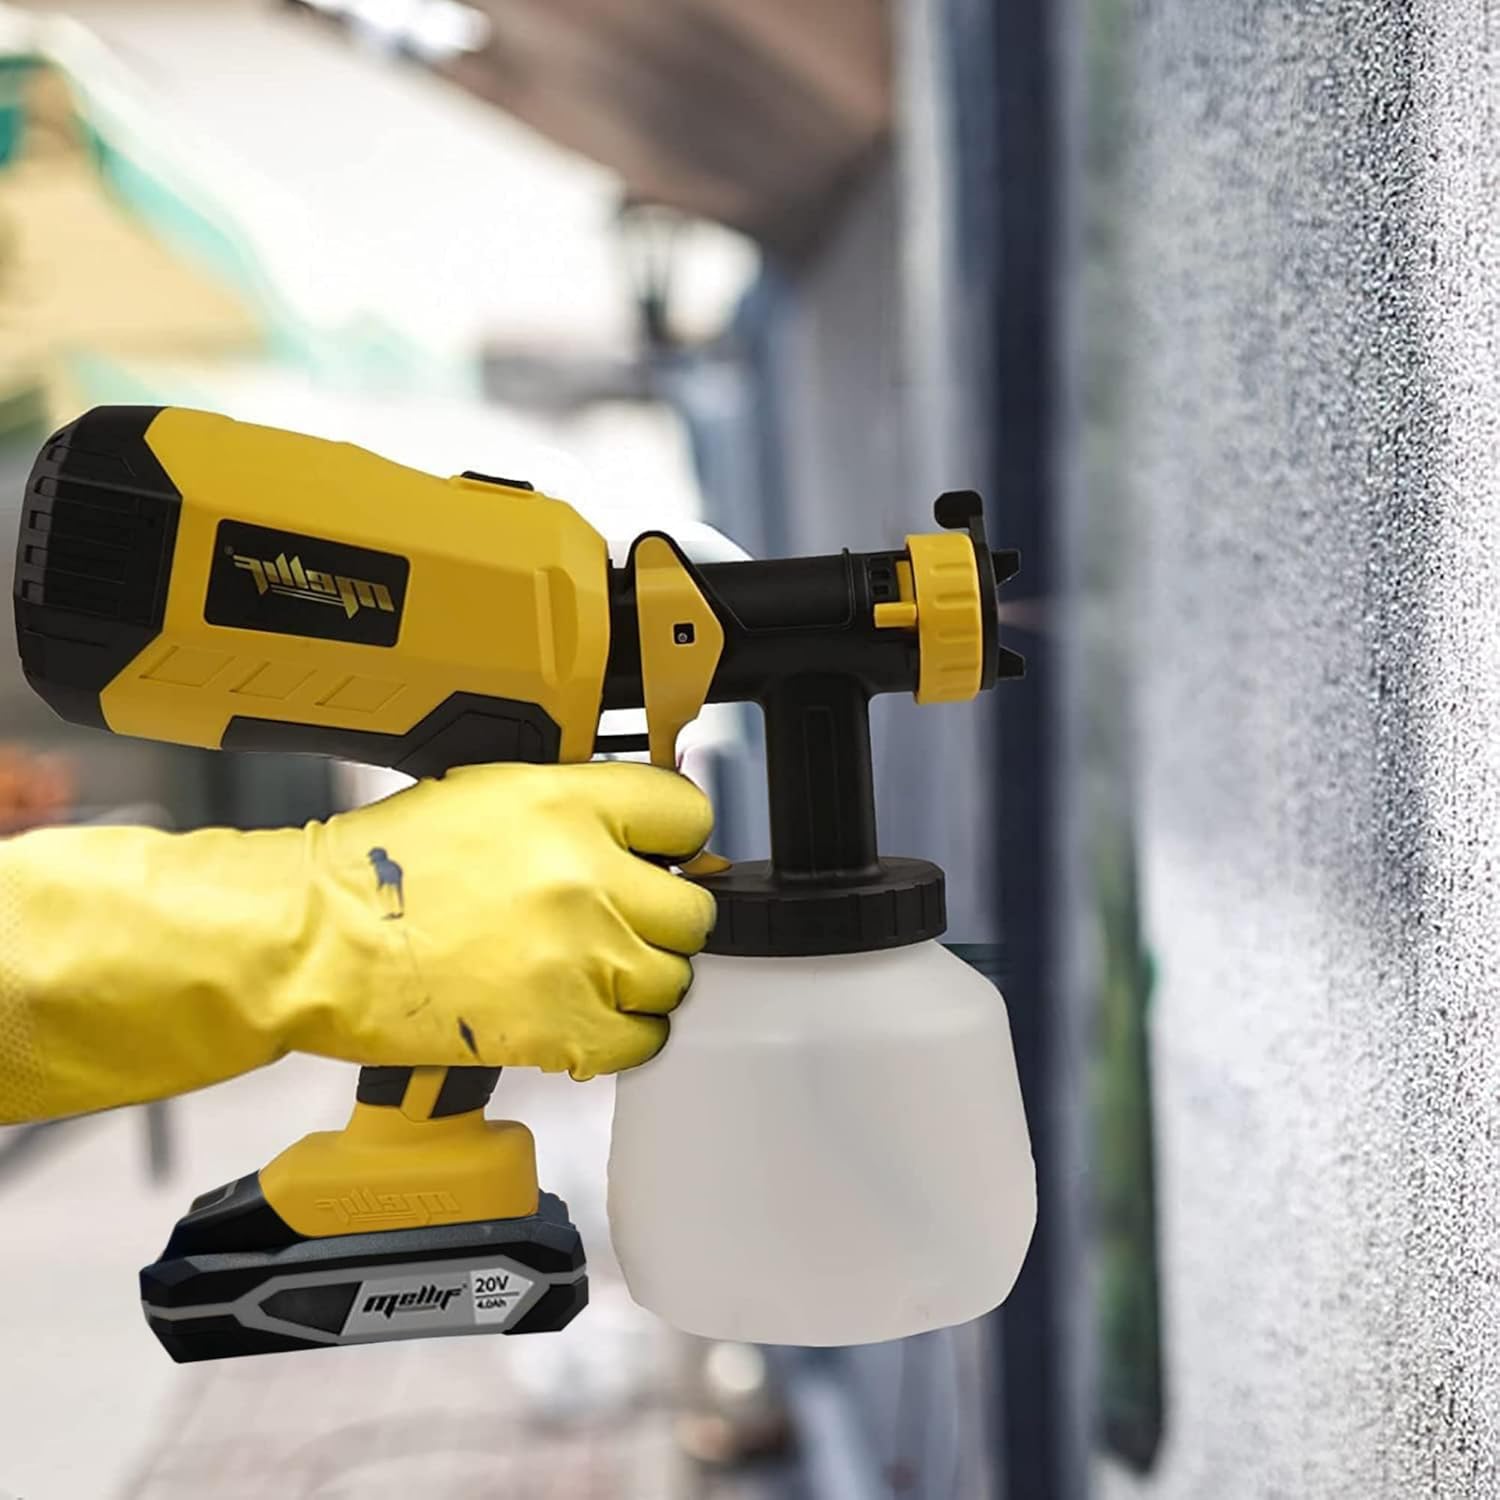
5. Setup
- Attach Battery: Insert a compatible Dewalt 20V battery (not included) into the battery slot until it clicks into place.
- Prepare Paint Material:
- Ensure your paint material is suitable for HVLP sprayers.
- Use the included viscosity cup to check the paint's viscosity. Thin the paint with the appropriate solvent (water for latex, mineral spirits for oil-based) until it flows through the viscosity cup within the recommended 30-50 DIN-s timeframe.
- Strain the thinned paint to remove any lumps or debris that could clog the nozzle.
- Fill Container: Unscrew the 1200ml container from the sprayer body. Pour the prepared paint material into the container. Securely reattach the container to the sprayer body.
- Select Nozzle: Choose the appropriate nozzle tip (1.5mm, 1.8mm, 2.2mm, or 2.6mm) based on the paint material and desired spray pattern. Larger nozzles are generally for thicker paints or faster coverage, while smaller nozzles are for finer finishes. Ensure the nozzle is securely installed.
6. Operating Instructions
- Power On: Press the switch trigger to activate the sprayer.
- Adjust Flow Rate: Use the flow adjustment knob (Figure 1) to control the amount of paint sprayed. Start with a lower setting and gradually increase until the desired coverage is achieved.
- Adjust Spray Pattern: The adjustable nozzle allows for three spray patterns:
- Circular: For small areas or detailed work.
- Horizontal: For spraying vertical surfaces.
- Vertical: For spraying horizontal surfaces.
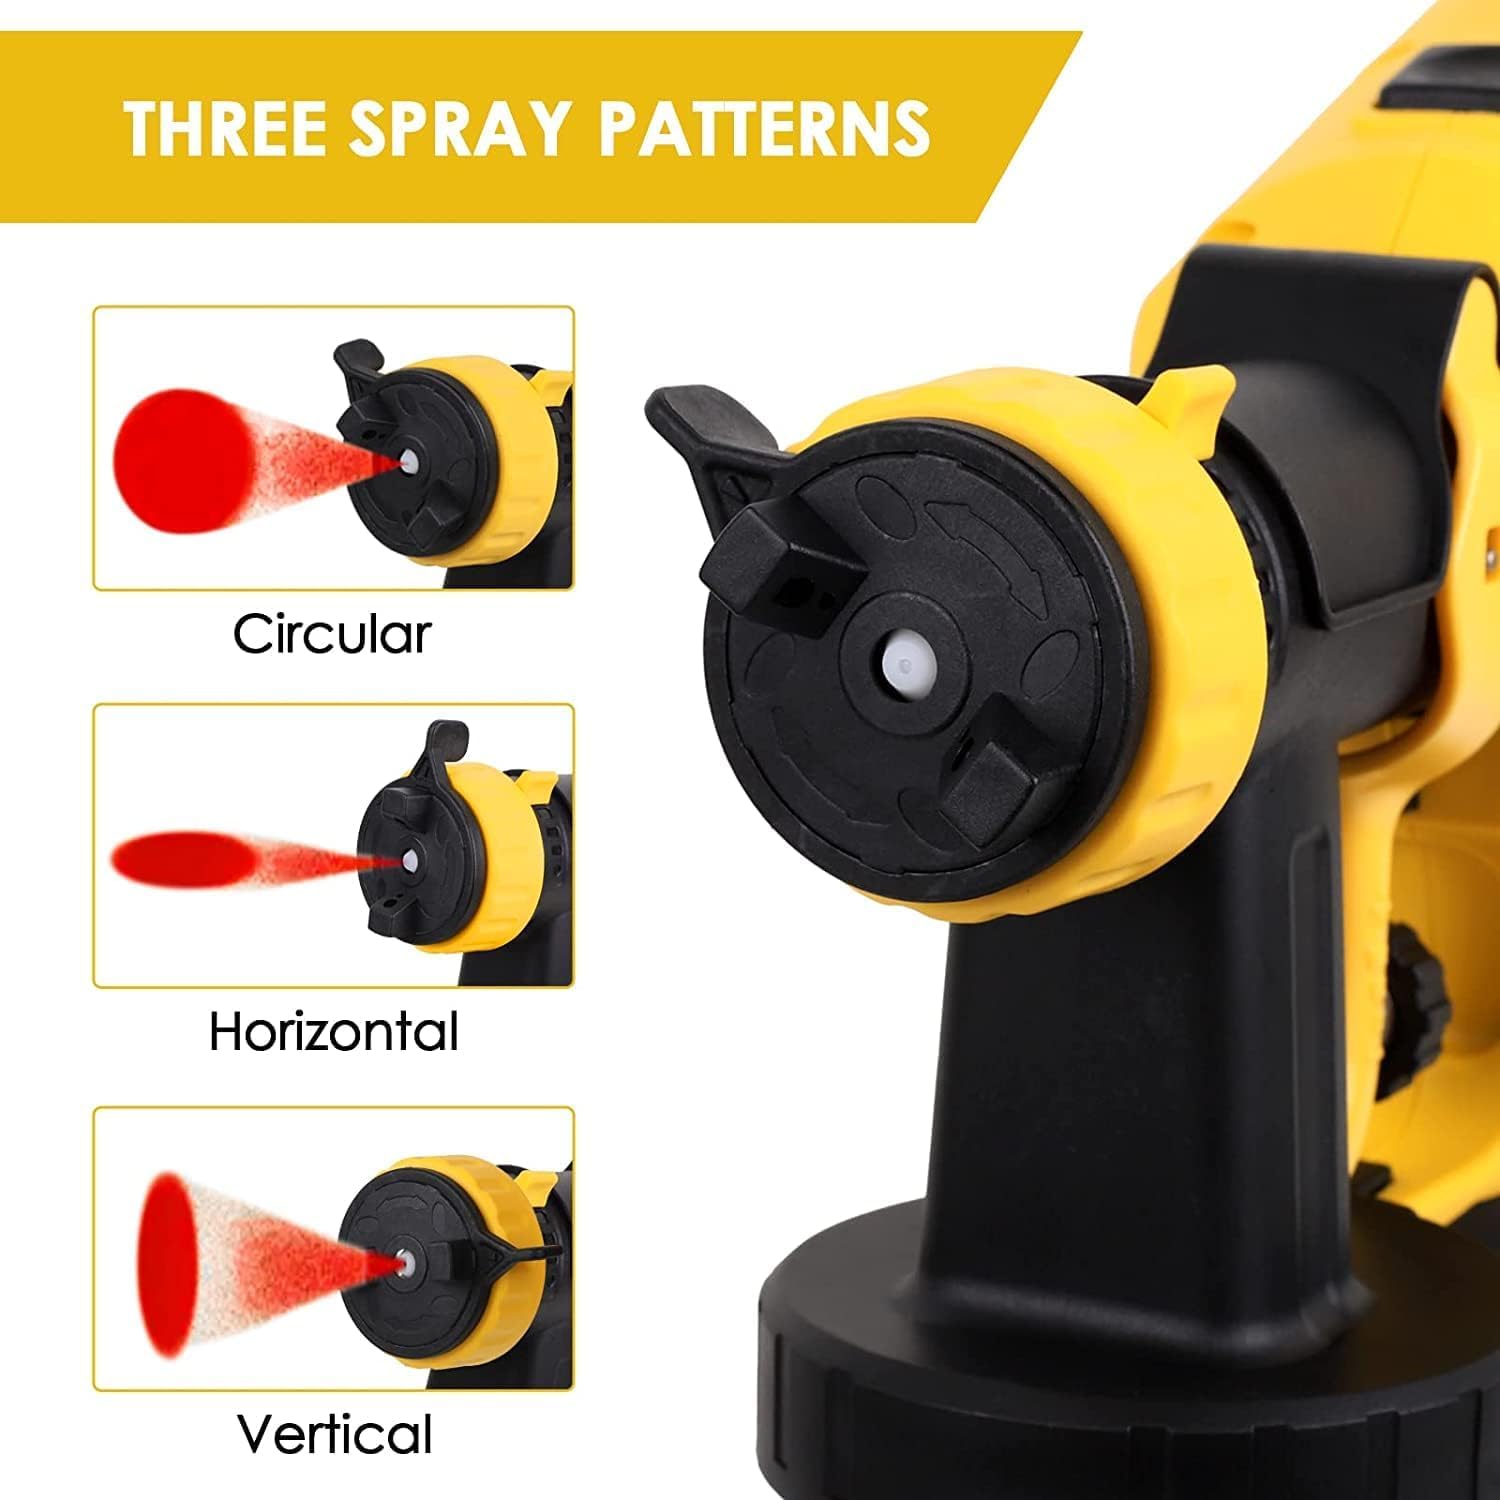
Figure 2: Adjustable spray patterns.
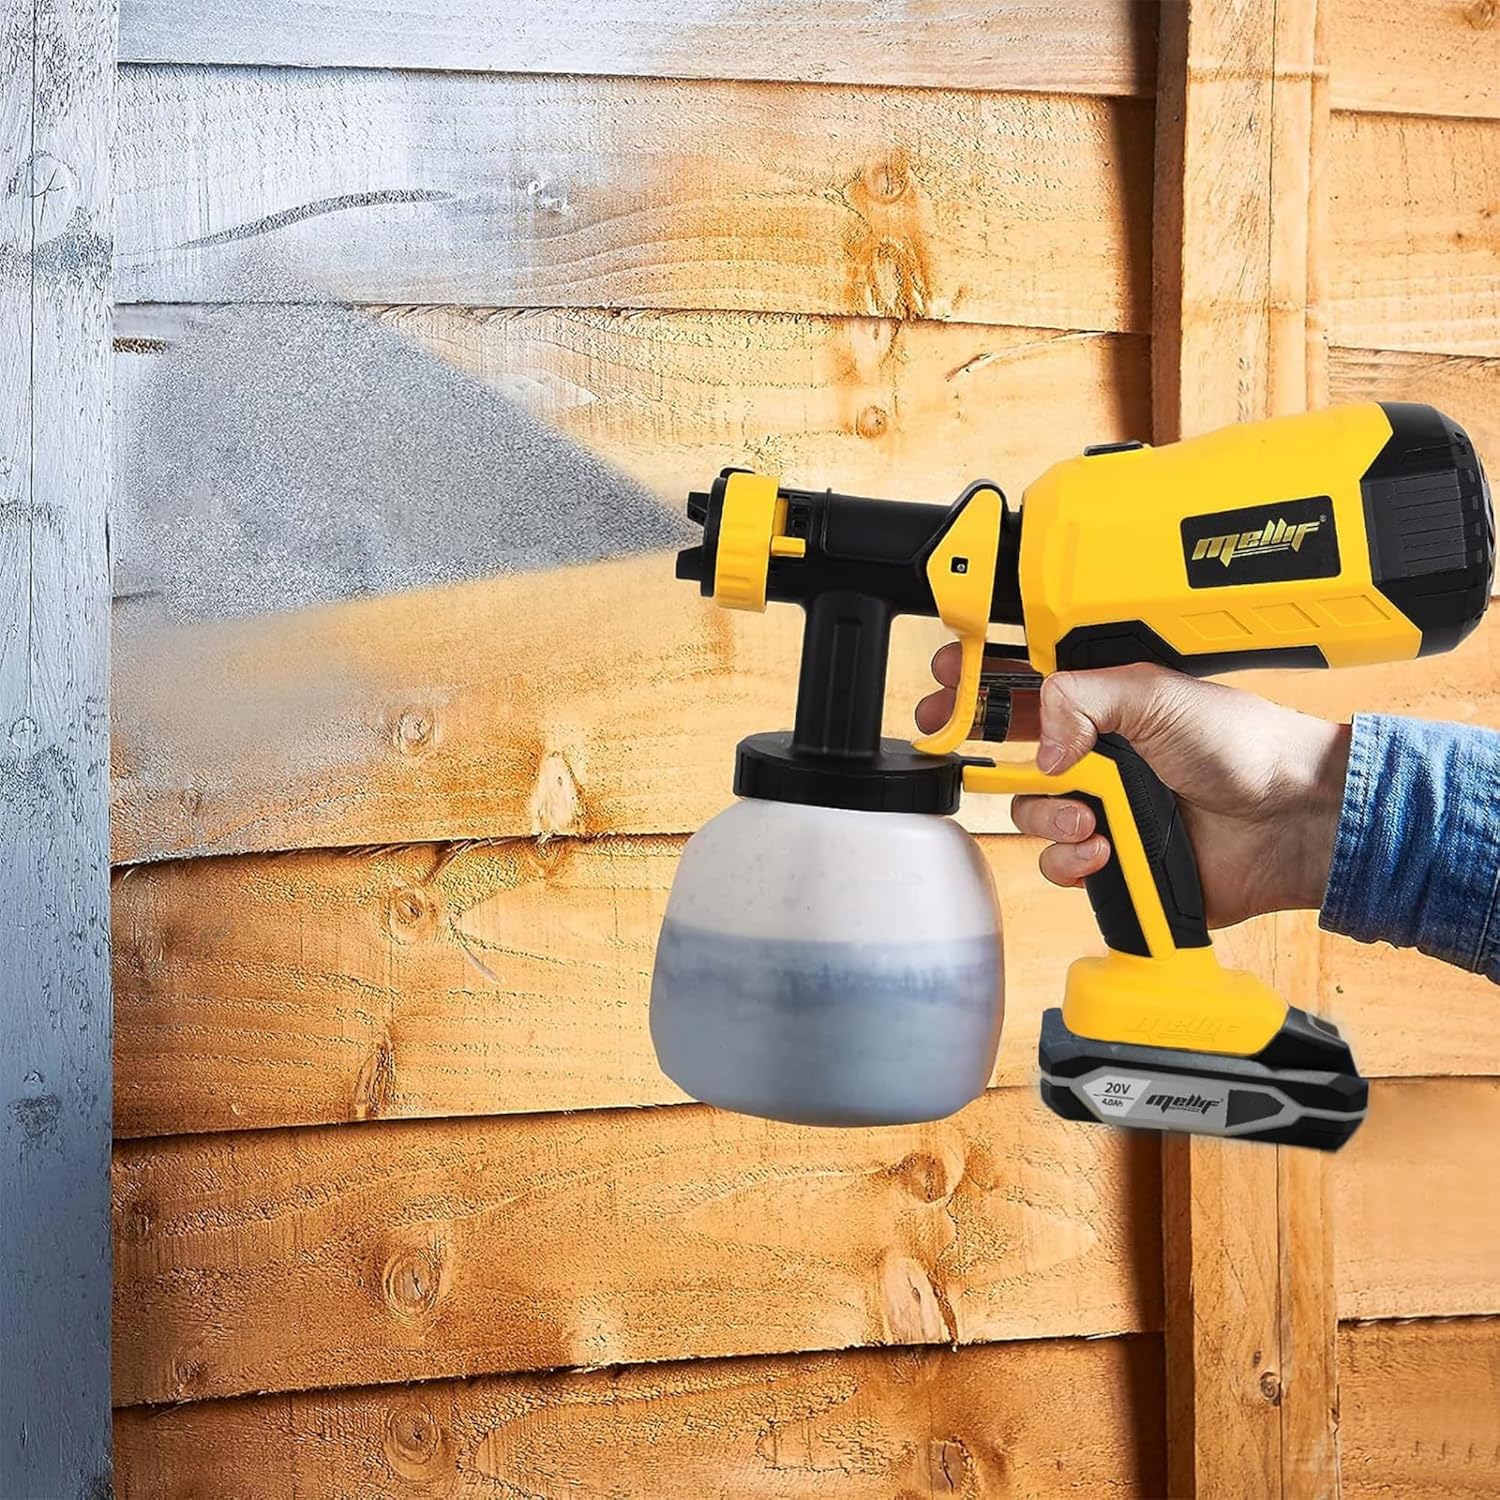
General Spraying Tips:
- Maintain a consistent distance (approximately 6-12 inches) from the surface being painted.
- Move the sprayer in smooth, even strokes, overlapping each pass by about 50%.
- Avoid tilting the sprayer excessively, especially when the paint level is low, to prevent air from entering the pickup tube.
- Always test the spray pattern and flow on a scrap piece of material before painting your main project.
7. Maintenance and Cleaning
Proper cleaning after each use is crucial for maintaining the sprayer's performance and extending its lifespan. Failure to clean the sprayer immediately can lead to clogs and damage.
- Empty Container: Remove any remaining paint from the container.
- Initial Rinse: Fill the container with the appropriate cleaning solution (water for water-based paints, mineral spirits for oil-based paints). Spray the cleaning solution through the sprayer until it runs clear.
- Disassemble: Unscrew the container, remove the nozzle, and disassemble the spray head components.
- Thorough Cleaning: Use the included cleaning brush and through needle to thoroughly clean all paint-contacting parts, including the container, pickup tube, nozzle, and spray head. Ensure all paint residue is removed.
- Rinse and Dry: Rinse all components with clean water and allow them to dry completely before reassembly or storage.
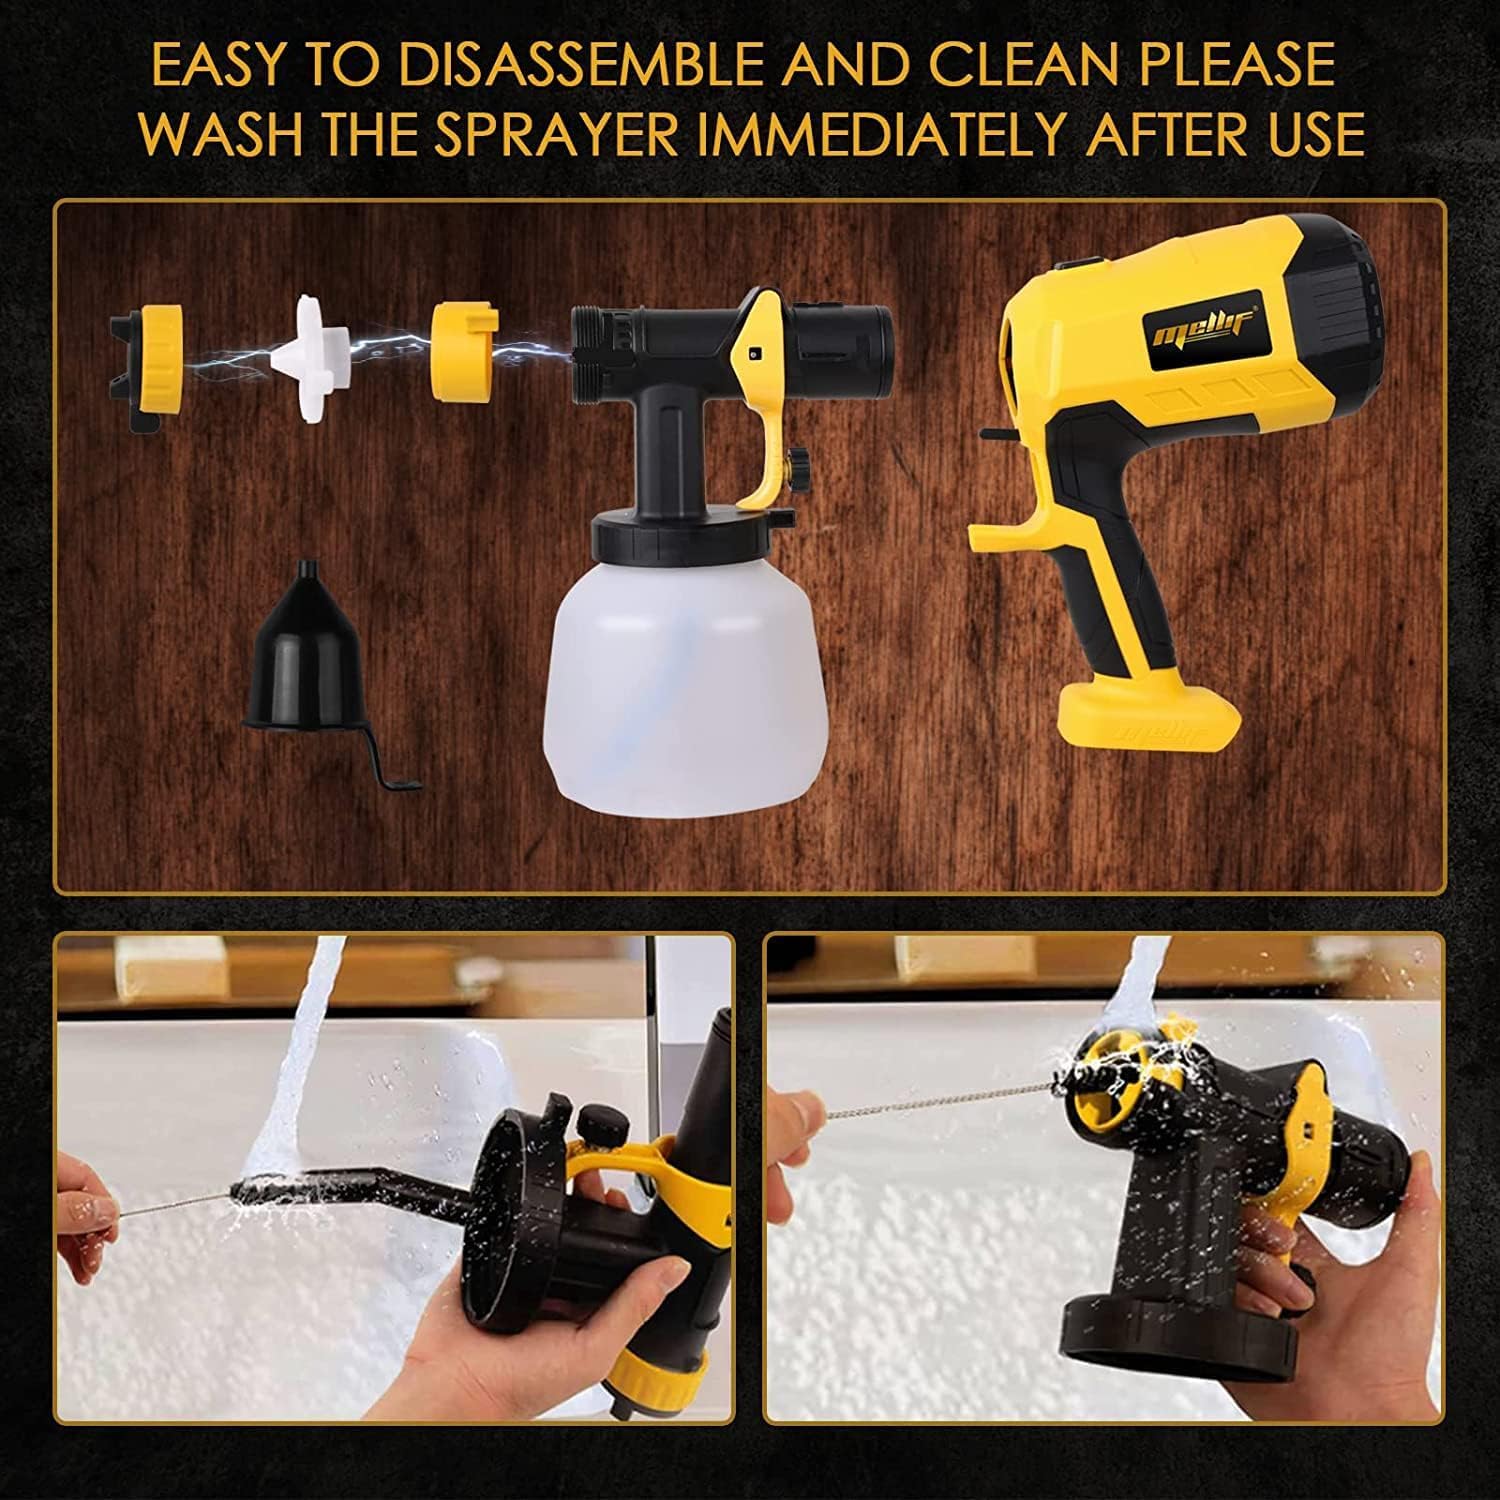
Figure 6: Disassembly and cleaning process.
8. Troubleshooting
| Problem | Possible Cause | Solution |
|---|---|---|
| No Spray or Weak Spray | Clogged nozzle, insufficient paint, paint too thick, air leak, low battery. | Clean nozzle, refill container, thin paint, check connections, charge/replace battery. |
| Inconsistent Spray Pattern | Partially clogged nozzle, incorrect nozzle selection, uneven paint consistency. | Clean nozzle thoroughly, select appropriate nozzle, ensure paint is properly thinned and mixed. |
| Paint Dripping/Spitting | Nozzle not tightened, paint too thin, worn nozzle, initial trigger press. | Tighten nozzle, adjust paint thinning, replace nozzle if worn, anticipate initial spit and direct away from project. |
| Motor Not Running | No battery, low battery, battery not properly seated, internal fault. | Insert charged battery, ensure battery is seated correctly, contact support if issue persists. |
9. Warranty and Support
Mellif offers a 36-month replacement warranty for any quality issues with this product. For warranty claims, technical support, or any questions regarding your paint sprayer, please contact Mellif customer service through your original purchase platform or the contact information provided with your product packaging.
This handheld paint sprayer includes built-in over-low voltage and over-heat protections to safeguard your battery from damage. Always ensure proper battery usage as per the battery manufacturer's guidelines.


