
1. Introduction
This manual provides essential information for the safe and efficient operation, installation, and maintenance of your SEAFLO 55 Series Automatic Demand Diaphragm Pump. Designed for reliable water pressure in various applications, including marine, RV, and general liquid transfer, this pump features a 5-chamber design, self-priming capabilities, and an internal bypass for smooth, consistent flow. Please read all instructions carefully before use.
2. Safety Information
- Always disconnect power before installing, servicing, or performing maintenance on the pump.
- Ensure the power supply matches the pump's voltage (115V AC).
- Do not pump flammable liquids. This pump is designed for water and potable liquids only.
- Protect the pump from freezing temperatures.
- Ensure proper ventilation around the pump to prevent overheating.
- Use appropriate plumbing connections and sealants to prevent leaks.
3. Package Contents
Verify that all items are present in the package:
- SEAFLO 55 Series Automatic Demand Diaphragm Pump (115V AC)
- 1 x 1/2" x 1/2" Inline Strainer Filter
- 2 x 1/2"-14 FNPT x 1/2" Barb Straight Pump Fittings
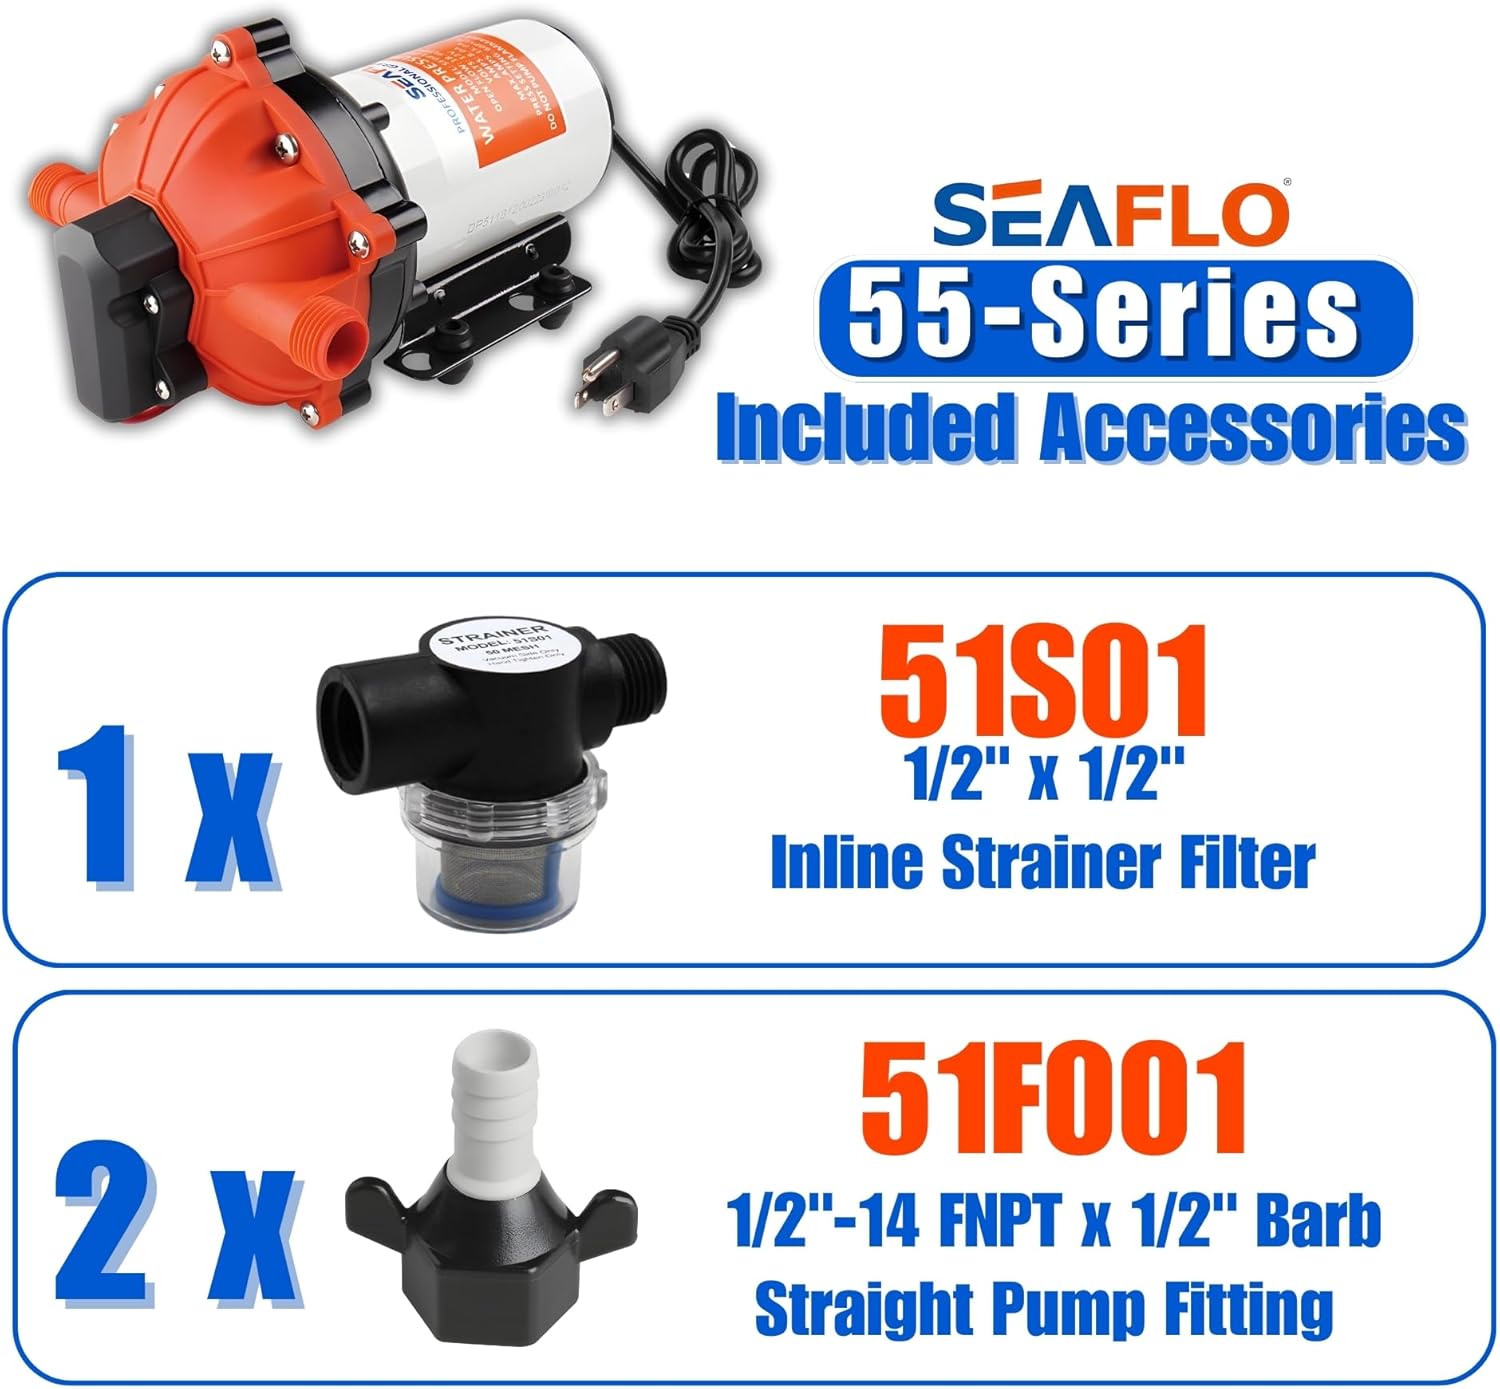
Image: The SEAFLO 55 Series pump with its included accessories: an inline strainer filter and two 1/2-inch barb fittings for plumbing connections.
4. Specifications
| Specification | Value |
|---|---|
| Model | SFDPA1-050-060-55 |
| Voltage | 115V AC |
| Open Flow | 5.0 GPM (18.9 LPM) |
| Shut-off Pressure | 60 PSI |
| Max Draw | 2.56A |
| Self-Priming | 6 ft (1.8 m) |
| Ports | 1/2"-14 MNPT |
| Max Temperature | 140°F (60°C) |
| Weight | 6.08 lbs |
| Certifications | NSF/ANSI/CAN 61 & 372, NSF 24, UL 778, CSA C22.2 No. 108 |

Image: Detailed specifications for the SEAFLO 55 Series pump, including electrical and performance data.

Image: Technical drawing illustrating the product dimensions and mounting hole pattern for installation.
5. Setup and Installation
Proper installation is crucial for optimal pump performance and longevity. Follow these guidelines:
5.1 Mounting
- Mount the pump in a dry, well-ventilated area, protected from direct sunlight and freezing temperatures.
- Utilize the integrated rubber mounting bracket base to minimize vibration and noise. Secure the pump to a solid surface using appropriate fasteners.

Image: The pump's rubber mounting bracket base, which helps reduce noise and vibration during operation.
5.2 Plumbing Connections
- Connect the inlet side of the pump to your water source using the provided 1/2"-14 MNPT fittings and an inline strainer filter. Ensure the strainer is installed on the inlet side to protect the pump from debris.
- Connect the outlet side of the pump to your distribution system using appropriate plumbing.
- Use flexible hose to reduce vibration and noise transmission.
5.3 Electrical Connection
- The pump is equipped with a standard 115V AC power plug. Connect it to a compatible grounded electrical outlet.
- Ensure the electrical circuit is protected by a fuse or circuit breaker of appropriate rating.
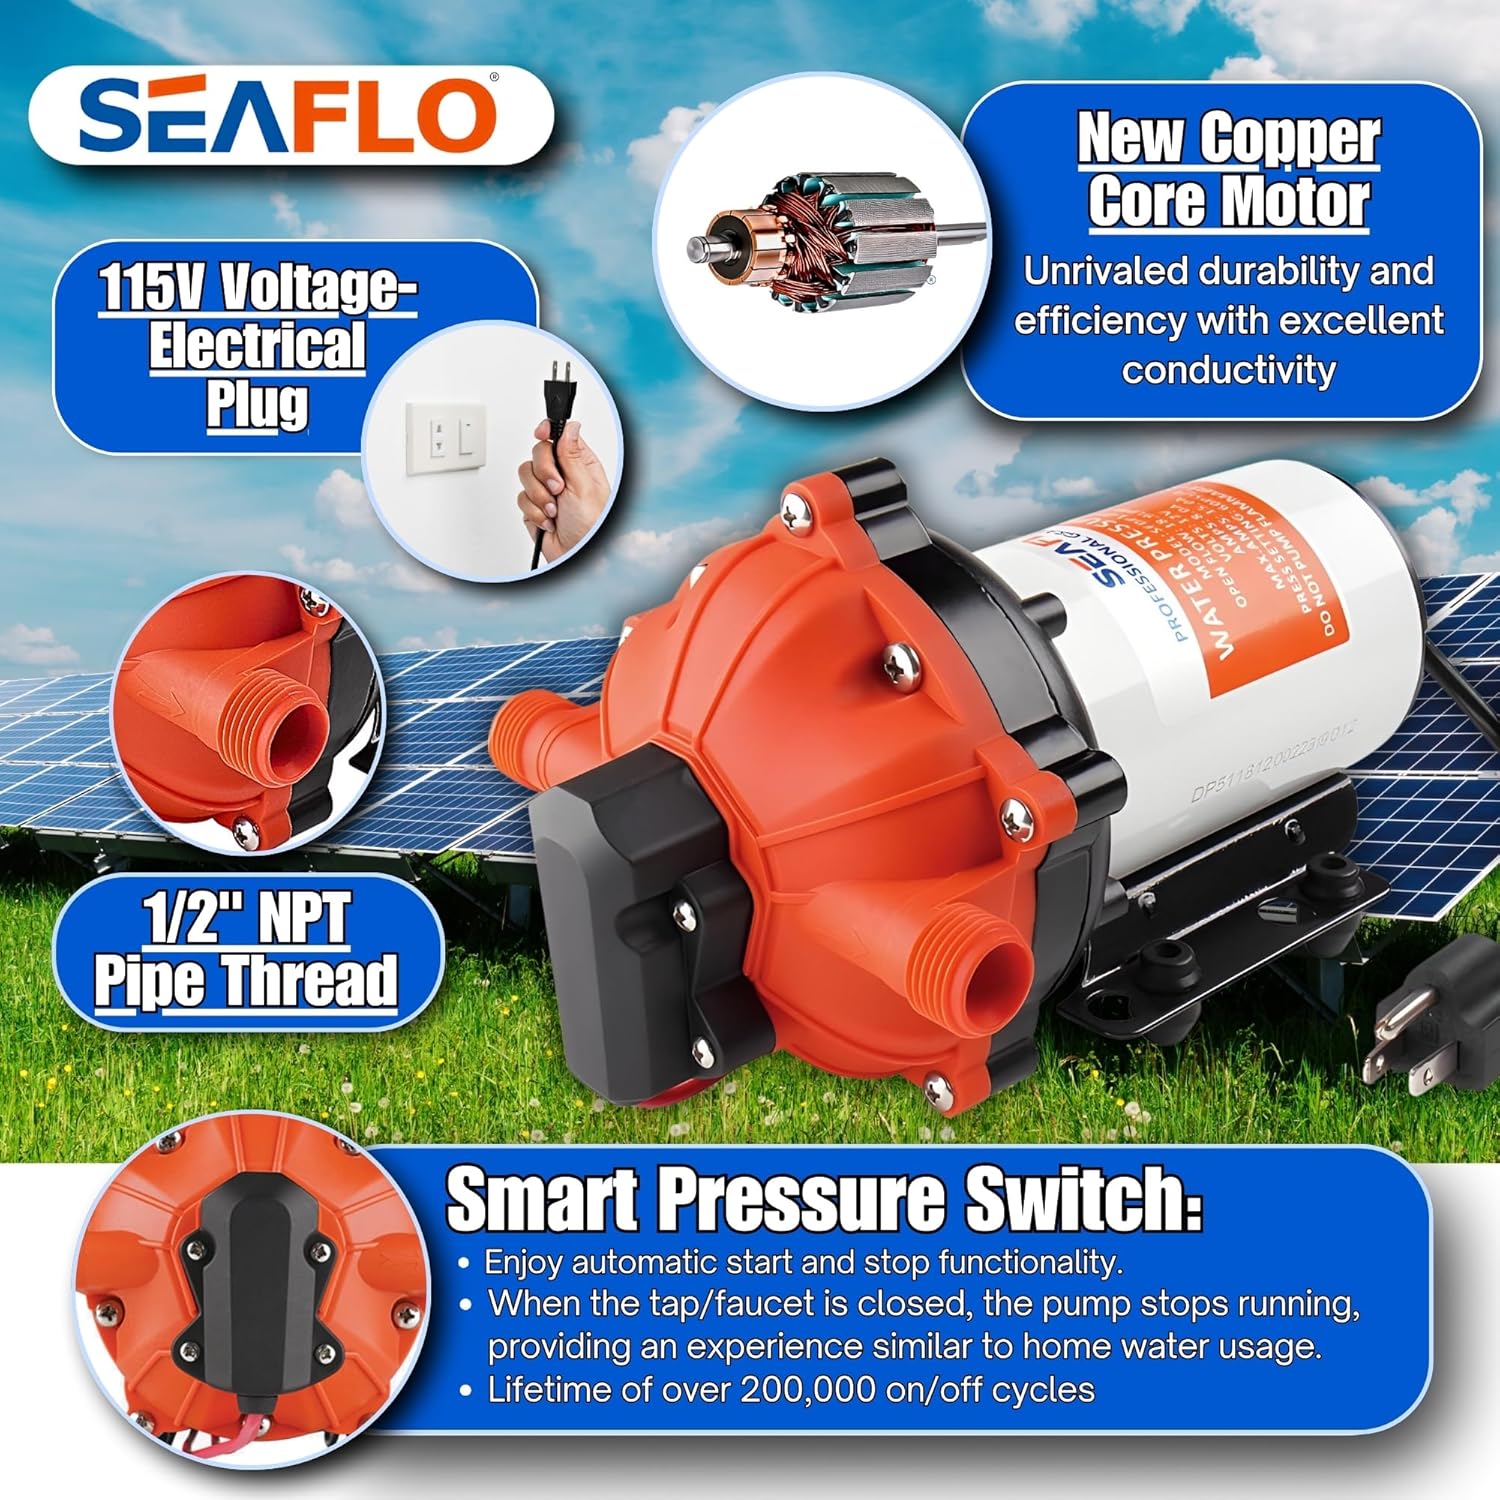
Image: The pump's 115V electrical plug and 1/2 inch NPT pipe thread connections for easy setup.
6. Operating Instructions
The SEAFLO 55 Series pump is designed for automatic operation based on demand.
6.1 Initial Start-up and Self-Priming
- Once plumbing and electrical connections are secure, turn on the power to the pump.
- Open a faucet in your system. The pump will begin to self-prime, drawing water up to 6 feet. Allow water to flow until all air is purged from the system and a steady stream is achieved.
- Close the faucet. The pump's smart on-demand pressure switch will automatically shut off when the system reaches its set pressure.

Image: The pump's high flow rate and self-priming feature ensure quick and efficient water delivery.
6.2 Automatic Operation
- The pump will automatically activate when water is demanded (e.g., opening a faucet) and stop when the demand ceases (e.g., closing a faucet).
- The internal bypass technology ensures smooth, consistent water flow and prevents rapid pump cycling, even at low flow rates.

Image: The adjustable smart pressure switch provides automatic start/stop functionality and allows for pressure value adjustments.
6.3 Adjusting the Bypass Valve
The bypass valve is factory-set but can be adjusted if excessive cycling occurs at low flow rates. Refer to the video below for detailed instructions.
Video: This video demonstrates how to adjust the bypass valve on the SEAFLO 55 Series pump to optimize performance and prevent excessive cycling.
7. Maintenance
Regular maintenance ensures the longevity and efficiency of your pump.
7.1 Cleaning the Inline Strainer
- Periodically inspect and clean the inline strainer filter to prevent debris from entering the pump.
- To clean, turn off the pump and disconnect power. Unscrew the clear housing of the strainer, remove the mesh filter, rinse it thoroughly, and reassemble.
7.2 Winterization
- In freezing conditions, drain all water from the pump and plumbing system to prevent damage.
- Run RV antifreeze through the system if applicable, following the antifreeze manufacturer's instructions.

Image: Components of the pump, illustrating the durable materials used for long-term performance and reduced maintenance.
8. Troubleshooting
If you encounter issues with your SEAFLO 55 Series pump, refer to the following common problems and solutions:
- No Flow: Check power connection, ensure water source is available, verify inline strainer is not clogged, and check for air leaks in the inlet plumbing.
- Low Flow/Low Pressure: Inspect for clogged strainer, kinks in hoses, or partially closed valves. Ensure the power supply is adequate.
- Pump Cycles On/Off Rapidly: This often indicates a leak in the system or an improperly adjusted bypass valve. Check all connections for leaks and refer to Section 6.3 for bypass valve adjustment.
- Pump Runs Continuously: This suggests a significant leak in the system or a faulty pressure switch. Isolate sections of plumbing to find leaks.
9. Applications
The SEAFLO 55 Series pump is versatile and suitable for a wide range of applications:
- Marine freshwater systems
- RV and motorhome water supply
- Potable freshwater systems
- Shower sub-pumps
- Salt/freshwater washdown
- Off-grid and rain barrel collection
- Irrigation and other liquid transfer applications

Image: Visual examples of the pump's diverse applications in marine, RV, and agricultural settings.
10. Warranty and Support
The SEAFLO 55 Series Automatic Demand Diaphragm Pump comes with a 4-year warranty, reflecting our commitment to quality and durability. For technical support, warranty claims, or further assistance, please contact SEAFLO customer service through your retailer or the official SEAFLO website.
