1. Introduction
This manual provides comprehensive instructions for the setup, operation, and maintenance of your Sharkoon V1000 RGB PC Case. Please read this manual carefully before beginning installation to ensure proper assembly and optimal performance.

Figure 1.1: The Sharkoon V1000 RGB PC Case, showcasing its front mesh panel and pre-installed RGB fans.
2. Key Features
- Compact Design: Mini-tower form factor suitable for Micro ATX motherboards.
- RGB Illumination: Pre-installed RGB fans for vibrant lighting effects.
- Tempered Glass Side Panel: Showcases internal components.
- Optimized Airflow: Mesh front panel and support for multiple cooling fans.
- Versatile Compatibility: Supports graphics cards up to 40 cm, air cooling systems, and standard power supplies.
- Convenient Connectivity: Front I/O panel with USB 3.0 ports.
3. Setup and Installation
3.1. Unpacking and Inspection
Carefully remove the PC case from its packaging. Inspect for any signs of damage during transit. Retain the packaging for future transport or storage.
3.2. Component Installation Overview
The Sharkoon V1000 RGB is designed for easy installation of your PC components. Follow the steps below for a typical build process.
- Prepare the Case: Remove the tempered glass side panel and the rear metal side panel to access the interior.
- Install Motherboard: Secure your Micro ATX motherboard onto the pre-installed standoffs. Ensure all screws are tightened appropriately.
- Install Power Supply (PSU): The PSU mounts at the rear bottom of the case. Slide the PSU into the dedicated shroud area and secure it with screws from the rear.
- Install Storage Drives: Utilize the drive bays for 2.5-inch SSDs or 3.5-inch HDDs. Refer to the case's internal structure for specific mounting points.
- Install Graphics Card: Insert your graphics card into the appropriate PCIe slot on the motherboard and secure it with the retention clip and screw. The case supports cards up to 40 cm in length.
- Connect Front Panel Cables: Connect the front panel I/O cables (USB, audio, power, reset, LED) to their respective headers on the motherboard.
- Cable Management: Utilize the cable routing cutouts and tie-down points behind the motherboard tray to manage cables neatly. This improves airflow and aesthetics.
- Reattach Panels: Once all components are installed and cables are managed, reattach the side panels.

Figure 3.1: Internal layout of the V1000 RGB, highlighting the motherboard tray and PSU shroud.
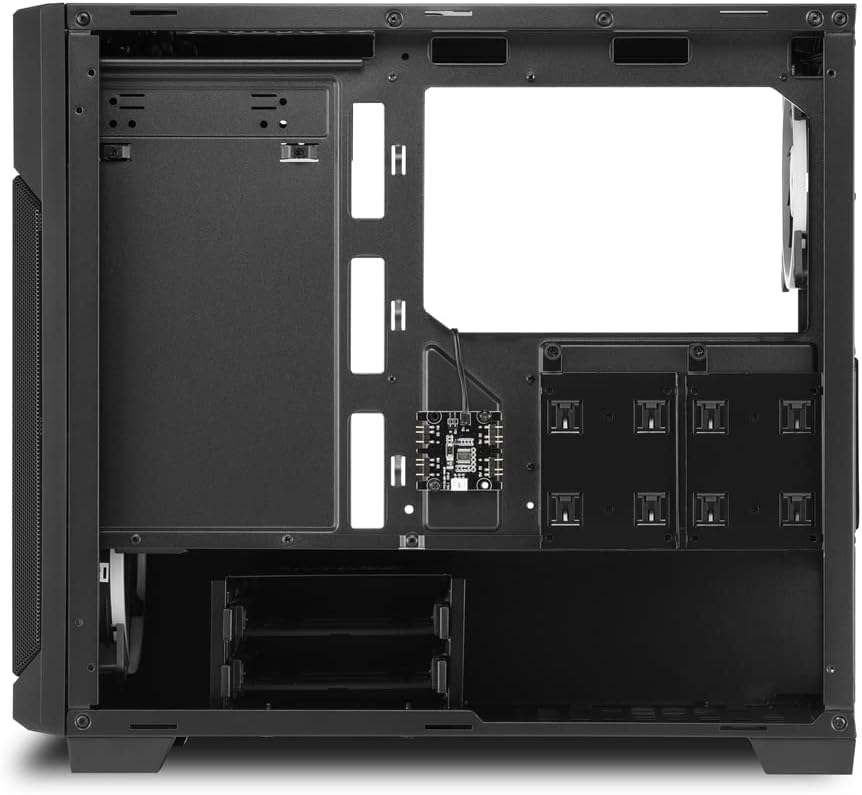
Figure 3.2: Rear interior view, illustrating cable routing options and drive bay locations.
4. Operating the PC Case
4.1. Powering On
After connecting all external peripherals and the power cable to your PSU, press the power button located on the top front panel of the case to turn on your system.
4.2. RGB Lighting Control
The pre-installed RGB fans are typically controlled via your motherboard's RGB software (if compatible) or a dedicated RGB controller if included with your specific model. Refer to your motherboard or controller manual for detailed instructions on changing lighting modes and colors.
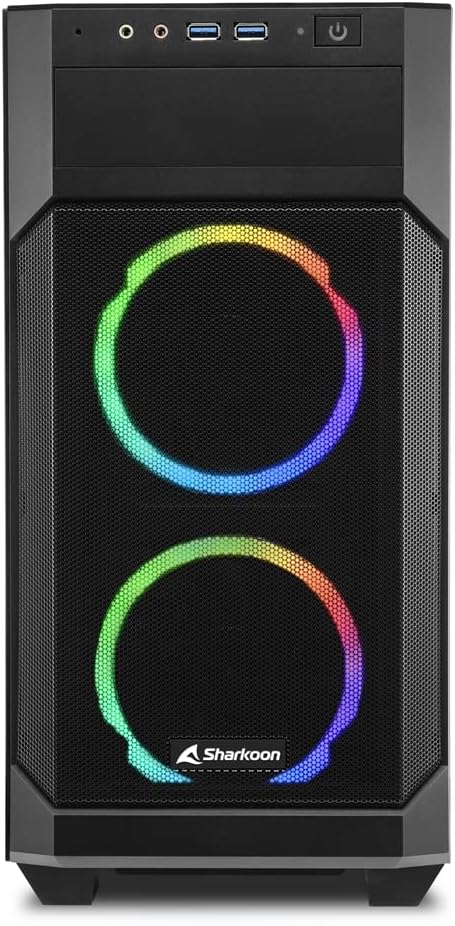
Figure 4.1: Front view of the V1000 RGB, showcasing the vibrant RGB fan illumination.
5. Maintenance
5.1. Dust Filter Cleaning
The Sharkoon V1000 RGB features magnetic dust filters on the top and front panels to prevent dust accumulation inside the case. Regularly clean these filters to maintain optimal airflow and cooling performance.
- Top Filter: Gently lift the magnetic filter from the top panel.
- Front Filter: The front mesh panel can be partially opened or removed for access to the front fans and filter.
- Use a soft brush or compressed air to remove dust from the filters. Rinse with water if necessary, and ensure they are completely dry before reattaching.

Figure 5.1: Magnetic dust filter on the top panel, easily removable for cleaning.

Figure 5.2: The front panel can be opened for easy access to the front fans and dust filter.
5.2. General Cleaning
Wipe the exterior of the case with a soft, damp cloth. Avoid abrasive cleaners or solvents that may damage the finish or tempered glass.
6. Troubleshooting
| Problem | Possible Cause | Solution |
|---|---|---|
| PC does not power on. | Loose power connections (PSU, motherboard, front panel). | Check all power cables are securely connected. Ensure front panel power switch cable is correctly attached to the motherboard. |
| RGB fans not lighting up. | RGB cables not connected or incorrect software settings. | Verify RGB cables are properly connected to the motherboard or controller. Check motherboard's RGB software settings. |
| Poor airflow/overheating. | Dusty filters or obstructed fan vents. | Clean dust filters. Ensure no cables or components are blocking fan airflow. |
| Front USB ports not working. | Front panel USB cable not connected to motherboard. | Ensure the USB 3.0 header cable from the front panel is securely connected to the motherboard's USB 3.0 header. |
7. Technical Specifications
- Model Name: Sharkoon V1000 RGB
- Model Number: 4044951035052
- Case Type: Mini-Tower
- Motherboard Compatibility: Micro ATX
- Material: Steel, Tempered Glass, Plastic
- Color: Multicolored (Black with RGB elements)
- Cooling Method: Air
- Pre-installed Fans: RGB fans (quantity not specified, but images show 3)
- Max. Graphics Card Length: 40 cm
- PSU Mounting: Rear Bottom
- Front I/O: 2 x USB 3.0, Audio In/Out, Power Button, Reset Button
- Special Features: RGB Lighting, Tempered Glass Side Panel, Removable Dust Filters
8. Warranty and Support
Sharkoon products are manufactured with high-quality standards. In the unlikely event of a defect, please contact your local retailer or Sharkoon customer support.
- Parts Availability: Spare parts are generally available for 2 years from the date of purchase.
- For technical assistance or warranty claims, please visit the official Sharkoon website or contact their support channels.


