1. Introduction and Overview
The Nostalgia My Keto Kitchen Personal Multi-Cooker is designed for preparing individual portions of various meals such as ramen noodles, pasta, soups, stir-fries, breakfast skillets, eggs, and hashbrowns. Its compact and lightweight design makes it suitable for small kitchens, apartments, dormitories, and recreational vehicles. This manual provides essential information for the safe and efficient operation, maintenance, and troubleshooting of your multi-cooker.
2. Important Safeguards
When using electrical appliances, basic safety precautions should always be followed to reduce the risk of fire, electric shock, and injury. Read all instructions before operating this appliance.
- Do not touch hot surfaces. Use handles or knobs.
- To protect against electrical shock, do not immerse cord, plugs, or any non-removable part of the unit in water or other liquids.
- Close supervision is necessary when any appliance is used by or near children.
- Unplug from outlet when not in use and before cleaning. Allow to cool before putting on or taking off parts, and before cleaning the appliance.
- Do not operate any appliance with a damaged cord or plug, or after the appliance malfunctions or has been damaged in any manner. Return the appliance to the nearest authorized service facility for examination, repair, or adjustment.
- The use of accessory attachments not recommended by the appliance manufacturer may cause injuries.
- Do not use outdoors.
- Do not let the cord hang over the edge of a table or counter, or touch hot surfaces.
- Do not place on or near a hot gas or electric burner, or in a heated oven.
- Extreme caution must be used when moving an appliance containing hot oil or other hot liquids.
- Do not use the appliance for other than intended use.
- This appliance is NOT dishwasher safe.
3. Parts and Assembly
Familiarize yourself with the components of your Nostalgia My Keto Kitchen Personal Multi-Cooker:
- Main Heating Base
- Removable Nonstick Cooking Pot with Handle
- Glass Lid with Knob
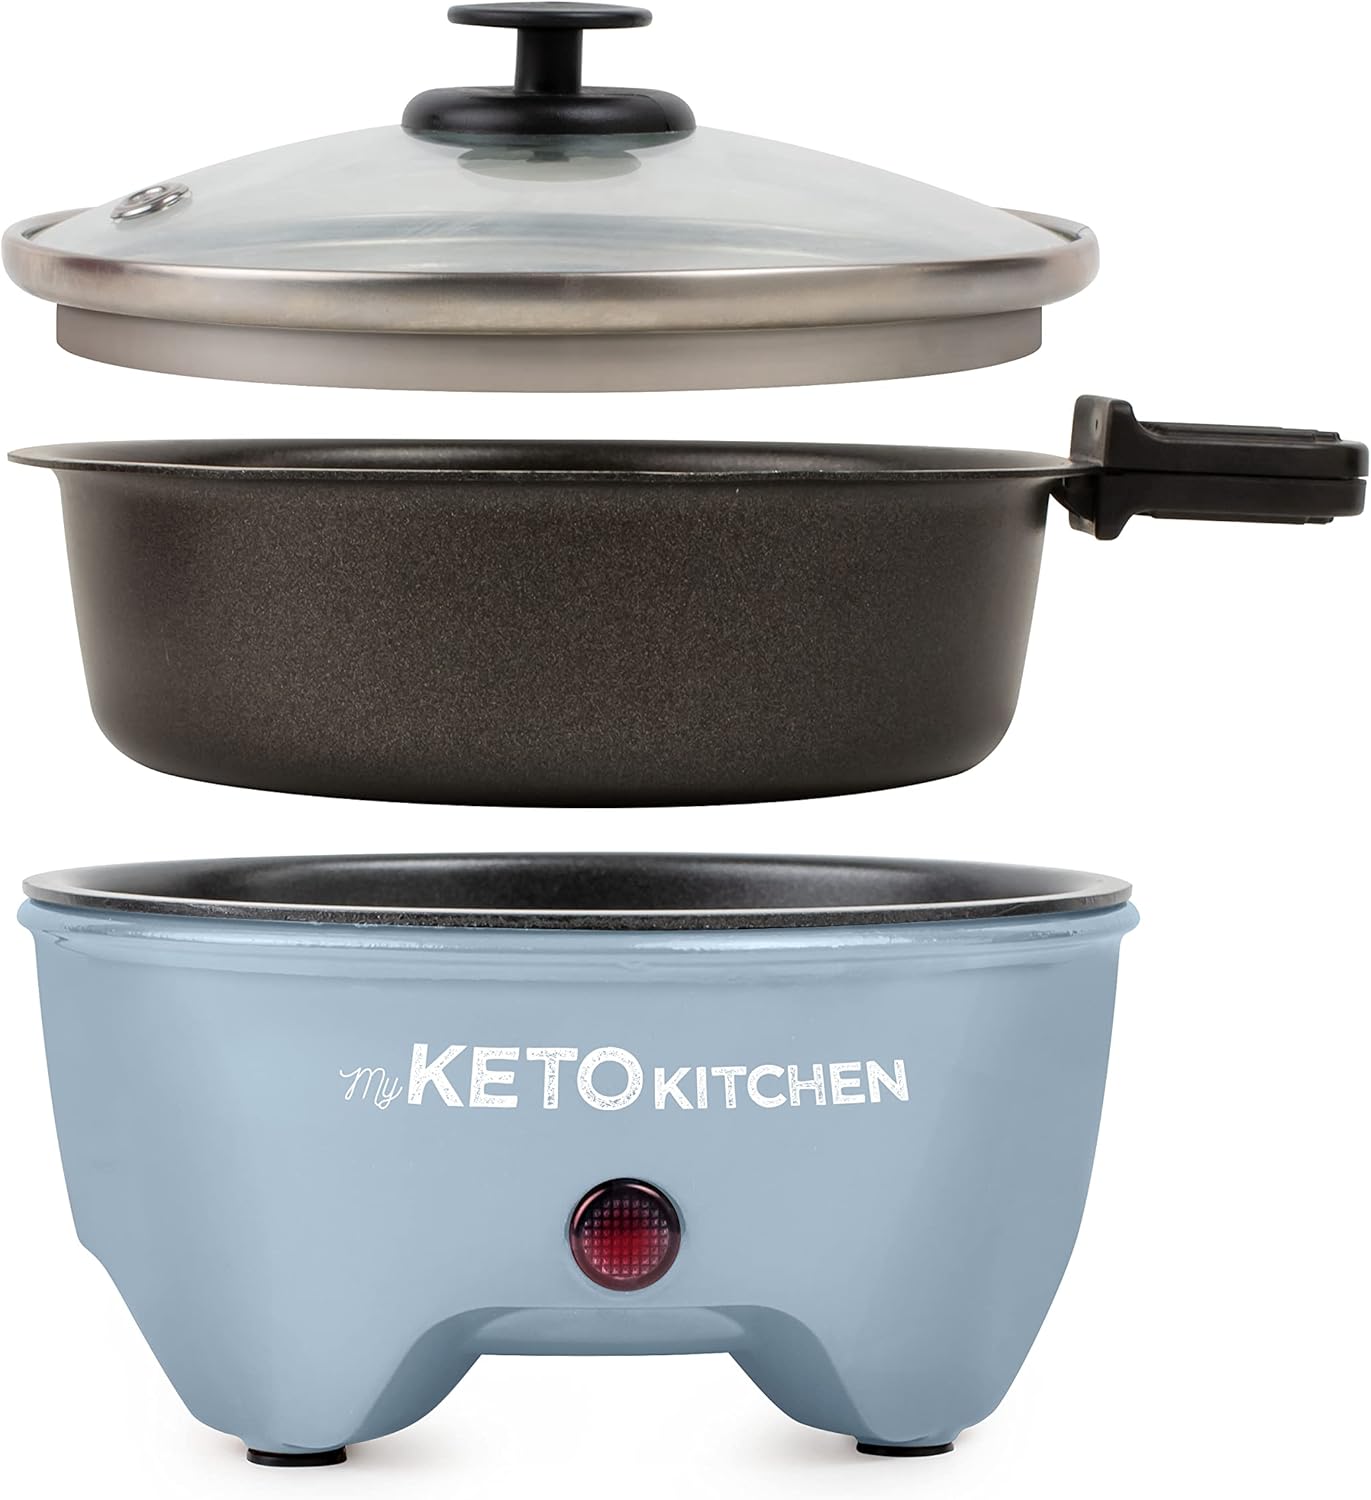
This image displays the disassembled components of the multi-cooker, including the glass lid, the removable nonstick cooking pot with its handle, and the main heating base. This illustrates how the unit is put together for use.
To assemble, simply place the removable nonstick cooking pot onto the main heating base. Then, place the glass lid on top of the cooking pot when required for cooking.
4. Setup
Before First Use
- Carefully unpack the multi-cooker and remove all packaging materials.
- Wipe down the exterior of the main heating base with a damp cloth.
- Wash the removable nonstick cooking pot and glass lid in warm, soapy water. Rinse thoroughly and dry completely.
- Ensure all parts are dry before plugging in the unit.
Placement
Place the multi-cooker on a stable, heat-resistant surface, away from water sources and flammable materials. Ensure there is adequate ventilation around the unit.
5. Operating Instructions
Operating your Personal Multi-Cooker is straightforward:
- Ensure the removable nonstick cooking pot is properly seated on the main heating base.
- Plug the power cord into a standard electrical outlet. The indicator light will illuminate, signaling that the unit is heating.
- Allow the unit to preheat for approximately 1-3 minutes. The indicator light will turn off when the desired temperature is reached.
- Carefully add your ingredients to the nonstick cooking pot. Use the cool-touch handle on the pot for safe handling.
- Place the glass lid on the pot if your recipe requires it for steaming or faster cooking.
- Monitor your food as it cooks. The nonstick surface facilitates easy cooking and cleanup.
- Once cooking is complete, unplug the unit from the outlet.
- Allow the unit to cool completely before cleaning.
Cooking Examples

This image shows the multi-cooker in use, preparing a stir-fry dish. The compact size is ideal for single servings.
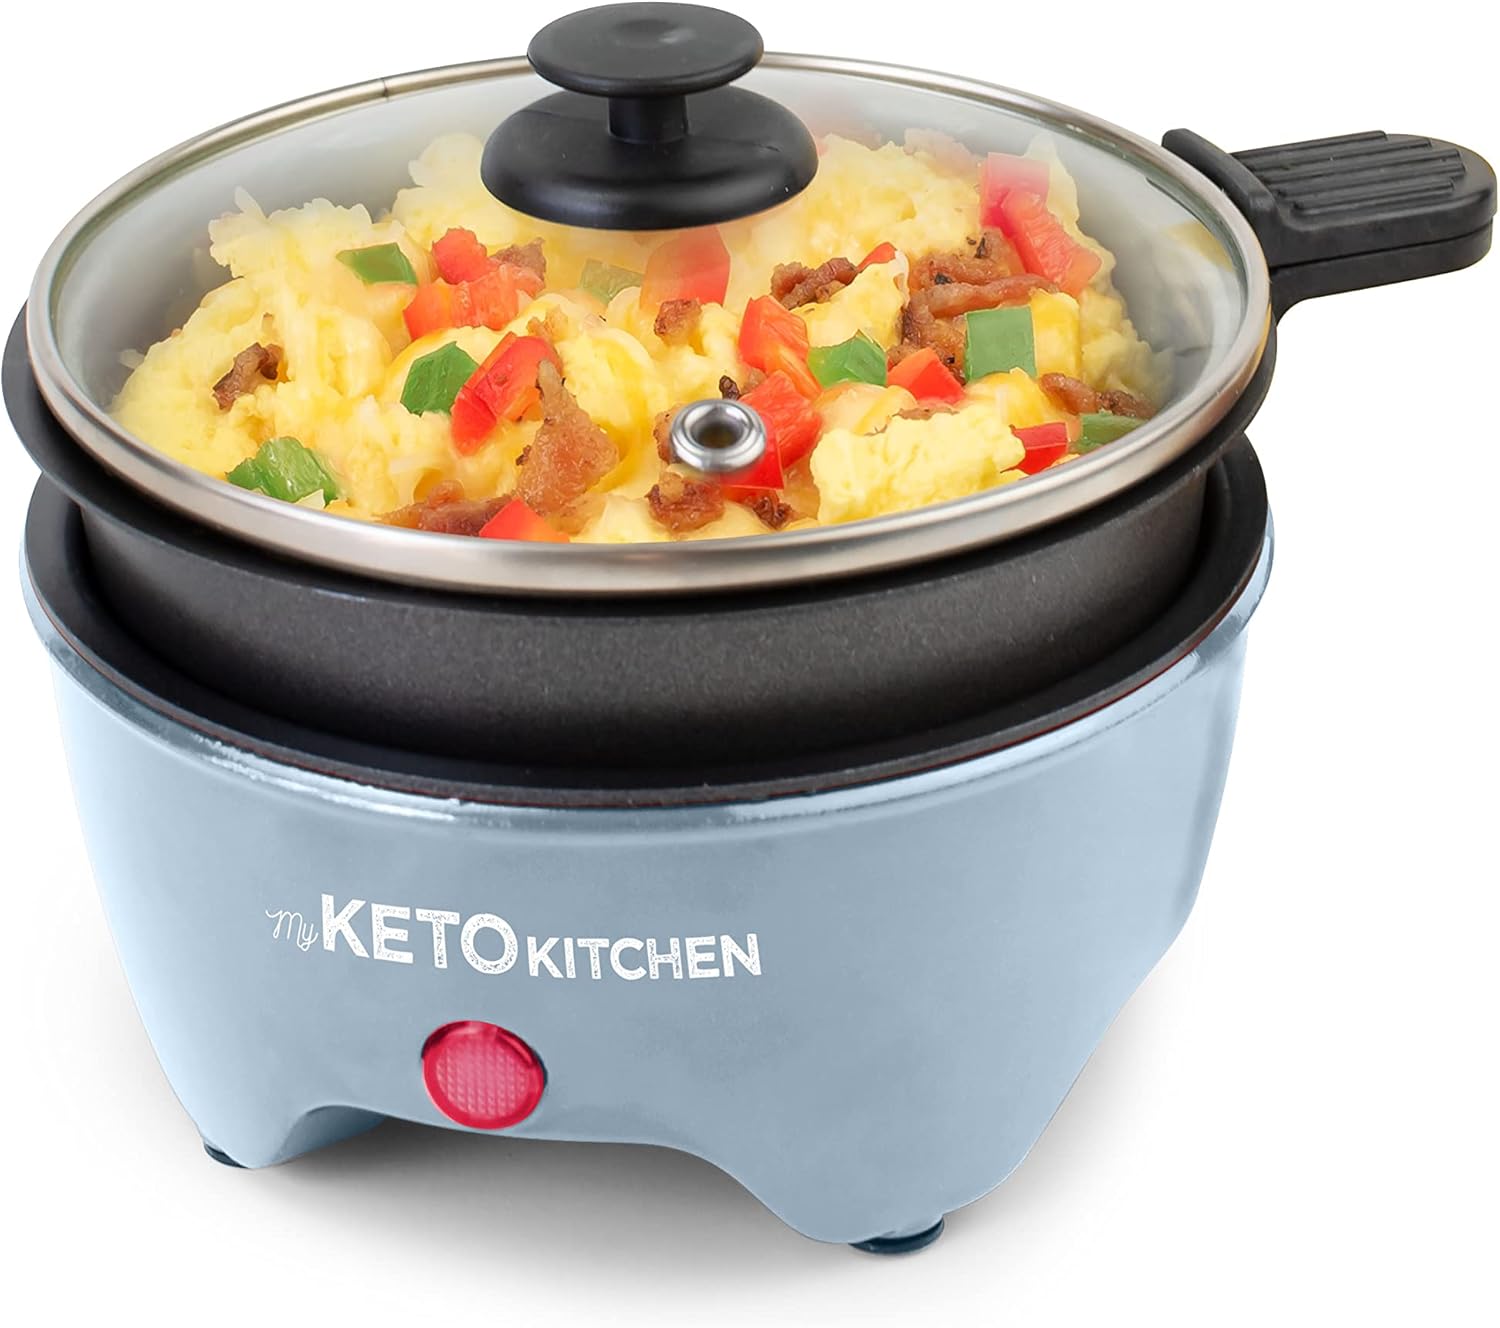
Here, the multi-cooker is shown cooking scrambled eggs with various toppings, demonstrating its versatility for breakfast items.
6. Cleaning and Maintenance
Proper cleaning ensures the longevity and performance of your multi-cooker.
- Always unplug the appliance and allow it to cool completely before cleaning.
- The removable nonstick cooking pot and glass lid can be washed in warm, soapy water. Use a soft sponge or cloth to avoid scratching the nonstick surface. Rinse thoroughly and dry completely.
- Wipe the exterior of the main heating base with a damp cloth. Do not immerse the main heating base in water or any other liquid.
- Do not use abrasive cleaners or scouring pads on any part of the multi-cooker, as this can damage the finish and nonstick coating.
- This appliance is NOT dishwasher safe.
- Store the multi-cooker in a clean, dry place when not in use.
7. Troubleshooting
If your multi-cooker experiences issues, refer to the following common troubleshooting steps:
| Problem | Possible Cause | Solution |
|---|---|---|
| Unit does not turn on. | Not plugged in; power outlet malfunction. | Ensure the unit is securely plugged into a working electrical outlet. Test the outlet with another appliance. |
| Food is sticking to the pot. | Insufficient oil/liquid; cooking at too high a temperature for too long. | Ensure a small amount of cooking oil or liquid is used. Adjust cooking times and monitor food closely. |
| Indicator light not working. | Unit has reached temperature; bulb malfunction. | The light turns off when preheated. If the unit is not heating and the light is off, contact customer support. |
If the problem persists after attempting these solutions, please contact customer support.
8. Specifications
Detailed specifications for the Nostalgia My Keto Kitchen Personal Multi-Cooker:
| Feature | Detail |
|---|---|
| Brand | Nostalgia |
| Model Number | My Keto |
| Color | Kiln |
| Material | Metal |
| Capacity | 5 Liters / 5.3 Quarts |
| Wattage | 1200 watts |
| Voltage | 220 Volts |
| Item Weight | 1.7 Pounds (1.68 pounds) |
| Dishwasher Safe | No |
| Control Method | Touch / Hand Control |
| Number of Settings | 3 |
| UPC | 810061704621 |
| Package Dimensions | 6.11 x 6.07 x 3.89 inches |
| Date First Available | February 18, 2022 |
9. Warranty and Support
For warranty information or technical support, please refer to the documentation included with your purchase or visit the official Nostalgia website. Do not attempt to repair the appliance yourself.


