1. Introduction
Thank you for choosing the PARKSIDE PERFORMANCE PDSSAP 20-Li B2 Cordless Impact Driver. This manual provides essential information for the safe and efficient operation, maintenance, and care of your new tool. Please read these instructions carefully before first use and keep them for future reference.
1.1 Intended Use
The PARKSIDE PERFORMANCE PDSSAP 20-Li B2 is designed for driving and loosening screws and bolts. It is suitable for use with various materials, including wood, metal, and plastic, depending on the fastener type. This tool is intended for domestic and light commercial use. Any other use not explicitly approved in this manual may lead to damage to the tool or personal injury.
2. Safety Instructions
Always observe basic safety precautions when using power tools to reduce the risk of fire, electric shock, and personal injury. Keep this manual accessible for all users.
- Work Area Safety: Keep the work area clean and well-lit. Cluttered or dark areas invite accidents. Do not operate power tools in explosive atmospheres, such as in the presence of flammable liquids, gases, or dust.
- Electrical Safety: Avoid body contact with earthed or grounded surfaces such as pipes, radiators, ranges, and refrigerators. There is an increased risk of electric shock if your body is earthed or grounded.
- Personal Safety: Always wear eye protection. Use hearing protection when operating the tool for extended periods. Wear appropriate clothing; avoid loose clothing or jewelry. Secure long hair.
- Tool Use and Care: Do not force the power tool. Use the correct power tool for your application. Disconnect the battery pack from the power tool before making any adjustments, changing accessories, or storing power tools.
- Battery Tool Use and Care: Recharge only with the charger specified by the manufacturer. Use power tools only with specifically designated battery packs.
3. Package Contents
Carefully unpack the tool and check for completeness. The standard package includes:
- 1 x PARKSIDE PERFORMANCE PDSSAP 20-Li B2 Cordless Impact Driver
- 1 x Belt clip
- 1 x User Manual
Note: Battery and charger are not included and must be purchased separately. This tool is compatible with all batteries from the Parkside X 20 V Team series.
4. Product Features and Components
Familiarize yourself with the key components and features of your impact driver.
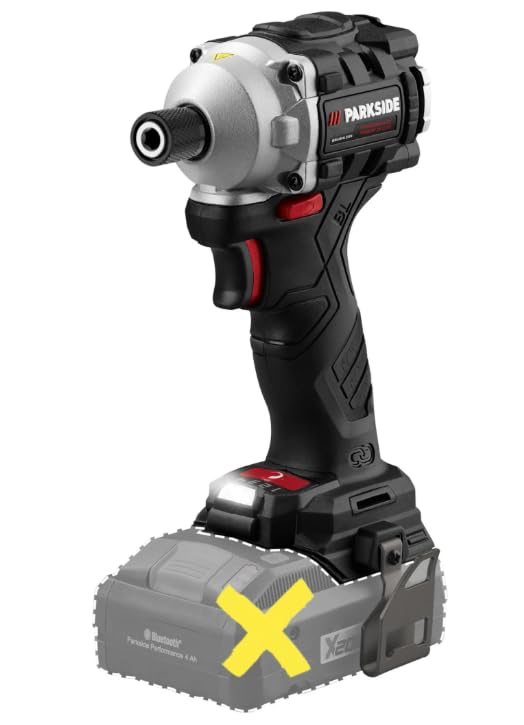
Figure 1: Front view of the impact driver with a faded battery outline, showing the main body and chuck.

Figure 2: Detailed front view of the impact driver, highlighting the chuck and LED light.
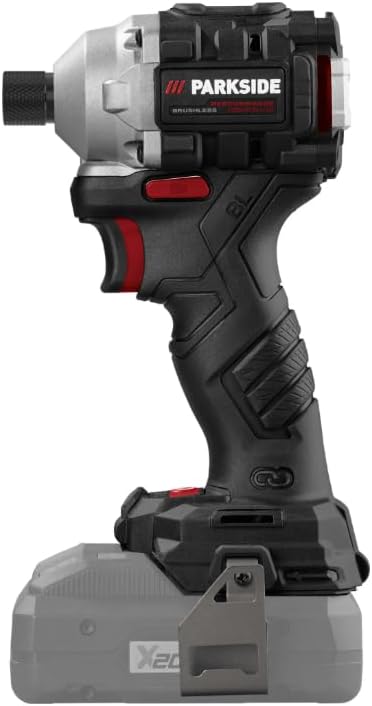
Figure 3: Side view of the impact driver, showing the ergonomic grip and battery slot.
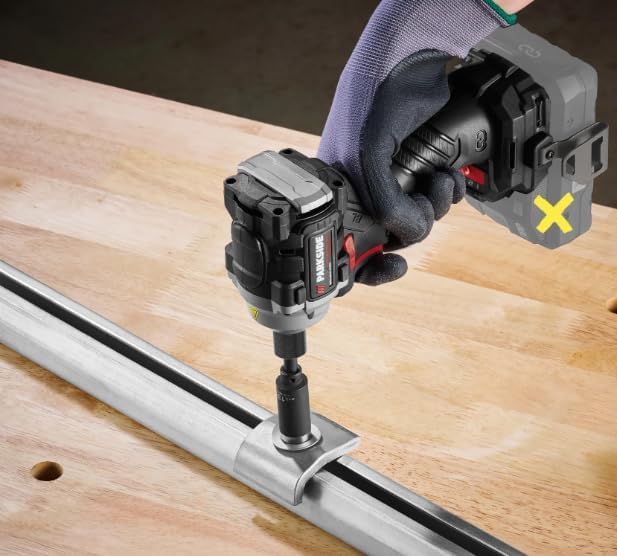
Figure 4: Back view of the impact driver, illustrating the motor housing and ventilation.

Figure 5: The impact driver being used to fasten a screw into a metal component, demonstrating its application.
4.1 Key Features
- Brushless Motor: Reduces wear and extends tool life.
- Adjustable Torque Settings: Four settings (120/150/190/226 Nm) for versatile applications.
- Infinitely Adjustable Speed: Allows precise control over impact frequency and rotation speed.
- Integrated LED Work Light: Illuminates the work area for improved visibility.
- Ergonomic Design: Features a non-slip soft grip for comfortable and secure handling.
- Compatibility: Works with all Parkside X 20 V Team series batteries.
5. Setup
5.1 Battery Installation and Removal
- Installation: Align the battery pack with the guide rails in the tool's handle. Slide the battery pack into the handle until it clicks into place. Ensure it is securely latched.
- Removal: Press the battery release button (usually located on the battery pack itself) and slide the battery pack out of the tool's handle.
Always ensure the battery is fully charged before use. Refer to your battery charger's manual for charging instructions.
5.2 Bit Installation and Removal
- Installation: Pull the quick-release chuck collar forward. Insert the desired 1/4" hex shank bit into the chuck. Release the collar to lock the bit in place. Gently pull on the bit to ensure it is securely fastened.
- Removal: Pull the quick-release chuck collar forward and pull the bit out of the chuck. Release the collar.
6. Operating Instructions
6.1 Powering On/Off
- To Power On: Press the trigger switch. The LED work light will illuminate when the trigger is pressed.
- To Power Off: Release the trigger switch.
6.2 Adjusting Rotation Direction
The forward/reverse switch is located above the trigger. Push the switch to the left for forward rotation (tightening) and to the right for reverse rotation (loosening). Position the switch in the center to lock the trigger and prevent accidental starting.
6.3 Adjusting Torque Settings
The impact driver features four adjustable torque settings: 120 Nm, 150 Nm, 190 Nm, and 226 Nm. These settings allow you to match the torque to the specific application and material. Consult the tool's interface for selecting the desired torque level. Start with a lower torque setting and increase as needed to prevent overtightening or damaging fasteners.
6.4 Speed Control
The tool features an infinitely adjustable speed control via the trigger switch. Pressing the trigger further increases the rotation speed and impact frequency. This allows for precise control during operation.
7. Maintenance and Care
Regular maintenance ensures the longevity and optimal performance of your impact driver.
- Cleaning: Keep the ventilation slots clean to prevent overheating. Use a soft, damp cloth to clean the tool's exterior. Do not use harsh chemicals or abrasive cleaners.
- Storage: Store the tool in a dry, secure place, out of reach of children. Remove the battery pack before storing for extended periods.
- Inspection: Regularly inspect the tool for any signs of damage, loose screws, or worn parts. Do not use a damaged tool.
8. Troubleshooting
| Problem | Possible Cause | Solution |
|---|---|---|
| Tool does not start | Battery not inserted correctly or discharged. | Ensure battery is fully inserted. Charge the battery. |
| Reduced power/performance | Battery low or incorrect torque setting. | Recharge battery. Select a higher torque setting. |
| Bit not holding securely | Chuck collar not fully released or damaged chuck. | Ensure collar is fully released after inserting bit. If problem persists, contact customer support. |
| Tool overheats | Ventilation slots blocked or continuous heavy use. | Clean ventilation slots. Allow tool to cool down during prolonged use. |
9. Technical Specifications
| Specification | Value |
|---|---|
| Model | PDSSAP 20-Li B2 |
| Manufacturer ID | IAN-100382607-3 |
| Voltage | 20 V |
| Max Torque | 226 Nm |
| Torque Settings | 120 / 150 / 190 / 226 Nm |
| Impact Frequency (No-load) | 0 - 4300 cpm |
| No-load Speed | 0 - 3600 rpm |
| Screwing Capacity (Machine Screws) | Up to M16 |
| Tool Holder | 1/4" Hex |
| Motor Type | Brushless |
| Product Dimensions (L x W x H) | 22.8 x 10.5 x 12 cm |
| Weight (without battery) | 1 kg |
| Power Source | Cordless (Battery-operated) |
| Material | Metal |
10. Warranty and Support
This product is covered by a manufacturer's warranty. Please refer to the warranty card included with your purchase or visit the official Parkside website for detailed warranty terms and conditions.
For technical support, spare parts, or service inquiries, please contact Parkside customer service through their official channels. Ensure you have your model number (PDSSAP 20-Li B2) and manufacturer ID (IAN-100382607-3) available when contacting support.


