
1. Introduction
This manual provides detailed instructions for the proper installation, operation, and maintenance of your GoolRC FS-R7P Flysky 7-channel 2.4Ghz RC Receiver. Please read this manual thoroughly before using the product to ensure safe and efficient operation.

Image 1: The GoolRC FS-R7P Flysky Receiver, a compact 7-channel unit with an external antenna.
2. Key Features
- 7-Channel Receiver: Provides seven channels for comprehensive control of RC models.
- ANT Protocol: Utilizes the ANT communication protocol for reliable signal transmission.
- Compact Design: Small form factor (35mm x 13.3mm x 23.3mm) for easy integration into various models.
- External Single Antenna: Enhances signal reception and range.
- Versatile Compatibility: Suitable for a wide range of RC cars, boats, planes, and other models, compatible with Flysky FS-G7P and other ANT protocol transmitters.
- Multiple Signal Outputs: Supports PWM, PPM, i-BUS, and S.BUS signals.
- Channel Expansion: i-BUS mode allows for channel expansion, increasing versatility.
3. Components and Layout
Familiarize yourself with the receiver's components and port layout before installation.

Image 2: Detailed diagram illustrating the port layout and components of the FS-R7P receiver.
- CH1/P (PWM/PPM) Port
- CH2-CH5 Ports
- BIND Interface
- BVD/VCC (Battery Voltage Detection/Power Supply Interface)
- CH7 Port
- SERVO Port (i-BUS/S.BUS)
- LED Indicator
- Antenna
- BIND Button
- SENS Interface
- CH6 Port
- Signal Pin
- + (Power Anode)
- - (Power Cathode)
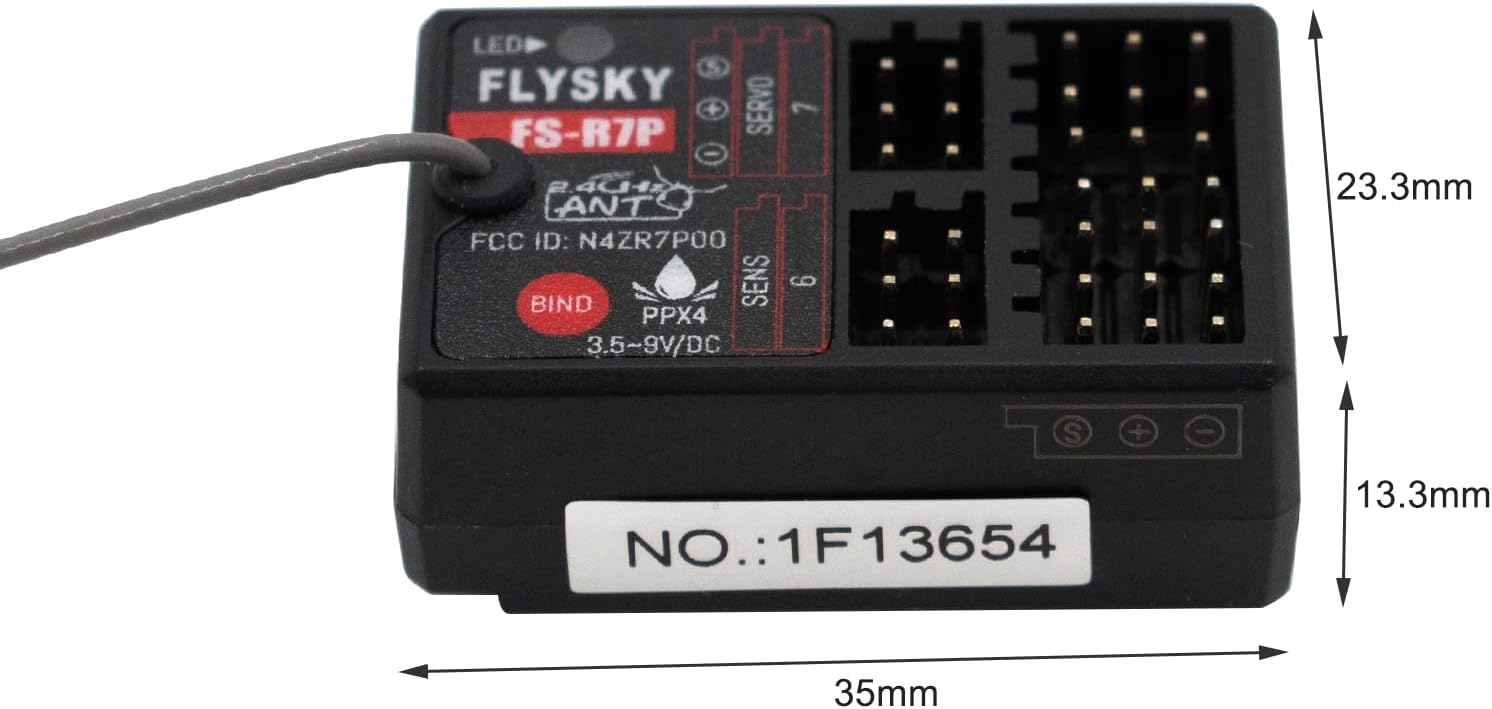
Image 3: Physical dimensions of the FS-R7P receiver, showing its compact size.
4. Setup and Binding
4.1. Installation
Mount the receiver securely in your RC model, ensuring the antenna is positioned away from metal parts and other electronic components for optimal signal reception. The compact size allows for flexible placement.
4.2. Connecting Servos and Power
Connect your servos and other components to the appropriate channels (CH1-CH7) on the receiver. Ensure correct polarity when connecting power to the BVD/VCC interface (3.5-9V DC).

Image 4: Top view of the FS-R7P receiver, showing the servo and power connection ports.
4.3. Binding Procedure
To establish communication between the receiver and your Flysky FS-G7P transmitter (or compatible transmitter), follow these steps:
- Ensure your transmitter is powered off.
- Connect the binding plug (often included with the receiver or transmitter) to the BIND interface on the FS-R7P receiver.
- Apply power to the receiver (e.g., from the ESC or a separate battery). The LED on the receiver should flash rapidly, indicating it is in binding mode.
- While holding the BIND button on your transmitter (refer to your transmitter's manual for exact location), power on the transmitter.
- The LED on the receiver should stop flashing and remain solid, indicating successful binding.
- Release the BIND button on the transmitter, then power off both the receiver and the transmitter.
- Remove the binding plug from the receiver.
- Power on the transmitter first, then the receiver. The receiver LED should be solid, confirming a successful connection.
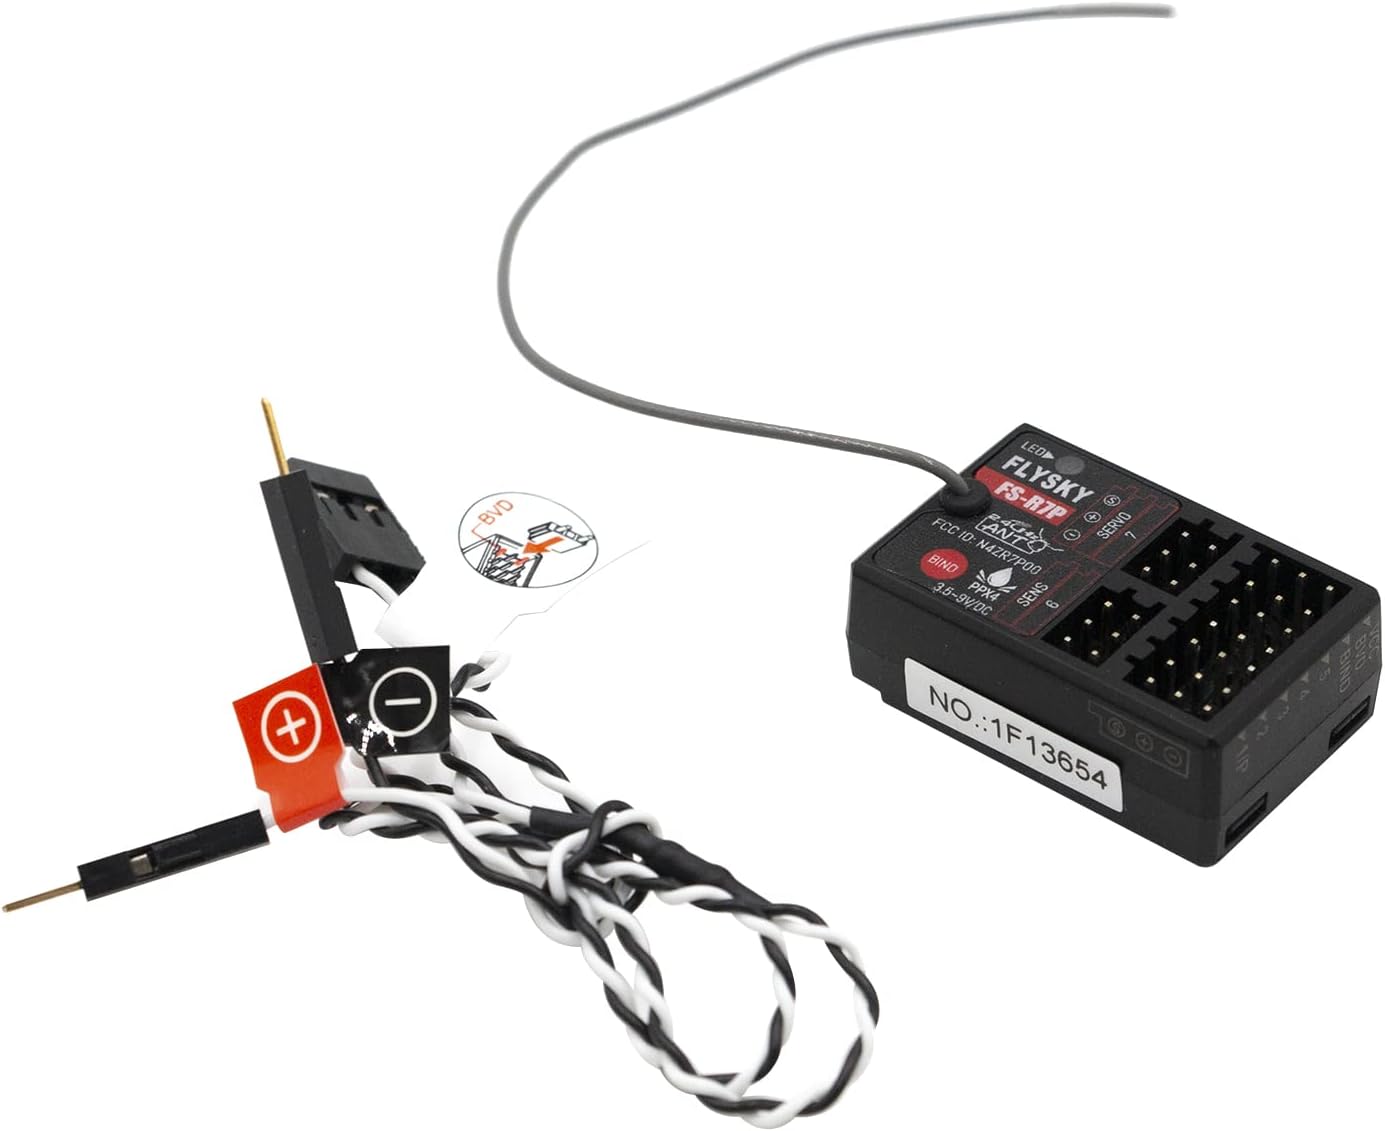
Image 5: The FS-R7P receiver shown with a binding plug inserted into the BIND port.
Note: Always power on your transmitter before the receiver and power off the receiver before the transmitter to prevent unintended model movement.
5. Operation
5.1. Signal Output Modes
The FS-R7P receiver supports various signal output modes:
- PWM (Pulse Width Modulation): Standard servo control signals, available on CH1-CH7.
- PPM (Pulse Position Modulation): A single wire carries all channel data, available from CH1.
- i-BUS/S.BUS: Digital serial communication protocols for advanced setups, supporting channel expansion. Connect to the SERVO interface.
Refer to your flight controller or ESC manual for compatible signal input types and configure your transmitter accordingly.
5.2. Failsafe Function
The failsafe function is crucial for safety. In case of signal loss, the receiver will move all channels to a pre-set position (e.g., throttle to zero, steering to neutral). Consult your transmitter's manual for instructions on setting failsafe positions.
6. Maintenance
- Keep Clean: Regularly clean the receiver with a soft, dry cloth. Avoid using solvents or harsh chemicals.
- Protect from Moisture: The receiver has an IPX4 rating, meaning it is resistant to splashing water. However, avoid submerging it or exposing it to heavy rain.
- Antenna Care: Ensure the antenna is not cut, bent sharply, or damaged. A damaged antenna can significantly reduce range and signal quality.
- Secure Connections: Periodically check all connections to ensure they are secure and free from corrosion.
- Storage: Store the receiver in a dry, cool place away from direct sunlight and extreme temperatures when not in use.
7. Troubleshooting
| Problem | Possible Cause | Solution |
|---|---|---|
| Receiver LED not lighting up. | No power or incorrect power connection. | Check power source and ensure correct polarity (3.5-9V DC). |
| Receiver LED flashing rapidly. | Receiver is in binding mode or not bound. | Perform the binding procedure as described in Section 4.3. |
| No control response after binding. |
|
|
| Reduced range or intermittent signal. |
|
|
8. Specifications
| Feature | Detail |
|---|---|
| Model | FS-R7P |
| Channels | 7 |
| Protocol | ANT |
| Frequency | 2.4GHz |
| Input Voltage | 3.5-9V DC |
| Antenna Type | Single External Antenna |
| Signal Output | PWM, PPM, i-BUS, S.BUS |
| Dimensions (L x W x H) | 35mm x 13.3mm x 23.3mm (1.38 x 0.52 x 0.92 inches) |
| Weight | 0.634 ounces (approx. 18g) |
| Water Resistance | IPX4 (Splash-proof) |
| Recommended Age | 14 years and up |
| Manufacturer | GoolRC |
| ASIN | B09SLMYFX1 |
| Item Model Number | NEU9615145849491SN |
9. Warranty and Support
GoolRC products are manufactured to high quality standards. For warranty information, please refer to the terms and conditions provided at the point of purchase or contact GoolRC customer support directly. If you encounter any issues or require technical assistance, please reach out to GoolRC customer service for prompt resolution.
Contact information for support can typically be found on the manufacturer's official website or through your retailer.