1. Introduction
This manual provides essential information for the safe and efficient operation of your new Faber 60L 2200W Oven Toaster Grill (OTG), model FOTG 60L. Please read these instructions thoroughly before first use and retain them for future reference. This appliance is designed for baking, toasting, roasting, and grilling various food items.
2. Safety Instructions
General Safety
- Always place the OTG on a stable, heat-resistant surface, away from flammable materials.
- Ensure adequate ventilation around the appliance. Maintain a minimum clearance of 10 cm (4 inches) from walls and other objects.
- Do not touch hot surfaces. Use oven mitts or gloves when handling hot trays, racks, or food.
- Never immerse the appliance, cord, or plug in water or any other liquid.
- Close supervision is necessary when the appliance is used by or near children.
- Do not operate the appliance with a damaged cord or plug, or after the appliance malfunctions or has been damaged in any manner.
- Unplug the OTG from the outlet when not in use and before cleaning. Allow it to cool completely before adding or removing parts.
- Do not use accessories not recommended by the manufacturer, as this may cause hazards or injury.
- Do not place any objects on top of the OTG during operation.
Electrical Safety
- Connect the appliance only to a grounded power outlet with the correct voltage (220-240V AC, 50Hz).
- Do not let the power cord hang over the edge of a table or counter, or touch hot surfaces.
- Avoid using extension cords unless absolutely necessary and ensure they are rated for the appliance's wattage (2200W).
- Always pull the plug directly from the outlet; never pull by the cord.
3. Product Overview
The Faber FOTG 60L is a versatile Oven Toaster Grill designed for various cooking needs. It features multiple heating functions, convection, and rotisserie capabilities.
Components and Controls

Figure 1: Front view of the Faber 60L OTG, showing the main body, glass door, and control panel on the right.

Figure 2: Close-up of the control panel, featuring knobs for Function, Temperature, Selector, and Timer.
- Function Knob: Selects cooking modes such as Convection, Heating, and Fan.
- Temperature Knob: Adjusts the cooking temperature from 100°C to 250°C.
- Selector Knob: Chooses heating elements: Off, Upper Heating, Lower Heating, or Upper & Lower Heating.
- Timer Knob: Sets the cooking duration from 0 to 60 minutes. Includes an auto shut-off and ready bell feature.
- Chamber Light: Provides visibility inside the oven during cooking.

Figure 3: Interior view highlighting the chamber light for easy monitoring of food.
Included Accessories
Your Faber OTG comes with the following accessories:
- Enameled Bake Tray
- Removable Crumb Tray
- Stainless Steel Wire Tray (Oven Rack)
- Rotisserie Kit (Rotisserie Rod and Rotisserie Handle)
- Stainless Steel Tongs (Tray Handle)

Figure 4: All included accessories: Bake Pan, Oven Rack, Rotisserie Handle, Tray Handle, and Rotisserie Rod.
4. Setup
Unpacking
- Carefully remove the OTG and all accessories from the packaging.
- Remove any protective films, stickers, or packaging materials from the appliance.
- Inspect the appliance for any damage. Do not operate if damaged.
Placement
- Place the OTG on a flat, stable, and heat-resistant surface.
- Ensure there is at least 10 cm (4 inches) of clear space on all sides (back, top, and sides) for proper ventilation.
- Do not place the appliance near water sources, heat sources, or flammable materials.
Initial Cleaning and First Use
- Before first use, wipe the interior and exterior of the OTG with a damp cloth. Wash all accessories (bake tray, wire rack, rotisserie kit, tongs) with warm soapy water, rinse thoroughly, and dry completely.
- To eliminate any manufacturing odors, operate the empty OTG for approximately 15 minutes at 200°C (400°F) using the 'Upper & Lower Heating' setting. Ensure the area is well-ventilated during this process. A small amount of smoke or odor is normal during initial use.
- Allow the appliance to cool down completely before its first cooking use.
5. Operating Instructions
Your Faber OTG offers multiple cooking functions. Familiarize yourself with the control knobs before operation.

Figure 5: Visual representation of multi-cooking functions: Baking, Toasting, Grilling, and Reheating.
Setting Temperature and Time
- Place food on the appropriate accessory (bake tray, wire rack, or rotisserie rod) and insert it into the desired rack position inside the OTG.
- Close the glass door securely.
- Turn the Temperature Knob to select the desired cooking temperature (100°C to 250°C).
- Turn the Selector Knob to choose the heating element configuration:
- Upper Heating: Ideal for grilling and browning the top of food.
- Lower Heating: Suitable for baking bases or slow cooking.
- Upper & Lower Heating: Best for general baking, roasting, and even cooking.
- Turn the Function Knob to select additional features like Convection (fan) or specific heating modes.
- Turn the Timer Knob to set the desired cooking time (up to 60 minutes). The OTG will start heating. The indicator light will illuminate.
- Once the set time elapses, the OTG will automatically shut off, and a bell will ring.
Convection Function
The convection feature circulates hot air inside the oven, ensuring uniform cooking and faster results.
- To activate convection, select the appropriate setting on the Function Knob.
- Convection is ideal for baking cakes, cookies, and roasting meats, providing even browning.

Figure 6: Illustration of uniform cooking with convection, showing hot air circulation.
Rotisserie Function
The rotisserie function is perfect for roasting whole chickens or large cuts of meat, ensuring they are evenly cooked and browned on all sides.
- Skewer the meat onto the rotisserie rod, securing it with the forks.
- Insert the rotisserie rod into the designated slots inside the OTG.
- Select the rotisserie function using the Function Knob and choose the appropriate heating elements with the Selector Knob (usually upper heating for browning).
- Set the temperature and timer as required for your recipe.
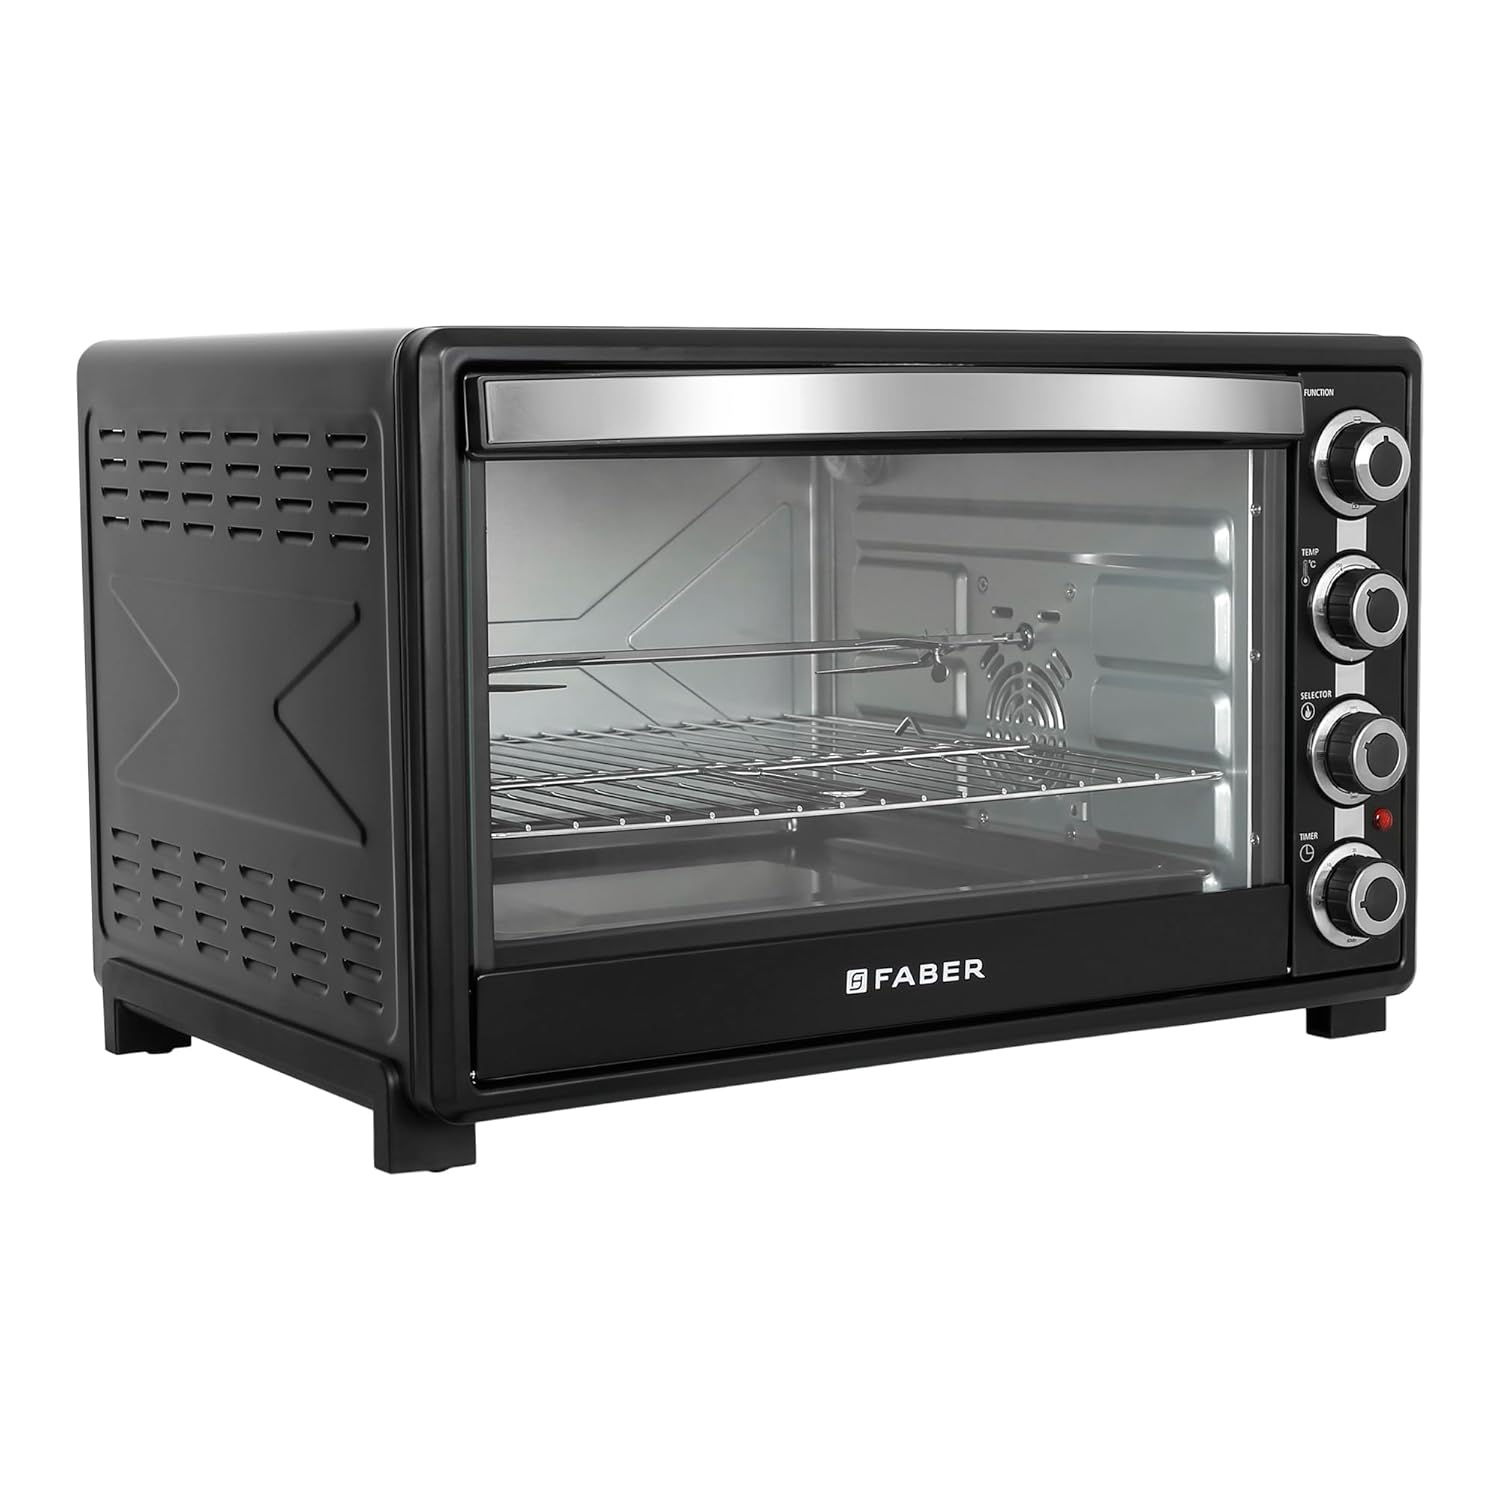
Figure 7: Interior view of the OTG showing the rotisserie rod in place.
6. Maintenance and Cleaning
Regular cleaning ensures optimal performance and extends the life of your OTG.

Figure 8: Visual guide for cleaning your OTG.
- Always unplug the OTG from the power outlet and allow it to cool down completely to ambient temperature before cleaning.
- Remove all accessories, including the bake tray, wire rack, crumb tray, and rotisserie kit.
- Wash removable items separately using dishwashing soap and warm water. For stubborn stains, soak them before cleaning. Accessories can also be cleaned in a dishwasher if suitable.
- Wipe the interior of the OTG with a damp cloth or sponge using a mild detergent. Avoid abrasive cleaners or metal scouring pads, as they can damage the surfaces.
- Clean the exterior of the OTG with a soft, damp cloth. Do not use harsh chemicals or abrasive materials.
- Ensure all parts are completely dry before reassembling and using the OTG again.
- The removable crumb tray should be cleaned regularly to prevent grease buildup and potential fire hazards.
7. Troubleshooting
If you encounter issues with your OTG, refer to the following common problems and solutions:
| Problem | Possible Cause | Solution |
|---|---|---|
| OTG does not turn on. | Not plugged in; power outage; faulty outlet; timer not set. | Ensure the power cord is securely plugged into a working outlet. Check your home's circuit breaker. Set the timer knob to the desired cooking duration. |
| Uneven cooking or browning. | Incorrect rack position; uneven food placement; heating element selection. | Adjust rack position for optimal heat distribution. Ensure food is spread evenly. Select 'Upper & Lower Heating' for general cooking or use convection. |
| Food not cooking thoroughly. | Temperature too low; cooking time too short; door not closed properly. | Increase temperature or cooking time. Ensure the door is fully closed to retain heat. |
| Excessive smoke during operation. | Food spills; grease buildup; initial burn-off. | Clean the interior and crumb tray thoroughly. A small amount of smoke is normal during the first few uses. |
| Rotisserie not rotating. | Rotisserie rod not properly installed; function knob not set to rotisserie. | Ensure the rotisserie rod is correctly seated in its drive and support slots. Select the rotisserie function on the function knob. |
If the problem persists after attempting these solutions, please contact Faber customer support.
8. Specifications
Key technical specifications for the Faber 60L 2200W OTG (Model FOTG 60L):
- Model Name: FOTG 60L
- Capacity: 60 Liters
- Power: 2200W
- Voltage: 220-240V AC, 50Hz
- Temperature Range: 100°C to 250°C
- Timer: 0-60 minutes with auto shut-off and ready bell
- Control Type: Knob Control
- Heating Functions: Upper, Lower, Upper & Lower Heating
- Special Features: Convection, Rotisserie, Cool Touch Handle, Indicator Light, Removable Crumb Tray
- Product Dimensions (D x W x H): 58.3 cm x 49.2 cm x 37.8 cm
- Item Weight: 11.9 kg
- Door Material: Tempered Glass
- Included Components: Enameled Bake Tray, Removable Crumb Tray, SS Wire Tray, Rotisserie Kit, SS Tongs
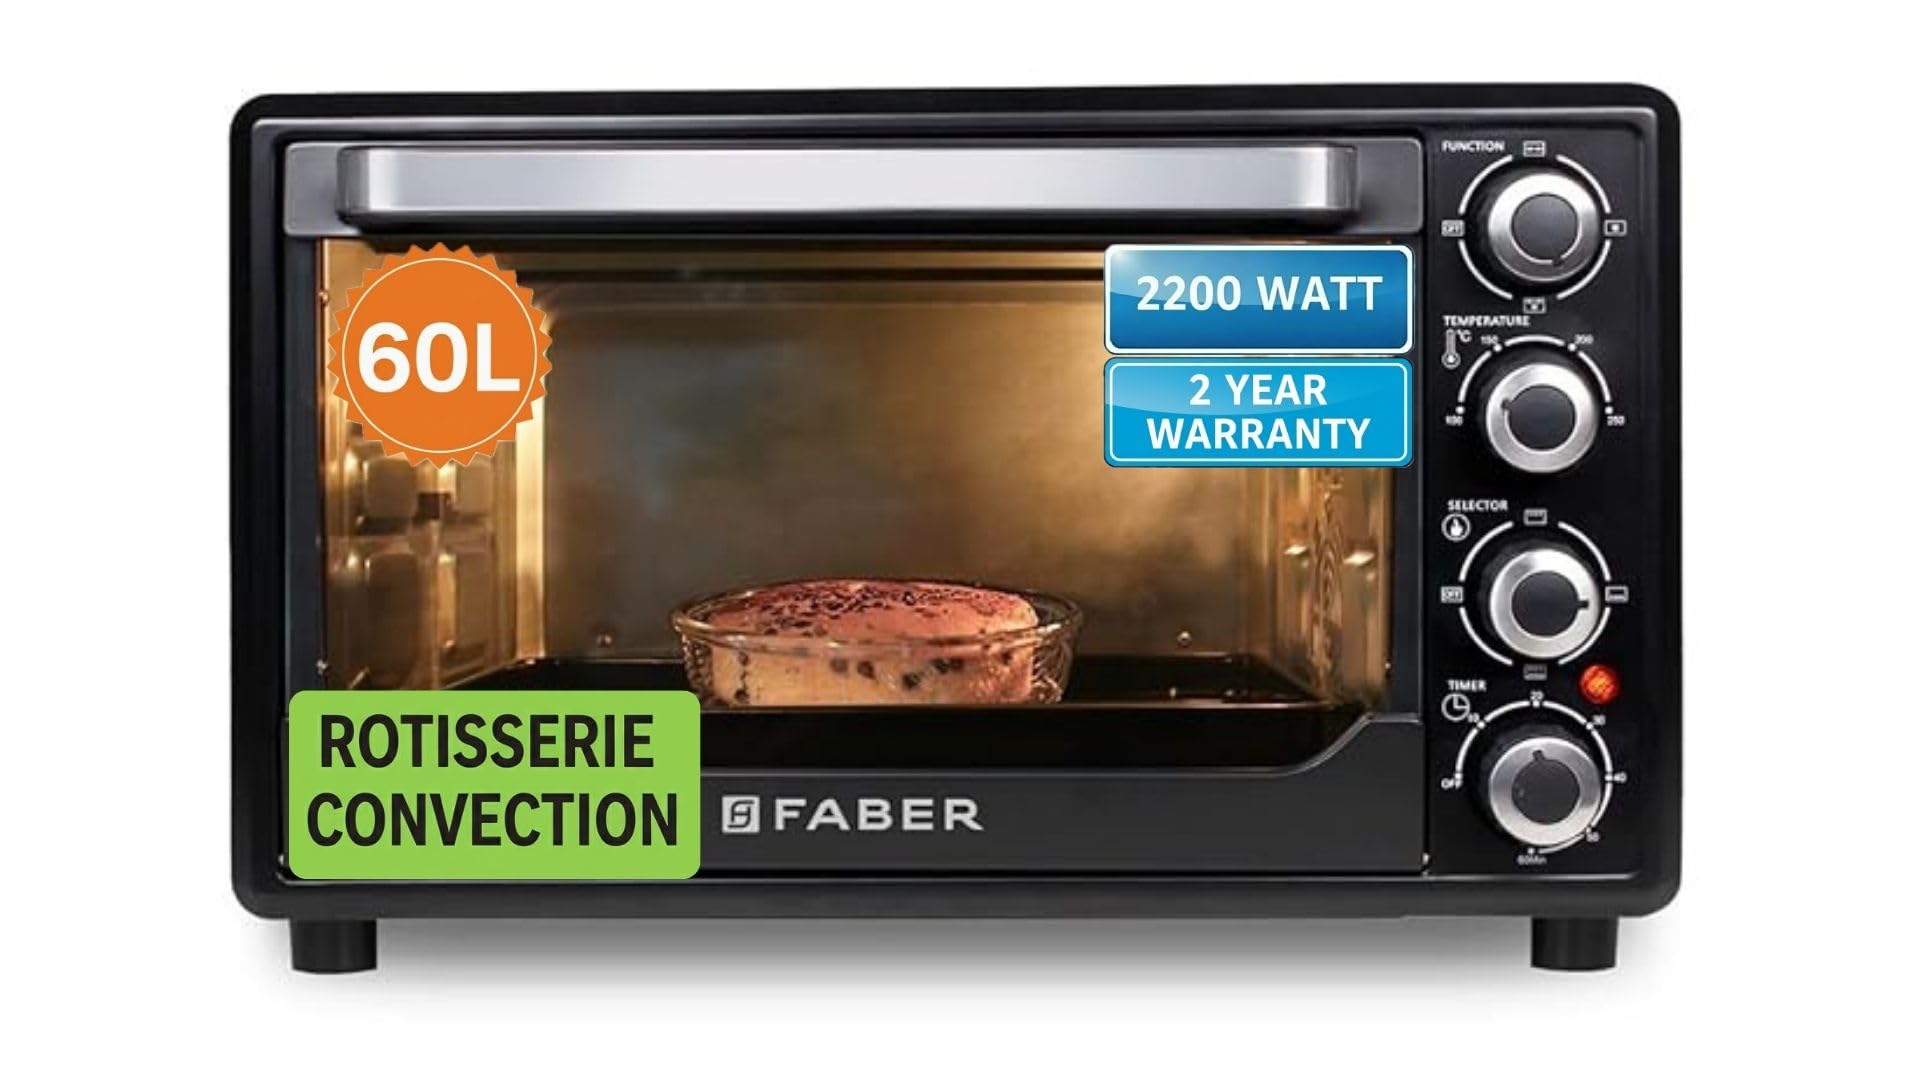
Figure 9: Product dimensions of the Faber 60L OTG.
9. Warranty and Support
Warranty Information
Your Faber 60L 2200W OTG comes with a 2-year warranty from the date of purchase. This warranty covers manufacturing defects under normal household use. Please retain your purchase receipt as proof of purchase for warranty claims.
The warranty does not cover:
- Damage caused by improper use, negligence, or accident.
- Normal wear and tear.
- Damage resulting from unauthorized repairs or modifications.
- Commercial use of the appliance.
Customer Support
For any service, repair, or warranty-related inquiries, please contact Faber customer support:
- Manufacturer: Franke Faber India Pvt Ltd
- Contact Number: 1800-209-3484
- Address: 1086/1/2, SANASWADI, TAL - SHIRUR, PUNE - 412208, MAHARASHTRA, INDIA


