
1. Introduction
This manual provides essential information for the proper installation, configuration, and operation of your Hikvision Turbo HD DVR 8-Channel, model DS-7108HGHI-K1(S). Please read this manual thoroughly before using the device to ensure safe and efficient operation. Keep this manual for future reference.
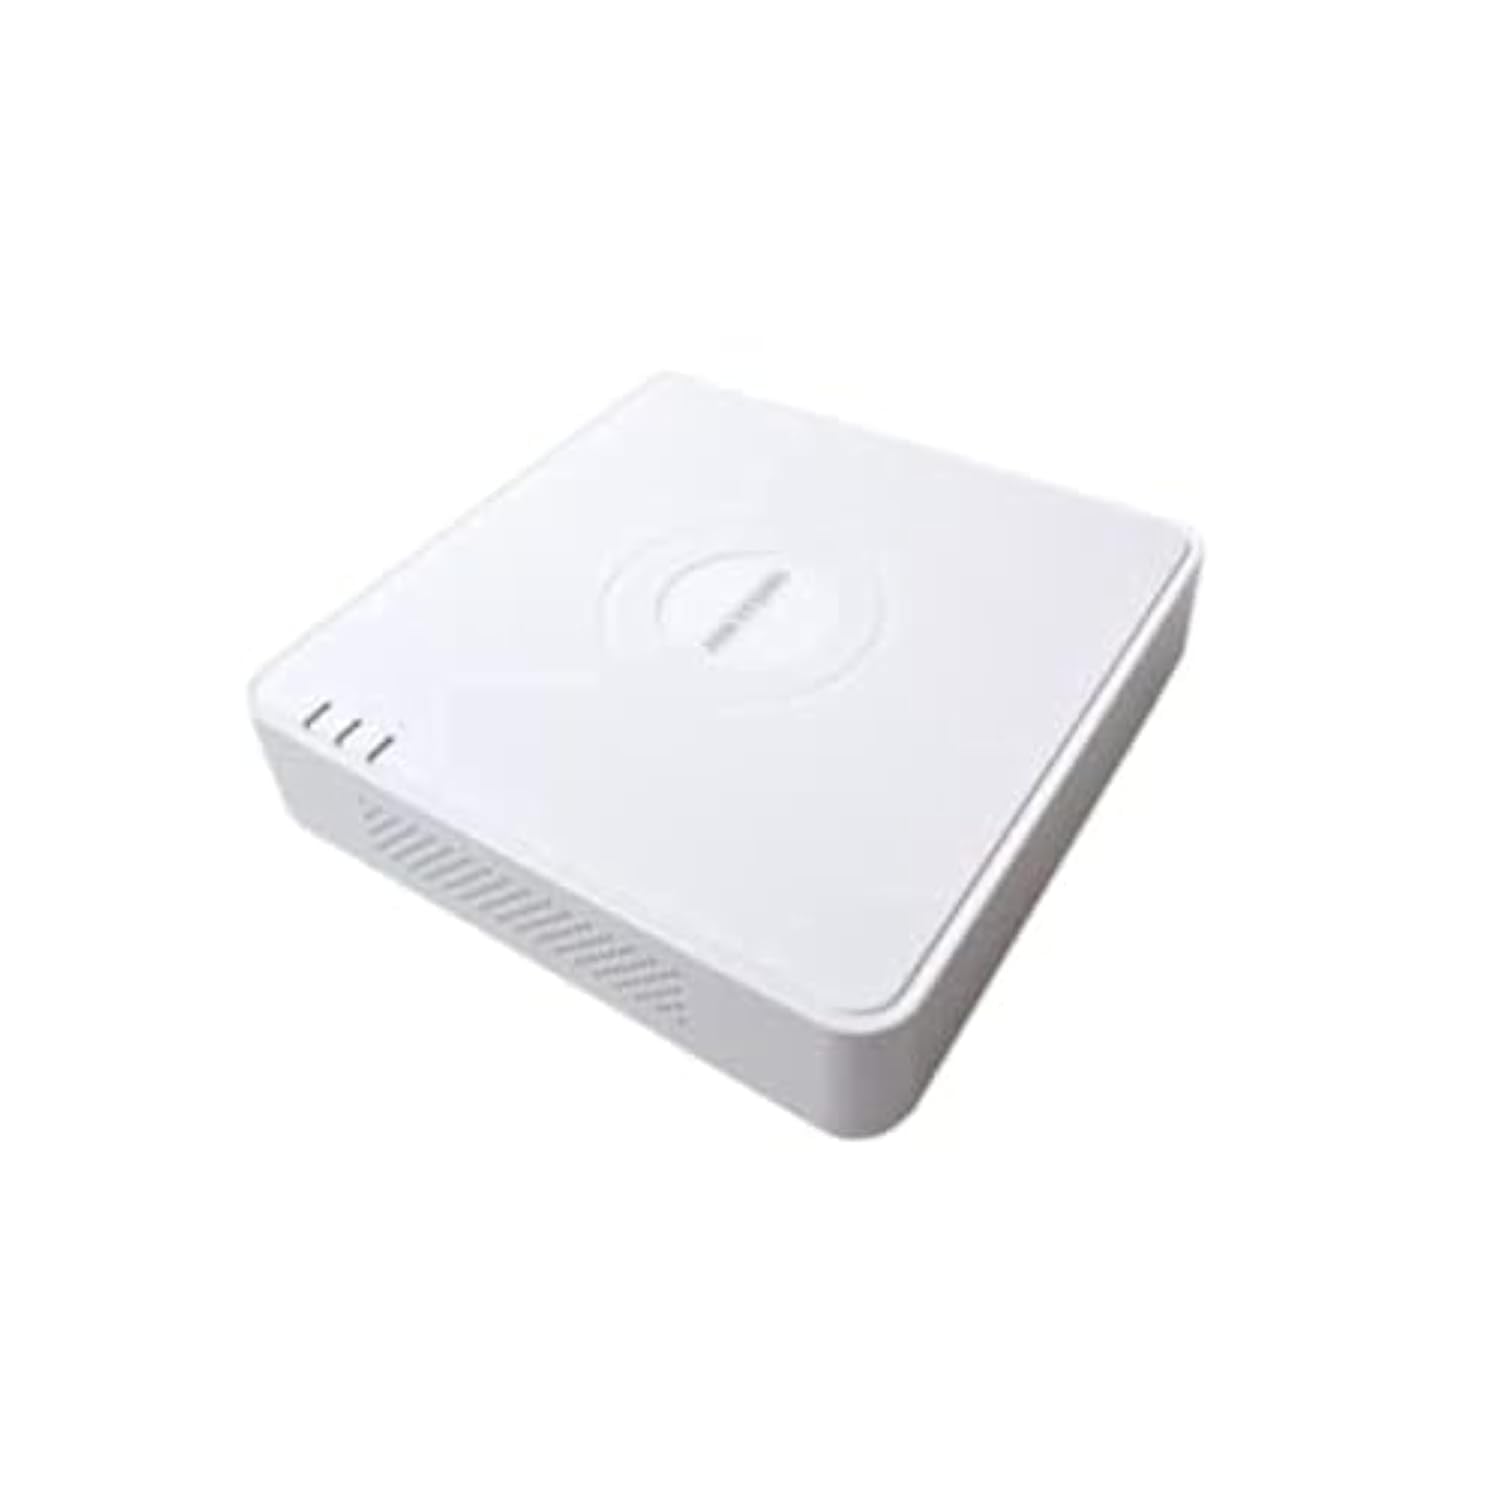
This image shows the Hikvision Turbo HD DVR unit from a front-side perspective, highlighting its compact design, ventilation grilles, and status indicator lights.
2. Product Features
- High-definition 8-channel Turbo HD DVR
- Supports audio transmission over coaxial cable
- Equipped with one SATA interface for storage
- Durable plastic casing for protection
- Video encoding capabilities up to 1080p Lite at 15 frames per second
- Advanced video compression: H.265 Pro+/H.265 Pro/H.265
3. Setup Guide
3.1 Unpacking and Inspection
Carefully unpack the DVR and all accessories. Verify that all components are present and undamaged. If any items are missing or damaged, contact your supplier immediately.
3.2 Connecting the DVR
- Connect Hard Drive (if not pre-installed): Open the DVR casing, connect the SATA data and power cables to the hard drive, and secure the drive.
- Connect Cameras: Connect your Turbo HD cameras to the BNC video input ports on the rear panel.
- Connect Monitor: Use an HDMI or VGA cable to connect a monitor to the corresponding output port on the DVR.
- Connect Mouse: Plug the USB mouse into a USB port on the DVR.
- Connect Network: Connect an Ethernet cable from your router/switch to the LAN port on the DVR for network access and remote viewing.
- Connect Power: Connect the power adapter to the DVR's power input and then to a power outlet. The DVR will power on automatically.
3.3 Initial Configuration
Upon first power-on, the DVR will guide you through an initial setup wizard. This includes setting up a strong password, configuring network settings, and initializing the hard drive. Follow the on-screen prompts to complete the setup.
4. Operating Instructions
4.1 Live View
After initial setup, the DVR will display the live view from all connected cameras on the monitor. You can switch between single-camera view and multi-camera grid view using the on-screen controls or mouse.
4.2 Recording
The DVR is typically configured for continuous recording by default. You can access the recording schedule settings via the main menu to customize recording modes (e.g., motion detection, scheduled recording) for each channel.
4.3 Playback
To review recorded footage, navigate to the Playback menu. Select the desired camera(s) and time range. You can use the timeline and playback controls to fast forward, rewind, or pause the video.
4.4 Remote Access
For remote viewing on a mobile device or computer, ensure the DVR is connected to the internet. Download the official Hik-Connect app (or client software) and follow the instructions to add your DVR using its serial number or QR code. This allows you to view live feeds and playback recordings from anywhere with an internet connection.
5. Maintenance
5.1 Regular Cleaning
Keep the DVR clean by wiping its exterior with a soft, dry cloth. Ensure ventilation openings are free from dust and obstructions to prevent overheating.
5.2 Firmware Updates
Periodically check the Hikvision official website for firmware updates. Keeping your DVR's firmware up-to-date ensures optimal performance, security, and access to new features. Follow the provided instructions carefully when performing updates.
5.3 Data Backup
Regularly back up important video footage to an external USB drive or network storage. This helps prevent data loss in case of hard drive failure or other unforeseen issues.
6. Troubleshooting
6.1 No Video Output
- Check all video cable connections (BNC, HDMI, VGA) to ensure they are secure.
- Verify that the monitor is powered on and set to the correct input source.
- Ensure cameras are powered and functioning correctly.
6.2 Network Connection Issues
- Confirm the Ethernet cable is properly connected to both the DVR and the router/switch.
- Check network settings in the DVR menu (IP address, gateway, DNS). Ensure they are correct for your network.
- Restart your router/switch and the DVR.
6.3 Recording Problems
- Verify that a hard drive is installed and properly initialized.
- Check the recording schedule and settings for the affected channels.
- Ensure there is sufficient free space on the hard drive.
7. Specifications
| Feature | Detail |
|---|---|
| Manufacturer | Hikvision |
| Model Number | DS-7108HGHI-K1(S) |
| Product Dimensions (W x D x H) | 10 x 10 x 3 cm (approximate, based on video) |
| Item Weight | 1000 grams (1 kg) |
| Connectivity Technology | Ethernet |
| Compatible Devices | Camera |
| Memory Storage Capacity | 4 Terabytes (HDD not included) |
| Hard Disk Size | 4 Terabytes (Maximum supported) |
| Power Consumption | 17 Watts |
| Number of Channels | 8 |
| Digital Video Media Format | MP4 |
8. Warranty and Support
For specific warranty terms and conditions, please refer to the documentation provided with your purchase or contact Hikvision directly. Technical support may be available through the Hikvision official website or your authorized dealer.