
1. Introduction
This manual provides essential information for the safe and effective installation and operation of your VGEBY Electric Scooter Ignition Lock. This product features a one-button start design and a 3-pin plug for connection. It is designed for electric scooters with a 22.2mm handlebar diameter and is suitable for 10-inch electric scooters.
2. Safety Information
- Always ensure the scooter is powered off before attempting any installation or maintenance.
- Disconnect the battery before working on electrical components to prevent electric shock.
- If you are unsure about any installation step, consult a qualified technician.
- Do not modify the product or its wiring, as this may void the warranty and create safety hazards.
- Keep keys away from children.
3. Product Overview
The VGEBY Electric Scooter Ignition Lock is a durable and easy-to-install component designed to enhance the functionality of your electric scooter. It integrates an ignition switch with a one-button start mechanism and includes a digital display. The unit is constructed from robust ABS material, ensuring longevity.

Image 3.1: The VGEBY Electric Scooter Ignition Lock, showing the main unit, attached wiring, and two included keys.

Image 3.2: A close-up view of the digital display integrated into the ignition lock unit.
Key Features:
- One-Button Start: Simplifies scooter activation.
- 3-Pin Plug Design: Ensures compatibility with standard scooter controllers.
- Durable ABS Material: Provides long-lasting performance.
- Integrated Digital Display: For visual feedback (e.g., voltage).
- Included Keys: Two keys are provided for the ignition lock.
4. Setup and Installation
The installation process for the VGEBY Electric Scooter Ignition Lock is designed to be straightforward. Please follow these steps carefully:
- Prepare the Scooter: Ensure your electric scooter is turned off and the battery is disconnected before beginning installation.
- Identify Mounting Location: The ignition lock is designed for handlebars with a diameter of 22.2mm. Choose a suitable and accessible location on your scooter's handlebar.
- Mount the Unit: Securely attach the ignition lock unit to the handlebar. Ensure it is firmly in place and does not obstruct other controls.
- Connect Wiring: Locate the appropriate 3-pin connector on your scooter's controller. The ignition lock comes with a 3-pin plug and a line length of approximately 180cm (70.9 inches). Connect the plug from the ignition lock to the corresponding port on the controller. Ensure the connection is secure.
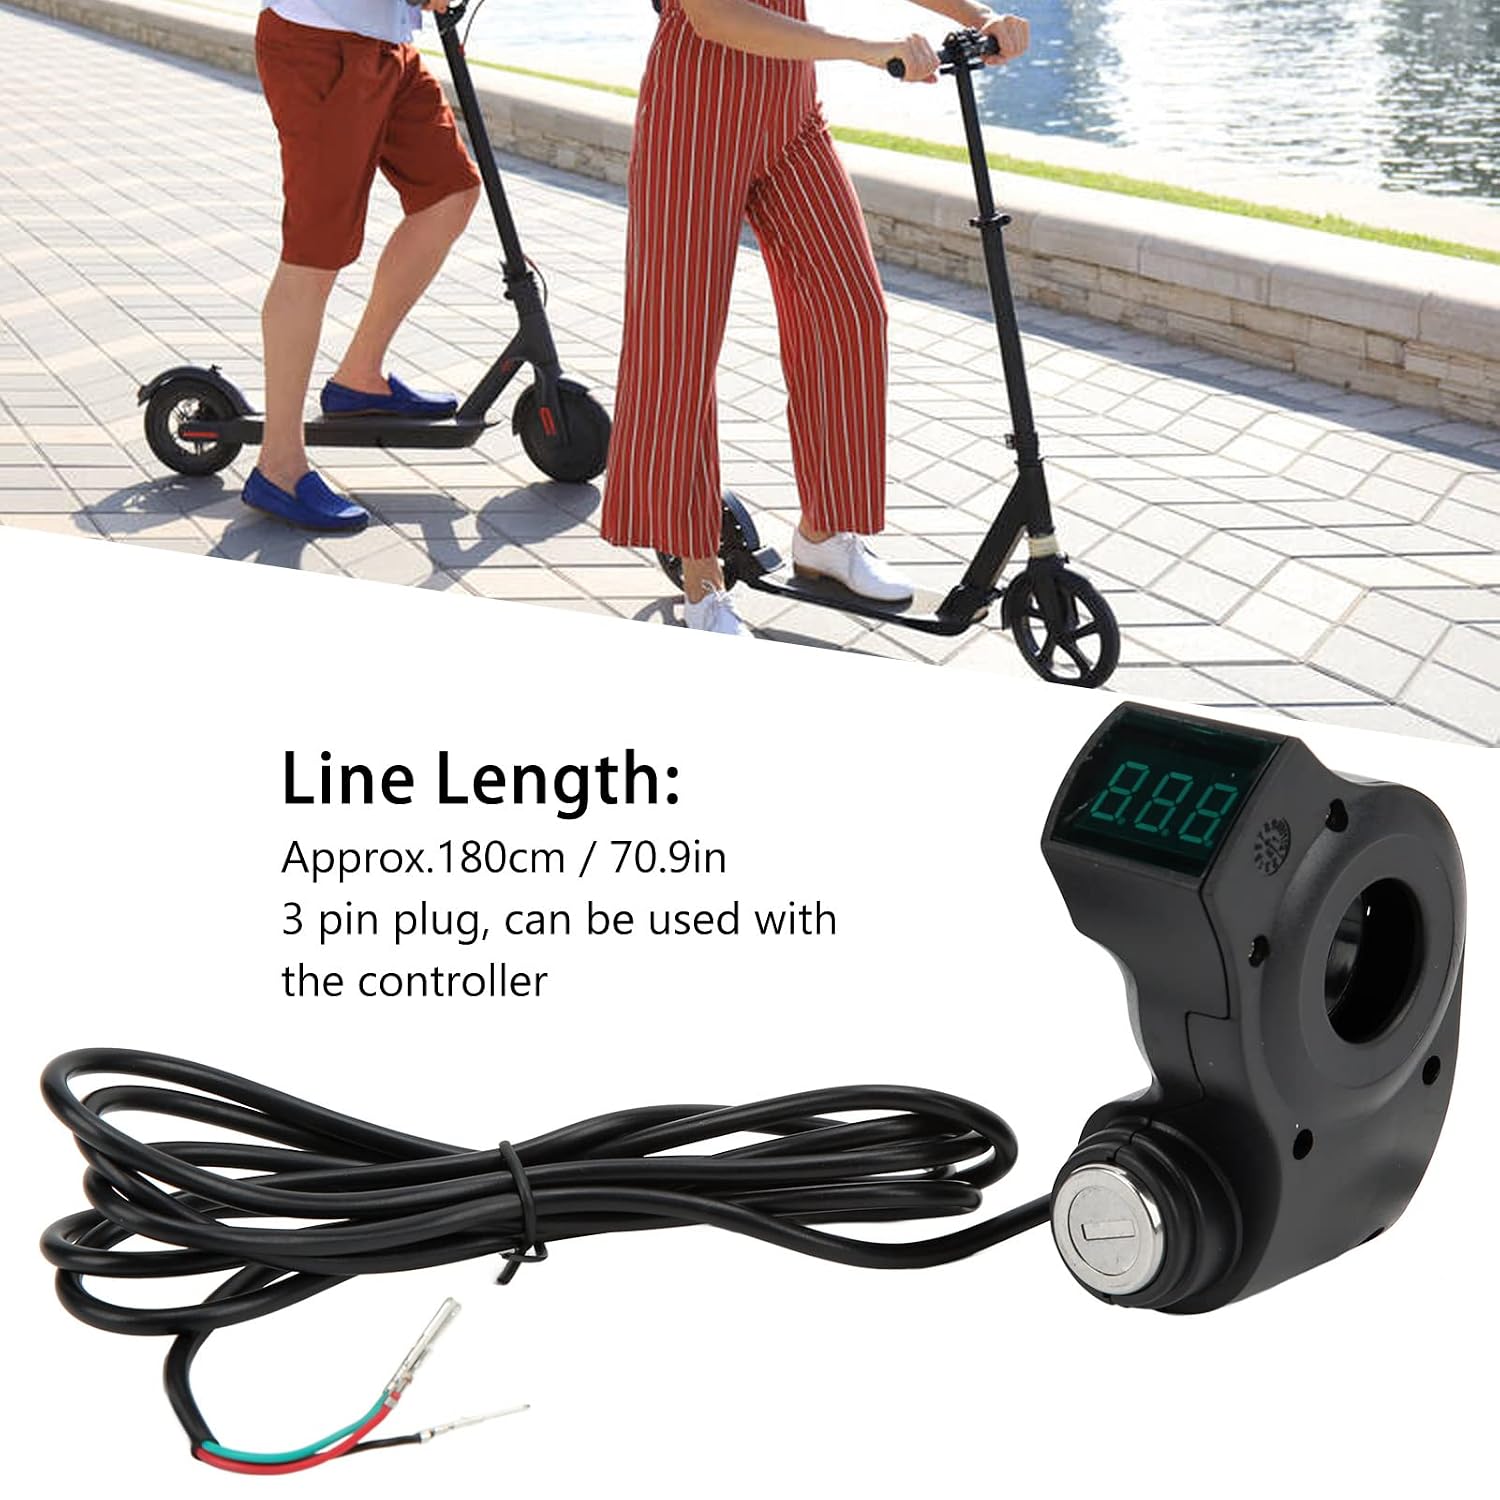
Image 4.1: The ignition lock unit displaying its approximate 180cm (70.9in) wire length and the 3-pin plug for connection to the scooter's controller.

Image 4.2: The product highlighting its ABS construction and ease of installation, shown alongside an electric scooter.
After connecting the wiring, re-connect the scooter's battery. Test the ignition lock functionality before riding.
5. Operating Instructions
The VGEBY Electric Scooter Ignition Lock features a simple one-button start mechanism.
- Insert Key: Insert one of the provided keys into the ignition lock.
- Turn Key to ON Position: Turn the key to the 'ON' position. This will activate the scooter's electrical system and the digital display on the ignition lock.
- One-Button Start: Once the key is in the 'ON' position, the scooter is ready to be started using its primary start mechanism (if applicable) or by simply engaging the throttle, depending on your scooter's design. The ignition lock primarily controls the power supply to the scooter's system.
- Turn Off: To turn off the scooter, turn the key back to the 'OFF' position and remove it.

Image 5.1: The ignition lock highlighting its one-key start feature and compatibility with 10-inch electric scooters.
6. Maintenance
To ensure the longevity and proper functioning of your ignition lock, follow these maintenance guidelines:
- Cleaning: Wipe the unit with a soft, dry cloth. Avoid using harsh chemicals or abrasive cleaners.
- Connections: Periodically check the wiring connections to ensure they remain secure and free from corrosion.
- Key Care: Keep the keys clean and avoid bending or damaging them. Do not force the key into the lock.
- Environmental Protection: Protect the unit from excessive moisture, direct sunlight, and extreme temperatures.
7. Troubleshooting
If you encounter issues with your VGEBY Electric Scooter Ignition Lock, refer to the following common problems and solutions:
- Scooter Does Not Power On:
- Ensure the key is fully inserted and turned to the 'ON' position.
- Check all wiring connections, especially the 3-pin plug, to ensure they are secure.
- Verify that the scooter's battery is charged and properly connected.
- Digital Display Not Working:
- Confirm the key is in the 'ON' position.
- Check for loose wiring connections to the unit.
- Key Is Difficult to Turn:
- Do not force the key. Ensure the key is clean and free of debris.
- Apply a small amount of graphite lubricant to the keyhole if necessary.
If problems persist, contact customer support or a qualified technician.
8. Specifications
| Feature | Specification |
|---|---|
| Brand | VGEBY |
| Model Number | B09RFK6T6M |
| Material | Plastic ABS |
| Line Length | Approx. 180cm / 70.9in |
| Plug Design | 3-Pin |
| Handlebar Diameter Compatibility | 22.2mm |
| Scooter Compatibility | 10-inch electric scooters |
| Operation Mode | Manual (Key Ignition) |
| Contact Type | Normally Open |
| Connector Type | Plug In |
| Mounting Type | Plug-In Mount |
| Actuator Type | Ignition |