
SINGER C430
SINGER C430 Computerized Sewing Machine Instruction Manual
Model: C430
1. Introduction
The SINGER C430 Computerized Sewing Machine offers a wide range of features designed for ease of use and creative versatility. This machine includes numerous built-in stitches and fonts, allowing for personalized projects. Features such as the Needle Up/Down function, Speed Control, and a convenient Top Drop-in Bobbin enhance the sewing experience. The integrated Thread Trimmer and Tie-Off Button streamline operations, while the 13 one-step buttonhole styles provide consistent results. The built-in needle threader further simplifies preparation.
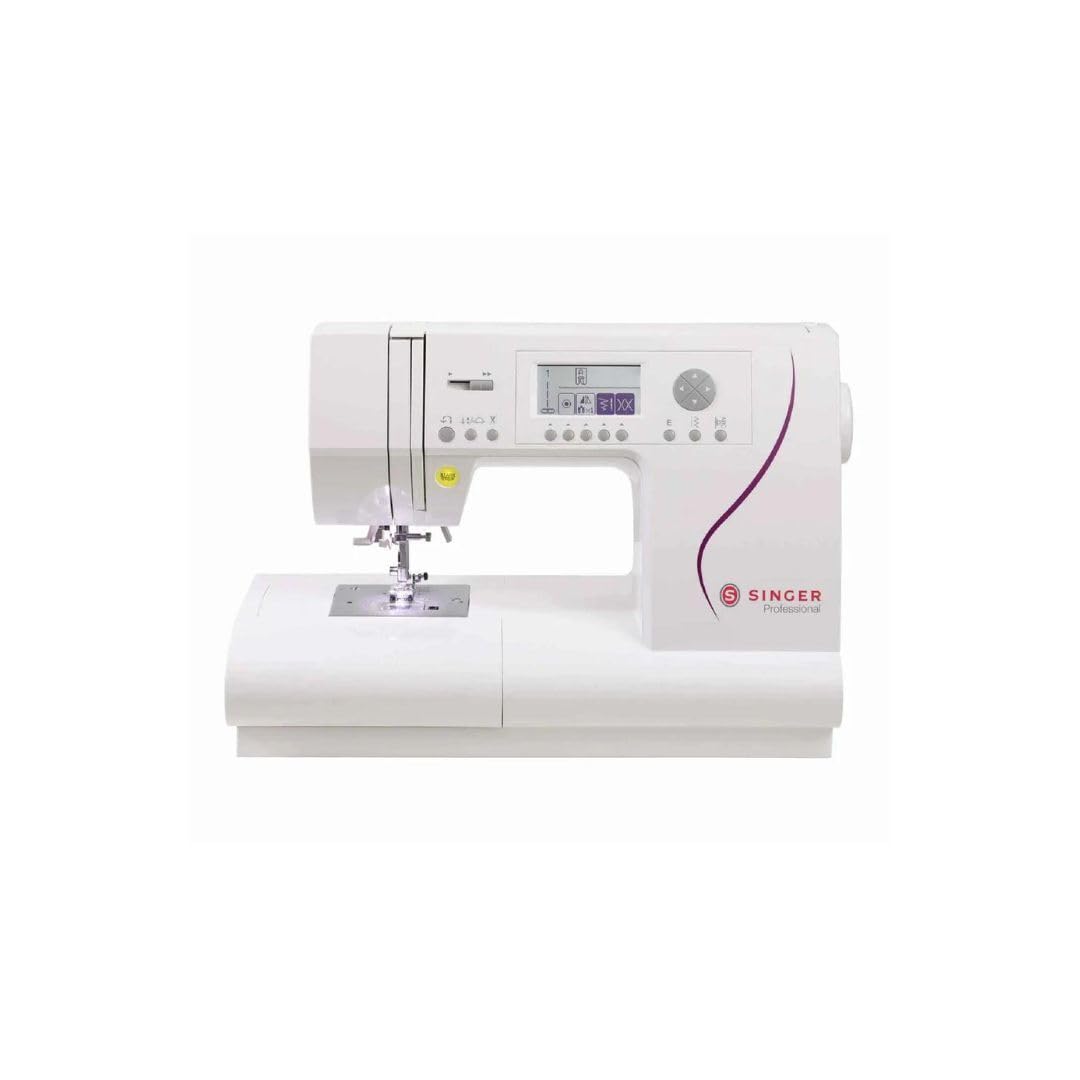
Image 1.1: Front view of the SINGER C430 Computerized Sewing Machine, showcasing its display and controls.
2. Setup
2.1 Unpacking and Initial Inspection
- Carefully remove the machine from its packaging.
- Retain all packaging materials for future transport or storage.
- Inspect the machine for any visible damage. If damage is found, contact customer support immediately.
- Ensure all accessories listed in the packing list are present.

Image 2.1: Included accessories for the SINGER C430, such as various presser feet, bobbins, and needles.
2.2 Power Connection
- Place the machine on a stable, flat surface.
- Connect the foot controller plug into the machine's foot controller jack.
- Insert the power cord plug into the machine's power socket.
- Plug the power cord into a suitable electrical outlet.
- Turn on the machine using the power switch, typically located on the side.
2.3 Attaching the Extension Table
For a larger working area, attach the extension table. Slide the extension table onto the free arm until it clicks securely into place.
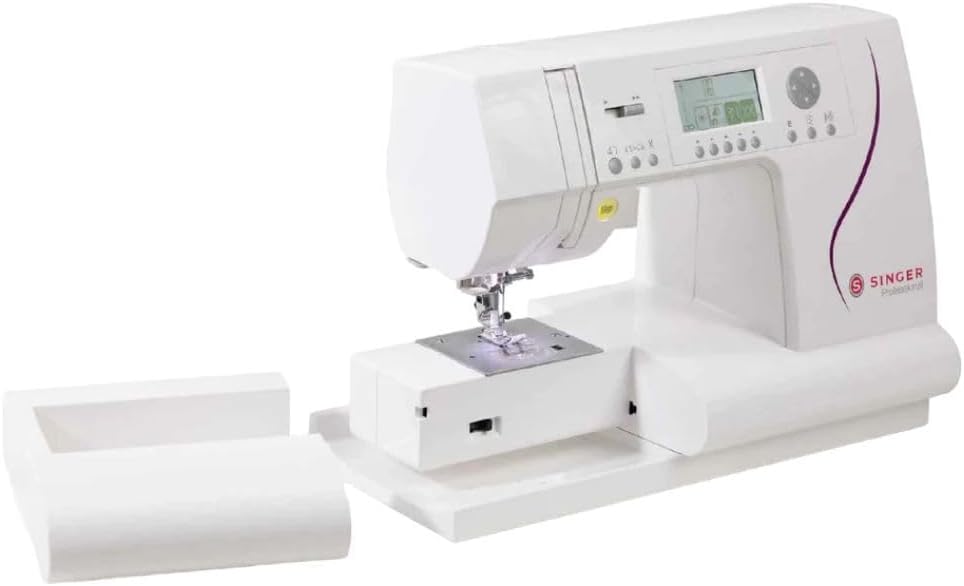
Image 2.2: The SINGER C430 with the extension table removed, revealing the free arm for circular sewing.
3. Operating Instructions
3.1 Top Drop-In Bobbin
The transparent bobbin cover allows for easy monitoring of thread supply. To insert the bobbin:
- Open the bobbin cover plate.
- Insert a wound bobbin with the thread unwinding counter-clockwise.
- Guide the thread through the tension spring and into the thread path.
- Replace the bobbin cover plate.
3.2 Built-In Needle Threader
To use the automatic needle threader:
- Raise the needle to its highest position.
- Lower the needle threader lever.
- Guide the thread through the hook.
- Release the lever, and the thread will be pulled through the needle eye.

Image 3.1: Close-up view of the needle, presser foot, and needle plate, highlighting the working area.
3.3 Built-In Thread Cutter
After completing a seam, press the Thread Trimmer Button to automatically cut both the top and bobbin threads. This eliminates the need for manual trimming and prepares the machine for the next seam without drawing up the bobbin thread.
3.4 Tie-Off Button
The Tie-Off Button allows for immediate securing of stitches. Press this button to automatically tie off the stitch and stop sewing. This function can also be programmed to perform a tie-off at the end of a stitch sequence before you begin sewing.
3.5 13 One-Step Buttonhole Styles
To create a buttonhole:
- Select the desired buttonhole style from the machine's menu.
- Attach the appropriate one-step buttonhole foot.
- Place the button into the buttonhole foot's sizing mechanism.
- The machine will automatically sew a buttonhole perfectly sized for your button, ensuring consistent results.
3.6 Needle Up/Down Feature
Use the Needle Up/Down button to position the needle precisely. This is particularly useful for pivoting fabric, such as when sewing corners, topstitching, or engaging in free-motion quilting and appliqué work.
3.7 Speed Control
Adjust the maximum sewing speed using the speed control slider. This allows you to set a faster speed for long, straight seams or a slower speed for intricate details, maintaining control over your project.
3.8 Built-In Lettering and Mirror Imaging
The machine includes 5 alphabets for personalizing projects with words, phrases, or monograms. The Mirror Imaging function allows you to invert stitch patterns horizontally for additional creative options.
3.9 Drop Feed
The feed teeth can be lowered for specialized sewing techniques such as button sewing or free-motion quilting. To lower the feed teeth, slide the Drop Feed Lever. To raise them again, slide the lever back and turn the handwheel one full turn.
4. Maintenance
4.1 Cleaning
- Regularly clean the bobbin area and feed dog teeth using the brush provided.
- Remove the needle plate and clean any lint or dust accumulation.
- Wipe the exterior of the machine with a soft, dry cloth. Do not use harsh chemicals or abrasive cleaners.
4.2 Needle Replacement
- Always use SINGER-approved needles appropriate for your fabric type.
- Replace bent or dull needles immediately to prevent skipped stitches or fabric damage.
5. Troubleshooting
This section addresses common issues you might encounter. For more complex problems, refer to the full service manual or contact customer support.
| Problem | Possible Cause | Solution |
|---|---|---|
| Skipped Stitches | Incorrect needle, bent needle, improper threading. | Replace needle, re-thread machine, ensure correct needle type for fabric. |
| Thread Breakage | Incorrect tension, poor quality thread, burr on needle plate, incorrect needle. | Adjust tension, use quality thread, check for burrs, replace needle. |
| Fabric Puckering | Incorrect tension, wrong needle size, improper presser foot pressure. | Adjust tension, use appropriate needle, adjust presser foot pressure if available. |
| Machine Not Starting | Power cord not connected, power switch off, foot controller issue. | Check power connections, ensure switch is on, inspect foot controller. |
6. Specifications
| Feature | Detail |
|---|---|
| Model Number | C430FR |
| Product Dimensions | 17.5 x 8.2 x 11.8 inches (44.45 x 20.83 x 29.97 cm) |
| Item Weight | 20 pounds (9.07 kg) |
| Power Source | Corded Electric |
| Built-in Stitches | 810 |
| Buttonhole Styles | 13 (One-Step) |
| Built-in Fonts | 5 Alphabets |
| Bobbin Type | Top Drop-in |
| Needle Threader | Automatic |
| UPC | 840163302258 |
7. Warranty Information
This SINGER C430 Computerized Sewing Machine is a renewed product and is backed by a 90-day warranty from the date of purchase. Please retain your proof of purchase for any warranty claims. The warranty covers manufacturing defects and malfunctions under normal use. It does not cover damage caused by misuse, accidents, or unauthorized repairs.
8. Customer Support
For further assistance, technical support, or warranty inquiries, please contact SINGER customer service. Refer to the contact information provided with your product documentation or visit the official SINGER website for support resources.
Related documentsC430


Ask a question about this manual
Ask about setup, troubleshooting, compatibility, parts, safety, or missing instructions. Manuals+ will review the question and use this page’s manual context to help answer it.